Catherine Pooler ~ You're Such a Blessing

Happy Wednesday!  Today I'm sharing a fun card using my latest sketches for Splitcoaststampers.

It's my turn for a sketch this week and here's what I've created for you... SC921:

The cross hatched pattern could be achieved in so many ways:

  1. Create a grid with your scoring tool.
  2. Adhere squares or diamonds of paper in this pattern.
  3. Use a patterned paper that has a criss-crossed pattern like a plaid or gingham!
  4. Or use a die that makes the pattern.

I happen to own a die that created that pattern.  It's called the "Cross Your X's Cover Plate Die" by Catherine Pooler.  It was a perfect starting point of this card!  I tucked a gold embossed panel underneath using the retired "Love Note Background" stamp set also from CP.

I die cut a rectangle from the "Scallops & Dots Dies" and embossed my sentiment from the "Fall Finds" stamp set!  I also stamped a variety of the leaves from the same stamp set in a blend of Autumn inspired ink colors: Whipped Honey, Orange Peel, Match, Spruce and Daydream.

I added a little gold thread to the back of the sentiment area and adhered it with some foam tape.

A few golden "Oak City Sequins" to finish of the card and I love how it turned out!

I hope you'll check out my sketch and come and play along!

Happy crafting!

~ Ally ~


This post contains affiliate links...

Catherine Pooler ~ Webbed Witching Hour

I've been having a blast with the brand new "Sweet-N-Spooky" goodies from Catherine Pooler this week!

Yesterday I pulled out the adorable "Toil & Trouble" stamp set and had a grand time just gettin' inky!

I started by cutting down a white cardstock panel and then took the cute web stamp and added along the sides of the panel.  Then I took some Pucker Up ink and inked up the entire panel.  I added a little touch of Flirty Fuchsia ink around all the edges.  I dipped the web edges with some Versamark ink and then heat embossed with Halo Embossing Powder.  I also stamped some of the mini diamond stamps in Versamark too and heat embossed them down the center of the panel.  


Once that was dry, I added some white paint splatters and the I used Black embossing powder to add the sentiment.

I stamped the cauldron in midnight ink, masked the bubbly edge and stamped the striped legs above the cauldron.  I colored it all up using Copic Markers. 

The Copics I used are:

  • greens: FYG1, YG01, YG03, YG23
  • blacks: C9, C7, C5
  • purple: V05, V04
  • orange: FYR1, YR04


I fussy cut out my cauldron and witchy legs and popped them up using foam tape on the panel and added the greeting across it.

I added the entire panel on a piece of patterned paper from the "Sweet-n-Spooky" paper pack.

This card was a blast to create!  I hope it inspires you to create something for Halloween too!

Have a great Tuesday!

~ Ally ~


Chibitronics ~ A New Craft Kit is HERE! **GIVEAWAY**

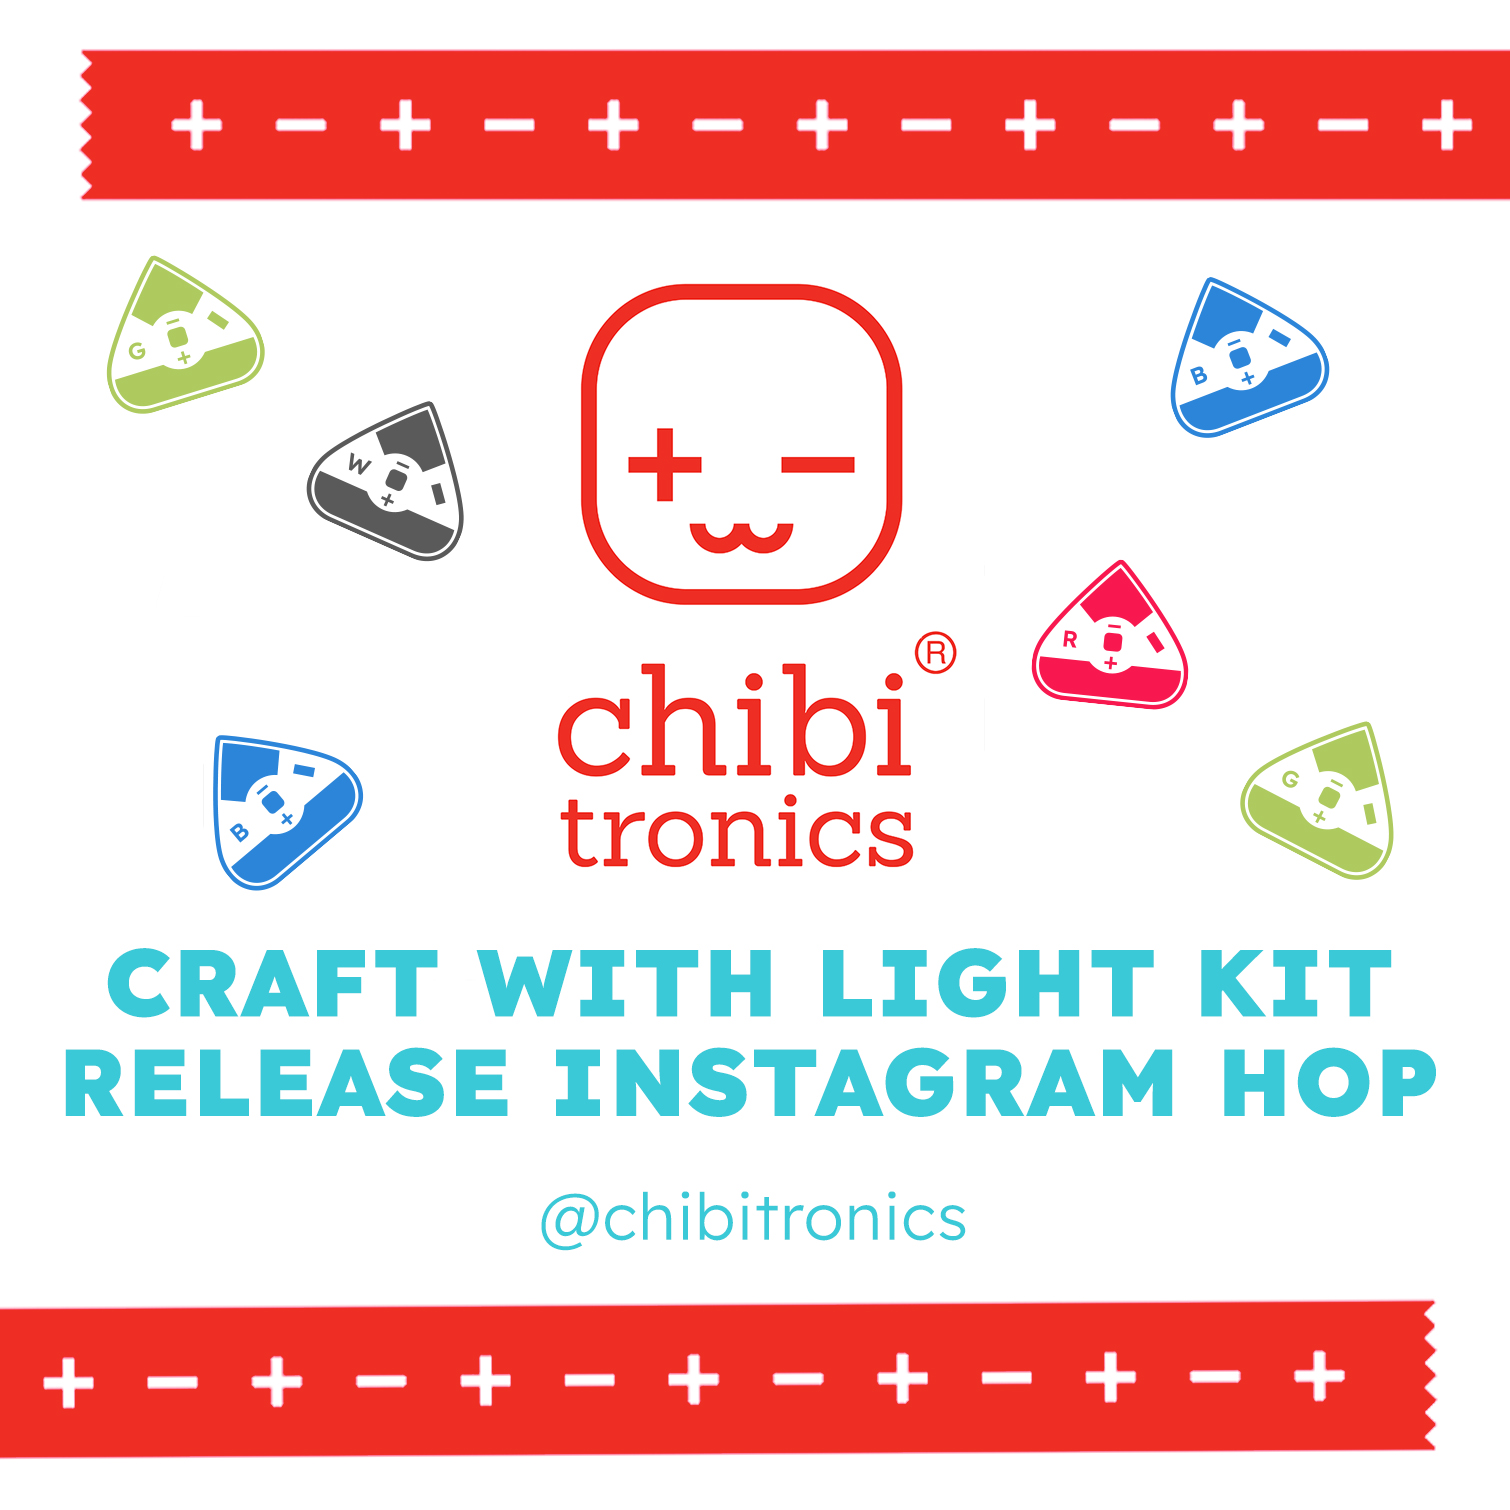
Hey crafty friends!  We have an Instagram Hop going on today featuring the brand new Craft with Light Kits from Chibitronics.

Each crafty participant is giving a Craft with Light kit of your choice!

Here are the hop participants:

Chibitronics - @chibitronics
Allison - @i_card_so_hard <-- that's me
Channin - @channinpelletier
Eiko - @eiken_laboratory
Jess - @jessicafrostballas
Laura - @lady_laura_crafts
Mindy - @mindyeggendesign
Rachel - @theunpamperedstamper
Rana - @rana.crafts
Wei Wei - @weiweiwang_12
Yukiko - @nicorin173

What's in a Craft with Lights Kit you ask?  Good question!!

Each kit contains:

  • 6 LED Light Stickers (either 6 White or a Color Kit has 1 of each LED Light Sticker color; red/blue/yellow/orange/pink/green sticker)
  • a complete roll of our Fabric Conductive Tape with a red tape tag
  • 2 Coin Batteries (3V)
Each kit can make one to two cards or projects!

For today's card I first trimmed down a piece of fun rainbow patterned paper and die cut 5 heart shapes from a few of the color corresponding stripes of the paper.

I stamped and fussy cut out the little puffins and colored them using Copic Markers.

I die cut a few cloud edges and applied them to the bottom of the card and then added in all my puffins.

Before I adhered the panel to the front of my card, I traced each of the heart shapes on the inside of my circuit panel.  I labelled each heart with the color of stripe the heart was passing through.

 
Next I took those hearts and mapped out my entire circuit including the location of my battery pack (under my sentiment!).
 
The red lines are the NEGATIVE side of my circuit and the green lines are the POSITIVE side of my circuit.
 
 
Next I begin adding our Conductive Fabric Tape to the circuit lines.  I always start with the negative side of my circuit because it runs UNDER my batteries.
 

Next I create my battery housing.  I use foam tape to "trap" my batteries within the walls of the 3 dimensional adhesive strips.

I decided at the last minute to STACK my 2 batteries on top of one another instead of laying them side by side.  I decided to do this because my foam was too high to reach my batteries on the top so my circuit would be harder to activate.

Next I started laying down my POSITIVE side of the circuit.  I always start my conductive tape under the flap on top of my batteries.  You can kind of see the layer of tape through my piece of acetate - this is where the circuit touches the batteries.  Next I wrapped that tape around the flap and laid it down the side of that little foam housing to the paper layer of my card.


Then I added all of my LED Light Stickers.  In this case, I used the orange, pink, blue, green and yellow stickers from the Craft with Light Kit.

Next I checked to see if my circuit worked... VOILA!  We have light!!!

Here is the final card all lit up!  Isn't it adore and SO EASY to create!!!

Make sure you check out the Instagram Hop.  Winners will be announced on the Chibitronics Instagram account on Tuesday September 6th.
 
Good luck and happy hopping!!!
 
~ Ally ~

Stamp Anniething ~ The Villains are HERE!!!

The Villains are HERE!!!  And they could be coming to your very own mailbox soon!

It's the newest GRAB and GO!™ box from Stamp Anniething and it's available NOW!!!!  If you're into Disney and love to color and create, then this box is for you!!!  It's called the Villains Box!

This amazing box contains:

  • 7 Villain character stamp sets
  • Coordinating outline dies for EACH Villain!
  • 1 Evil Sentiment Stamp set
  • 1 pack of Villain themed 6x6 designer papers
  • 1 Mirror Mask Stencil
  • 1 Mirror Shaker Add On Die
  • Wicked Word Die
  • 1 package of themed charms
  • 3 assorted packages of Shaker Adornments
  • and much, much more!

Check out what cards I created with this box...

First off I had to use the beautiful Evil Queen and I had to put her in front of the amazing Mirror Die...


I had a blast building the mirror with a faux wooden frame and shiny silver cardstock with bedazzled areas!


If you look closely at the patterned paper behind our Queen, it says "For the Fairest".... so appropriate!

Next I created with the Hades character from Hercules!  He's on fire!!!!

I used the Villains Patterned Paper Pack 6x6 to create a very simple background and then I used his fun sentiment and also the extremely cool "Wicked Word Die" to finish it off!  

I even made him GLOW!

And last but not least... here comes Captain Hook walking down the plank...

I made this card into an easel card so I could hide the remainder of the fun sentiment...

And that it's for my card creations using this box!

So if you want this box, grab it NOW!

CLICK HERE TO GRAB IT!

Supplies won't last long!!!


Happy shopping!

~ Ally ~

Stamp Anniething - Here Come the VILLAINS!!!

Guess what's coming???  It's the newest GRAB and GO!™ box from Stamp Anniething and it's coming Sunday!!!!

The Villains Box is based off some of the wickest Disney Villains out there!  There is Jafar from Aladdin, Maleficent, Hades from Hercules, Captain Hook from Peter Pan, Dr. Facilier from the Princess & the Frog, the Evil Queen from Snow White and of course, Cruella de Vil from 101 Dalmatians. So many fabulous characters to color and create with!!!

This amazing box contains:

  • 7 Villain character stamp sets
  • Coordinating outline dies for EACH Villain!
  • 1 Evil Sentiment Stamp set
  • 1 pack of Villain themed 6x6 designer papers
  • 1 Mirror Mask Stencil
  • 1 Mirror Shaker Add On Die
  • Wicked Word Die
  • 1 package of themed charms
  • 3 assorted packages of Shaker Adornments
  • and much, much more!

The box goes on sale on Sunday August 28th and is in limited supply!  So get it before it's gone!!!

Today I'm sharing a fun slimline shaker card where I featured all three of our female Villains!

To accompany my gals, I used the cool Villains 6x6 patterned papers for the backdrop of my shaker card, some of the cool "cut glass" shaker adornments, the evil "Wicked Word Die" and the extra sentiment stamp set included in the box!

Check out the Evil Queen and Maleficent...

And of course, you can't forget Cruella de Vil with that super electric "Wicked Word Die"...


For all you Copic enthusiasts, here are the markers I used:

  •  skin: E13, E02, E00, R21
  •  blue skin: B0000, B00, B01, V22 
  •  purples: V09, V06, V05, V04 
  •  blacks: W10, W7, W6, W5
  •  reds: R39, R37, R35 
  •  golds: Y28, Y26

You are gunna LOVE this amazing box of coordinated goodies!!!

Make sure to check out the box on Sunday when it goes on sale!


Have a great weekend!  I'll be sharing a lot more ghoulish creations this weekend!

~ Ally ~

Catherine Pooler ~ Sweet-N-Spooky

Today's the day!  The day that the "Sweet-N-Spooky" goodies hit the Catherine Pooler Designs shop!

This mini release brings us a few new Hollow's Eve products including...

Today I'm sharing a few interactive cards featuring the "Sweet-N-Spooky 6x6 Paper Pack" and the "Toil and Trouble" stamp set!

I began by cutting a cute piece of the floral web patterned paper for my card front.  Then I die cut a rectangle using the "Scallops & Dots Dies" from the pink gingham.  I then matted my gingham rectangle with white cardstock.

I stamped out my cauldron and little ghost and colored them in using Copic Markers and Apricot & Orange Peel inks.

I adhered my cauldron to my card front and made a paper mechanism for my little ghost to sway from side to side!  You check out how I did that on a SHORT VIDEO HERE.

I also made a second card featuring the same products and the same interactive element but I used one of the pair of witches legs for the moving image. 

I had a blast making these cards!

Plus I made these cards featuring my newest sketch over at Splitcoaststampers for this week!  Sketch SC920.

I hope you'll check out all the amazing card samples using this sketch over at Splitcoast.

I hope you have a wonderful rest of the week!

Now go get crafty!

 ~ Ally ~

Sweet Sentiment ~ Smile!

I'm back again with more of the fabulous Sweet Sentiment August release creations!

Today I'm sharing a very simple card featuring the beautiful "Calming Clematis" stamp set.

I started by stamping the 3 Clematis blooms and some leaves onto Sweet Sentiment Coloring Cardstock using Memento "Tuxedo Black" ink.  I colored everything using Copic Markers.

The Copics I used:

  • flowers: V17, V15, RV25, RV29, V12
  • leaves: YG01, G28, YG17, YG03

I die cut a few hexagon frames from gold cardstock and over lapped and trimmed them into a fun pattern.  I popped them up using some foam tape and then adhered my Clematis blooms and leaves on top.

To finish it off I added a title of "Smile" and some fun sequins.

Thanks for stopping by!

~ Ally ~


Sweet Sentiment ~ Fairy Smiles

I'm back again with more of the fabulous Sweet Sentiment August release!

Another super cute stamp set being release this month is the adorable "Fairy Smiles" and it's filled with beautiful sentiments and 5 of the cutest little fairies ever!  This stamp set also has a coordinating Sweet Slice die, Fairy Smiles Dies.

I began this card by sketching out a simple scene with some plants and a cute little mushroom to put one of my little fairies on.  I used my Copic Airbrush to color in most of the back ground an then I used my Copic Markers to add in all the finer details.

I stamped out my little fairies using some Memento "Desert Sand" ink and colored them both in using Copic Markers:

  • skin: E04, E11, E01, E00
  • purples: BV17, BV13, BV11, BV01, V01
  • greens: G46, G94, G43
  • wings: B63, B60, Y00

I also used my Copic Clearless Blender marker to add some dots of "sparkle" to the background plus I used some sparkly white paint to some of the darker areas of the panel.

I created a faux woodgrain frame to create a frame for my scene of my little woodland cuties!

I had so much fun building all the aspects of this card.

Make sure you check out all the amazing new stamps, dies and stencil of this new release; HERE!

Happy shopping!

~ Ally ~

Three Room Studio ~ My Froggy Friend!

Happy Saturday everyone!  It's time for another fun Saturday Challenge for Three Room Studio.

This week our challenge is to create a card featuring YOUR favourite stamp set!

I'm your hostess this week and my absolute favourite stamp is the adorable "It's a Ponderful Life" stamp set!  This stamp set features 2 little frogs, loads of lily plants and cool Bullrush and reed images... all for building a pond scene.  It also has a coordinating die!

I began by stamping all the images in my background. I masked off the skyline and used my Copic Airbrush system to spray on my sunset and then spray on my water's base colour.

I coloured all my images using Copic Markers including my little froggy friend. I die cut him using the coordinating die.  I popped up my little croaker on a mini action wobbler so he wiggles!!  (giggle!)


To finish off my card I added a simple sentiment from the fun "Simple Sentiments" stamp set!

Now, check out my fellow Design Team members...

Pocono Pam - https://www.poconopam.blogspot.com/ OR @pocono.pam

Now it's your turn!!  Check out all the details on the Three Room Studio Blog.
 
Good luck!
 
~ Ally ~
 
09 10