Showing posts with label Three Room Studio. Show all posts

Three Room Studio ~ Sharky Shaker

Happy Saturday everyone!  It's time for another fun Saturday Challenge for Three Room Studio.

This week our challenge is to create a card that includes an ANIMAL.

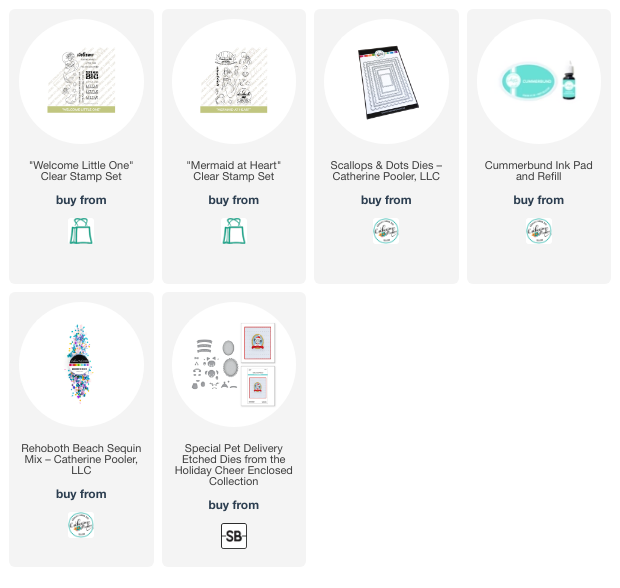
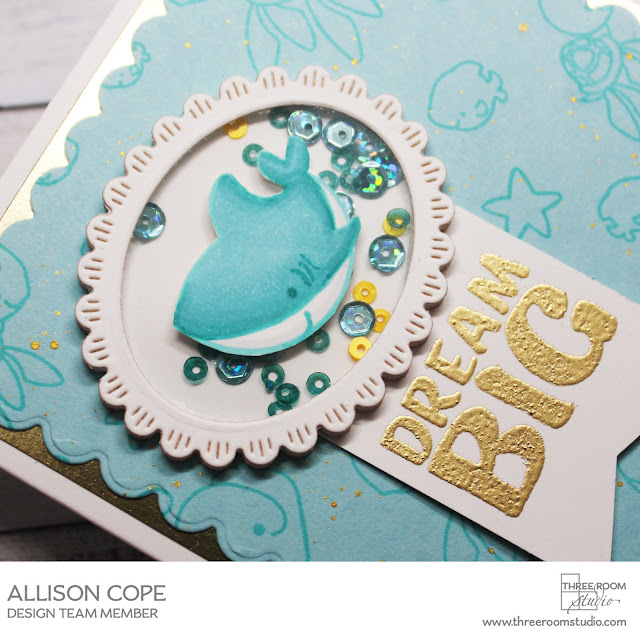
For today's card I stamped all the cute and adorable sea creatures and seashells from both the "Welcome Little One" and "Mermaid at Heart" stamp sets onto a blue piece of cardstock using blue ink.  I splattered the panel with gold paint and die cut it with a scalloped edges rectangle.

Then I stamped the sweet little shark from the "Welcome Little One" again in blue ink and colored him up with blue Copic Markers.  I fussy cut him out and added him to the outside of a tiny oval shaker element filled with blue and gold sequins.

To finish off the card I gold heat embossed on the sentiment "Dream Big" from the "Welcome Little One" stamp set and added it in a banner style under the little shark shaker.

A touch of gold cardstock frame and the card is complete!

Now, check out my fellow Design Team members...

Now it's your turn!!  Check out all the details on the Three Room Studio blog on how you can join along!
 
Good luck!
 
~ Ally ~

Three Room Studio ~ My Favourite Colour!

Happy Saturday everyone!  It's time for another fun Saturday Challenge for Three Room Studio.

This week our challenge is to create a card with YOUR favourite COLOUR!  Yes... you can choose any colour to create with.  Now, you DO NOT have to create with just one colour like I did (monochromatic), you can use other colours just make your favourite the key colour on your creation.

PURPLE is my favourite colour!!! To begin today's card, I stamped my mermaid and her fishy friends from the "Mermaid at Heart" using Memento "Tuxedo Black" ink.  Then I created masks for each one.  I also created a random edged mask to place around my scene.

With all the masks on my images, I used my Copic Air Brush System, I laid down the dark purple background for the ocean-scape.

I peeled off all my masks and then I coloured my images using all kinds of BV Copic Markers.  I had fun putting in lots of shadows, shading and scaly details.  I used my Copic Blender marker to add some bubbles to the scene.

I wanted a bold sentiment so I chose to use the large script thank you from the "Aww Thanks" stamp set and embossed it in gold embossing powder.

Now, check out my fellow Design Team members...


Now it's your turn!!  Check out all the details on the post below.
 
Good luck!

~ Ally ~

Three Room Studio ~ Love is in the Kitchen

Happy New Year everyone!  It's time for another fun Saturday Challenge for Three Room Studio.

This week our challenge is to create a card using the following photo as your inspiration.  You can be inspired by color, shape, theme and whatever you see as inspiration in the photo...

For today's card I was inspired by the shades of pink and red plus the hearts of course!

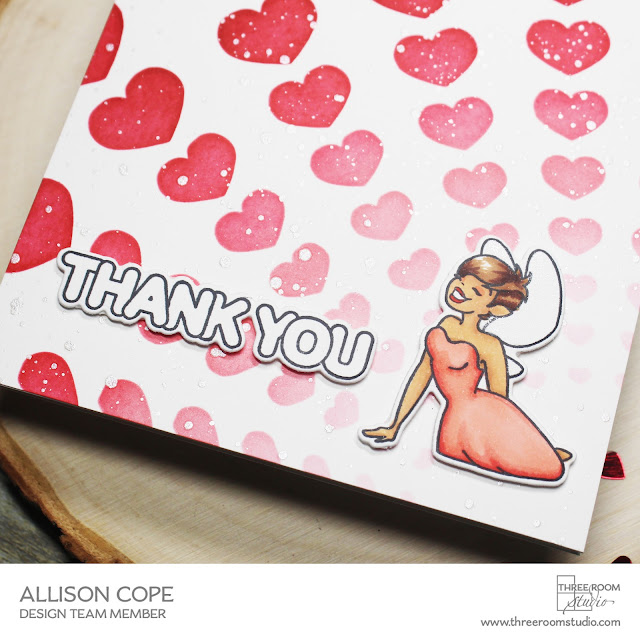
I began my creating my background using the "Heart Ray Quarter Stencil" and 3 different colored red/pink inks.  Then I splattered with some fun sparkly silver paint.

Then I stamped one of the sweet little fairies from the "Believe in Fairies" and colored her in with Copic Markers.  I die cut her out with the coordinating die, here.

For my sentiment, I kept it super simple.  I just stamped the "Thank You" image with black ink from the "Aww Thanks" stamp set and die cut it out with the "Aww Thanks Die" set.


I popped up my little sparkly winged fairy and sentiment on the card and tada... a thank you card was born!

Now, check out my fellow Design Team member's creations...


Now it's your turn!!  Check out all the details on the post below.
 
Good luck!
 
~ Ally ~

Three Room Studio ~ Winter Birthday Hugs

Hello and Happy December everyone!  I'm Ally and today I'm sharing a fun wintry birthday card featuring the fun "Just a Moment" stamp set.

I began my card by stamping the sweet mug holding gal without the hat using Memento "Desert Sand" ink for a lighter ink effect.  Then I coloured her in using Copic Markers.

Copic Markers:

  • Hair: E43, E42, E50
  • Skin: E00, E04, E34, E21, R20
  • Shirt: BG32, G00, G000, G0000, G20, BG90
  • Blues: B95, B93, B91

To finish off the card I used a combined sentiment using the "Happy Birthday" from the "Believe in Fairies" and "Hugs" from the "Awww Thanks" stamp sets.  I also used the coordinating the "Aww Thanks Die" for the the Hugs.

The beauty of the images of the "Just a Moment" stamp set are that you can make the ladies dressed for any season!  The above image is actually designed to a V-neck, no-sleeve shirt but I coloured her arms so that it looks as if she has a long sleeve on!  Brilliant right!??!

We also offer a digital version of part of this stamp sets too.  Check it out HERE in the shop!

Stay tuned as the entire Three Room Studio team is going to share some of their favourite stamp sets this month with you!  I hope they bring you lots of year round inspiration!

Happy Holidays everyone!

~ Ally ~

Three Room Studio ~ HOWL-ppy Birthday!

Happy Saturday everyone!  It's time for another fun Saturday Challenge for Three Room Studio.

This week our challenge is to create a BIRTHDAY card.

Today's cute card features the "Deck the Howls" digital stamp set.  This stamp set has some cute little puppies in it and they are either wearing sweaters or not!  I just adore this super darling group of howlers for my birthday card!

To create the background for my pups, I used the "Sparkly Stars Stencil" and a soft  palette of Catherine Pooler inks!  So simple but perfect for my puppies!

Now, check out my fellow Design Team members...


Now it's your turn!!  Check out all the details on the Three Room Studios blog and how you can play along.
 
Good luck!
 
~ Ally ~

Three Room Studio ~ Pick a Sketch

Happy Saturday everyone!  It's time for another fun Saturday Challenge for Three Room Studio.

This week our challenge is to create a card using one of the two sketches seen below.  Just choose Sketch A or B to inspire your next card.

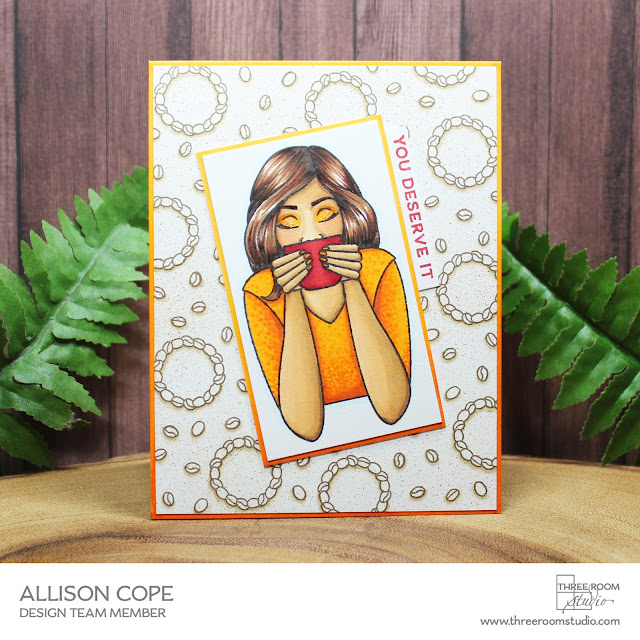
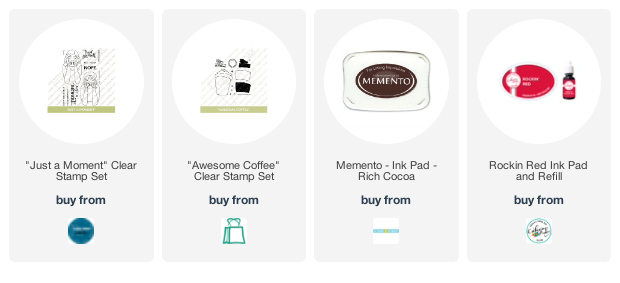
For my card today, I chose to use Sketch A.  I began by making my own background.  I used the coffee bean stamps from the "Awesome Coffee" stamp set using Memento "Rich Cocoa" ink.  I stamped them all over the back ground, then I used a Copic Markers to add some shadows and some fun splatter.

Then I stamped one of the girls from the new "Just a Moment" stamp set and also coloured her up using Copic Markers.  I added a simple sentiment from the same stamp set in red ink.


Now, check out my fellow Design Team members...

Now it's your turn!!  Check out all the details on THIS post.
 
Good luck!
 

Three Room Studio ~ Cozy Vibes Only


Today the entire Three Room Studio team is sharing some creations featuring the brand new release on a fun Instagram Hop.  Make sure you check it out for your chance to WIN!  Start here.

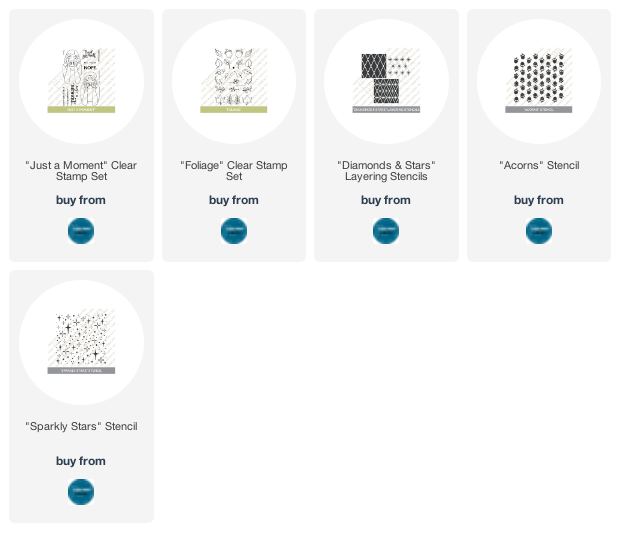
We have 5 brand products already in the TRS Shop; 2 stamp sets and 3 stencils.

For my card today I started off by stamping the sweet lady from the "Just a Moment" stamp set and colored her up with some Copic Markers.  I also copper heat embossed the sentiment from the same stamp set for my card's greeting.

Next I created the background by stamping all the amazing leaves and berry sprigs from the "Foliage" stamp set using brown ink.  Then I colored them in using brown Copic Markers.

Then I laid the criss cross part of the "Diamonds & Stars Layering Stencil" over top of the leaves and lightly inked over the stencil.

I just love the end result!

I hope you'll join us and leave a comment to WIN some of our brand new release!  Happy hopping!

~ Ally ~

Three Room Studio ~ Rainbow Happiness

Happy Saturday!  Today I'm participating in the Saturday Challenge over at Three Room Studio!

This week's challenge is to use a RAINBOW on your project!  Fun right!!

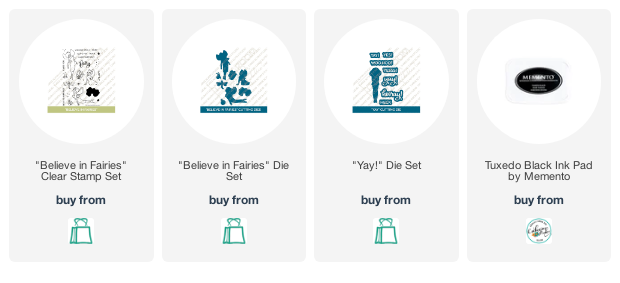
I started by ink blending my rainbow background with my Distress Oxide inks.  I stamped all the little tiny stars from the "Believe in Fairies" stamp set.

Next I stamped the fairy and her little critter friends from the "Believe in Fairies" stamp set and colored them up with Copic Markers.


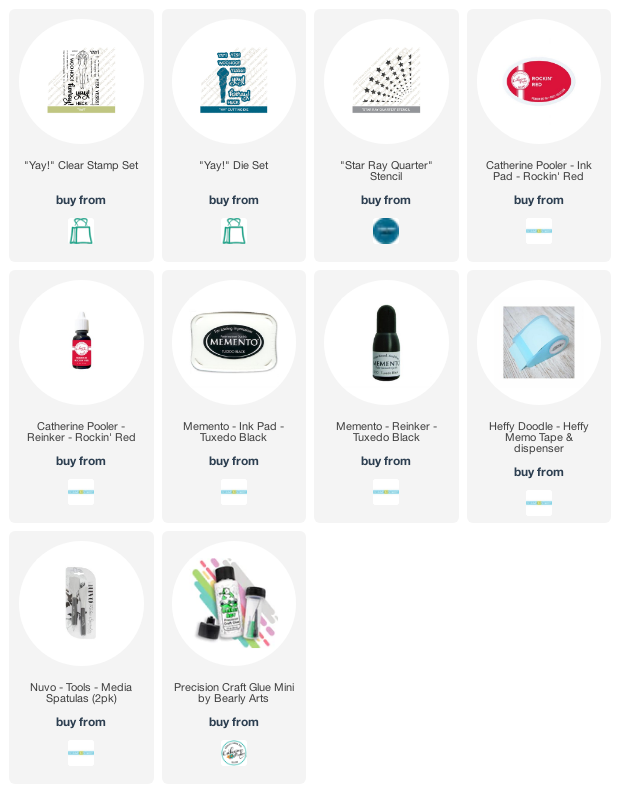
I finished my card by die cutting out the "Yay!" from the "Yay! Die" set in black cardstock.

Make sure to check out my fellow designers creations...

Candice Richardson - https://candoodle.ca/ or @candoodlecreations 

Come on out and play along with us!  Check out all the deets on the Three Room Studio blog.

Happy rainbow creating!

~ Ally ~

Three Room Studio ~ My Froggy Friend!

Happy Saturday everyone!  It's time for another fun Saturday Challenge for Three Room Studio.

This week our challenge is to create a card featuring YOUR favourite stamp set!

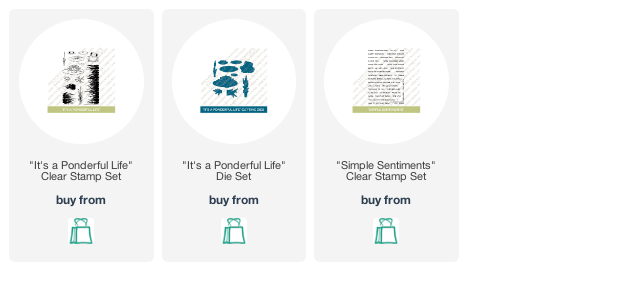
I'm your hostess this week and my absolute favourite stamp is the adorable "It's a Ponderful Life" stamp set!  This stamp set features 2 little frogs, loads of lily plants and cool Bullrush and reed images... all for building a pond scene.  It also has a coordinating die!

I began by stamping all the images in my background. I masked off the skyline and used my Copic Airbrush system to spray on my sunset and then spray on my water's base colour.

I coloured all my images using Copic Markers including my little froggy friend. I die cut him using the coordinating die.  I popped up my little croaker on a mini action wobbler so he wiggles!!  (giggle!)


To finish off my card I added a simple sentiment from the fun "Simple Sentiments" stamp set!

Now, check out my fellow Design Team members...

Pocono Pam - https://www.poconopam.blogspot.com/ OR @pocono.pam

Now it's your turn!!  Check out all the details on the Three Room Studio Blog.
 
Good luck!
 
~ Ally ~

Three Room Studio ~ Doggie Spa Day!

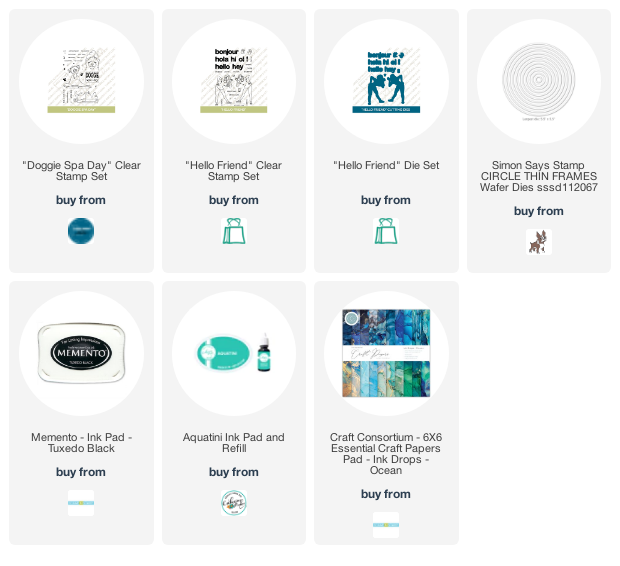
Happy Friday! TodayI'm over on the Three Room Studio blog today where we're featuring the adorable "Doggie Spa Day" stamp set!  This adorable stamp set has 3 of the cutest pooches all ready for a s-paw day!

For my card I started by die cutting a piece of this cool "water vibe" patterned paper and stamped all kinds of little bubbles from the stamp set all over the background using Versamark ink.  Then I applied copper embossing powder and heat set it.


Next I cut some white cardstock circles and stamped my two little doggies from the "Doggie Spa Day" stamp set in Memento Tuxedo Black ink.  I then colored in all the furry parts of my puppies using Copic Markers.

I took both doggie stamps and stamped them on some cool green patterned paper pieces and fussy cut the blanket and the head wrap out of this green paper.  I glued all the pieces right over top of the white stamped puppies.... otherwise known as paper piecing!

There was a little bit more white space in the back ground of the puppy wrapped in the towel so I stamped the word "Friend" from the "Hello Friend" stamp set in the background.

COPICS:  W7, W4, W2, W00

For the greeting, I also stamped the word "Hello" from the "Hello Friend" stamp set and then die cut it with it's coordinating die, "Hello Friend Die"set. 

Here's a close up of the other cute puppy with the towel wrapped around her head.  I even added some Glaze pen to their noses and open eyes for that added bit of shine!

Thanks for stopping by today and checking out this fun stamp set!  It's sure to bring you lots of smiles today!

Happy creating!

~ Ally ~

Canada Day Video Hop ~ Comment to WIN!

Happy Canada Day to all my fellow Canadians!

Today I'm celebrating with a bunch of crafty ladies over on YouTube.  We're celebrating some amazing Canadian companies, retailers and publications!  check out all of these amazing sponsors...

Come and check out Emily's YouTube channel and that's where the party begins!!

I'm sharing a fun Canada inspired project featuring Three Room Studio!  Here's a little sneaky peek at my card for you...

Come and check it out and maybe WIN one of prizes!  Prizes available to WIN are totalled over $1000!

PLUS... take advantage of some of the AMAZING discounts some of  our sponsors have to offer...

Ecstasy Crafts

15% off with code: ECCAN15

Valid from July 1st to July 15th


The Old Island Stamp Company

15% off with code: Canada15

Valid on July 1st only


Penguin Palace

20% off with code: TAKE20CDAY

Valid from June 30th 11pm to July 15th 11pm PST


Pigment Craft Co

20% off with code: CELEBRATECANADA

Valid July 1st 9:00am EST to July 5th 11:59pm EST on all products, excluding ink and new release items. Cannot be combined with other offers or used towards shipping.


Scrap ’n Stamp

20% off with code: CDV20

Code can only be used once. Valid on in-stock items only. Not valid with any other sale, promotion or coupon. Expires July 29, 2022


Scrapbook & Cards Today

10% off with code: SCTCanada10

This exclusive offer is valid through July 15, 2022 on any online classes, stamps and dies sets and kits on the Scrapbook & Cards Today website. This offer is not valid on events, subscriptions or the SCT Sampler.


Scrapbook Cottage

15% off with code: CanadaDayHop

Valid June 25th to July 9th


Your Next Stamp

25% off with code: YNS25CD (excluding mystery boxes)

Valid July 1st to 15th

Happy hopping and shopping!

~ Ally ~


Products used today:

Three Room Studio ~ Splish! Splash!

Happy Saturday everyone! It's time for another fun Saturday Challenge for Three Room Studio.

This week our challenge is to create a card with a WATER THEME.  Now that theme can be interpreted in a few different ways!  You can create a water theme like a pond or aquarium but you could also use water to create a background like using watercolors.  The idea is to have fun!

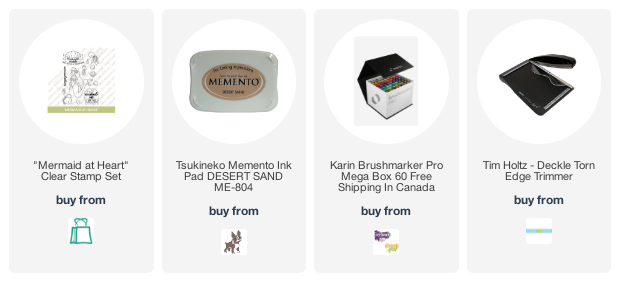
I started by creating a watery background for my card by using a variety of Karin markers first.  Then I stamped out my images from the "Mermaid at Heart" stamp set with Desert Sand Memento ink.  I coloured all my images using Copic Markers and then I fussy cut them all out.

Here's a little close up of all my little sea creatures...

Now, make sure to check out my fellow Design Team members...


Now it's your turn!!  Check out all the details on the post below.
 
Good luck!
 
~ Ally ~

Chibitronics ~ Light Up Ocean Baby Card

Today I'm sharing a very simple tutorial on how I created this fun light up Oceanic scene card with you over on the Chibitronics blog!


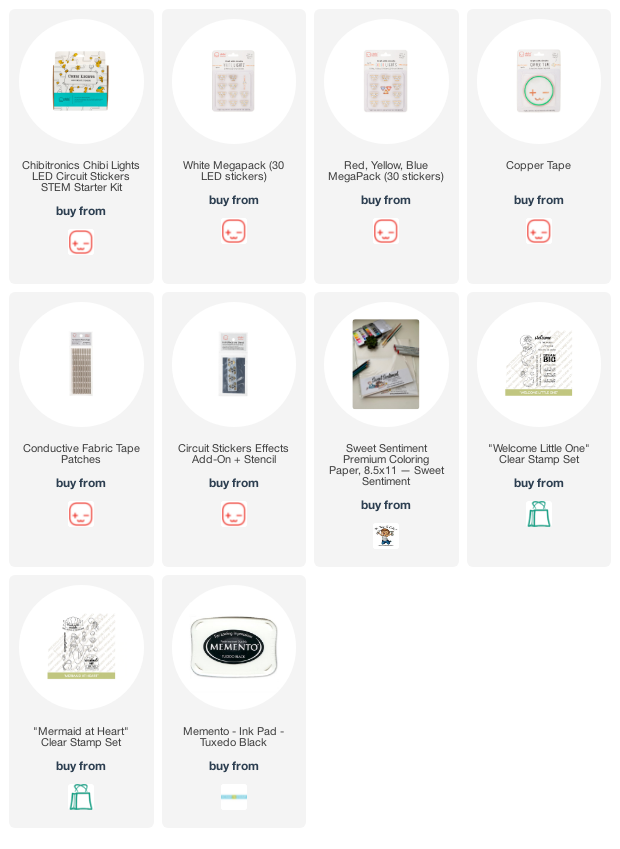
To begin my card, I first stamped out my images from the Three Room Studio stamp sets, "Welcome Little One" and "Mermaid at Heart" onto some cardstock. I stamped one piece to color and one piece to use as my circuit backer. I then colored up my mermaid and her fishy friends with Copic Markers. 

Next I stamped the same mermaid image onto black cardstock and cut her out. I adhered her to the back of the Copic colored front panel of my card. This doesn't allow any light to pass through the mermaid and allows the lights to glow around her instead.


Next I took my stencil tool from the “Craft Effects and Stencil” set and mapped out my entire circuit on my lighted stamped background. Red pen equals negative side of the circuit and the green pen is the positive side of the circuit. The image stamped on the back makes it a lot easier to know exactly where I want to place my LED Light Stickers.


I laid down our “Copper Tape” along my negative lines of the circuit on the card base. I tend to start this side of the circuit first because I can lay all my Copper Tape down under the area where my batteries will go.


I finished placing all of the copper tape along the positive lines of the circuit and built my little battery house. I used some 5mm (1/8") thick foam tape to create the battery housing and added it to the card panel parameter to allow for the thickness of my batteries. Next I adhered down my White LED Light Stickers, my Blue LED Light Stickers and my single Yellow LED Light Sticker. To ensure that some of my lights were secure and some of my joints were connected properly, I secured them our "Conductive Fabric Tape Patches".

Now that circuit is complete and the batteries are installed. Let's light it up...

Voila! By pressing the sentiment, this pressed the copper tape in the battery housing to complete the circuit and light up our amazing little LED Light Stickers! So super fun!

To check out the card in action, you can view this very short video:


Thanks for joining me today! I hope this inspires you to get out your Chibitronics products and go light something up!

~ Ally ~


This post contains affiliate links...

 
09 10