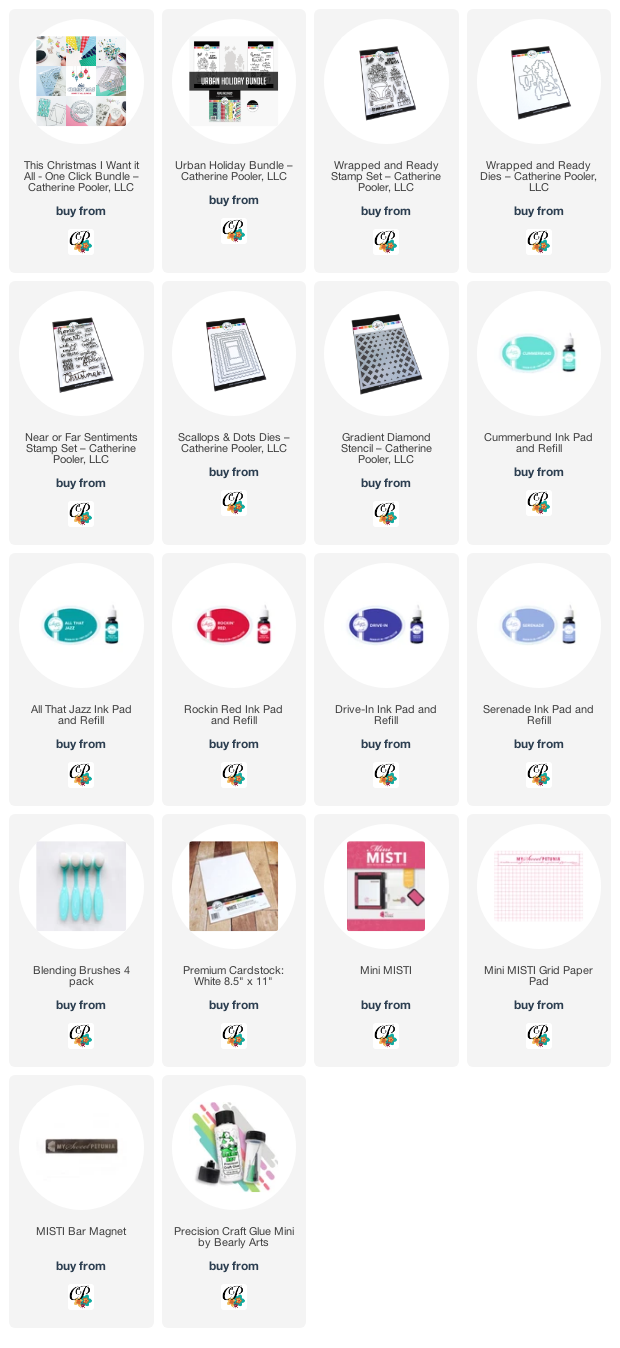
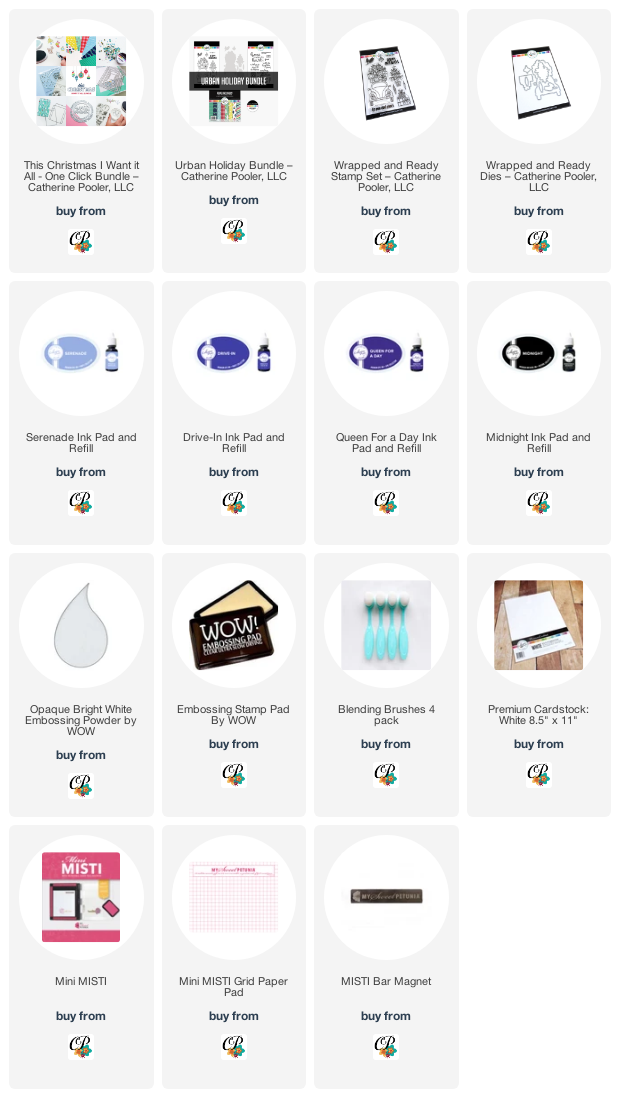
Happy Tuesday! Today the CP Shop will go live for
StampNation members at 9am EST for you to purchase all of the fun new "
This Christmas" release!
For my first card, I went teal as my color. I masked off the edges of my slimline card front and then I created 1/2" stripes of masking paper. I blended Cummerbund across the stripes and then some All That Jazz on the top and bottom of each stripe. I then stamped out the tree and stack of presents using a combination of the Cummerbund & All That Jazz inks.
I stamped the sentiment from the "Near Or Far" Stamp set using All That Jazz and I heat embossed the "Christmas" word with gold embossing powder. A splatter of bronze paint puts a metallic fun touch!
Next I decided I wanted a purple and red card. I started by stamping all three of the adorable ornaments from the "Wrapped and Ready" stamp set all over my card front using Serenade ink. Then I inked up our new "Gradient Diamond Stencil" with Serenade and Drive In inks.
Then I stamped the cute little gift adored Bug on a die cut using the "Scallop and Dots Dies", then adding a Rockin' Red scalloped die cut edge. The red sentiment is from the "Near or Far" stamp set.
I love working with non-traditional colors on holiday cards. I hope these two cards inspire you to do the same.
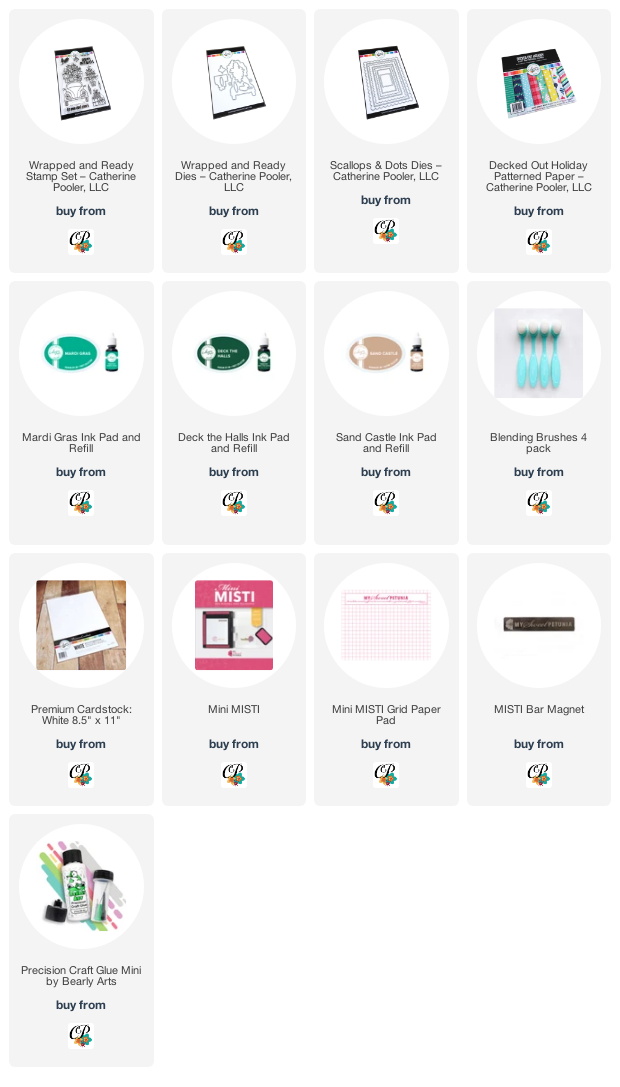
All of the new products featured today will go live in the CP Shop on
Wednesday September 15th. If you are a StampNation member, you can shop TODAY at 9:00am ET.
I hope you'll join me tomorrow for more Christmas card fun!
~ Ally ~
Striped Merry Christmas
stamps: Near or Far, Wrapped and Ready
cardstock: Premium White Cardstock
inks: Cummerbund, All That Jazz, Versamark
embossing powder: Stampendous! (Detailed Gold)
dies: Wrapped and Ready Dies
paint: FineTec (Bronze)
Purple & Red Afar
stamps: Near or Far, Wrapped and Ready
cardstock: Premium White Cardstock
inks: Rockin' Red, Serenade, Drive In
stencil: Gradient Diamond Stencil
dies: Scallops & Dots Dies
This post contains affiliate links for ease of shopping provided at no extra cost to you. All the new products will appear in the shop on Wednesday Sept. 15th.