Catherine Pooler ~ Milky Way Cute Campers


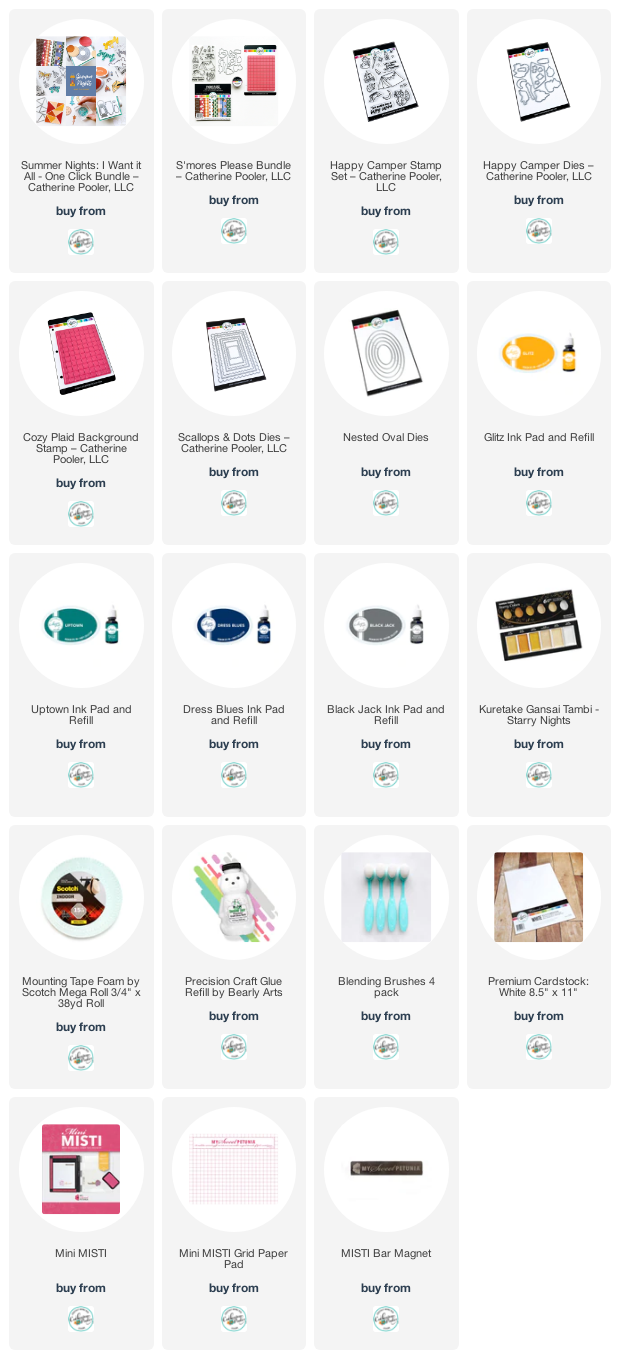
Happy Saturday all!  Today I'm sharing another fun card created with the new "Summer Nights" release from Catherine Pooler Designs.

To begin, I stamped all whole bunch of the images from the "Happy Campers" stamp set including those cute, adorable little raccoons in Black Jack ink!  Then I used their coordinating dies to cut masks out of my light adhesive masking paper.  I stuck all the masks over top of my stamped images.

Then I took my Uptown and Dress Blues and inked up the entire cardstock panel.  I wanted a "Milky Way" effect so I kept the blue color to one central swoop in the front. Before removing my masks, I splattered some Gansai Tambi "Starry Nights" paints across the whole panel... then I removed the masks.

I stamped a small piece of white cardstock using the new "Cozy Plaid Background" stamp using Glitz ink and trimmed it down into a strip.  I backed with some die cut pieces from the "Scallops & Dots Dies" to add the scalloped details.  I also stamped out a greeting and die cut it using the "Nested Ovals Dies" and popped everything on the card front.

Thanks for stopping to take a peek!


 Join us for our LIVE events....


See you on Monday for another fun "Summer Nights" creation!

~ Ally ~


All new CP products go LIVE in the CP Shop on Wed. May 4th.  Shop on Tuesday if you're a StampNation member.  This post contains affiliate links at no extra cost to you...

Catherine Pooler ~ Light Up Lantern Tutorial

Today is Day Two of the new Catherine Pooler Designs "Summer Nights" May 2022 release!  We have so many incredible products being released May 4th!

Today Catherine has shown the first two bundles going on sale next week.  Introducing the...

and the....

All of the products in these bundles are offered "a la carte" in the CP Shop but if you buy the bundle, you get a small discount!

Today I'm going to create with the absolutely adorable "Camping Lantern Die" from the Night In Flight Bundle.

I used Green Tea and Eucalyptus inks and stamped the long line of trees from the "Evergreen Woods" stamp set.  I then used Spruce ink to stamp the darker details on my trees.  I masked off the trees using the "Evergreen Woods Dies" and I ink blended on some Tranquil ink for the sky using my CP Blender Brushes.  I stamped the greeting from the "Bright Days" stamp set in Rouge ink on the card front.

Then I took my white cardstock and die cut out 2 of the "Camping Lantern Die" shapes.  I inked one up with Rouge ink and added some clear acetate across the globe of the lantern. I also cut a flame die and inked it up Limoncello and Tiara inks.  I took the same die and die cut it from the card front panel so I could sink my yellow die cut into my card front.  I traced the flame whole onto my card base.

To install the Pear Blossom Press EZ Lights, it's easier to watch my YouTube video.  CLICK the image below to take you to that video!

All of the new products being introduced today and tomorrow will be LIVE in the CP Shop on Wednesday May 4th at 9am ET.  If you are a StampNation member, you get to shop a day early: on May 3rd at 12 noon ET.  Definitely one of the fun perks of being a StampNation member!

Another fun perk coming for StampNation members...  During the month of May, you will be able to purchase this sweet little brand new 3x4 "Pineapple Thanks" stamp set for FREE as a member of SN!  Codes for this FREE purchase will be sent out soon!  There will also be a little matching die set to coordinate with this stamp set if you wish to purchase that too! 


  Join us for our LIVE events....

See you tomorrow for another fun interactive card!

~ Ally ~


All new CP products go LIVE in the CP Shop on Wed. May 4th.  Shop on Tuesday if you're a StampNation member.  This post contains affiliate links at no extra cost to you...

Catherine Pooler ~ Nighttime Campers

Happy Thursday everyone!  Today is Day 1 of the Catherine Pooler "Summer Nights" Collection reveal!

Today we've revealed two bundles.  Meet the two first "Summer Nights" bundles:


Today I'm sharing a card featuring just the "S'Mores Please Bundle".

I began by cutting down that beautiful Apricot & Ginger plaid papers from the "S'Mores Please" 6x6 Paper Pack.  Then I die cut the "Chalkboard Frames Dies" and swiped some Sandcastle ink. This reveals that beautiful die wood grain texture.  Then I created a nighttime scene using the adorable raccoons and camping gear from the adorable "Happy Campers" stamp set using Icing on the Cake ink.  I also paper pieced that cute little tent using the "S'More Please" papers.

Before I adhered the scene and frame down, I created a pocket underneath for a tag to pull out.  I die cut the large tag shape from the "Notecard Frame and Tag Die" set.  I used some Ginger, Spruce and Cove Blue ink to stamp the greeting on the pull-out tag.  Such a cite interactive part of the card!


Thanks for stopping by today!  I'll be back tomorrow with more "Summer Nights" collection creations!


Join us for our LIVE events....


Hope you have an amazing day!

~ Ally ~


All new CP products go LIVE in the CP Shop on Wed. May 4th.  Shop on Tuesday if you're a StampNation member.  This post contains affiliate links at no extra cost to you...

You're Awesome & You Gnome It!

Happy Wednesday!  Today it's my week to share a brand new sketch over at Splitcoaststampers!

Meet SC903...

For my card example I pulled out the adorable "Victoria - Awesome & Gnome It" stamp set and outline die from Stamp Anniething.  Isn't she adorable?!?!  I stamped her out with Memento Tuxedo Black ink and colored her with Copic Markers.

I used some fun checker board papers from MFT called "Tiny Check Bright 6x6" paper and some fun confetti & green patterned papers from the Honey Bee Stamps paper pack called "Birthday Bash".

I added a fun "Intricate Lace Border" die cut and colored with Copic Markers to match my coloring image.

Come and join us this week and use this fun sketch!  Happy creating!

~ Ally ~


Join Me Tomorrow & Play Along!

Join me tomorrow at 5pm ET (3pm MT) for a Craft Hour on the Scrap 'N Stamp Facebook page where you can craft along!

I'm going to be playing a game called "1-2-3" and you can play along! 

To prepare, please gather:

  • any 3 stamp sets
  • any 3 patterned paper packs
  • 3 forms of embellishments (buttons, gems, sequins, etc.)
  • any inks for stamping


 I hope you'll come and play along!!!  See you tomorrow!

~ Ally ~

With the Glow of the Fireflies

Happy Friday everyone!  Today is my Stamp Anniething DT Day!

I decided to print out a copy of the adorable little "Princess Troll" digital image and create a scene for her.

I think  my favorite part of creating cards is to create scenes for my characters.  It just makes me happy to create a little story and then make it come to life on the paper.

So for today's card, I wanted to place my little Princess Troll out in the woods in front of little woodland house at night.  The stars are just beginning to appear in the sky and she is being surrounding by a whole bunch of glowing fireflies.


And I think I made that happen!  I hand drew the little little tree house, colored everything in using Copic Markers and stamped the birthday greeting from the "Bumblebee and Roses" stamp set to finish off my card.

It was a labor of love and I love how the whole card came out.  This little beauty is already in the mail and off to someone special!

I hope you all have an amazing weekend!  Go and create!

~ Ally ~

Put Me in Stitches


Happy Hump Day everyone!  I've had a nice relaxing week so for!  My son is off on Easter break right now so we've spent some time together... he's 16 so that a pretty big deal! 

Yesterday I thought I'd pull out some of the new Ex Libris Collection from Catherine Pooler Designs.

I grabbed the amazing new "Cross Your X's Cover Plate Die" and cut it from white cardstock and then applied Juniper Mist ink directly to the die cut.  This allowed the ink to remain on the top of the paper and the stitched line detail to show with no ink... so cool!

Then I created a card front panel using Minted, Aquatini and Mardi Gras ink splattered all over to place underneath.

I stamped the single little bird from the "Lovebirds" stamp set and die cut it out with it's coordinating die in Juniper Mist ink too. I colored the little fella with Copic Markers.   I also stamped the leafy spring from the "Notable & Quotable Sentiments" stamp set in Mardi Gras ink and colored in using the leaf from the "Fresh Picked Floral" stamp set and the same 3 green inks I used on my background.

Lastly I stamped the beautiful quote from Charles Dickens from the "Notable & Quotable Sentiment" stamp set and cut it to look like a little banner tag.

I adhered everything to my card front and added a few "Inspiration Point Sequins" to finish it all off!

I hope you're all having a creative week!  Now go get inky!

~ Ally ~


This post contains affiliate links.  By pressing any of the linked images below and making a purchase in the CP Shop, I make a small commission.  This allows me to bring more content and new products.  This is my one and only income.

Oh Daisy!

Today I'm sharing a fun and simple card using the beautiful digital stamp set, "Oopsie Daisy" by Sweet Sentiment.

I printed one of the three little daisies in the glass at 30% so I could create a no-line look of coloring.

I colored in my little bloom using Polychromos Pencils.


For my background, I used a variety of Catherine Pooler inks and then cut the edges of my front panel using my Deckle Trimmer.


Thanks for checking out my card creation today!

I hope you have a great week!

~ Ally ~


Feathered Friends

Happy Hump Day everyone!

I've been having a lot of fun lately just playing with some more layered backgrounds.  I began this background by first embossing all the different sises of feathers from the "Boho Feathers" stamp set all over my cardstock using Halo Embossing Powder.  Then I took my four inks, Wintergreen, Seafoam, Daydream and Uptown, and adding them randomly across the feather embossed images.

Then I took the stunning "Filigree Background" stamp and inked it up in Uptown ink in a splotchy manner and pressed over the entire feather back drop.  I love that the Filigree images are not crisp and even.

Next I die cut 2 branches from the "Sprig Die" and inked up one with Uptown ink.  I stamped and die cut out the 2 little lovey birds from the "Lovebirds" stamp set.  I colored them up with Copic Markers to match the backdrop colors.  A few "Wintergreen Sequins" were added and the card is complete.

I left my card without a sentiment today since I think it's cute without but I certainly could add one if I needed at a later date. 

Have a great day!  I hope you're able to get get crafty today!

~ Ally ~


This post contains affiliate links.  By pressing any of the linked images below and making a purchase in the CP Shop, I make a small commission.  This allows me to bring more content and new products.  This is my one and only income.

Beep Beep Jeep!

Happy Tuesday all! I hope the week has started off well for you!  Today is my day to share a fun Sweet Sentiment creation with you!

Today I'm featuring the adorable "Beep Beep Jeep" stamp set!  Beep beep... coming through! Look out for the fun adventures and great memories that are going to come with the projects that will be made with this new fun stamp.

Now I'm sure you're not really aware but I'm a Jeep Girl!  I have a standard White 4 door '16 Wrangler Sport named White Widow.  As you can tell from the picture, my hubby has a matching Jeep parked right behind her.  He has an '08 Wrangler X with a V8 in it named Rumbler.


So this stamp set is near and dear to my heart!  The year after we bought my Jeep they brought out the '17 purple color... and I was smitten... hence my purple Jeep today!

I used both the White Sweet Sentiment Coloring Paper and the Kraft on my card today.  The Jeep was colored with Copic Markers and popped up along with the fun wood grain border I created.  The names on the sign post are actual Jeep trails that we used to live near when we lived closer to Calgary.

So some day, I'd like to repaint my Jeep purple!


To follow in the purple theme, I'd like to show you a new product at Sweet Sentiment.  It's called a Copic Color Blend Stand and you use it to store up to 5 Copic Markers in it as you color.  So if you know you're going to use a certain series (or color blend) of Copics to color in your skin color of an image, you can place those markers in a row on your desk. This way you'll know what order to use them in.  Plus, you can store your caps in the lower 2 holders so they don't roll away.   So super cool right?!?!  PLUS, these are made in 4 different colors; white, black, purple and pink.

Have a great day!  Now go get creative!

~ Ally ~


Copic Creativity with Ally LIVE Tonight!


Join me TONIGHT at 7pm ET (5pm MT) for a LIVE Copic Creativity with Ally Class over on the Stamp Anniething Facebook page.

I'll be coloring up the sweet little digital image, "Aurora".

Hope to see you there!

~ Ally ~

I Love You Man!

Happy Saturday!  Today I'm sharing a fun tag instead of a card!

I used the new Sweet Sentiment "I Love You, Friend" digital stamp set.  This man and woman in this digital stamp set are making the signs for “Friend” and “I Love You” respectively. Use these for all kinds of cards, not just ASL related. 

I chose to create a fun layered tag and go wild with texture!


If you look at the row of hands, they are signing "I Love You" using the alphabetic sign language.  So cool!


Don't forget to check out all the fun digital stamps from Sweet Sentiment, CLICK HERE.

Have a great remainder of your weekend!

~ Ally ~

Three Room Studio ~ Splish! Splash!

Happy Saturday everyone! It's time for another fun Saturday Challenge for Three Room Studio.

This week our challenge is to create a card with a WATER THEME.  Now that theme can be interpreted in a few different ways!  You can create a water theme like a pond or aquarium but you could also use water to create a background like using watercolors.  The idea is to have fun!

I started by creating a watery background for my card by using a variety of Karin markers first.  Then I stamped out my images from the "Mermaid at Heart" stamp set with Desert Sand Memento ink.  I coloured all my images using Copic Markers and then I fussy cut them all out.

Here's a little close up of all my little sea creatures...

Now, make sure to check out my fellow Design Team members...


Now it's your turn!!  Check out all the details on the post below.
 
Good luck!
 
~ Ally ~
 
09 10