Showing posts with label Catherine Pooler Designs. Show all posts

Sweet November Stamps ~ Late Halloween Celebrations!

Happy Wednesday!  Today's card features one of the Halloween clear stamp sets released this past Fall from  Sweet November Stamps.

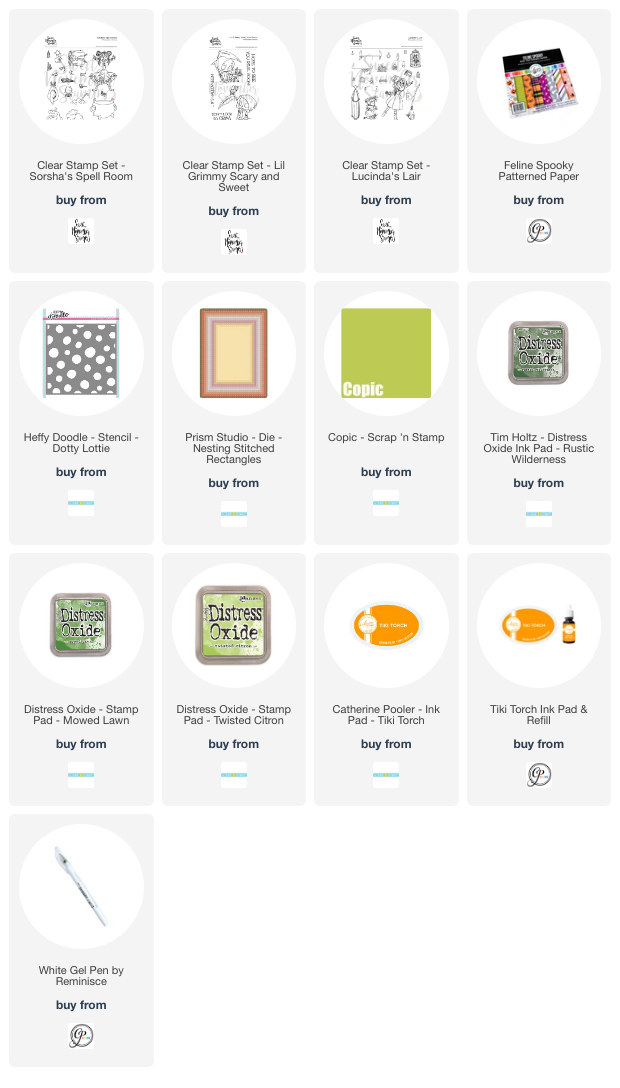
This little cutie is from the "Sorcha's Spell Room" clear stamp set.

I made this simple card for one of my October PenPals for Sweet November and she just received this week - it had to travel across the pond from Canada to Europe.

I started my stamping my image and masking her off.  Then I blended some green Distress Oxide inks from lightest to darkest across my die cut panel.  I used Twisted Citron, Mowed Lawn and then Rustic Wilderness.

Then I took my Heffy Doodle "Dotty Lotty" stencil and some white and green inks and stencilled a variety of different sized circles across the background.

I then peeled off my mask and colored in my little witch with Copic Markers.  I added some sparkle detailing using a White Gel Pen.


To finish off the card, I added some fun Halloween plaid paper from the "Feline Spooky" patterned paper pack from Catherine Pooler Designs.  So super cute!

I stamped a greeting from the "Lil Grimmy - Scary & Sweet" clear stamp set in black ink and I also stamped another witchy image from the "Lucinda's Lair" clear stamp set with CP Tiki Torch ink n my envelope.

We are having a "Christmas/Holiday" themed December PenPal if you are interested in joining us.  You only have to create ONE card but it must contain a Sweet November Stamps image on it.  It's a simple as that!  Click here to find out more about the PenPal swap.

Have a great weekend all!

~ Ally ~
Catherine Pooler Designs ~ NEW Metallic Inks! **PRIZE**

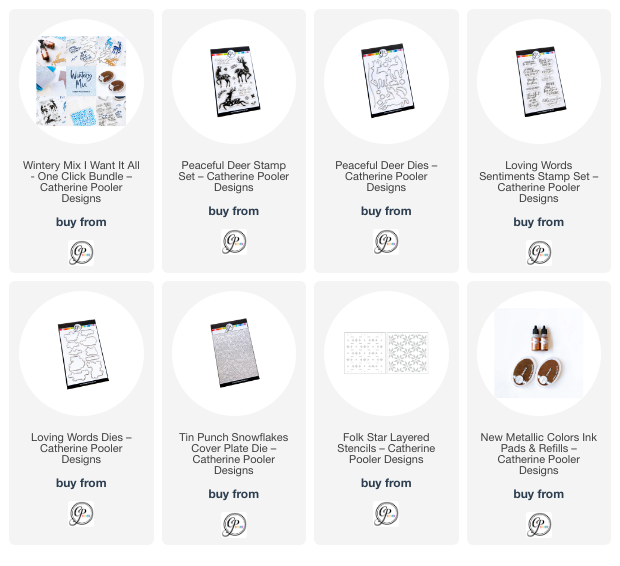
Happy Friday all!  It's time for the newest Catherine Pooler Designs mini release... Wintery Mix!  The collection is already in the shop NOW!

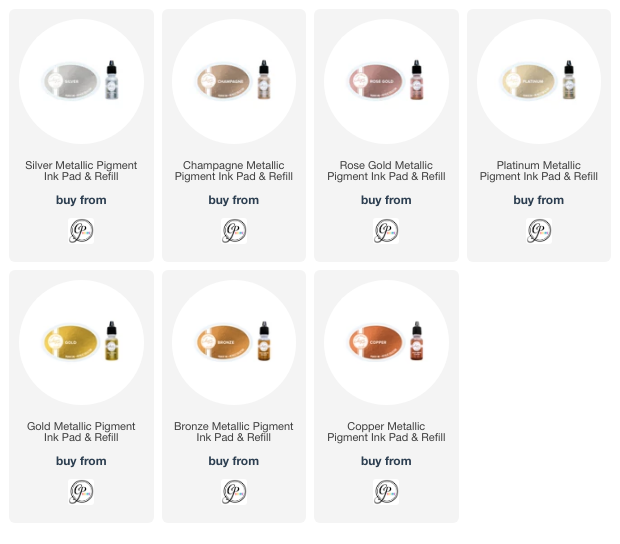
The star of this new release is two brand new METALLIC INKS: Bronze & Copper.

I took the deer and sentiment from the new "Peaceful Deer" stamp and die set and paired them with some beautiful Bronze metallic ink.

To add some color, I stamped the trees from the beautiful "Evergreen Woods" stamp set and then die cut them with the "Evergreen Woods Dies".  What a beautiful scene!

Make sure you check out the Instagram Hop today!  Visit each designer's page, follow them and a leave a comment to WIN a $100 gift certificate to the Catherine Pooler Designs shop!

CLICK THE IMAGE BELOW TO TAKE YOU TO THE HOP!

Have fun hopping and good luck in the prize draw!

~ Ally ~

Catherine Pooler ~ Oh Deer! It's Almost Here!


Ally here!  It's time for a few sneak peeks of the newest Catherine Pooler Designs mini release... Wintery Mix!

The collection heads into the shop tomorrow at 9am EST but if you are a StampNation member, you can shop NOW!

Today I'm going to share two cards that I have made featuring the new "Peaceful Deer" stamp set and coordinating die set.

I started off the card below by masking off the top of my white card base.  Then I blended some It's a Girl and Do-si-do inks towards the middle of the card.  I took the Do-si-do ink and stamped on all the tiny snowflakes included in the stamp set, along with the cute berry sprig and dot image.

Next I used some of our new metallic Copper ink and stamped out 2 of the deer silhouettes.   Each silhouette has beautiful greenery details on it.  I die cut out each deer.  Since the metallic inks stay wet a little longer than our normal inks, I threw on some Fine Detailed Clear Embossing Powder and heat set the metallic stamped images.

I added a sentiment from the same "Peaceful Deer" stamp set in Do-si-do ink and adhered the deer on foam to the card base.


The new metallic inks are so fun to work with!

Now... on to my second card...

This card of course, features the same products except I decided to feature some new metallic Bronze ink.

I stamped all 3 of the deer silhouette images from the "Peaceful Deer" stamp set, set them with Clear Embossing Powder and then die cut them out.  I also stamped a bunch of the 3 snowflake images with the Bronze ink and die cut them out too!


Next I die cut 3 flowers from the stamp set using Rouge ink and glued them on the necks of each deer.

I pulled out some gorgeous Mardi Gras and Uptown inks and started created my background. I began at the top and masked off a slanted line.  Then I blended my 2 ink colors from light to dark towards the masked off line.  Once complete, I removed the mask and lowered it down the card panel to the next slanted line.  I continued on down the panel.


Once the panel was done, I splattered on some water to activate the inks and also splattered on some white acrylic paint for some snow.

I die cut a long tag from the "Tickets and Tape Dies" set and stamped a sentiment and adhered it on.

Voila!  A fun, bold holiday card!

Stay tuned tomorrow for another card creation featuring the Wintery Mix collection and HOP where you can WIN!!  See you tomorrow!

~ Ally ~

Catherine Pooler ~ Wintery Mix Release is Coming!

Exciting news from Catherine Pooler Designs this week!  Two new shimmery shades are joining the Metallic Ink family this week on November 1st along with our Wintery Mix Mini Collection! These fresh colors are perfect for holiday crafting and will bring even more versatility and sparkle to your projects. Be sure to check them out and add them to your collection!


The Metallic Pigment Inks are designed to work seamlessly with stamps and dies, allowing you to add shimmer without the extra steps of traditional embossing powders or foiling. Whether you're designing cards for special occasions or adding extra flair to your scrapbooks, these inks are a must-have for bringing a touch of luxury to your handmade projects.

I highly recommend that you purchase an ink refill when you purchase your metallic ink pads as these pads use a lot more ink and need re-inking more often then your average ink pad.

Check out all of our metallic ink pads  listed below!  We have 7 fabulous colors!

More sneak peeks to come!  PLUS StampNation members get early ordering TOMORROW at 12 noon!

See you tomorrow!

~ Ally ~

Catherine Pooler ~ Have a Magical Christmas

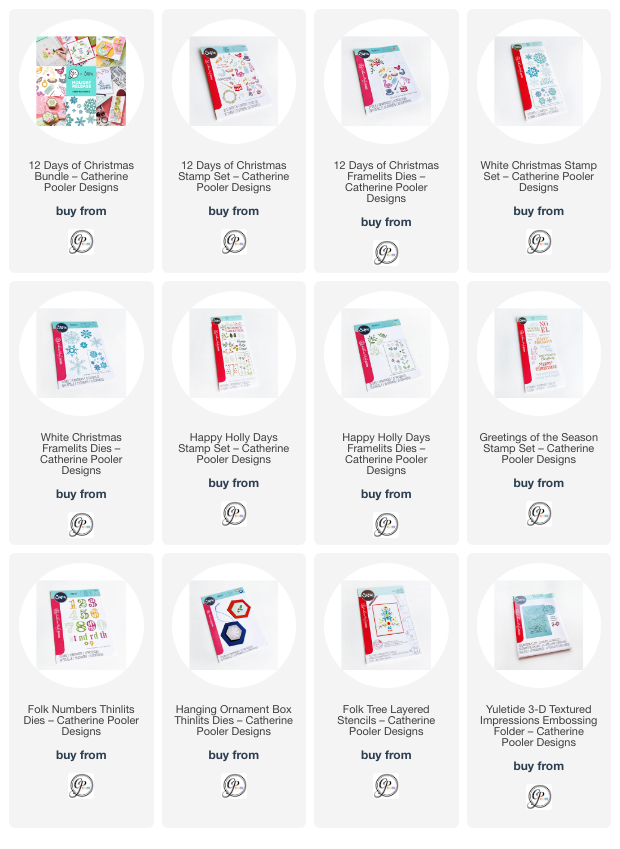
Come and check out the new Sizzix and Catherine Pooler Designs collaboration, the "12 Days of Christmas"! 

Today I'm featuring the cool "White Christmas" stamp set.

I began by gathering some purple CP inks; Glam, Flirty Fuschia and Pixie Dust.

I stamped a series of the snowflakes using these 3 inks but to allow the ink to be softer and blend from one color to another, I used a Blending Brush to apply the ink to my stamps.

Before putting my inks away, I flicked some ink across the snowflakes.

To create the greeting cluster, I first die cut the little stitched tag from the "Scalloped Tag Duo Dies" and inked it up with some sparkly Gold ink.

I adhered a little cluster of gold thread under the tag and adhered it to the card front.

Then I die cut 2 short white tickets from the "Tickets and Tape Dies".  I ink blending one and stamped a greeting from the "Greetings of the Season" stamp set in Grape Crush ink.

I just love the touch of gold over the 3 tones of purple snowflakes!

Make sure to check out the full 12 Days of Christmas Collection for all the cool fun!

Have a great week!

~ Ally ~

Chibitronics ~ Happy 8th Birthday!

Happy Wednesday!   Today I'm sharing my latest Chibitronics creation that I've made this week.

This is a special card today as it's for my nephew's 8th birthday next month.

I start creating my card by stamping, coloring and fussy cutting out the sweet little car from the Magengo  Designs "From Me to You" stamp set.  The background is a cover plate by Catherine Pooler called "Starry Night" as well as the sentiment is from the CP "Best Birthday Yet Sentiments".

The headlights were cut out and backed with vellum and along with the starry background. 

I used the starry die cut out to make a template for my circuit.  This will allow me to position my light stickers accurately on my circuit building surface.  I used the new stencil to locate the position.  I also located the position of my Battery Holder/Switch.

Next I mapped out the pathways of the negative (blue lines) and positive (red lines) of my circuit using pen.

Notice how my negative and positive lines cross.  We will solve this problem very easily.

Next I laid down the Conductive Fabric Tape for the negative side of my circuit.  I began on the bottom side of the self adhesive Battery Holder.

Next I added a piece of paper for a bridge over top of the piece of negative side of the circuit where my tape was going to cross over it.  Then I laid down the positive side of the circuit tape.  I began on the inside of the lid of the Battery Holder.  This allows the lid of the Battery Holder to be pressed to close the circuit and allow the lights to come on - otherwise known as the switch. 

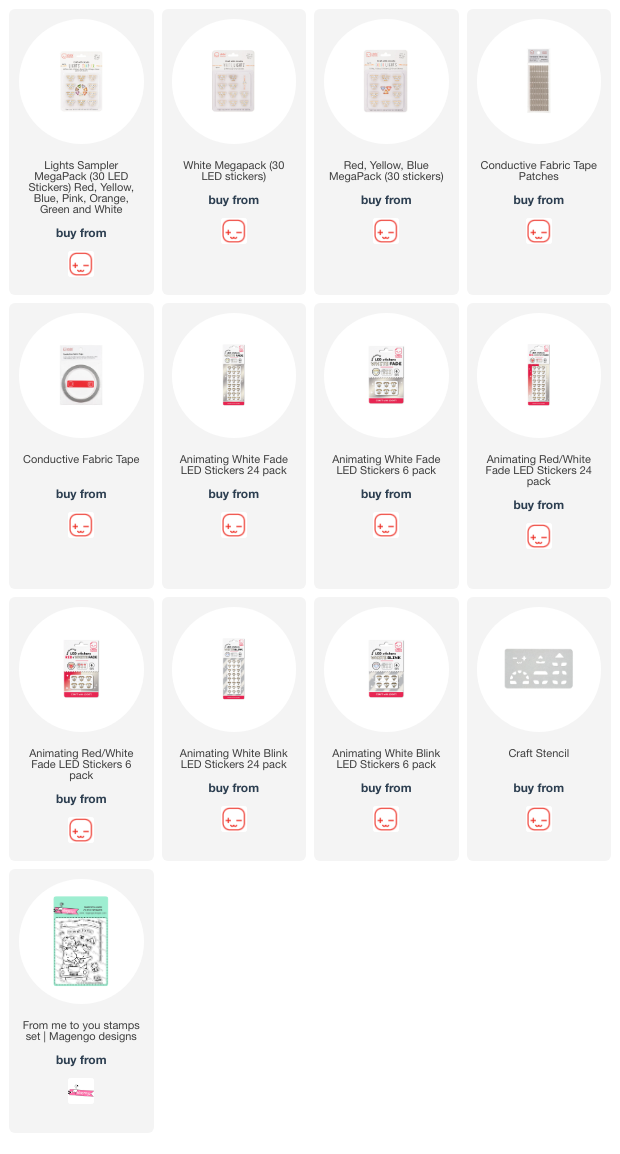
Lastly, to complete the circuit, I added my LED Light Stickers.  I used 2 Yellow LED, 2 White LED, 2 Animating White Blink LED Light Stickers and 2 Animating White Fade LED Light Stickers.

Two White LEDs underneath the moon to reveal the secret number 8.  Two Yellow LEDs in 2 of the little stars in the background.  Two Animating White Fade LED Light Stickers for the other 2 little stars and two Animating White Blink LED Light Stickers for the car's headlights.

I adhered the double sided self-adhering "C" shaped foam inside the Battery Holder and popped in a 3V Coin Battery.

To allow for the bulkiness of the Battery Holder, I applied 3D foam around the perimeter of the circuit panel so the card front closes on the same level as the whole card.

Let's give it test... and REMEMBER... the white light BLINKS on and off for the headlights and the white little stars in the sky FADE in and out!

To find out exactly how I built today's circuit step by step, check out my VIDEO TUTORIAL over on the Chibitronic's YouTube channel... HERE!!

Thanks for stopping by!  I hope you have a wonderful week!

~ Ally ~

Sizzix & Catherine Pooler ~ In The First Day of Christmas

Come and check out the new Sizzix and Catherine Pooler Designs collaboration, the "12 Days of Christmas"! 

Today I'm featuring the cool "12 Days of Christmas" stamp set and the cute "Folk Numbers Thinlit Dies".

I started by die cutting some stamp shapes from our "Notecard Postage Dies".  To cut a more square postage shape, I re-positioned die cut rectangular stamp shape to create a more square stamp.

Next I decided on 4 days and I stamped the images from those particular days onto the stamp die cuts.  I used Buttercream, Apricot, Hot Tub, Seafoam and Peppermint Scrub inks.

Then I die cut the corresponding numbers from the "Folk Number Thinlit Dies" to go with each stamped image.  I inked them up using the same 5 inks, ensuring I had different colored inks between the matching number and the image.

This card has so much dimension and texture!  And so much fun to make!

Have a great week!

~ Ally ~

Sizzix & Catherine Pooler ~ Plaid Holly

Happy Sunday all!  I have another fun and exciting post today!  Catherine Pooler Designs and Sizzix have paired up again for another fun collection and this one's a Christmas or holiday themed!  It's called the "12 Days of Christmas" and it's gorgeous!

Today I get to share a project from this new collection.  This collection goes LIVE in the Catherine Pooler Designs shop TODAY.  

This collection features some traditional seasonal greenery, a cool 3D embossing folder, a cool multi-layered stencil, a box style decoration, some ornate snowflakes and some 12 Days of Christmas themed goodies too!  It's a whole winter wonderland!

Let's get to it!

Today's card features the holly from the "Happy Holly Days" stamp & die set.  I used some Skylight and Spruce inks to created variegated leaves, Icing on the Cake stems and some Samba berries. I loaded them on to the tag from the "Notecard Frame & Tag Die" set.  I added s beautiful ornate snowflake from the new "White Christmas" stamp & die set.


I stamped the word "Holly" from the "Happy Holly Days" stamp set in Icing on the cake and cut it with my "Circles" dies. 

I added everything to a light kraft cardstock die cut scalloped rectangle from the "Scallops & Dots Dies".  I had splattered all the layers with a bit of white acrylic paint for some texture.

To finish it all off, I added the entire cluster of elements on to card base covered in plaid paper from the "Patterns & Pine" patterned paper pack.

This collection of goodies was so fun to create with!

Sizzix has been sharing the 12 Days of Sizzix inspiration with everyone!  Come and check out Instagram for more fun holiday inspired projects.  Just search #12DaysofSizzix .  CLICK HERE.

Happy Holiday project making!

~ Ally ~

Catherine Pooler ~ Poinsettia Duo

Happy Monday everyone!  We have a brand new Catherine Pooler Designs holiday collection and it's called Holiday Magic.  It is now available for purchase in the shop.

Today I'm sharing projects featuring products from the "Greenery of the Season Bundle"... again!

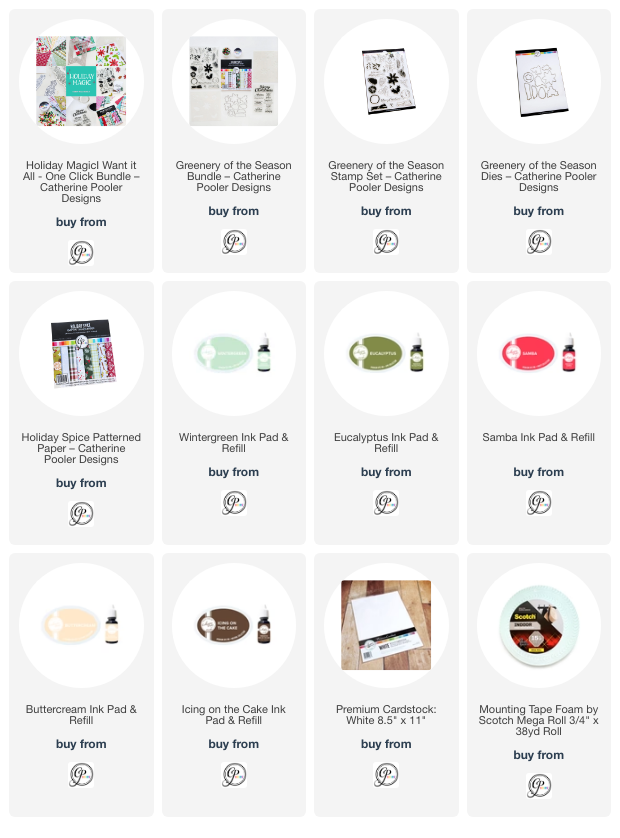
For today's card, I stamped all of the elements out with "Greenery of the Season" in Icing on the Cake ink.

I used Samba for the berries and poinsettias, some Buttercream & Copics for the cinnamon sticks and pine cone and Wintergreen and Eucalyptus for the greenery.

Before I adding my elements, I used the "Greenery of the Season Stencil" to add some mistletoe sprigs to the card base.  I used Wintergreen and a hint of Eucalyptus inks for that.

I die cut all of the elements using the coordinating dies, the "Greenery of the Season Dies" and adhered them to the background.


To finish off the card, I stamped the greeting from the same stamp set on a strip of cardstock with Samba ink and added a tiny strip of patterned paper from the "Holiday Spice" patterned papers.

To add a touch of sparkle, I added some dots of gold paint in around the cluster of greenery.

So pretty and super quick to make!  Have a good one!

~ Ally ~

Catherine Pooler Designs ~ Orange Slice Trio

Happy Monday everyone!  We have a brand new Catherine Pooler Designs holiday collection and it's called Holiday Magic.  It is now available for purchase in the shop.

Today I'm sharing projects featuring products from the "Greenery of the Season Bundle"... again!

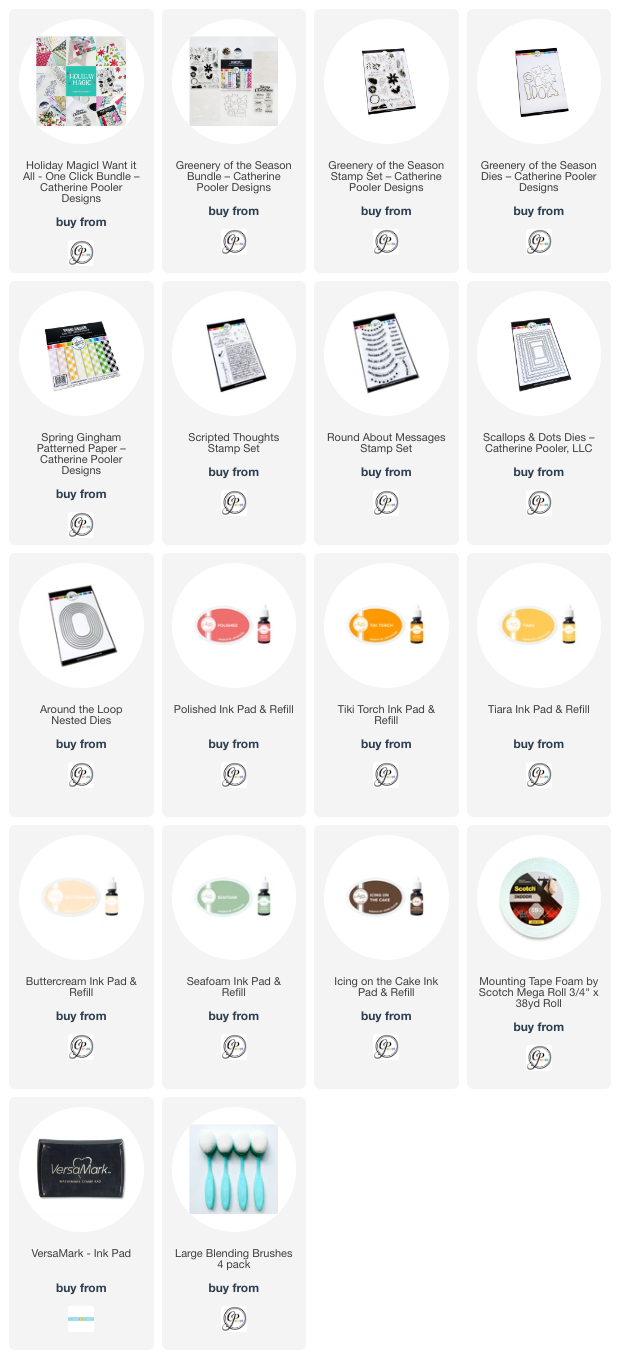
For today's card, I started by stamping the oranges, cinnamon sticks and boughs from the "Greenery of the Season" stamp set.  I used Orange Twist, Tiki Torch, Tiara, Polished, Icing on the Cake, Wintergreen, Buttercream and Seafoam inks.  I used some Polychromos Pencils to add a few more details to the slices and cinnamon bundle.


I cut out all of the elements using their coordinating dies, "Greenery of Season Dies".

Next I cut an oval shape from the "Spring Gingham" patterned paper using the "Around the Loop Nested Dies".

Then I cut a scalloped rectangle from the "Scallops & Dots Dies" from medium toned kraft cardstock.  Then I used stamped the script from the "Scripted Thoughts" stamp sets using Icing on the Cake ink.

I layered all of my elements with a touch of twine on my white card base.

Another fun Christmas card done!

Thanks for stopping by!

~ Ally ~
Catherine Pooler Designs ~ Watercolored Bloom

Happy Monday everyone!  We have a brand new Catherine Pooler Designs holiday collection coming to the shop TODAY!  This collection is called Holiday Magic and goes live in the shop at 9 am EST.

Today I'll be sharing projects featuring products from the "Greenery of the Season Bundle"... again!

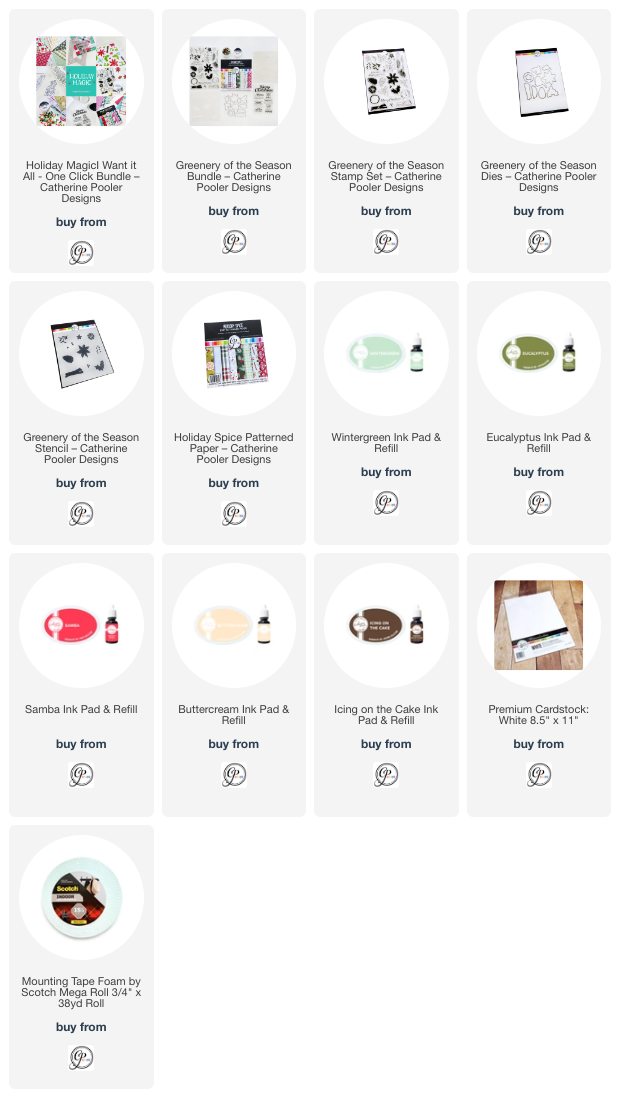
We're going to start with the stunning "Holiday Spice" patterned paper pack. I pulled this amazing and festive piece of plaid from the pack of amazing patterns to use.  Each pack of CP patterned papers, listed the corresponding ink colors included in that pack of paper - so brilliant for matching ink colors to your projects!

I started by die cutting a piece of white cardstock with the "Petal Connection Cover Plate Die" and applying it to the card base.

Next I cut a wide strip of the plaid paper and using my sewing machine to sew 2 wonky lines across the top and bottom of the patterned paper.  Next I added a bit of water to the sewn edges of the paper and distressed them a bit.  I adhered this paper over the die cut card base.

Next I took out some watercolor paper and stamped my greenery elements from the "Greenery of the Season" stamp set in Icing on the Cake ink.  I then watercolored each element using more CP inks: Wintergreen, Eucalyptus, Samba, and Buttercream.

For the pine boughs, I stamped them in Wintergreen ink and then brushed their needles with water to soften the image.

I just how these pieces of greenery came out - soft and painterly.

Make sure you join Catherine and Erika for all the live action!

You can check out these lovely ladies over on the Catherine Pooler Designs Facebook page or on their YouTube channel.

In honor of the anniversary of September 11th, this collection will go on sale TODAY - TUESDAY SEPTEMBER 10th instead of the normal Wednesday reveal.  The full Holiday Magic collection will go live in the CP Shop at 9am EST.

You're going to love all this holiday goodness!  More card creations coming tomorrow!

Happy shopping!

~ Ally ~ 
 
09 10