Showing posts with label stamping tutorial. Show all posts

Pawsome Stamps ~ Cute Candy Container

Hey gang!  I'm over on the Pawsome Stamps YouTube channel today sharing how I made this fun and super EASY Candy Container.

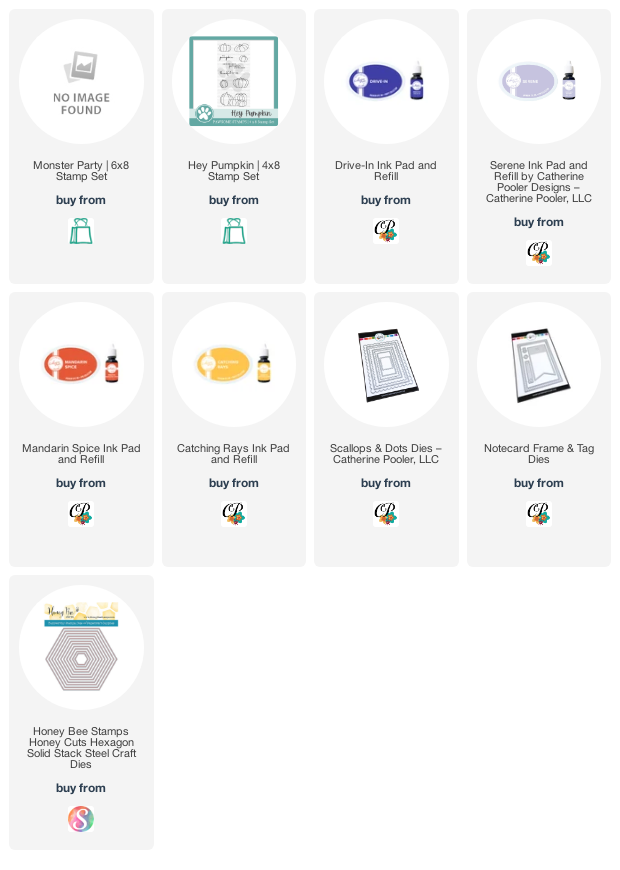
My little project today features the adorable "Monster Party" and "Hey Pumpkin" stamp sets...

I used some fun CP inks today to add to the whimsy; Catching Rays, Mandarin Spice, Serene and Drive-in!

Here's the back of my project...

PLUS, click the image below to go straight to the video tutorial:

I hope you enjoy my tutorial!

~ Ally ~


This post contains affiliate links...

Home Sweet Home Wreath


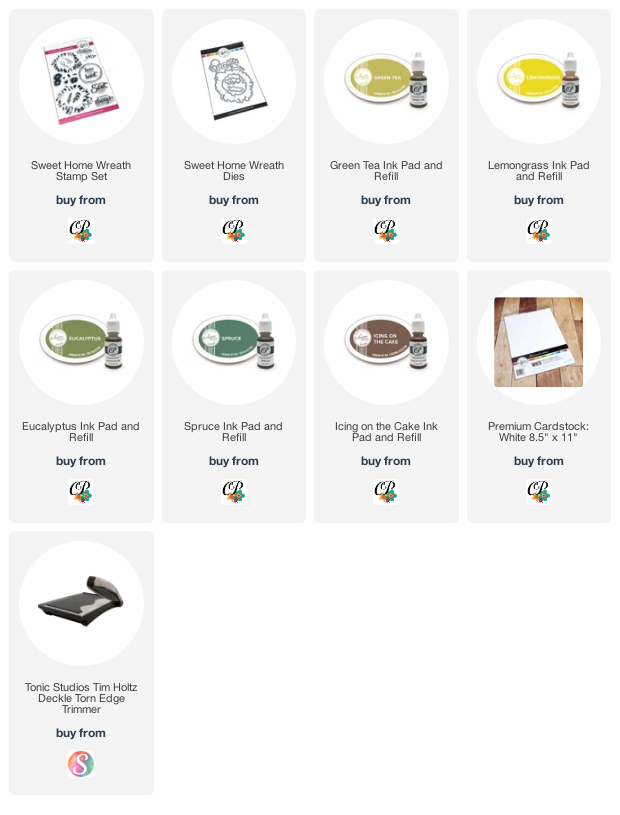
So the first episode of Ask Ally is in the books!  I chose to feature some fun Catherine Pooler Designs stamps that are currently ON SALE.

To check out how this card was made, you see the YouTube video HERE.

If you have any questions that you would like answered, please leave them in the comment section so I can address them on the next episode.

Happy creating!  See you again soon!

~ Ally ~


This post contains affiliate links. 

Ask Ally!


Howdy all!  Come and join me TODAY on my YouTube channel for a LIVE event!  I'm going to answer some of your card making and paper crafting questions!

If you'd like something specific addressed, please leave a comment below.

See you at 9:00am MST (11:00am EST) on my YouTube channel, CLICK HERE!

~ Ally ~

Fun Weekend Recap for Kraftin' Kimmie!

Happy Saturday all! 

This weekend, some of the Krafty Girls from Kraftin' Kimmie Stamps have got some LIVE classes going on at our Kraftin' Kimmie Stamps Krafty Friends Facebook page.  All the classes this weekend are using our June release stamps, stencils, inks and dots!

Today at 5:00pm EST, I have my first of the 2 classes I am doing LIVE.  It entails a really simple card showing you how to use the Krafty Scenery 3 Stencil and how to make a sandy beach scene.  Plus we colour up the sweet beachy gal with some Copics from the "What's the Scoop?" stamp set.


Plus my second class on Sunday is how to make an easel card.  I'm featuring the "Underwater Fun" stamp set and the Krafty Scenery 3 stencil again.


All the LIVE classes this weekend will be saved to the KKS Facebook page so you can go back and watch them at anytime.

I hope you'll join me this week for at least one of my classes!

Happy Saturday and Happy 4th of July to my American friends!

~ Ally ~

Christmas Card Series 2019: Day 6 ~ Festive Floral Cards

Howdy and welcome to Day 6 of the Christmas Card Series for 2018!

Today we’re going to be featuring another stamp set not really designed for holiday cards but we’re going to make it fit the theme.

Grab a cup of something warm and join me at my desk…

https://www.youtube.com/watch?v=XxKJJWmy0TY&t=24s

And here’s a quick look at those two cards again…


Thanks for joining me for another fun and festive card!  I hope you’re having  a great weekend!

~ Ally ~


stamps: Concord & 9th (Bloom Fill-in Stamp Set), Power Poppy (Flowering Santa, Spice It Up)
inks: Catherine Pooler Designs (Juniper Mist, Rockin’ Red, Peppermint Scrub, Green Tea, Spruce), Versamark
embossing powders: Stampendous! (Red Tinsel, Detail Copper)
patterned papers: My Favorite Things (Dots & stripes Bright 6x6)
cardstock: Recollections (110# White)

A Teal-rific Day!

Happy Hump Day everyone!  I hope your week is going well.  Today I spent most of the day creating and editing video footage.

I needed to create a fun card for a friend using the colour teal for a challenge over at StampNation.  It needs to be in the mail ASAP so I thought I’d have some fun with my *new to me* My Favorite Things “You’re Super” stamp set.

I first created my water coloured back ground using Arches 140# watercolour cardstock and Catherine Pooler Designs inks; Aquatini, All That Jazz and Skylight.   I then used some Aquatini ink and the MFT “Radiating Rays” stencil to the watercolour back ground.

I stamped the cityscape with Black Jack ink and then stamped my little super girl and “boom” sentiment on white cardstock and coloured them using Copic Markers.

Plus… Catherine Pooler is retiring the Foundations Box. It contains 3 stamp sets, Spot On, Amazing Floral and For everything plus a grid etched acrylic block, 5 CP ink pads (Midnight, Rockin’ Red, Fiesta Blue, Orange Twist & Grass Skirt) and last but not least, 30 pre-scored A2 sized card based made with her amazing Premium White Cardstock.  I made a card and video showcasing this amazing box… 


I had a ball creating today!  Thanks for stopping by!

~ Ally ~


supplies:
stamps: My Favorite Things (You’re Super)
inks: Memento (Tuxedo Black), Distress Oxide (Fossilized Amber – splatters), Copic Markers, Catherine Pooler Designs (Aquatini, All That Jazz, Skylight, Black Jack)
cardstock: Arches Watercolor Paper (140#), Recollections (110# White)
stencil:  My Favorite Things (Radiating Rays)
sequins: Pretty Pink Posh (Mini Gold Stars)

Inspire Me Monday: Turnaround Technique

Hey everyone!  Happy Monday!

Today I’m over on the Power Poppy blog for my newest episode of Inspire Me Monday.  This month I’m doing a tutorial take on the turnabout stamps that have entered the stamping industry this year.

I have brand new video tutorial on how I created 2 of the 4 panels for the NINE Christmas cards I created.  Yup… I made 9 cards!  To check out all nine cards and the video on how I created their back grounds, you can click right HERE!

To add to my examples, I thought I’d share another card example here on my blog but this time use a birthday theme for my turnaround technique.

I first selected a variety of fun birthday themed stamps and sentiments and also some other mini stamps to create my patterned back ground.
Power Poppy Stamps Used: Party Time (Cake Slice, Sentiments), Tree of Life (Dove), Tea in the Garden (Strawberry, Lemon Tea Cup, Small Flowers), Sassy Succulents (mini succulent), Potted Primroses (potted primrose, single primrose), Short Stacks (Happy Birthday to You sentiment)

And onto the two cards I created using this fun panel…

My first card, I cut a complete rectangular panel from the back ground.   I created a tone on tone soft teal coloured back ground piece by stamping the “Happy Birthday” greeting in a similar ink on the cardstock.  Then I created a simple tag sentiment for the front.

And look at all the added sparkle…
Copics: V000, V01, R11, R12, R14, YR30, YG00, YG03, Y11, Y02, BG000, B000, G00

And for my final card, I only have a limited long strip of the back ground paper so I decided to add it to the front of my card on a slight angle and then add the long sentiment hanging over top.  Easy, peasy!

Thanks for joining me today!  I hope my video tutorial over on the Power Poppy Blog inspires you to create a festive back ground or two this holiday season!

Thanks for stopping in!

~ Ally ~


Stamps: Power Poppy (Short Stacks, Potted Primroses, Sassy Succulents, Tea in the Garden, Tree of Life, Party Time)
Cardstock: Recollections (#110 White), Stampin’ Up! (Pool Party)

Patterned Papers: My Favorite Things (Proper Pinstripes Pastels 6x6), Your Next Stamp (Hugs and Kisses 6x6)
Dies: My Favorite Things (Stitched Rectangles STAX 2), SugarPea Designs (Stitched Flags)
Inks: Memento (Tuxedo Black), Catherine Pooler Designs (Mint To Be), Copic Markers, Sakura (White Gel Pen), Spectrum Noir (Sparkle Pen)
Sequins: CraftMedley (Princess)

Tools: Copic Air Brush
Other: Stickles (Star Dust)

Power Poppy: Inspire Me Monday!

Hey gang!  Happy Monday!

I’m over on the Power Poppy Blog today sharing a fun Inspire Me Monday video tutorial on how to use some stamps, dies and ink!

Come and check it out RIGHT HERE.  You won’t be disappointed!

Here’s a little sneak peek for ya!

Thanks for stopping in!

~ Ally ~

Power Poppy: Stamping with Water Tutorial

Howdy all!  I hope you all had a great weekend.

I’m over on the Power Poppy Blog this week sharing a fun day of experimenting.  I had a ball trying out some stamping with water and using a variety of fun inks.
http://powerpoppy.blogspot.ca/2017/04/inspire-me-monday-stamping-with-water.html

Come and join me on the blog right here!

~ Ally ~

Farm-tastic Masking 101!

Come and join me on the Scrapbook & Cards Today blog today for a fun video tutorial all about using different kinds of masking products.

I’ll be showcasing some products you can find at your scrapbook store, from your hardware store and even some products from the dollar store!

Here’s a little sneak peek for you…
You can also connect directly to my video on YouTube right here.

Come and check out my tutorial!

~ Ally ~

Tropical Paradise Inspired


So I finished up Periscopeing just a few minutes ago and what I wanted was to create a card using the viewers to decide some of the steps.

First we started off with choosing from 4 color palettes and the decision was use the colors from this photo were to be used...

And step by step we built a card together using the majority of the 4 stamps sets and 3 die sets from the Stamp of Approval “Beautiful World” collection. Viewers got to decide the shape of my focal piece, what stamp set to use, what flowers they wanted me to use, the sentiment and the placement of the floral cluster with leaves.

It was a super fun process and great to get feedback plus a good way to share my process.

And the final card after the Scope...

I think it turned out amazing!

Make sure to catch my Periscope replay in the next day as they disappear after 24 hours!  Search: “Allison Cope”.

I'll be doing this again in the future because it was a blast!!!  Thanks to all those people who dropped in to check it out and help me with my card.

I also challenged viewers to be inspired by my card and to share their cards below! GO!!!!

EDITED TO ADD: You can check out the YouTube of my Periscope right here!

~ Ally ~

Supplies:
stamps & dies: Stamp of Approval (Beautiful World Collection)
ink:  Memento (Tuxedo Black), Simon Says Stamp (Spring Rain)
cardstock: Neenah (Solar White), Stampin’ Up! (Bermuda Bay)

Stamp of Approval: All that Glitters PLUS Win a Box!

Howdy all!  Happy Thursday!  I’ve been gettin’ my craft on today with make some super sparkly cards using the Stamp of Approval “Holiday Magic” collection.

Here’s how I began my cards today.  All the supplies with the exception of the circle and scalloped circle dies are found in the Stamp of Approval ~ Holiday Magic collection.


1.  I took a piece of thick white cardstock and covered it with strips of 1” Soowang Tape.  Then I die cut circles from the strip of sticky paper.

2.  Next I took the large loopy snowflake from the CAS-ual Friday Stamps dies and “cut” the top layer of the tape side of the circle.  Because the cardstock was a little thicker, the die didn’t cut right through the tape and paper which is what you want.

3.  Then I used my craft knife and carefully picked up the tape backing paper for just the snowflake shape.  Since I used multiple stripes of tape, I had some joints of backing paper to contend with but that’s okay!  It’s comes off pretty easily with the sharp end of my knife.
4.  I then poured a small amount of fine glitter over the die cut area and used my finger to push it down and into the open sticky spots of the die cut snowflake shape.


5.  Then I tapped off the excess glitter into the garbage and then took a used dryer sheet and wiped any remaining glitter from the top of the circle.


6.  Then I carefully removed all of the remaining backing paper on the entire circle.  I began applying my darkest glitter colour towards the center of the snowflake.

7.  I continued to add 2 more colours of lighter glitter, creating concentric circles of colour.  You do not need a lot of glitter to do this!

8.  I used my finger again, starting in the center of the snowflake and began pressing the glitter into the sticky adhesive.  I continued to press the glitter in circles until the surface felt smoother.  It will never be completely smooth.  I tapped off the excess glitter.
The pattern is subtle but pretty.  I think if you use higher contrasting colours, it would pop even more!!!


I did add a bit of hairspray to the top of each circle to help keep the glitter in place.  If you really want to keep everything in place you could add a layer of Glossy Accents over top to trap all the glitter pieces but you’d have to allow this to dry thoroughly.

I also experimented with a few other colour combinations as well.

Here’s a purple glitter one…

And my favourite one, a pink one in honour of Catherine’s favourite Christmas card colour!

And don't forget to decorate the backs of your cards...

And one last thing…
Do you want a chance to WIN the 
new January 2016 Stamp of Approval box 
BEFORE you can buy it?

Well… you have THREE chances.  Check out Catherine’s blog HERE for more details on how you can win this new box of goodies!!!

Thanks for stopping by today!

~ Ally ~

Supplies:
stamps:  Snowy Sayings (CAS-ual Fridays Stamps – SOA)
inks:  Teal – (Simon Says Stamp SSS: High Dive,Spring Rain, Mint Candy, Lake Shores), Purple (SSS: Wisteria, Memento: Elderberry, Lulu Lavender),  Pink (SSS: Hollyhock, Memento: Angel Pink, Grey Flannel)
paper:  Recollections 110lb White Cardstock, Vellum, Stampin’ Up! (Basic Grey, Bermuda Bay), Bazzill (purple)
dies:  CAS-ual Friday Stamps (Snowflakes – SOA), MFT (Stitched Circles), Spellbinders (Classic Scalloped Circles) 
glitter:  Martha Stewart

Having Fun with Stamps!


Today I’m sharing 3 fun techniques and a few tips having to do with playing with your stamps over on the Scrapbook & Cards Today blog.  For a direct link, click here.
 
I’m featuring the sweet summer inspired stamp set from their Crop & Create: Delivered Layout Kit.  You can purchase that stamp set and a few other exclusive stamp sets right HERE in the Scrapbook & Cards Today store.

Now, grab a coffee or a cold summery drink and join me in my scraproom…

Once again, here’s a quick peek at all those fun cards that we made using our three techniques today.

Wavin’ Hello

Sunshine


Sunglasses

Thanks for checking out my video today!  Happy creating everyone!

~ Ally ~

Supplies:

Wavin' Hello
stamps: Scrapbook & Cards Today, Lawn Fawn (Critters in the Sea)
cardstock:  Neenah Solar White Cardstock
patterned paper: My Favorite Things (Dots & Stripes Sorbet 6x6)
ink: Memento (Tuxedo Black, Cantaloupe, Tangelo, Love Letter), Copic Markers

die:  Lawn Fawn (Stitched Rectangles), My Favorite Things (Die-namics Smart Phone)
sequins: Pretty Pink Posh (4mm & 6mm Sparkling Clear)


Sunshine
stamps: Scrapbook & Cards Today
cardstock:  Neenah Solar White Cardstock, Stampin' Up! (Coastal Cabana), Recollections Black Cardstock, vellum
ink: Memento (Tuxedo Black), Copic Markers, Clear Wink of Stella

punches: We R Memory Keepers (Envelope Scoring Board)
sequins: Pretty Pink Posh (4mm Cornflower)


Sunglasses
stamps: Scrapbook & Cards Today
cardstock:  Neenah Solar White Cardstock, vellum
patterned paper: My Favorite Things (Dots & Stripes Sorbet 6x6)
ink: Memento (Tuxedo Black), Papertrey Ink (Aqua Mist, Hibiscus Burst, Winter Wisteria), Sakura Glaze Pen

die:  My Favorite Things (Stitched Basic Edges)

“Wild Cards: 21 Techniques with Favorite Supplies” Review

I was given an opportunity to check out a brand new class from Craftsy this week called “Wild Cards: 21 Techniques with Favorite Supplies” hosted by Catherine Pooler.

So here’s a review of the class for those of you who are interested.

First of all, if you are new Craftsy, it’s a pretty cool place for those people who like to craft.  It offers numerous on-line classes for not only paper crafters but for people that crochet, knit, quilt, sew and much, much more.  It offers a variety of beginner, intermediate and advanced style courses of many kinds. It’s a great place to learn a new skill or brush up on an old one!

Instruction:  I have to say, Catherine Pooler, is just one of those people who could put a smile on anyone’s face.  She is real and funny and a great teacher.  She is concise in her teacher skills but admits to her failures (as we all have experienced in paper crafting).  She was upbeat and positive and was willing to laugh along with herself.  A fine teacher for sure.

Lessons:  The on-line class, “Wild Cards: 21 Techniques with Favorite Supplies”, is split into 7 lessons.  Each lesson is further split into mini lessons and each step of the video is clearly split into its subsequent class techniques. There is a lot more than 21 techniques in this class!!!

Some of the lessons include how to:
  • heat emboss
  • use a stencil
  • use embossing paste
  • second generation stamp
  • and much, much more!
Some of the products that are highlighted include:
  • Versamark, dye, distress and pigment inks
  • die cutting tools & Stick It Paper
  • glossy accents & stencils
  • and a new product called Ferro Paste, plus many more!
The on-line forum allows you to watch the lessons as your own pace and stop and review videos at any point.  It even has a 30-second review feature when you may want create along with the video or are making notes.

Questions & Feedback:  If you have questions, there is a forum specific to each lesson to ask away and you can also review what other people have asked as well.  You can get feedback from not only the instructor but your classmates too!

You can also share your projects for a quick critique in the classes’ gallery. See how other have interpreted the lessons and see what kind of cool stamps and inks everyone else is created with. 

Cost:  This course is originally priced at $30.76 and even without the discount right now ($15.37) I think it is still worth the money to view all the fun techniques Catherine shares in her videos.  I'm sure most seasoned paper crafters would learn something new.

Conclusion:  Overall, this class is fantastic!  It’s well worth the money spent especially if you are relatively new to stamping and need a few ideas as what products to purchase first and how you might use them.  Catherine is a fun and up-beat instructor and makes each technique look easy and fun to try.  I give this class 5 thumbs up out of five!

If you’d like to purchase this Craftsy class, click here for a 50% discount! Woohoo!!!

“In The Mood” Blog Hop

 We are so excited to announce the release of our newest online card class, In the Mood! Through mood board inspiration, our designers teach class participants many different ways that you can draw inspiration from the world around you. To celebrate the release of In the Mood class we have created a special In the Mood blog hop. Each of our designers, and some of our friends, have created a card based on this mood board.

There are 10 FREE class registrations hidden along the hop, so make sure you leave comments along the way.
The more comments you make, the greater your chances are of winning!

You have until 11:59 pm EST on Sunday, June 21st to leave a comment to be entered to win! Winners will be announced at on Monday on Catherine's Blog.

Sign up by June 24th to get access to a BONUS mood board and two extra video tutorials.

*************************
Here is the mood board that we are being inspired by today!  Isn't it stunning!  It has all kinds of cool aspects to it; butterflies, delicate flowers, cute little tea cups, beautiful glassware, stunning sunsets and even cool jewelry!  

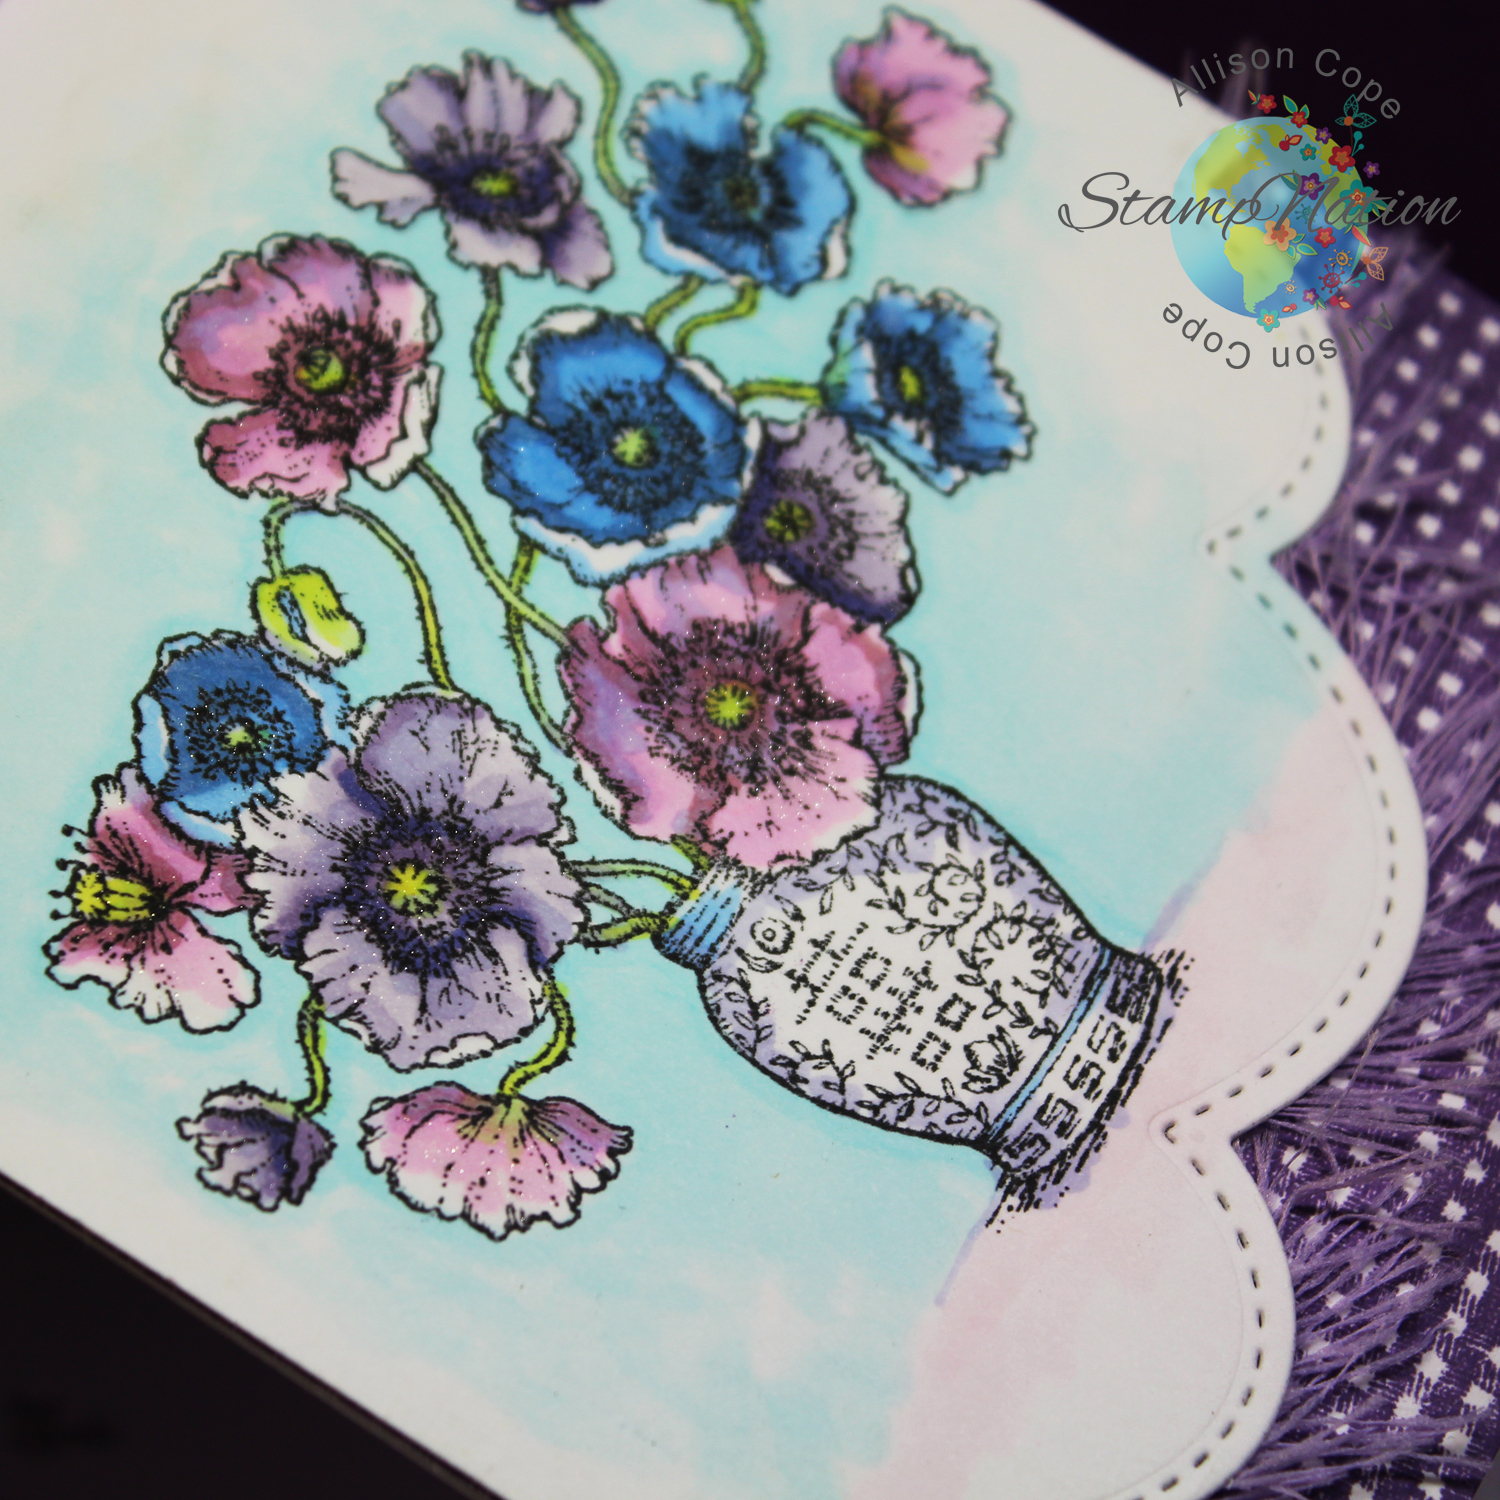
I was inspired by not only the color scheme of the mood board but also by the gorgeous flowers and the China tea cups.  I took the colors and colored my poppies with the fun hues of blues, purples and pinks.  My simple image includes some pottery just like the tea cups and it of course showcases those happy poppies inside!


Here's a little close up of my blooms...

It’s time to hop along now. Click on each of the designers below…

Catherine Pooler
Maureen Merritt
Kristie Goulet
Heather North
Stephanie Klauck
Isha Gupta
Laurel Beard
Allison Cope – you are here!

Thanks for stopping by today!  I hope you enjoyed hopping along with the entire team and I hope that you'll come and check out this class... it's amazing!

Make sure you head on back to  
Catherine's blog for further information!

~ Ally ~

Supplies:

stamps: Poppies (Power Poppy), Twinkle, Twinkle (SugarPea Designs), Background Basics: Gingham (Papertrey Ink)
paper: Recollections White Cardstock
ink: Tuxedo Black (Memento), Dusty Concord (Ranger Distress), Copic Markers, Clear Wink of Stella
accessories: Stitched Circles die (My Favorite Things), Stitched Borders 2 (Pretty Pink Posh), Michael's Trims.
 
09 10