Showing posts with label Anything But a Card. Show all posts

Scrap 'n Stamp ~ Bags, Tags & Gift Wrap Blog Hop

Welcome to the Scrap 'N Stamp Bags, Tags & Gift Wrap Blog Hop!

Today's hop is all about sharing some festive ideas for some bags, tags and gift wrap!

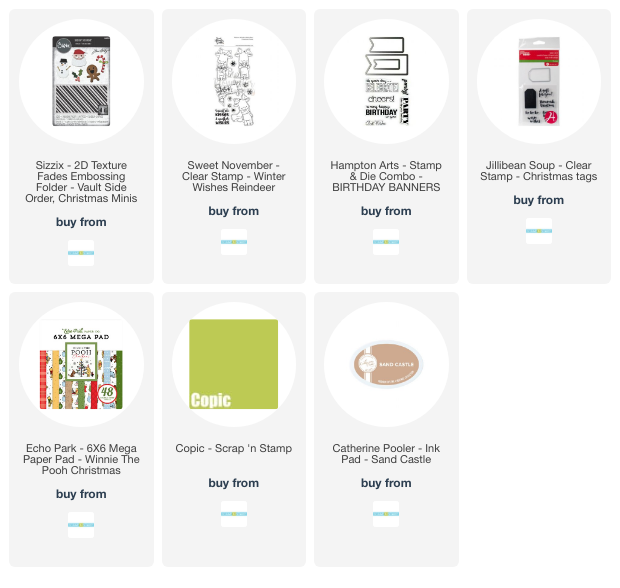
My card features the adorable "Christmas Minis" Thinlits from Sizzix!  This sweet little set contains 5 die cut shapes, snowman, Santa, gingerbread man, candy cane and holly berry plus it also includes a striped mini embossing folder (or a texture fade).

I started my little bag by stamping on some snowflakes from the Sweet November Stamps "Winter Reindeer Wishes" stamp set and the sentiments from the Jillibean Soup "Christmas Tags" stamp set in Catherine Pooler Sand Castle ink.

Next I cut a series of tags from the Hampton Arts "Birthday Banners" stamp & die set from a variety of fun patterned papers from the Echo Park "Winnie the Pooh Christmas" mega 6x6 pack of paper.

I grabbed all 5 die shapes from the Sizzix Thinlit & Texture Fade set called "Christmas Minis", and die cut them all out on white cardstock.

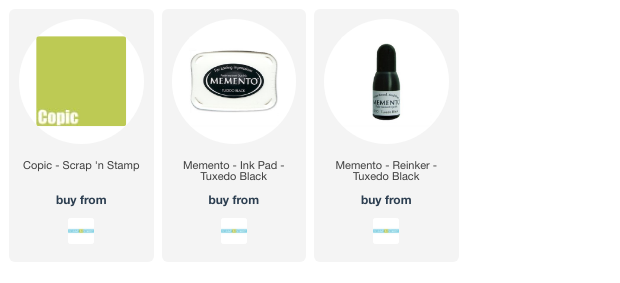
I used my Copic Markers to color in all of the cute layers of each die cut.  I matched the colors as well as I could to match the patterned papers.

After coloring all of the pieces, I adhered my little characters together and added them to a set of layered tags.  I used some of the candy canes and holly to decorate other tags.

Once the tags were complete, I adhered them to my kraft bag using some 3D foam to make them pop off the bag.

To finish off my bag, I added some White Gel Pen details to the characters eyes and icing details to the gingerbread men. I also took some white acrylic paint and splattered it across all the tags and the bag to mimic some snow.  The perfect touch!

Another cute bag to send something fun for Christmas!

NOW... check out all the other projects that our design team has to share!!

Here's our hop list...

Now for the GIVEAWAY...

 GIVEAWAY DETAILS!!


  1.  Hop along and LEAVE A COMMENT on each designers blog post.
  2.  One lucky WINNER will be chosen to receive a $50 gift certificate to the store.
  3.  Winners will posted on the Scrap 'N Stamp blog sometime in mid to late December.  Good luck!

Thanks for stopping by!  Happy hopping and GOOD LUCK!

~ Ally ~
Scrap 'N Stamp ~ Anything But a Card Inspirational Hop *PRIZE*

Welcome to the Scrap 'N Stamp Anything But a Card Blog Hop!

Today's hop is all about sharing some ideas for creating project outside the card world.

I'm sharing a sweet idea and super EASY to make!

Today I have made a simple little box decorated with the adorable "Pins and Needles" stamp set from Sweet November Stamps.  She'll be coming to the shop very, very soon!  I have colored her up using Copic Markers. To create her fabric body texture, I used some Copic Blender Solution and a textured cloth.

I made sure it had a little window so you can view whatever kind of treats or small gift you place in it.

Isn't she cute!?!?!

Make sure you check out all the amazing sales...  CLICK THE IMAGE BELOW!


JOIN ME LIVE on Sunday where I'm going to share how I made this very simple project.  I'll see you on Sunday at 8pm EST over on the Scrap 'N Stamp Facebook group. 


NOW... check out all the other projects that our design team has to share!!

Here's our hop list...


Now for the GIVEAWAY...

 GIVEAWAY DETAILS!!

  1.  Hop along and LEAVE A COMMENT on each designers blog post.
  2.  One lucky WINNER will be chosen to receive a $50 gift certificate to the store.
  3.  Winners will posted on the Scrap 'N Stamp blog sometime in mid to late October.  Good luck!

Thanks for stopping by!  Happy hopping and GOOD LUCK!

~ Ally ~ 


Scrap 'N Stamp ~ Sweet Treats


Join me tomorrow at 2pm ET over on the Scrap 'N Stamp Facebook page for a fun Technique Tuesday live video.  Click here to visit.

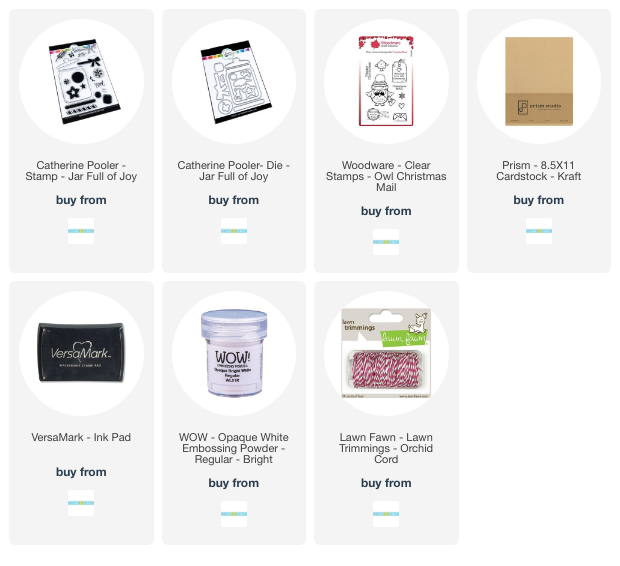
This week, I'll be playing with some cool Catherine Pooler Designs "Jar Full of Joy" stamps and dies plus a cute Woodware Craft Collection "Owl Christmas Mail" stamp set to create a sweet treat holder.

Hope to see you there! 

~ Ally ~

Scrap 'N Stamp ~ Holiday Gift Tags


Join me tomorrow afternoon at 2pm ET over on the Scrap 'N Stamp Facebook page for a fun Technique Tuesday live video.  Click here to visit.

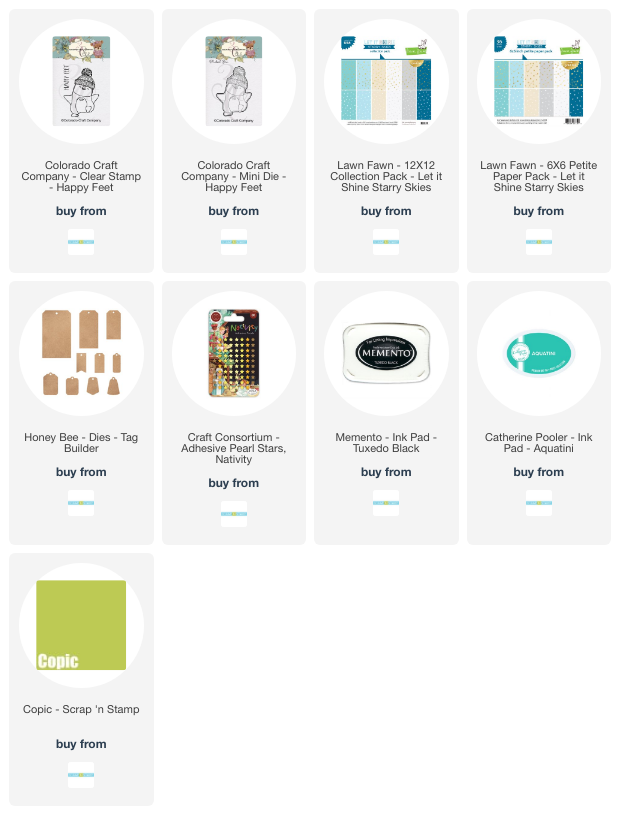
This week, I'll be playing with an adorable little penguin from the Colorado Crafts "Happy Feet" stamp set and some sparkly Lawn Fawn papers.

Hope to see you there! 

~ Ally ~

Scrap 'N Stamp ~ Gifts for Shouls


Join me TODAY at 2pm ET on the over on the Scrap'N Stamp Facebook page, where we're going to take some cool die cuts and decorate some treats and gifts.  It's Technique Tuesday on a Wednesday!

We're going to take the ghoulish Tim Holtz "Retro Halloween" Thinlet dies and have some fun.

Join me there!

~ Ally ~

Chibitronics ~ Fading Reindeer Nose with Craft Effect Stickers


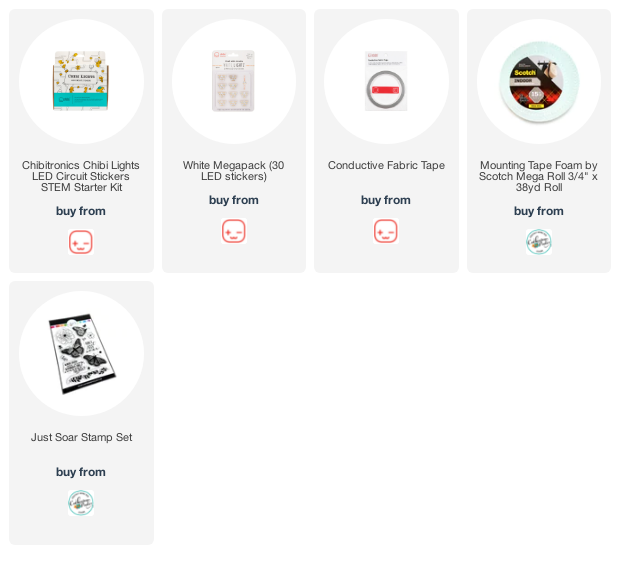
Howdy all and happy Wednesday! Today I'm over on the Chibitronics blog sharing a fun tutorial on how I made this cute little reindeer ornament where the reindeer's fades on and off with a little red light.  So cute!

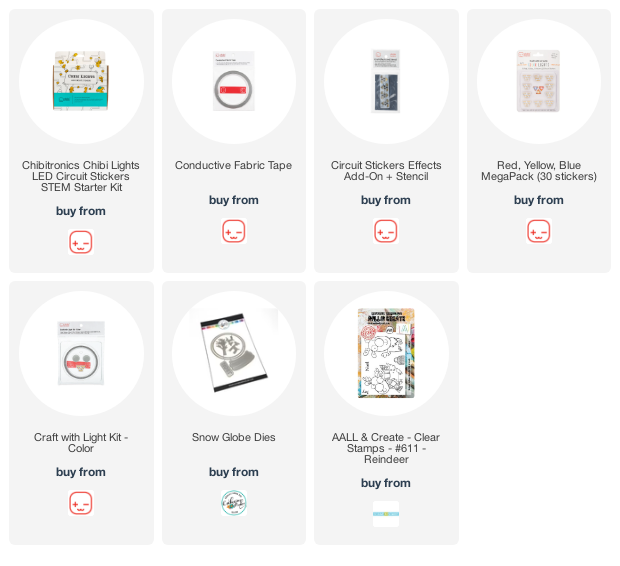
I first began my little snow globe by die cutting all of the pieces, coloring in my starry sky, my wooden base plus stamping and coloring in my little "Reindeer" stamped image from Aall & Create with Copics.

I started by cutting a tiny slit in the sky for my reindeer to travel up and down to close my circuit.

Next, on the back side of the globe, I planned out my circuit.  I am using a "Fade" Craft Effects Sticker today to have my reindeer's nose fade in and out.  The "Activation Point" shown is where the reindeer will slide up and make contact with the circuit to turn everything on.

On the back side of the reindeer image, I mapped out the position of my Red LED Light Sticker and where the positive and negative sides of the circuit were.  The black hatched rectangle is where the "I beam" is going to be located to allow the reindeer to travel up and down to compete the circuit.

Next I created the little "I" beam for the sliding mechanism for my reindeer.  I wrapped each of the beam using our Conductive Fabric Tape so the connections can be made to complete the circuit.  You can see a cross section of the "I" beam in the lower left hand corner of the image below - hence the "I" beam description.

I started my circuit by laying down the negative side of the circuit first.  This allows me to place the Conductive Fabric Tape underneath the battery.

Then I stuck down the positive side of my circuit. For the battery, all I did was run my Conductive Fabric Tape right over top of the battery and down the side to the rest of the positive side of the circuit.

For the reindeer side of the circuit, I taped my Red LED Light Sticker UPSIDE DOWN.  This allows the light to show up on the reindeer's nose. I added a little bit of Scotch tape over the circuit sticker so it wouldn't accidentally get stuck to any part of the insides of the ornament.  I completed both sides of the circuit.

Next I glued in the "I" beam to the rectangle on the circuit.  This allowed the positive and negative sides of the circuit to make contact with the rest of the circuit once the reindeer travels up and down the little slit in the globe.

I added some 3D foam to the backside of my reindeer.  This helps push out and stabilize the reindeer on the outside of the ornament.  I left on the backing to help the reindeer slide.

Next I folded up the flaps of the "I" beam and passed them through the slit placing the reindeer now on the front of the globe.  I then added a piece of foam tape on top of the "I" beam and I made a pull tab that is going to attach to the "I"beam to allow it to be pulled up and down to activate the light.  I also stuck down the "Fade" Craft Effect Sticker to the circuit.

When you pull the reindeer to the upper position, the circuit becomes complete and the Red LED Light Sticker lights up and the "Fade" Craft Effect Sticker causes the light to fade in and out.

I hope this inspires you to create something new and interactive!

~ Ally ~

Scrap N' Stamp ~ Insta Hop ~ Sweet Stuff!

Howdy all!  Today I'm hopping along with the Scrap N' Stamp crew with a fun "So Sweet" Instagram Hop!

The hop begins on the Scrap N' Stamp Blog right HERE!

For my share today I created 4 festive pillow boxes all ready for the holiday season!

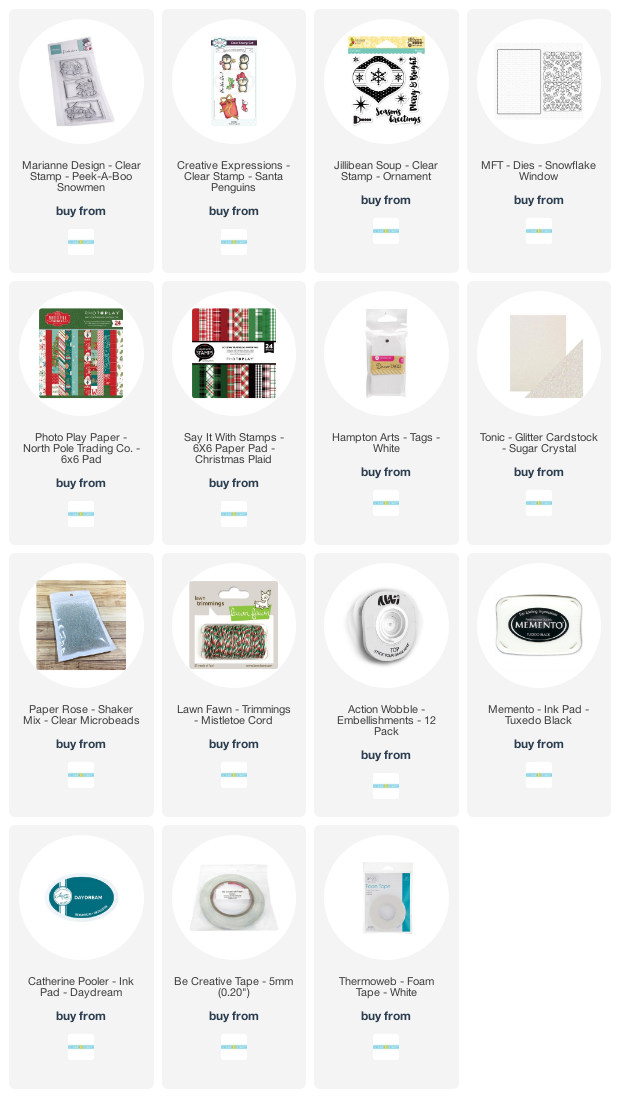
The first pillow box features the adorable penguins from the Creative Expressions called "Santa Penguins".  I started by stamping all my images out, coloring them with Copic Markers.  I even paper pieced the present with cute plaid papers from Say It With Stamps (Photo Play) called "Holiday Plaids".  I used some jute twine to wrap around the box.

To have a place to write the recipients name I added a cute white tag from Hampton Arts.

I also made another cute penguin pillow box with another one of the cute penguins and some different plaid papers.

I also added some fun holiday twine from Lawn Fawn to wrap my box!

I was having SO much fun making these that I decided to make TWO more!!

The next two feature images from the Marianne Design "Peekaboo Snowmen" stamp set!  I also using the beautiful patterned papers from the Photo Play "North Pole Trading Co" 6x6 patterned paper pack.

I wanted some sparkle so I used the Tonic Studio "Sugar Crystal" Glitter cardstock and the beautiful My Favorite Things "Snowflake Window Die" to prop up my little snowman!  I added some cute snowflakes to the background of the snowmen with some Catherine Pooler "Daydream" ink and the Jillibean Soup "Ornament" stamp set.  PLUS this little snowman juggles because I popped him up on a large Hampton Art "Wobbler"!

For my fourth and final pillow box, I made my little Santa Snowman into a shaker element.  I used some clear microbeads inside from Paper Rose.

Look at that sweet little face!!!

I had a blast making each one of them!

Make sure you head on over to the Scrap N' Stamp Instagram page to find out how to WIN a %40 gift certificate to the store!

Good luck!

~ Ally ~

Chibitronics ~ Light Up Forest Frame

Hello everyone and Happy Monday!  I hope you all had a wonderful weekend!

Today I'm over on the  Chibitronics YouTube Channel sharing how I created this fun LIGHT UP Forest Frame!

I started by purchasing this pretty dark wood painted wood edges 4x6 frame from my local craft store.  I knew I wanted a frame that had a wide border around it not only to be able to glue stuff but to be able to create my circuit!


To push out the display I planned to create at the base of my frame, I used some thin cardboard and built the base out a bit by making a box type extension. Then I created my 2 aspects of my circuit (positive line & negative line) all across the base.  I hid the battery housing for my two 3V batteries on the back of the frame.  For the circuit I used the amazing "Conductive Fabric Tape".  It was going to be a little more durable and flexible for this project!


Next I applied all of my "White LED Light Stickers" to my circuit ensuring that the stickers were aligned with the correct sides of the circuit properly.  Tada... let there be light!

Next I adhered moss, lichens, a mini pine cone, twigs from my yard and some Silhouette die cut shapes (ferns & oak leaves) right over top of my circuitry. 

And with some batteries and the press of the battery housing... VOILA!  A little forest fame is born...

I love that the LED Stickers are so bright that they can shine right through the moss so easily!

Thanks for joining me today!  If you wish to check out the video tutorial, CLICK HERE.

Have a crafty week everyone!

~ Ally ~


Customize Your Own Ornament

Happy Monday everyone!  Today I'm creating a fun project over on the Pawsome Stamps YouTube channel!

Today I'm featuring the adorable "Gingerbread Lane" stamp set on a wooden ornament.

I used some simple acrylic paint to create this customized ornament.

Check out my video tutorial, HERE.


I hope you'll take a few moments to check it out!

Have a great week!

~ Ally ~
 
09 10