Scrap'N Stamp ~ Layered Flowers & Leaves

Join me tomorrow where I'm LIVE on the Scrap'N Stamp Facebook page at 2pm ET for my weekly Technique Tuesday.

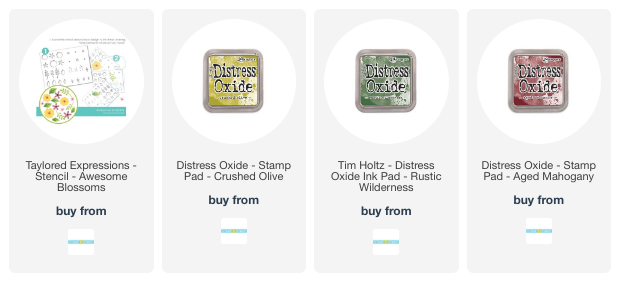
I'm going to be playing with the fun Taylored Expressions layered stencil "Awesome Blossom" and lots of fun Distress Oxide inks.

See you there!

~ Ally ~

Craft Roulette ~ Halloween Dragon

It's Sunday evening and time to share my latest creation for the latest episode of Craft Roulette!

What is Craft Roulette you ask... it's a weekly live show featuring improvised crafting, special guests, community contributions, tons of prizes and much, much more!  It's live every Friday night over on YouTube.  You can check out this week's episode here.

So the four parameters that the wheel spit out this week were:

  • Project:  Circle  (the moon)
  • Colors:  Wizard of Oz (lots of fun bright colors!)
  • Element: On the Road (a physical road below the creature)
  • Random: Add Wings (the dragon has wings)

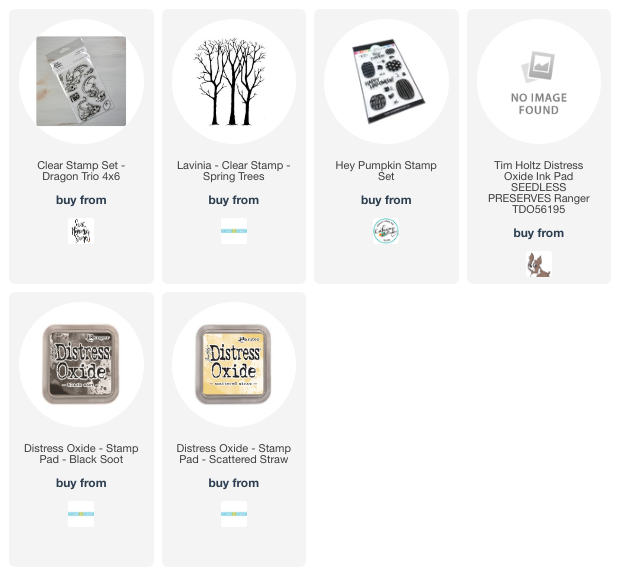
So this week's card I started off by stamping one of the adorable dragons from the Sweet November Stamps "Dragon Trio" stamp sets.

I created a mask for my dragon and for my moon and applied both to my stamped image.  Then I took some Scattered Straw Oxide ink and inked around the moon.  Then I inked the rest of the top of the image with Seedless Preserves Oxide ink and inked the edges with a tiny bit of Black Soot Oxide ink.

I stamped the trees from the Lavinia "Spring Trees" stamp set in black ink and colored in my dragon with Copics.  I also added some Copic mountains and a road in the foreground.


I stamped my greeting from the Catherine Pooler Designs "Hey Pumpkin" stamp set in Versamark ink and heat set it with gold detail embossing powder.  Some fun Sharpie White Paint Pen for some stars and my card was complete.

I hope you have a great week!

~ Ally ~

Catherine Pooler ~ Feeling Fall Collection is Coming!

Fall is COMING!

Catherine Pooler Designs is all about fall around the CPD Clubhouse, so they're pretty excited that this season is right around the corner! We all love picking pumpkins, visiting the apple orchard, and decorating! All of this warm and cozy fall goodness is the inspiration behind the Feeling Fall Collection!

The Feeling Fall Collection hits the Catherine Pooler Designs shop August 2nd!  We'll reveal all of the bundles over on the Blog this weekend. The first post is up so go check it out...there's something shiny and NEW coming!

Here are the release details...

Keep your eyes on the Catherine Pooler Blog for all the product reveals Friday, Saturday and Sunday!
  • Monday, July 31st - LIVE on the Catherine Pooler Designs Facebook Kick-off with Card Making
  • Tuesday, August 2nd - StampNation Early Ordering Opens at Noon Eastern: Watch for behind-the-scenes peeks and fun on Facebook and Instagram
  • Wednesday, August 3rd - General Ordering Opens at 9am Eastern; LIVE Release Party on YouTube at Noon Eastern 

On Wednesday, August 16 join us for the  Fancy For Fall Zoom-Style Class for StampNation using the new release.

We hope that you will join us!

~ Ally ~

StampNation ~ Walrus Greetings

Today begins a new Weekend Challenge over at StampNation!

This new challenge is all about the theme of "Christmas in July".

I used lots of fun Catherine Pooler Designs products for today's card.

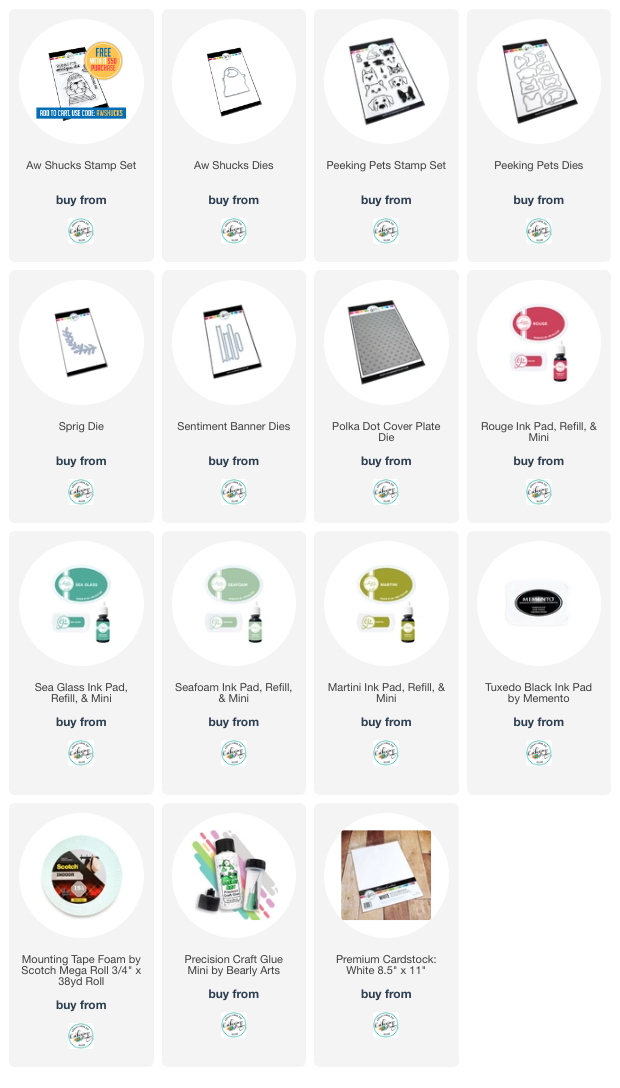
I began by stamping the sweet walrus image from the "Aw Shucks" stamp set and die cut him out with the "Aw Shucks Dies". I colored him using Copic Markers.

Then I stamped out the tiny Santa hat from the "Peeking Pets" stamp set, colored it up with Copics and then die cut out.

I inked up the entire card base with Rouge ink.  I layered on a "Polka Dot Cover Plate Die" cut from white cardstock. I die cut an oval shape for the walrus image.

I created a piece of water color paper with some dappled green inks; Sea Glass, Seafoam and Martini inks. I used that paper to die cut out some "Sprig Die" die cuts from.  I wrapped them around the bottom of the walrus.

To finish off the card, I stamped out the fun sentiment from the "Holiday One Liner Sentiments" stamp set using Seafoam ink and die cut using the "Sentiment Banner Dies" set and added to the card front.

Interested in finding out more about StampNation, check this out! 

StampNation has a fun FREE Fall class coming up too!  It's all about FANCY FOLDS.

Have a great weekend!

~ Ally ~

Splitcoast ~ Where's the PAW-ty?

Happy Hump Day everyone! Today's card was created for my Splitcoaststampers newest sketch.

It's my turn for a sketch this week and here's what I've created for you... SC968:

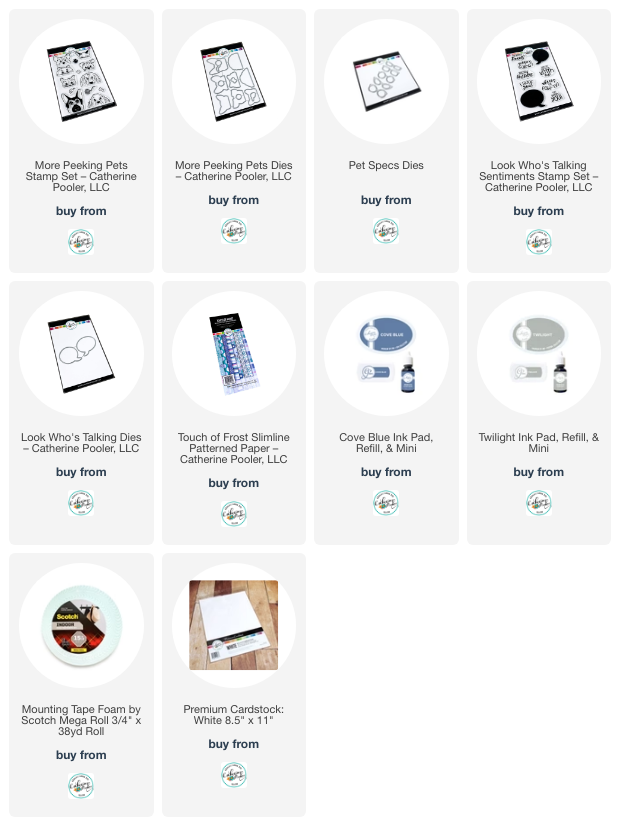
I began my card by stamping 2 kitties and a puppy from the "More Peeking Pets" stamp set in Twilight ink.  I added a touch of Copic Markers for added interest and die cut them all out.

Next I took some of the beautiful "Touch of Frost" Slimline patterned papers and created a pieced design to mimic the sketch.

Then I die cut a pair of glasses from the "Pet Specs Dies", colored them with Copics and added them to the Corgi puppy's face.  Who doesn't love a puppy with glasses?!?!?


To finish off the card, I stamped a sentiment from the "Look Who's Talking Sentiments" stamp set in Cove Blue ink and die cut it with it's coordinating talk bubble die set.

Make sure to check out the sketch and all the contributor's creations over at Splitcoaststampers, HERE.

Have a great rest of the week!

~ Ally ~

StampNation ~ Cool Sandy Wishes

Happy Monday everyone! There's lots of fun stuff going on over at StampNation right now. We have a Fun Fold event coming up soon!

Today I'm sharing a fun card that I made for my StampNation PenPal for July.  Each month you can sign up for our monthly PenPal and this month's theme was to use the image below as inspiration for your card.

I used a LOT of fun Catherine Pooler Designs products on my card today for my PenPal.

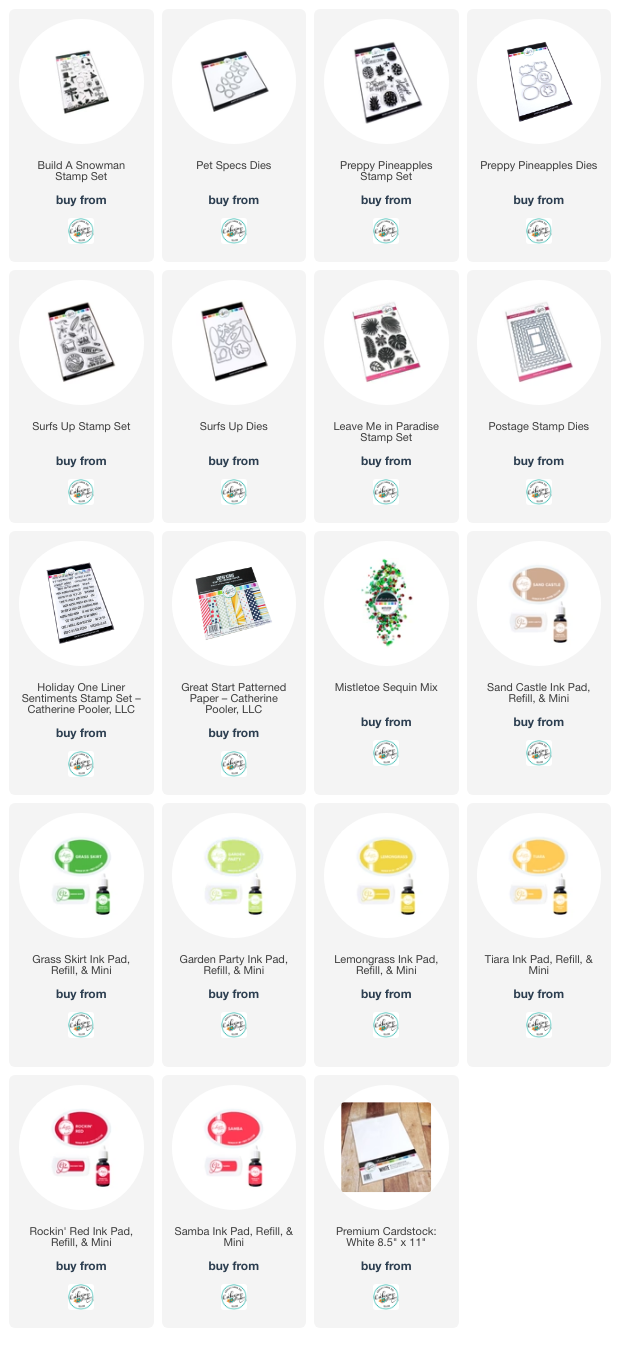
I started by die cutting a postage edged frame using the "Postage Stamp Dies" with some fun red and white lined patterned paper from the "Great Start" 6x6 patterned paper pack. 

Then I stamped a whole variety of fun summery images:

  • Sandman with Hat, Scarf, Stick Hands, Carrot Nose - stamped in Sand Castle ink from the "Build-a-Snowman" stamp set.
  • Surf Board, Palm Tree - Stamped in Sand Castle ink and colored with Copic Markers from the "Surf's Up" stamp and die set.
  • Pineapple - Stamped using Lemongrass, Tiara, Garden Party & Grass Skirt inks using the "Preppy Pineapples" stamp and die set and accented with Copic Markers.
  • Tropical Leaves - stamped with Grass Skirt ink using the "Leave Me in Paradise" stamp and die set.
  • Snowman's Glasses - die cut from Garden Party & Grass Skirt inked paper with mirrored cardstock for the lenses using the "Pet Specs Dies". 
  • Mini Stamp: die cut from the "Postage Stamp Dies" and inked with Copic Markers.

 Here's a close up...

I can't for my PenPal to receive her fun, summery card!

Have a great week everyone!

~ Ally ~

Craft Roulette ~ By the Pond

It's Saturday morning and time to share my latest creation for the latest episode of Craft Roulette!

What is Craft Roulette you ask... it's a weekly live show featuring improvised crafting, special guests, community contributions, tons of prizes and much, much more!  It's live every Friday night over on YouTube.  You can check out this week's episode here.

So the four parameters that the wheel spit out this week were:

  • Project:  Window
  • Colors: Birds
  • Element: By The Pond
  • Random: Paperclip

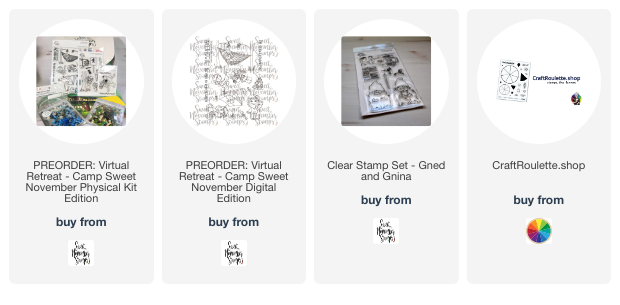
So this week's card I started off by stamping the sweet little fairy riding the frog from Sweet November Stamps called "Hopping By".  This stamp set is brand new and is included in the Virtual Retreat being offered over in the SNS Shop.  (There are a few retreat bundles still left!)  The frog is sitting on a lily pad on the pond - meeting the "by the pond" parameter.

Then I stamped the adorable little gnome home from the "Gned and Gnina" stamp set to include the parameter "windows".

I masked off both the froggy and gnome home, masked off a lily pad shape and then used my Copic air brush system to create a pond, a grassy area and a night sky.

Everything is colored with Copic Markers and some of the details were added using the Copic Blnder Pen.

The color parameter "birds" was met by using all kinds of parrot colors and the "paperclip" parameter was met by including the little paperclip stamp from the Craft Roulette "The Basics" stamp set.

Make sure to check out the LATEST episode of Craft Roulette.  You can play along until Sunday at 11:59pm CT.

Click HERE to submit your card!  

We also have 3 amazing prizes being offered to WIN from our Spin Sponsors.  Make sure to check them out. All you have to do, is play along!  Good luck!

~ Ally ~

Scrap'N Stamp ~ Cardinal Fun


Join me on Sunday at 8pm ET for another weekly Crafty Live!

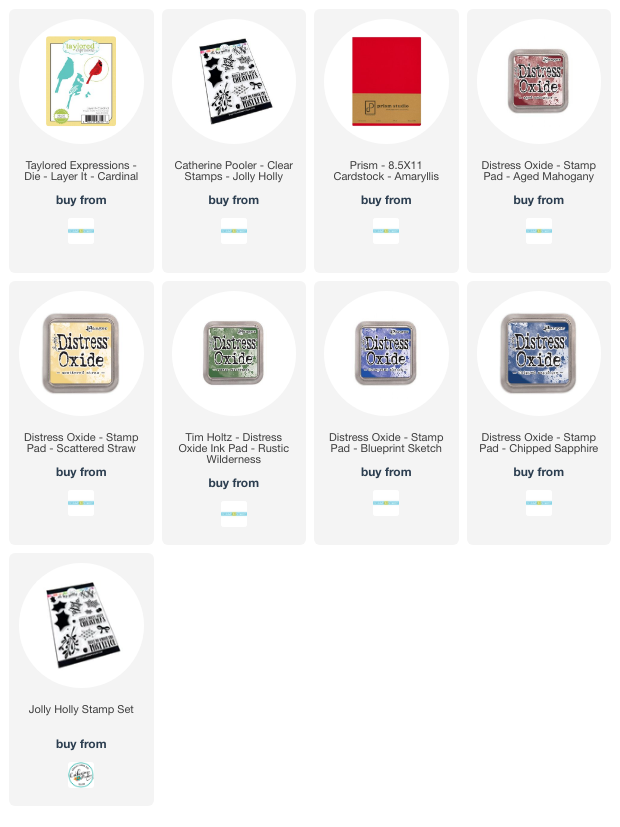
This week I'm playing with the festive Taylored Expressions "Layer It - Cardinal Die", the Catherine Pooler Designs "Jolly Holly" stamp set and lots of Distress Oxide inks!

See you over on the Scrap'N Stamp Facebook page on Sunday!

~ Ally ~

Catherine Pooler ~ Aw Shuck FREEBIE!


Over at Catherine Pooler Designs we have perks for our customers!   This month we have an adorable little FREEBIE... "Aw Shucks"!

With a $50 purchase, before shipping and taxes, just add the stamp set to your cart and enter in the code to your order.

There is also a coordinating die to purchase too!

Here's a cute little card I created using the adorable little walrus...

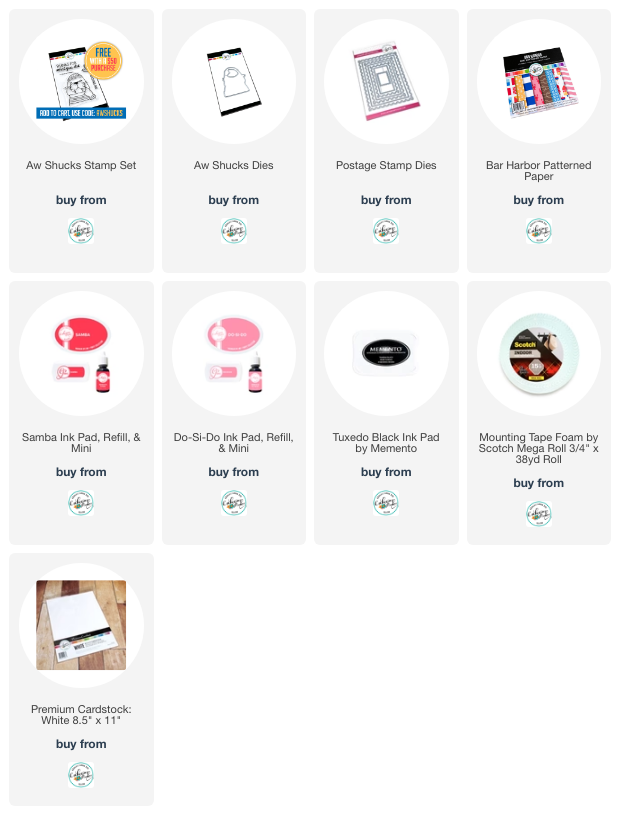
I started by cutting a rectangle of anchor patterned paper from the "Bar Harbor" paper pack, then I stitched on another blue & white patterned paper to mimic some waves.

I used the "Postage Stamp Die" to die cut a hole and a postage stamp frame.  I used my CP Blending Brushes to apply some Do-si-do ink and then a splattering of Samba ink.

I stamped out the cute walrus and a couple of oysters from the new "Aw Shucks" stamp set, colored them with Copic Markers and then die cut them out using their coordinating die.

I applied everything to my card front and a card was born!

Make sure you check out the CP Shop for all the new products today!

~ Ally ~

Chibitronics ~ Light Up Bright Christmas Tree

Hello everyone! Today I'm getting started on getting a few Christmas cards done for December.

To begin, I die cut the tree shape from the front of my card front panel. I adhered a piece of vellum under the shape so I can adhere my "Christmas Tree Stitched Die" from Spellbinders cut from green cardstock to the void.


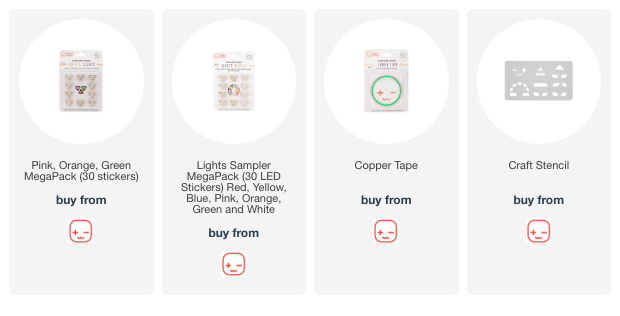
To map out my card's circuit, I traced the outline of the tree on the circuit's surface with pencil and also used the stitched die cut to locate all the places I want to add lights to.

Next I used my Craft Stencil to trace the placement of all my LED Light Stickers. Then I indicated the place for my battery, which will become the switch to complete my circuit. Then I drew out the location of my negative (blue) and positive (red) sides of my circuit.

I then applied my Conductive Fabric Tape down to the negative side of the circuit first. This allows the tape to begin on the under side of the battery housing.

Next I created a little house for my battery using some 3D foam. This ensures the battery will remain in the same spot of the circuit.

Then I created the positive side of the circuit. I created a little flap over top of the battery to begin my Conductive Fabric Tape on top of the battery. Then I continued it down the edge of the battery housing and along all the red lines to complete the circuit.

And now to add all of the Green LED Light Stickers from the Tropical LED Lights package; also found in the Lights Sampler Pack. She's going to a bright one!!!

I also finished off the inside by placing 3D foam all around the edge of the card.

And of course, you have to test it out...


 Don't forget to check out the entire video of how I created this video HERE:


Thanks for joining me today. I hope you go out and create some fun light up Christmas cards of your own!

~ Ally ~
Sweet November Stamps ~ Hopping By!


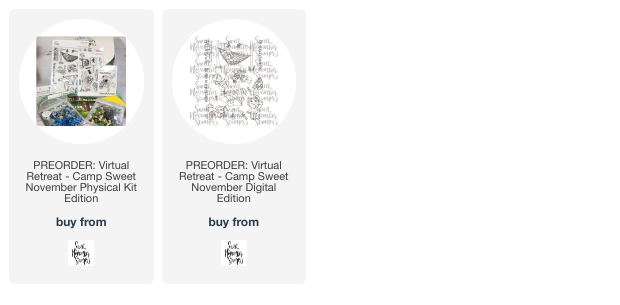
Sweet November Stamps is having a Virtual Retreat Camp on July 19th and July 30th!

This retreat can be purchased over at the SNS shop and you have two options: you can purchase the physical kit or you can purchase a digital kitBrilliant!

If you're interested in seeing the whole physical kit of products, you can click the image below and Amy will share with you all those fun goodies:

One of the sweet stamp sets included in the kit is the cute "Hopping By" stamp set.  I decided to stamp this one out for you and give you a little sneak peek of this adorable un-frog-getable image...

I began my card by stamping my froggy image in Distress "Old Paper" ink for a no-line effect.

I proceeded to color the scene using my Copic Markers...

Isn't that little fairy riding froggy adorable?!?

Come and join our retreat!!!  For more information, click one of the images below.

Have a great weekend!

~ Ally ~

StampNation ~ Under the Sea

Today begins a new Weekend Challenge over at StampNation!  I'm this week's hostess!

This new challenge is all about the theme of "Under the Sea".

I used lots of fun Catherine Pooler Designs products for today's card.

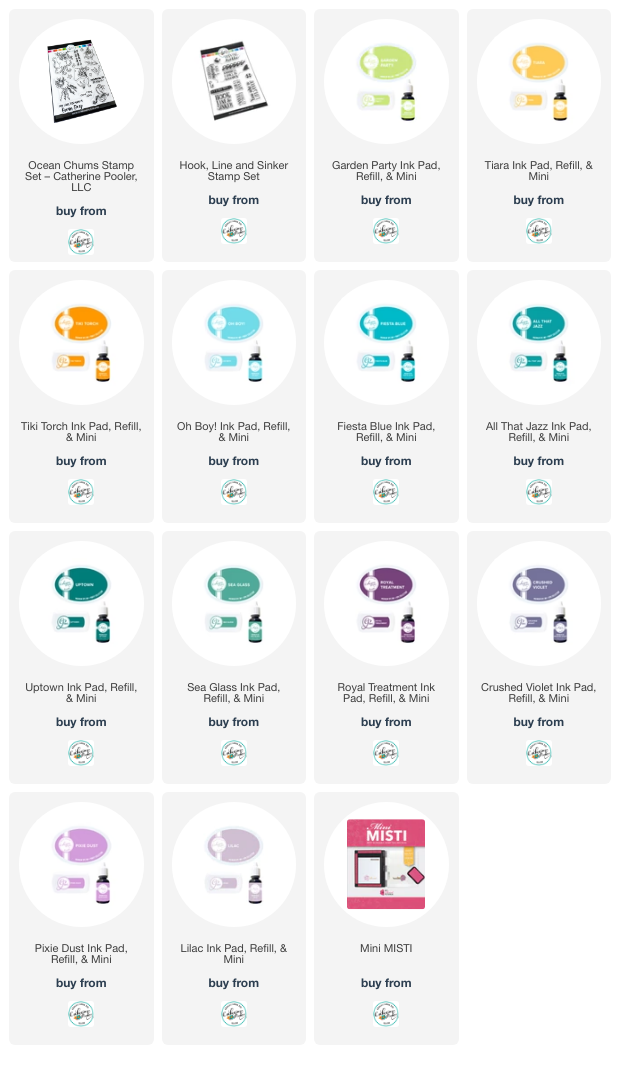
I began by stamping the sweet sea creatures from the "Ocean Chums" stamp sets using Distress "Old Paper" ink onto some watercolor paper.

Then I started water coloring the water using Oh Boy!, Fiesta Blue and All That Jazz inks.

Next I used a variety of other CP inks to water color in my creatures including, Tiara, Tiki Torch, Garden Party, Uptown, Sea Glass, Royal Treatment, Crushed Violet, Pixie Dust and Lilac inks.

To added some final touches, I stamped some bubble images from the "Ocean Chums" stamp set using Oh Boy! ink and added touches of Lilac and Tiara inks to the bubbles.  I also stamped the sentiment from the "Hook Line & Sinker" stamp set using Royal Treatment ink.

To added some finer details, I also using some Polychromos Pencil wok too!

Thanks for stopping by!  I hope you have a great weekend!

~ Ally ~

Scrap'N Stamp ~ Crafty Live: Stitching Tips & Tricks

Join me over on the Scrap'N Stamp Facebook page this Sunday at 5pm ET (3pm MT) for another festive Crafty Live.

This weekend I will be sharing some cool stitching tips and tricks using the beautiful Spellbinders "Stitched Christmas Tree Die".

See you there!

~ Ally ~

Scrap'N Stamp ~ Christmas in July Hop

Welcome to the Scrap'N Stamp Christmas in July Blog Hop!  Howdy!  I'm Allison Cope.  You should have come from the Scrap'N Stamp Blog.

  • TODAY'S PRIZE:  A $50 gift certificate to the Scrap'N Stamp shop!
  • HOW TO WIN:  Comment on EACH BLOG along the way for a chance to WIN!
  • OUR WINNER:  Our randomly chosen winner will be announced on the Scrap'N Stamp Blog on July 25th.

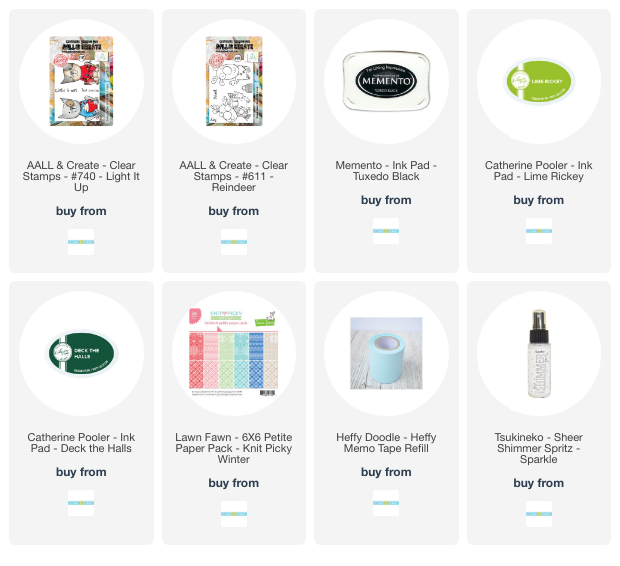
For today's card I started by stamping my critters from the AALL & Create stamp sets "Reindeer #611" and the "Light It Up #740" using Memento Tuxedo Black ink.

I created masks for each critter and applied each one.  I also add a thin mask around the edges of my focal panel to preserve a white border.  Once on, I blended some Catherine Pooler Designs "Lime Rickey" ink close to the critters and then some "Deck the Halls" ink around the edges. Before removing my masks, I splattered some Sparkle spray and white acrylic ink across the green background for a snowy look.

I removed my masks and colored up all of my reindeer and the sweet kitty.  I used Copic Markers to color in all the critters.  I also used a white gel pen to add a few more snowflakes across the panel and across my critters.


Plus we have a SALE going on!!!  Make sure to check out our SALES page so you don't pass up all the crafty savings!


Here are our blog hop participants:

SNS Blog
Allison Cope -- you are here!
Ardyth Percy-Robb
Deepa Robbins
Dina Roedel Kowal
Kia Gibson-Clapper
Laurie Case
Mari Clarke
Meghan Kennihan
Nancy Elrick
Tara Nixon Cox
Tracey Mehak McNeely

Happy hopping and good luck!

~ Ally ~


09 10