Showing posts with label Spellbinder's. Show all posts

Sweet November Stamps ~ The Joy of Christmas

Today I’m sharing a sweet and cozy holiday card featuring the Sweet November Stamps "Joy" clear stamp set. This image just melts my heart every time — she’s full of warmth, cheer, and that magical holiday excitement that only Christmas morning can bring.


For this card, I colored Joy with Copic Markers, giving her soft, warm skin tones and rosy cheeks. One of my favorite parts of working with Sweet November images is how easy they are to customize. I changed up her pajamas to a fun pink heart pattern and added extra detail to the present she’s holding to make it feel more personal and festive. Those little touches really help bring the character to life and make each card feel one-of-a-kind.

To frame her up, I reached for some elegant Spellbinders ornate dies. The delicate details add just the right amount of sophistication while still keeping the overall design soft and whimsical. I layered the die cuts over a clean white card base to let Joy remain the star of the show.

I finished the card with the simple but perfect sentiment “Merry Wishes”, keeping the focus on the image and allowing the coloring and details to shine.

This card would be perfect for Christmas, winter birthdays, or anyone who loves a sweet, cozy holiday vibe. Thank you so much for stopping by today — I hope this card brings a little extra joy to your day! 🎄✨

Merry Christmas and a Happy 2026 to all!

~ Ally ~ 
Sweet November Stamps ~ Don't Worry... it's Just Zoe the Zombie!

Today I’m sharing a card featuring the fabulous “Zoe the Zombie” clear stamp set from Sweet November Stamps!

I had so much fun bringing Zoe to (un)life with some gorgeously gory Copic Marker colors. Her pale green skin, big red eyes, and those cool kicks make her the perfect mix of spooky and sweet. To set the stage, I created a distressed burgundy red background and framed her with an ornate gold foil die cut for that touch of eerie elegance.

And who doesn’t love that cheeky sentiment? “Don’t worry, they only want those with brains.” It’s the perfect finishing touch to this creepy-cute design.

The entire Fall and Halloween release is now available in the Sweet November Stamps shop—so be sure to grab Zoe and her friends to add a little frightful fun to your craft table this season! 🧟‍♀️✨

Hope you're having a great week!

~ Ally ~ 

Scrap'n Stamp ~ Summer Fun Instagram Hop


Today we're celebrating all things summer over at Scrap'n Stamp — from sunshine and sandy toes to sunsets and sweet treats! ☀️🌴

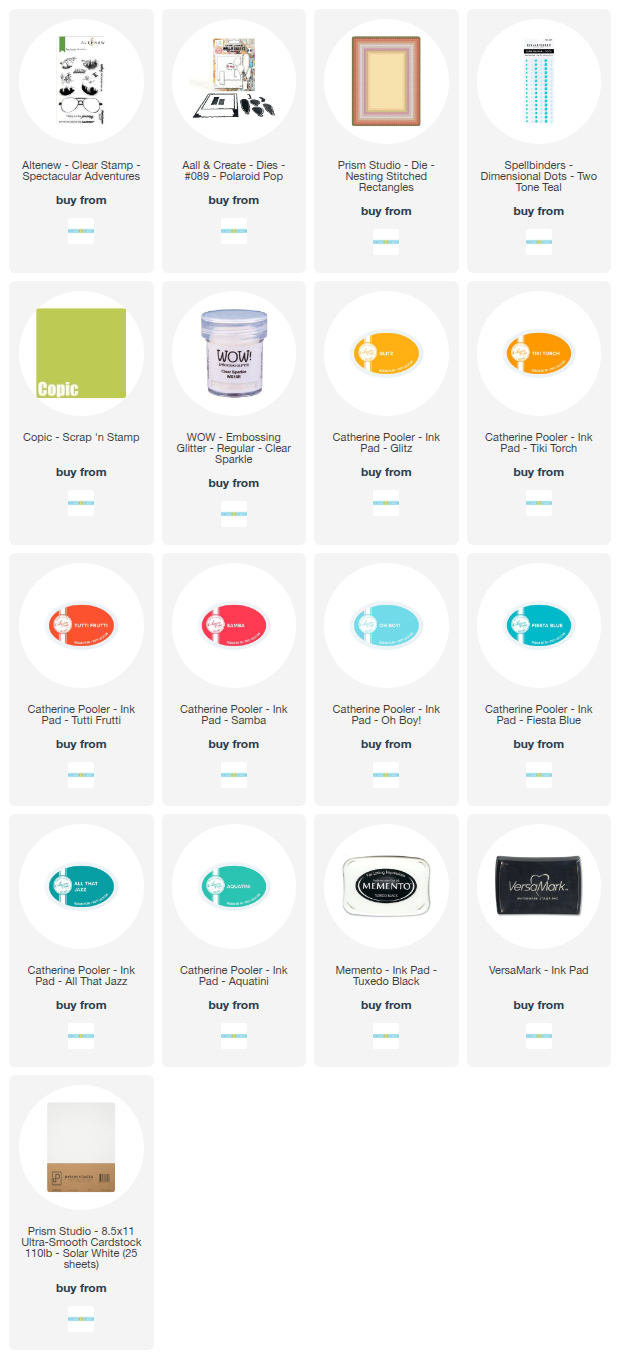
For this hop, I embraced the vibrant colors of summer and created a card that’s all about chill vibes and beachy dreams. I used the Altenew “Spectacular Adventures” stamp set and built my card around a colorful sunset scene reflected in some stylish shades. 😎

To set the stage, I created a bold and bright rectangle panel using a rainbow of Catherine Pooler Inks: Glitz, Tiki Torch, Tutti Frutti, Samba, Oh Boy!, Fiesta Blue, All That Jazz and Aquatini.

These inked panels were die cut using one of my favorite dies—Prism Studio’s “Nesting Stitched Rectangles”—to give it that crisp and finished look.


For the background behind the sunglasses, I added a bit of sparkle and texture using a deckled rectangle cut from glitter-embossed cardstock. That was made using the Aall & Create “Polaroid Pop #089” die set, which added just the right amount of interest without overpowering the focal point.

To tie it all together, I colored the sunglass lenses with Copic Markers, echoing the same dreamy sunset tones from my inked panel. As a final pop of dimension and detail, I added a few Spellbinders “Tone on Tone Teal” Dimensional Dots.

The sentiment “you’re too cool for the summer” captures the whole mood—laid-back, colorful, and cool.


PLUS... we're having a SALE!  Make sure to check out the SHOP for all the summer fun!

☀️ Be sure to hop along with us over on Instagram for more sun-soaked inspiration from the team, and don’t forget to leave comments along the way for your chance to win!

HEAD ON OVER TO THE SCRAP'N STAMP INSTAGRAM PAGE TO GET A CHANCE TO WIN! 

See you over there!

~ Ally ~

Scrap'N Stamp ~ Foiled'N Fabulous Insta Hop *PRIZE*


Welcome to the Foiled’N Fabulous Instagram Hop with Scrap’N Stamp Canada! We're so excited to bring you a rainbow of inspiration today as we celebrate the beauty of all things FOIL—from hot foil to toner foil to gilding flakes and beyond!

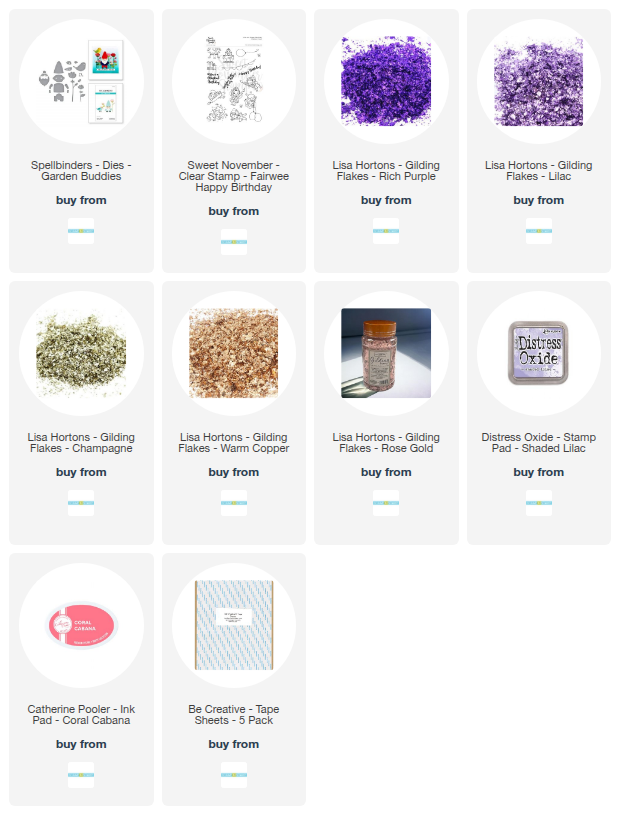
For my project, I decided to bring a little garden magic to life using the adorable “Garden Buddies” die set by Spellbinders. These sweet little gnomes are nestled among shiny blooms, all beautifully enhanced with Lisa Horton’s Gilding Flakes for that luxurious foiled finish. 🌸🧙‍♂️

The shimmer and texture of the gilding flakes add a playful yet elegant touch to the flowers and their cute little outfits. These cards are perfect for birthdays or just to bring a smile to someone’s face!


🌟 Hop Details:

Join the hop starting at @scrapnstampcanada and be sure to comment along the way for your chance to WIN a $50 Gift Certificate to the Scrap’N Stamp shop! 💸

Don’t miss all the foiled inspiration from these fabulous creators:

Thanks for stopping by—and happy hopping! 💖

~ Ally ~

Spellbinder's ~ Justine's Farm Instagram Hop *PRIZE*

I’m beyond excited to celebrate the launch of the Justine’s Farm collection from Spellbinders, designed by Justine Dvorak! 

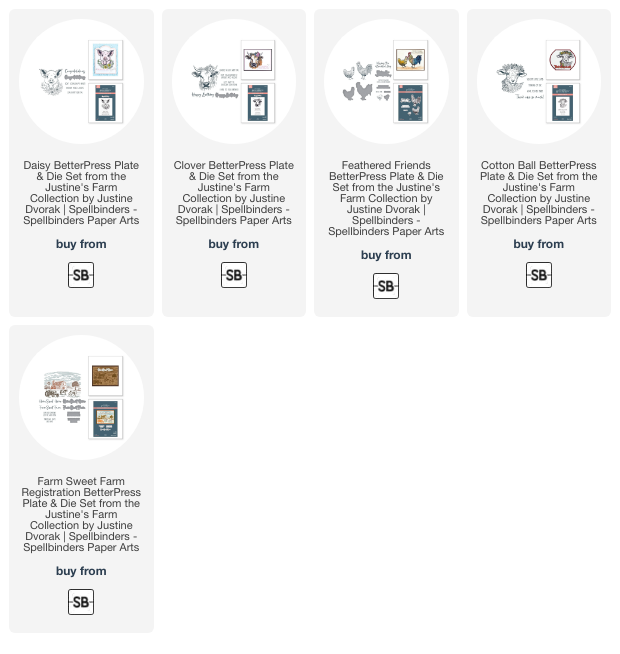
Justine has created 5 Press Plates for her collection.  She's included a little pig, a cow, a little lamb, a rooster and chicken set and a sweet little farm scene.  All of these products are listed at the bottom if you wish to view them up close.

To make this even sweeter, Justine is giving away a $25 store credit to Spellbinders to one lucky winner! To enter, just drop a comment on each post in the Instagram hop. Easy peasy! 

To begin hopping, please begin on Justine's Instagram page, HERE.

Today I'm sharing the adorable piglet, "Daisy", on my card.


I used my Spellbinders Betterpress Letterpress system to letterpress my little oinker and the sentiment.

I used my sewing machine to tack on the sentiment pieces and also the focal panel.

Once dry, I colored it with Copic Markers.


Isn't sweet little Daisy adorable???

Make sure you join the Instagram hop for a chance to WIN! 

~ Ally ~

Chibitronics ~ Light Up Bright Pink Berries

Happy Wednesday!  Today I'm sharing my latest light up card featuring products from Chibitronics.

Today we're going to light up some cool foil backgrounds from Spellbinders.

I began my card by foiling the large holly background plate and the sentiment greeting from Catherine Pooler called "Joyful Thanks Hot Foil Plates". I took the same holly plate, inked it up and "stamped" it on to my card base. I will use this as a quide to placing all of my light stickers.


Next I used my Craft Stencil and identified the location of all of my LED lights. I chose to light up a series of different berry clusters on the card front.

Next I located my battery location. Then I connected all of the "tips" or "negative" ends of the stickers. I drew these negative aspects of my circuit with blue pen. Then I created the positive sides of the circuit. I drew the positive side of the circuit using red pen. Note that some of the blue lines intersect the red lines. In order to not cross my tape lines, I will create paper bridges for these 2 locations. 

Next I added my Battery Holder to the battery location on my circuit. They can be found in the new We R Makers "Foam Adhesive & Battery Holders Pack". 

I added Pink LED Light Stickers to each of the 6 sticker locations on the card base.

Then I used the Conductive Fabric Tape and laid it down over top of all the blue lines in the circuit. This will be the negative side of the circuit.

I also laid down the little paper bridges where the blue negative tape crosses the red or positive sides of the circuit.

Here you can see a close up of one of the paper bridges. This barrier keeps the circuit from short circuiting.

Next I laid down the Conductive Fabric Tape on the positive side of the circuit. I made sure to begin my circuit on the inside flap of the Battery Holder to allow the tape to touch the top of the 3V battery. All of the lines shown drawn around with red ink are the positive side of the circuit.

I placed the foam "C" shaped sticker from the We R Makers "Foam Adhesive & Battery Holders Pack" inside the Battery Holder, peeling off only one side of the double sided sticker. I popped in a coin battery and tested my circuit to ensure all of LED Light Sticker lit up.

Once that was confirmed, I peeled off the top of the "C" shaped foam sticker and closed the Battery Holder for good.

I laid 3D foam from the "Foam Adhesive & Battery Holders Pack" all along the edges of the card's circuit, peeled off the foam backers and adhered my card front down.

And voila... out light up bright pink and shiny holiday card is complete...

Thanks for joining me!

~ Ally ~

Chibitronics ~ Light Up Bright Christmas Tree

Hello everyone! Today I'm getting started on getting a few Christmas cards done for December.

To begin, I die cut the tree shape from the front of my card front panel. I adhered a piece of vellum under the shape so I can adhere my "Christmas Tree Stitched Die" from Spellbinders cut from green cardstock to the void.


To map out my card's circuit, I traced the outline of the tree on the circuit's surface with pencil and also used the stitched die cut to locate all the places I want to add lights to.

Next I used my Craft Stencil to trace the placement of all my LED Light Stickers. Then I indicated the place for my battery, which will become the switch to complete my circuit. Then I drew out the location of my negative (blue) and positive (red) sides of my circuit.

I then applied my Conductive Fabric Tape down to the negative side of the circuit first. This allows the tape to begin on the under side of the battery housing.

Next I created a little house for my battery using some 3D foam. This ensures the battery will remain in the same spot of the circuit.

Then I created the positive side of the circuit. I created a little flap over top of the battery to begin my Conductive Fabric Tape on top of the battery. Then I continued it down the edge of the battery housing and along all the red lines to complete the circuit.

And now to add all of the Green LED Light Stickers from the Tropical LED Lights package; also found in the Lights Sampler Pack. She's going to a bright one!!!

I also finished off the inside by placing 3D foam all around the edge of the card.

And of course, you have to test it out...


 Don't forget to check out the entire video of how I created this video HERE:


Thanks for joining me today. I hope you go out and create some fun light up Christmas cards of your own!

~ Ally ~

Scrap'N Stamp ~ Crafty Live: Stitching Tips & Tricks

Join me over on the Scrap'N Stamp Facebook page this Sunday at 5pm ET (3pm MT) for another festive Crafty Live.

This weekend I will be sharing some cool stitching tips and tricks using the beautiful Spellbinders "Stitched Christmas Tree Die".

See you there!

~ Ally ~
Pawsome Stamps ~ Copic Oval Cupcake Card

It's my turn again to share a fun stamping creation with you over on the Pawsome Stamps YouTube channel today!

Today I'm sharing a variety of fun Copic Marker tips when creating with a Air Brush System and Pawsome Stamps stamps!

I decided to feature the adorable "Jolly Cupcakes" stamp set today.

So come and check out my video below for all the neat Copic Air Brush tips!

I hope you'll take a moment and go and check it out PLUS find out how you can WIN this card (see video)! 

Happy creating!

~ Ally ~

Have a Spa-tacular Day!

Time for another fun Summer Issue Challenge Week challenge!  This challenge is a fun card sketch from PageMaps...


I decided to use the adorable "Spa Day" stamp set from My Favorite Things.  I first die cut the 3 curved rectangles from the older Spellbinders "A2 Curved Matting Basics A" die set.  I used my Copic Airbrush system to create the rainbow back ground and then added some fun clay "Fruit Cocktail" elements and "Gold Sparkle Crystals".

I had a blast colouring in this sweet little spa bear with such fun and bold colours!

I hope you too are getting in some creative time!

Crafty hugs!

~ Ally ~


Breathe in Life


TGIF everyone!  It's been a busy week... lots going on here on my blog!

Today, along with some of the Bloomies from Power Poppy, I thought I'd bring a little tranquility with a beautiful digital bouquet.  This particular bouquet image is called "Pure Fragrance" and it is now available in the Power Poppy shop.

I keep the coloring fairly simple and added a warm yellow glow behind to make things pop!

Don't forget to check out the rest of my Bloom Brigade crew creations today...

Allison - you are here! 

Hope you have a great weekend and hope you too get creative!

~ Ally ~

"You're Gnaw-some!" is on SALE!


Happy Wednesday!  Today is Inspirational Wednesday over on the Kraftin' Kimmie Stamps blog.

Every Wednesday we feature a stamp set to show and tell PLUS it also goes on sale at 40% off

This week's star stamp is the SUPER duper cute "You're Gnaw-some!" stamp set!

Isn't he the cutest little beaver ever?!?!?!

I kept his colouring very simple - like a cartoon.  I also decided to decorate the inside of my card PLUS create a fun matching envelope!

Now head on over to the KKS Shop HERE and go buy you some beavers!!!  LOL!

Happy shopping!

~ Ally ~


stamps: KKS (You're Awesome)
dies: Spellbinders (PageMaps - on the Edge), Hero Arts (Nesting Hearts Infinity Dies) 
cardstock: Recollections (#110 Black, #65 White)
patterned papers: Echo Park (Cupid & Co. 6x6)
inks: KKS (Wicked Black), Copic Markers
 
09 10