Chibitronics ~ Light Up City Scape Card

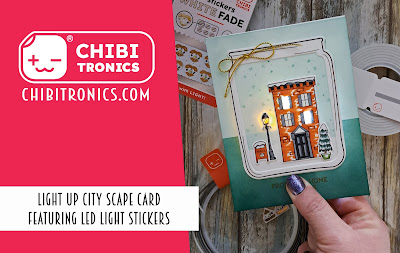
Happy Monday!  Today I'm sharing my latest light up creation featuring products from Chibitronics.

Today's card features the brand new winter products by Catherine Pooler Designs.  


To begin my card, I created my front panel by stamping and die cut the city scape elements from the "Winter on Main Street" stamp set including the building, the potted tree, mailbox and street lamp. I also stamped and die cut the jar from the "Jar Full" stamp set for the scene.  I positioned the rowhouse within the jar and cut out the windows that would be lit.  I also traced the window holes to the card front so I also cut them through the card front panel to allow the most amount of light to transfer through the cardstock. All the elements were then adhered to the jar and then the card front panel.


On the circuit surface, I stamped the rowhouse, lamppost and the greeting in light ink in the same position as on the front of the card.  This helps with the location of the LED light stickers.

Next I used the Craft Stencil to trace out the locations of my 3 LED Light Stickers.  I added the self-adhesive Battery Holders right over the place of the greeting.

Next I mapped out my circuit.  Using a blue pen, I mapped out the negative (-) side of the circuit, attaching the line to the pointy part of the stickers.  Using a red pen, I mapped out the positive (+) side of the circuit and attaching the red line to all 3 of the fatter side of the sticker locations ensuring not to cross my lines.


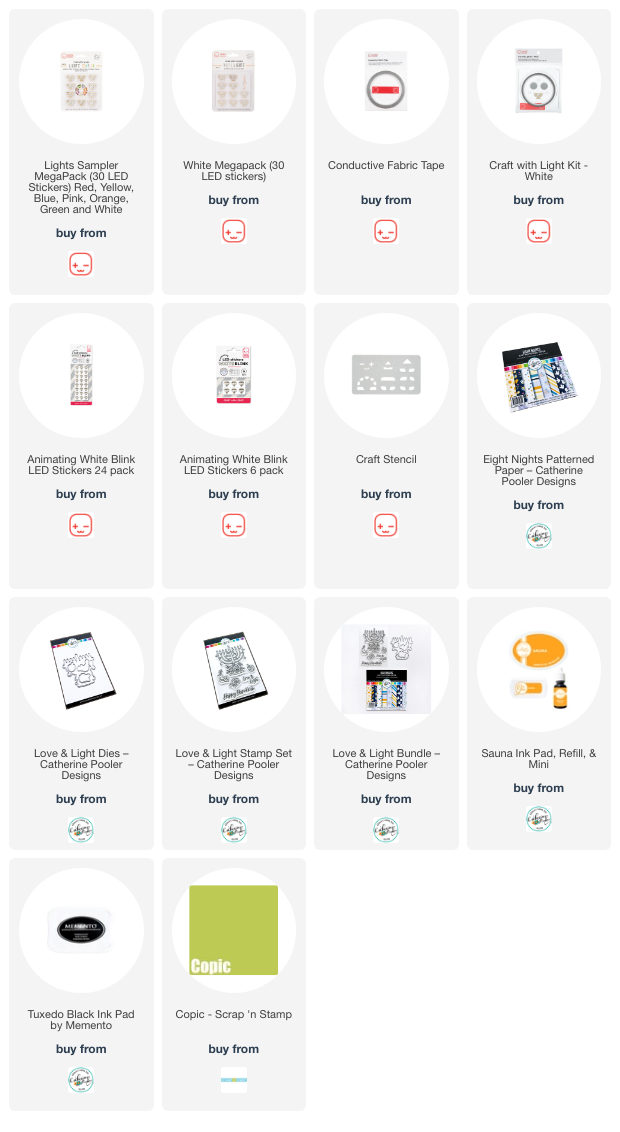
Next I laid down my three LED Light Stickers.  I added a Yellow LED Light Sticker to the lamppost location.  Next I used a heart shaped White Animating Fade LED Light Sticker to the upper window and a gem shaped White Animating Blink LED Light Sticker to the lower window location. 

I then began added the Conductive Fabric Tape to my circuit.  I began laying down tape inside the Battery Holder on the base first.  I took the tape all along the blue lines and out to each of the points of 3 light stickers.

Next I laid down the tape along the positive side of the circuit.  I began by applying the tape to the inside lid of the Battery Holder, wrapping it around the lid and then down the length of the red line, out to each of the light stickers.


I adhered the "C" shaped foam inside the Battery Holder, popped in the 3V coin battery, peeled off the top of the foam and closed the Battery Holder lid to adhere shut.  I gave the circuit a quick press to test.

I added a few pieces along the edges of the circuit panel and adhered my card front panel right over my circuit. 

And here's the completed card at lit up...


I also pop in a little note to the card participant on the inside telling them how to activate the lights.

Make sure to check out the making of today's card over on the Chibitronic's YouTube channel.  You get all the step-by-step details of the making of today's circuit.

Have a great week!

~ Ally ~
Sweet November Stamps ~ Cozy Fall Birdies

Happy Saturday!  Today over at Sweet November Stamps we have a brand new set of sweet little digis being released today!

I began by pulling the "Chadwick Chickadee", "Bird House and Worm" plus an additional tree image, "Tree Friend Sycamore" and created a simple tree and sky scene.


I printed a second copy paper copy of the scene, fussy cut everything out and placed it over the image as a mask.  Then I used my Copic Air Brush system and added in a wispy blue Autumn sky.

I removed the mask and continued on by coloring in the rest of the scene with my Copic Markers.

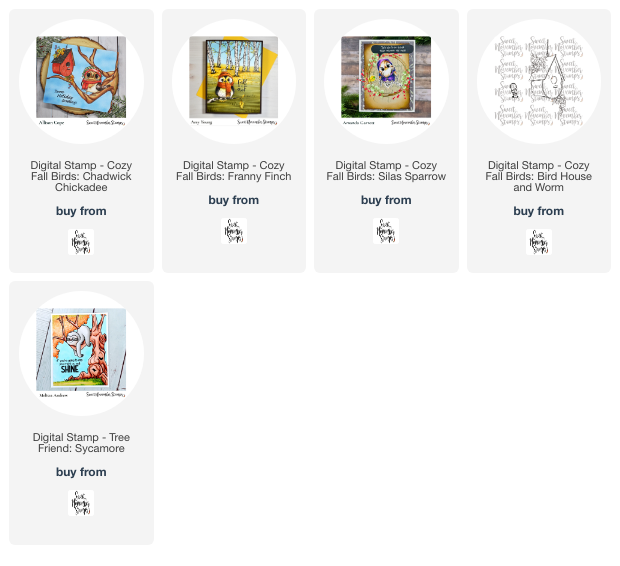
There are 4 new digital images in the Cozy Fall Birds mini collection being released today along with the two images I have used today.  They include "Chadwick Chickadee", "Franny Finch", "Silas Sparrow" and the "Bird House and Worm" images.

I hope you check them all out!  Have a great weekend!

~ Ally ~

Scrap 'N Stamp ~ Shadow Box Card


Join me on SUNDAY over on the Scrap 'N Stamp Facebook page at 8pm ET.

We're going to be playing with the cute mistletoe die cut from Concord & 9th products and creating some cool shadow box cards!

Hope you'll join me over there!

~ Ally ~

Catherine Pooler ~ Lantern Love

The new "Winter on Main Street" collection from Catherine Pooler Designs arrives in the CP shop on Wednesday!

This collection is jammed packed with some really cool products!  Products featuring lamps, storefronts, snowflakes and MORE!

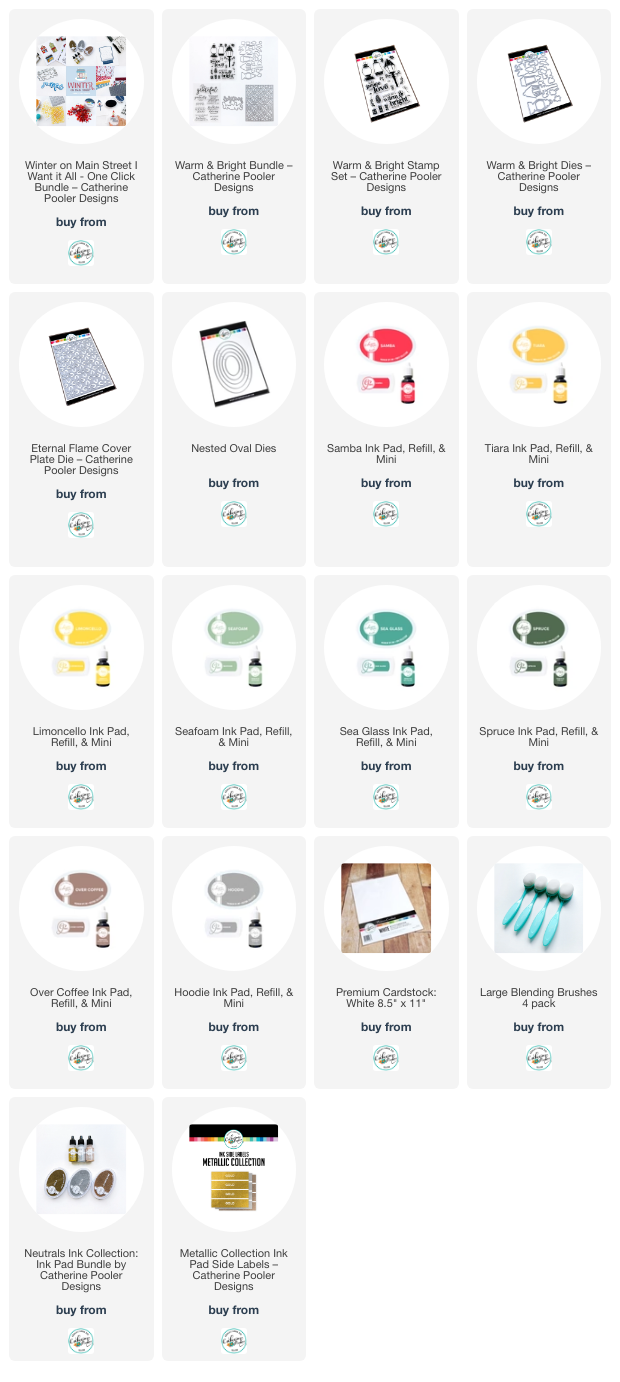
Today's card features some of the warm contents of the new "Warm & Bright Bundle".

I began by die cutting the new "Eternal Flame Cover Plate Die" from white cardstock.  Then I die cut a frame from the "Nested Oval Dies" and die cut the largest oval into the background to make an embedded frame.

Next I stamped out all of the elements for my card using the "Warm & Bright" stamp set. I stamped the beautifully ornate lamppost using Hoodie ink.  I stamped the evergreen sprigs from Spruce ink, the greenery in Seafoam & Sea Glass ink and the berry sprigs from Over Coffee & Samba inks.  I also stamped the sentiment from Seafoam ink as well.  I also stamped the little flame using Limoncello & Tiara inks. Then I die cut everything using the coordinating dies.

For the lamppost, I using my Copic Markers to add some shading a little more details to the post.  I also backed the lamp's opening with some vellum to soften the flame and glow of the lamp.

Once everything was cut, I added the sprigs and berries underneath the sentiment and layered everything up.

You're gunna love this new stamp set as much as I do!  Have a great rest of your weekend!

~ Ally ~

Sweet November Stamps ~ NEW Cozy Fall Critters

Happy Saturday all!  Today over at Sweet November Stamps we have just released more super cute critters today.

Introducing the new digital "Cozy Fall Critters"...


For today's card, I used the two new cuties, "Chandler Chipmunk" and "Riley Rabbit" along with the "Hollow Log" and  the tree from "North Pole Friends".

I printed my digital scene out on water color paper.  I also heat set my image before I took my water color paints to my image.


I had a ball painting all this lovely winter scene, especially the trees and background.

Make sure to come over to the Sweet November stamps hop and check out all the cozy fall cuteness!

Have a great weekend!

~ Ally ~

Catherine Pooler Designs ~ Winter on Main Street Coming Soon!


The newest Catherine Pooler Designs' latest collection is called Winter on Main Street is coming next week!

This collection is just brimming with wonderful Winter seasonal stamps and goodies!

If you haven't already seen, Catherine is releasing three brand new inks.  These 3 glorious inks are METALLIC and you're wanna grab them up!  

Featuring Gold, Silver and Champagne...


Come and join Catherine and Erika for all of the new Winter on Main Street products and sneak peeks...


Release Schedule     

(* = CP YouTube Channel at 12 noon ET)

Friday, 19th - Bundle Reveal*

Saturday, 20th - Bundle Reveal (CP Blog Reveal)

Sunday, 21st - Bundle Reveal (CP Blog Reveal)

Monday, 23rd - Card Making Video*

Tuesday, 24th - Card Making Video* & StampNation Early Ordering @ Noon ET

Wednesday, 25th - General Ordering OPEN 9am & Card Making Video*

I hope you'll join us for all the fun new products reveals and samples!

~ Ally ~

Sweet November Stamps ~ More Fabulous Fall

Hi crafty friends!   I'm back from a week away from my desk.  I took a last minute flight home to see my family and my three best friends!

Today's card feature more of the glorious fall release stamp sets from Sweet November Stamps.

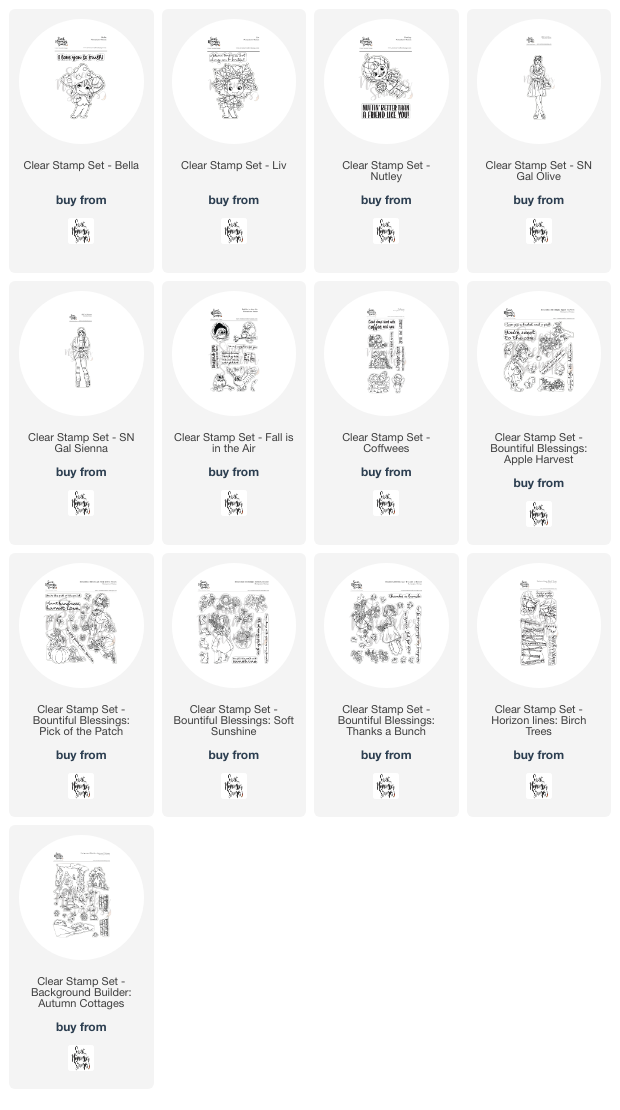
This entangled beauty features the gorgeous pumpkins and sweet little mice from the "Bountiful Blessings: Pick of the Patch" stamp set.

I began by stamping my images using a light brown ink.  I put down a layer of Copic Marker to achieve the base colouring of my little scene but I wanted the detail to remain, so I added in some of the line work back in using Polychromos Pencils.

To achieve the extra fine splatter at the bottom of my card, I used my Copic Air Brush system to add that with an upside down Copic Marker (brush end at the air end).

Who doesn't love a beautiful white pumpkin!??!


Plus I also wanted to share another card I already shared over on my Instagram account already...

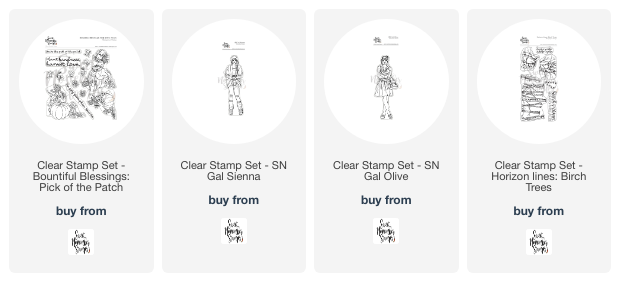
This slimline card creation features our 2 new SN Gals, "Olive" and "Sienna" and our cool new background stamp set, "Horizon Lines: Birch Trees".

I just had to make our two best friends dressed up in color matching attire...

That's a wrap for today!  Stay tuned for more Sweet November Stamps fun coming soon!

~ Ally ~

Scrap 'N Stamp ~ Good Tidings Video


Join me TODAY over on the Scrap 'N Stamp Facebook page on Sunday.

We're going to be playing with the festive Hero Arts "Winter Foliage" Stamp & Cut XL products and creating some simple sparkly cards!

Hope you'll join me over there!

~ Ally ~

World Card Making Day Instagram Hop


Hey everyone!  Happy World Card Making Day!

Today over on Instagram Catherine Pooler Designs is having a fun inspirational hop!

My card for the hop features all kind of winter and holiday themed products.

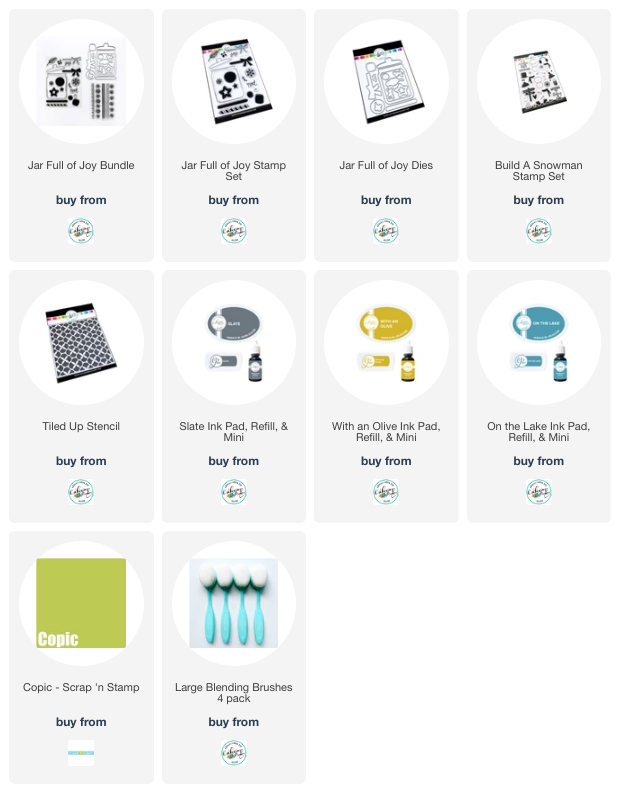
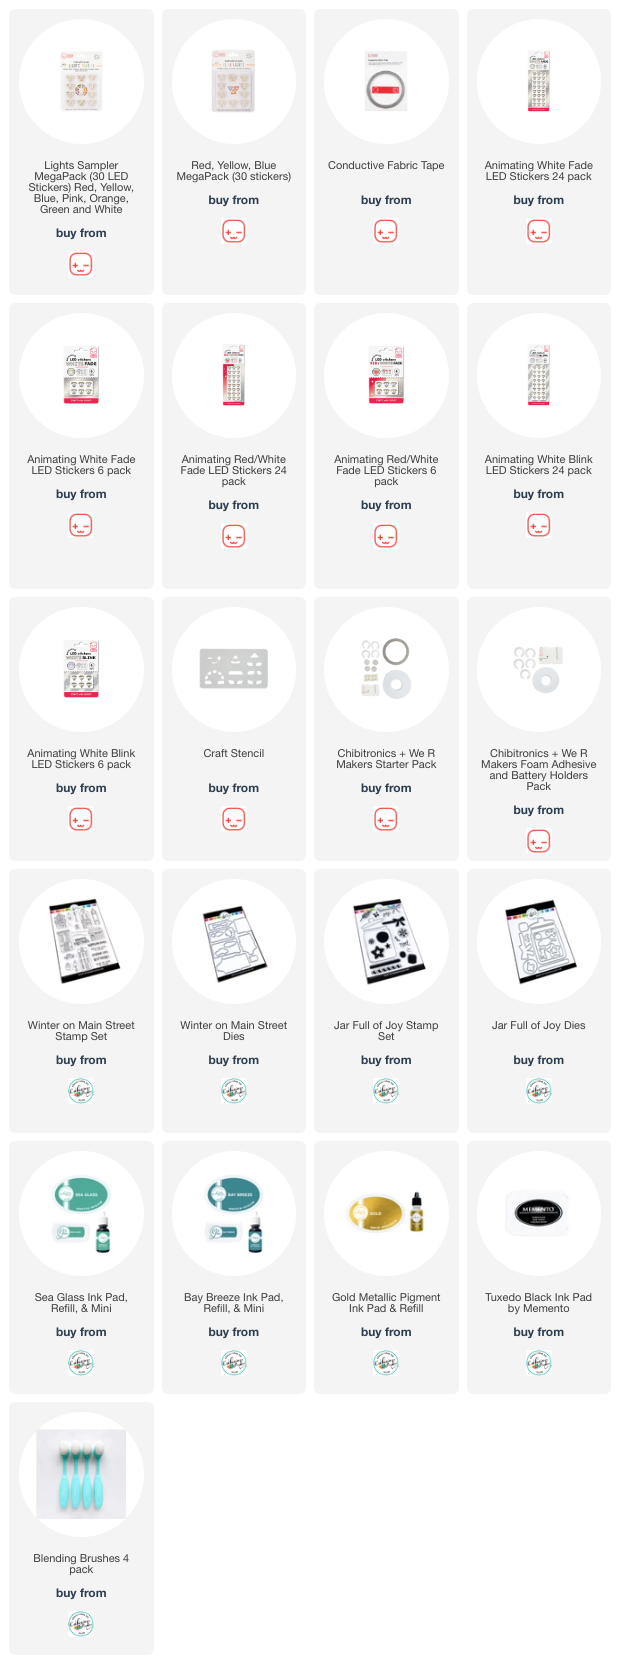
I started my card by stamping my greenery from the new "Far Full of Joy" stamp set.  I used With an Olive ink and then added a tiny bit of On The Lake ink with a blending brush to get the gradient of green on the evergreen pieces.  I used On the Lake ink to stamp out the little sprigs and Over Coffee and Samba inks for the berry sprigs.  I cut out all of my elements using their coordinating dies.


Then I stamped the two birdies from the "Flock of Friends" stamp set in Memento "Tuxedo Black" ink.  I masked off each bird's scarf and inked them up with With an Olive or On The Lake inks.  Then I colored each bird's body using Copic Markers.

To complete the card base, I masked off a border around the card base and ink blended some On The Lake ink very lightly from the top to the bottom.  I added a fine mist of brown splatter before removing the masking.

I adhered all of my greenery, berries and birdies to my card base and then stamped my greeting from the new "Seasonal Mix" sentiment stamp set.

Overall, it was a super fun card to create!

TO FIND OUT MORE on how you could WIN a $100 gift certificate to the Catherine Pooler Designs shop, CLICK HERE, to start the hop!

Hope you have a wonderful and creative weekend!

~ Ally ~

Scrap 'N Stamp ~ Ghostly Greetings Inspiration Hop

 
Gather 'round, seekers of inspiration, for the winds of magic carry whispers of a grand celebration. Scrap 'N Stamp invites you to indulge in the wonders of the Spooky Season. Ghostly greetings and eerie creations abound, as we unveil our latest offerings. Join us for a weekend of enchantment as we traverse through realms of artistry and imagination. Allow the sparks of creativity to ignite your soul, and together, let us weave a tapestry of wonder with our Ghostly Greetings Inspiration Hop!
 
Don't forget to drop a line at every stop to seize your shot at a $50 shopping spree at the Scrap 'N Stamp online store! Keep your eyes peeled for the lucky announcement on Oct 24th! 
 
Before you dash off, make sure to stop by their online store where you can snag 25% off on the spookiest Halloween goodies 'til Oct 11th!
 
Next up on the hop is... Tara Cox!

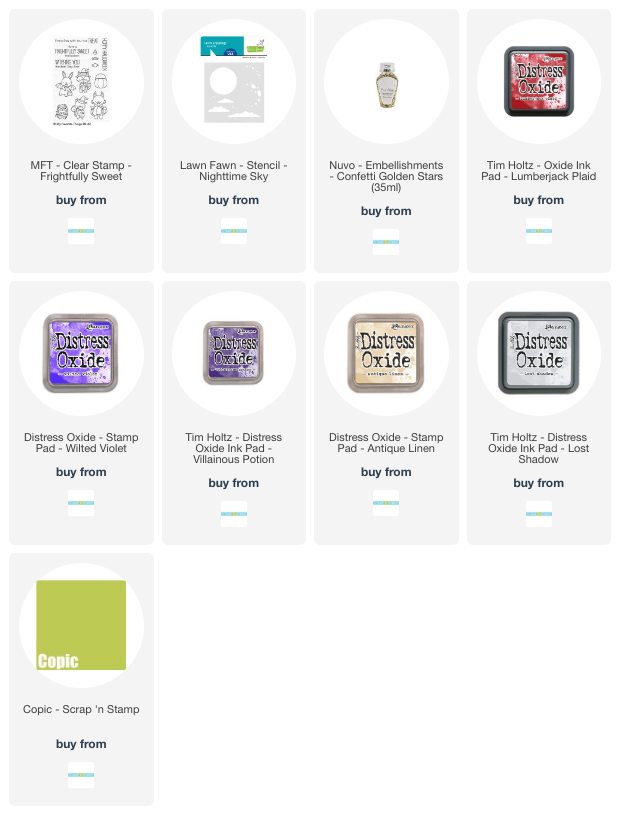
For my card today, I started by creating my moon panel. I die cut my rectangle and then used my moon shaped mask from the Lawn Fawn "Nighttime Sky Stencil" and added some fun Distress Oxide inks around it.  I started with Lumberjack Plaid around the moon shape and then Wilted Violet and then finally out to Villainous Potion on the edges. I then used the stencil to add the crater details of the mask using Antique Linen and Lost Shadow Oxide inks.

To create the shaker element, I cut a piece of thin acetate a little larger than my rectangle and taped 3 sides to the back side of the panel.  Then I added a variety of tiny star sequins to the pocket that I created and taped the final forth side to the back of the panel to close it.

Next I stamped out my little trick-or-treator critters from the "Frightfully Sweet" stamp set by My Favorite Things.  I colored up the pair using Copic Markers and then fussy cut them out together.

I stamped the sentiment, "Hoppy Halloween" using some Versamark ink onto some black cardstock and die cut them out.


To finish it off, I adhered the critters and the sentiment to the shaker panel and backed it with some slim striped black and white patterned paper.

Don't forget to hop along to the next person and comment for your chance to WIN!

Save 25% off select Halloween products. Valid on in stock items. Not applicable to previous purchases. Not valid with any sale or promotion. Sale ends October 11 '23. 

Next up on the hop is... Tara Cox!

Good luck!

~ Ally ~

StampNation ~ Jar Full of Joy

We're celebrating World Card Making Day over at StampNation this weekend!  We have a wide variety of fun card making challenges to inspire you!

My challenge for this weekend is to create a card that is interactive in some way!

For my card, I chose to feature one of the newest stamp set's just released called "Jar Full of Joy" stamp set and coordinating die. I stamped the jar in new On The Lake ink and die cut it out.  I stamped the bow in With An Olive ink with a stripe of Samba ink.  I created a masked hillside and used my brushing brushes to create a On The Lake sky.

I used the mini snowflake from the "Build-a-Snowman" stamp set in On The Lake ink.

Then I stamped my little snowman outline from the the same "Build-a-Snowman" stamp set.  I also stamped the toque and scarf, both in With An Olive and Samba inks.  I fussy cut out elements of each and built my own custom garments. 

I also used my Copic Markers to shade the jar and snowman and his clothes.

I used the jar outline to create a shaker card with some white glitter in it.

To create the pull-out tag, I die cut and stamped out the jar's lid and attached it to a partial cut jar inside die cut.  I stamped a greeting from the "Build-a-Snowman" stamp set using With An Olive ink.

For the card base, I cut a 4 1/2" square card base and used the With An Olive ink through the "Tiled Up Stencil".  Then I used the small snowflake again with Samba ink and placed them at key spots on the stencil design.

To learn more about StampNation, you can CLICK HERE

Have a creative weekend!

~ Ally ~

Sweet November Stamps ~ Autumn Cottages

The brand new Fall release from Sweet November Stamps has hit the shop!  One of the coolest stamp sets to hit the shop this month is the gorgeous "Background Builder: Autumn Cottages".

There are so many possibilities with this stamp set.  The images here could be added to any scene!

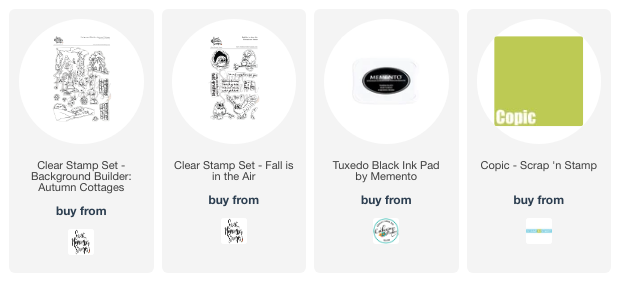
I began by stamping the large cottage image first.  I created a mask for the large cottage and then stamped the landscape with the smaller cottages next.

I stamped the 2 pumpkins in the foreground, masking them, then stamping the stone wall pieces.  I added the potted plant on the wall and the scarecrow and mini pumpkins to the field.


Everything is colored up using Copic Markers.  I wanted the Autumnal sky to be a little moody so I went with a greyer blue.

To finish off the card, I stamped the greeting from the "Fall is in the Air" stamp set on to a piece of paper and stitched it to my card top.  I also used my Copic Air Brush System to add a sprinkle of tiny dots to the foreground of my scene and my greeting tag.

Thanks for stopping by!

~ Ally ~

Sweet November Stamps ~ New Fall Release! WIN the Whole Thing!!!

The brand new Fall release from Sweet November Stamps has hit the shop!  And so many new and beautiful sets to color up are all ready for you!

Head on over to Instagram TODAY and hop along with all our amazing designers for a chance to WIN the entire Fall release...

To start your adventure, go HERETODAY is the LAST for your chance to WIN!

You're gunna see this fun card featuring the gorgeous new "Bountiful Blessings: Harvest Apples" stamp set...

Plus you'll also wanna check out our video YouTube hop too!  And again... leave a comment on each video for another chance to WIN the entire Fall release.

You can begin the HOP over on my YouTube channel RIGHT HERE.

You're going to see me color up the beautiful new "Fall is in the Air" which features some super cute little owls!

Plus spend $150 or more and add the gorgeous "Thanks a Bunch" stamp set to your cart for free! (While supplies last!)

Have a great week everyone!

~ Ally ~
Chibitronics ~ Light Up Hanukkah Card

Happy Monday!  Today I'm sharing my latest light up creation featuring products from Chibitronics.

Today's card features the brand new "Love & Light Bundle" of products by Catherine Pooler Designs.  The bundle includes the beautiful menorah from the "Love & Light" stamp set, coordinating dies and the festive "Eight Nights" patterned paper pack.

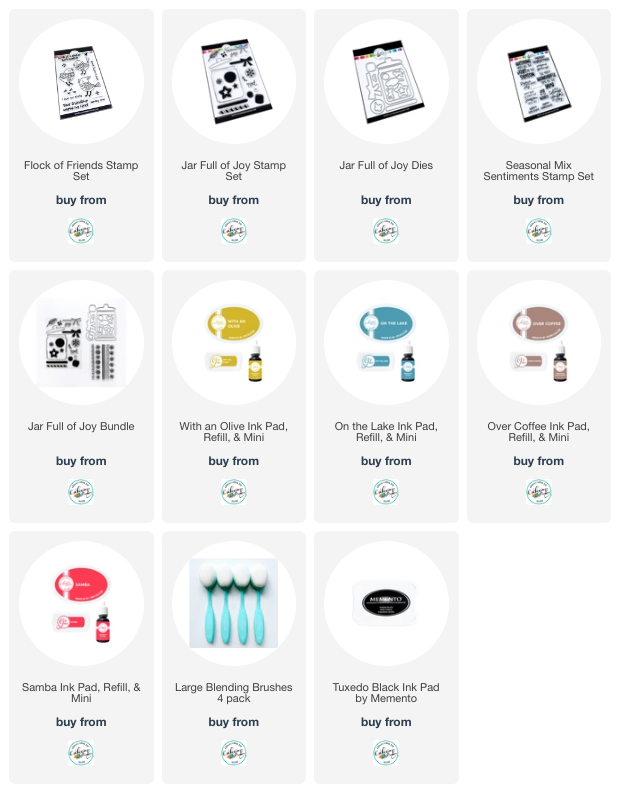
To begin my card, I created my front panel by stamping my menorah on the front with Memento "Tuxedo Black" ink and then inside my card panel with a lighter brown ink.  This will allow me to match my light stickers up perfectly with my front panel image.

I cut 5 small holes in the front panel of my card so the light would pass through the thick cardstock and just light up the 5 candles that I chose to light.  I adhered the colored panel to front of my card.

For the circuit, I took the inside stamped panel and began to map out my complete circuit.  I created a circle element for the location of my battery, I used the Craft Stencil to trace out the location of my 5 LED Light Stickers and I mapped out the negative (blue) side of the circuit and the positive side of the circuit (red).


For my card today I will using both a combination of our White LED Light Stickers and our NEW White Blink Animating LED Light Stickers.

Then I used my Conductive Fabric Tape to create my circuit.  I began by creating the negative (blue) side and applying my tape to the hand-drawn circuit template surface.

Then I created a battery housing using 3D foam tape strips.  This locks in the battery so it doesn't relocate itself within the card. Then I created a paper flap, where I wrapped the Conductive Fabric Tape right around the flap, to ensure the battery touches the circuit when depressed.  This becomes a switch.

Then I laid the Conductive Fabric Tape down for the remainder of the positive (red) side of the circuit.

The last thing to do was apply my 2 White Blink Animating LED Light Stickers (gem shaped) and my 3 White LED Light StickersI placed the 2 White Blink stickers in the second and fifth positions of the menorah.

And here is the finished card.  When the word "LIGHT" is depressed on the front of the card, the circuit is completed and the lights are all activated!


Make sure to check out my video tutorial as to how this card and circuit is made... right HERE!

Thanks for joining me today!  Make sure to check out all the Chibitronics projects over on their blog.

Have a great weekend!

~ Ally ~
 
09 10