Sweet November Stamps ~ Meow-llo from Beebs!

Happy Sunday!  Today I'm sharing a card using the brand new digital stamp, "Beebs", from Sweet November Stamps.

"Beebs" is actually this month's Sweet November Stamps newsletter FREEBIE!  As a subscriber to the SNS newsletter, you will receive a code for a FREE download of a brand new digital stamp EVERY MONTH.  Make sure you sign up!  Yes... you can still purchase him afterwards!

To begin today's card I printed our fine kitty out on to X-Press IT cardstock along with a printed sentiment.

Let me tell you, this was a true EXPERIMENT of color.  I saw a piece of digital art of a little kitty that was built with a rainbow of color and I used it as inspiration.  Sorry, I can't find the image anywhere to link it.

I began by starting with my yellow base, building color according to the rainbow.   I would move a little bit of the color into previous areas to build depth and texture.


The little fella almost appears lit by yellow light from the front and a tealy-blue light from the back.  I love the end result!

Thanks for checking out my blog today!  Make sure you sign up for the Sweet November Stamps newsletter to get your new digital download FREEBIE next month!

~ Ally ~

Sweet November Stamps ~ NEW L'il Gnomies!

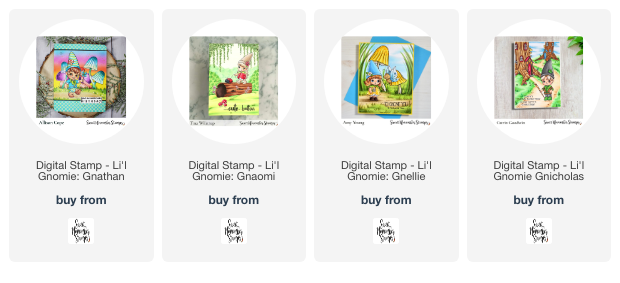
Happy Saturday!  I decided to have some fun creating with a brand new digital stamp set from  Sweet November Stamps. This weekend we're introducing the cute "L'il Gnomies" collection.  We have 4 brand new images for you to download and create with!

So this weekend's card features the adorable new "L'il Gnomies Gnathan" stamp set. I pulled my little cutie image into my editing software along with some of the cool mushroom images from the Midsummer Mushroom" collection; Button, Pixie Cap and Honey Cup images.

Once my image was printed on to my marker paper, I also printed it out on some of my Eclipse masking paper.  I cut the mask out and applied it to my printed image.

I began by creating my sky.  I wanted a happy, fun sky so I used my Copic air brush system to spray a rainbow effect across the card front.  I also sprayed down a color base for my ground and path.

Before removing my mask, I added a splatter of bright gold metallic paint.

Next I peeled off the mask and began coloring in my entire scene with my Copic Markers.

I also added some white paint marker accents to my scene.  I added some white dots to my purple mushrooms and some white daisies in the grass.

Aren't his striped pants and hat a hoot?!?!

Thanks for stopping by!  Make sure to check out all the new little cuties in the SNS Shop!

~ Ally ~

Craft Roulette & Sweet November Stamps ~ Make a Wish

Happy Tuesday all!  Hope you're having a great week so far!  Today's card is this past week's entry for Craft Roulette

The four parameters that the wheel gave us this week were:

  • Project: A2 Card
  • Colors: Ice Cream Store (lots of strawberry and lemon sorbets with green sprinkles)
  • Element: Tasty or Taste(s) (the chocolates & lollipop)
  • Random: Guest's Choice: Add a Banner (sentiment)

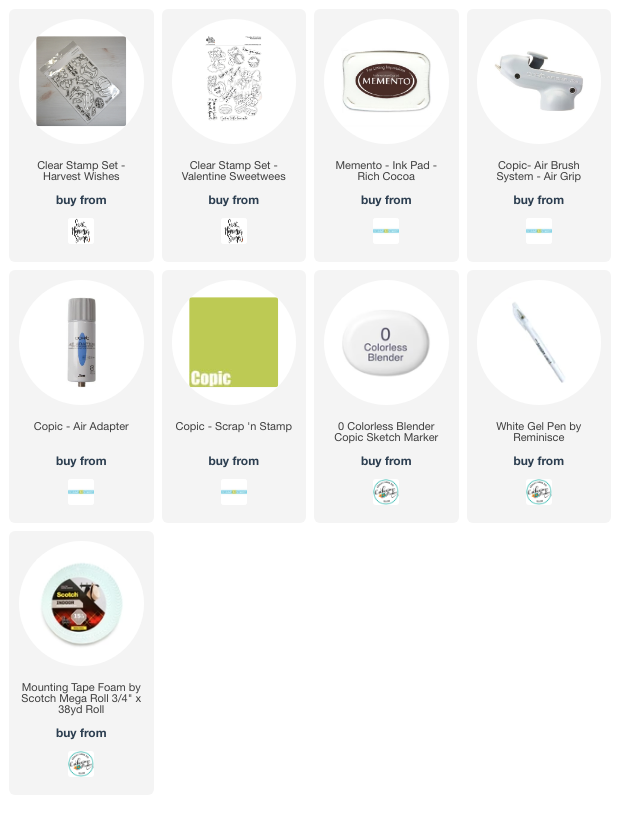
So this week's card features the Sweet November Stamps stamps sets "Valentines Sweetwees" and "Harvest Wishes".

I began my card by stamping the 2 little Wees and an additional chocolate treat in Memento Rich Cocoa ink.  I colored them all up in pinks, oranges and yellow Copics.  I wanted bright and fun colors you would find in an Ice Cream Shop.  I fussy cut them all out.


Next I stamped the large cluster of mushrooms from the "Harvest Wishes" stamp set using the same Rich Cocoa ink.  I stamped a mask from my Eclipse masking tape, fussy cut it out and applied it to the stamped image.

Next I used my Copic Air Brush system and applied the base teal green and dark green to the entire background.

Once the background was laid down, I added a grassy arch to frame up the scene.

I peeled off the mushroom cluster mask and colored them in with Copics.

Next I added some sparkle to the background: I used a Copic Blender pen to add white dots plus I added some dots of sparkly Stickles.  I also used a white Gel Pen to add a fading border around the card's edge.

Next I used some 3D foam tape to adhere on all of the little Wees and the additional chocolate image.

To finish it all up, I used a die cut birthday sentiment from my stash. 

Voila!  My card for Craft Roulette is complete!  PLUS don't forget to join us this Friday at 6:10pm CT for another fun episode of Craft Roulette!

Happy crafting!

~ Ally ~

Scrap 'N Stamp ~ Crafty Live: Bunny Fun!

Join me this evening at 8pm ET over on the Scrap 'N Stamp Facebook page for a fun Crafty Live.  Click here to visit.

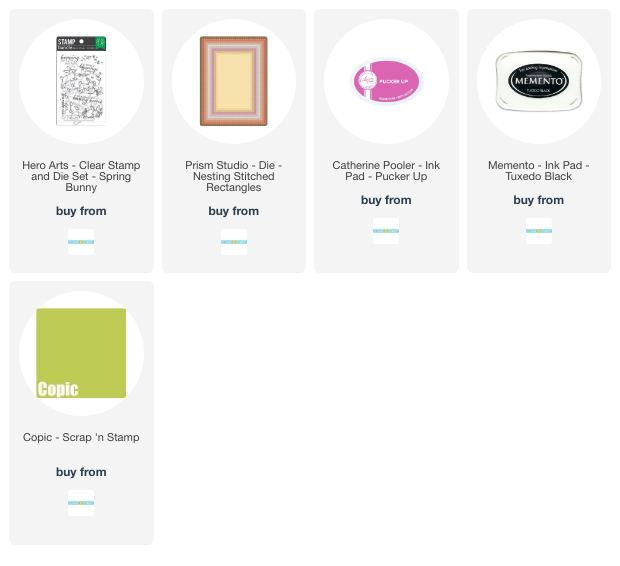
This week, I'll be playing with the sweet little bunnies from the Hero Arts "Spring Bunny Stamp Bundle"

Hope to see you there! 

~ Ally ~

Sweet November Stamps ~ Seas the Day!

Happy Saturday!  I decided to have some creative fun with a stamp set that I haven't used in awhile from  Sweet November Stamps.

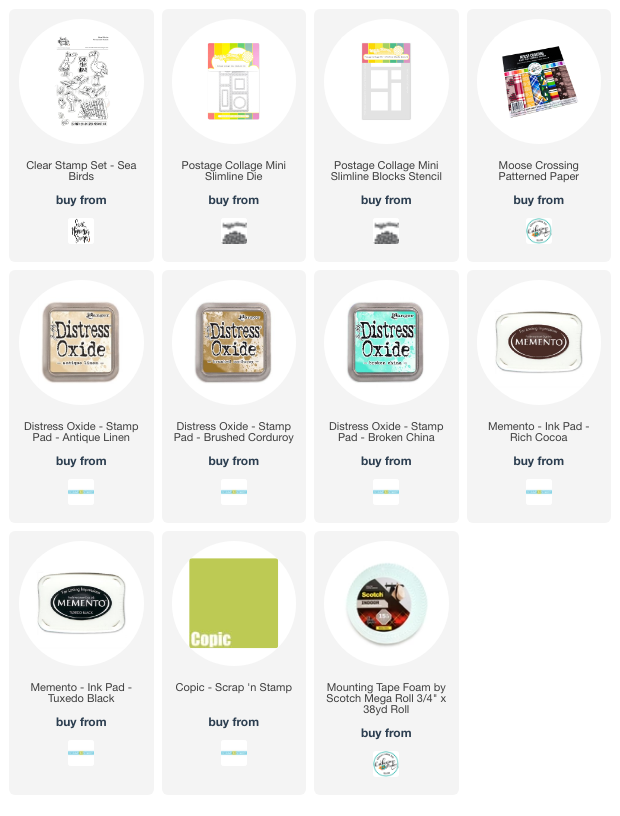
So this week's card features the adorable "Sea Birds" stamp set. I began by die cutting the Waffle Flower "Postage Collage Mini Slimline Die" and then applied the coordinating stencil to create my simple background.

I used Antique Linen, Brushed Corduroy and Broken China Distress Oxide inks to add "sea-capes" to each little box in the stencil.  Then I added some bold gold splatter across the boxes and removed the stencil.


I also stamped the sentiment and then all the little grass elements within the boxes from the "Sea Birds" stamp set.

Then I stamped the 2 gulls and the pelican images using Rich Cocoa Memento ink.  I colored each sea bird in with Copic Markers and then fussy cut them all out.  I adhered each bird on some 3D foam adhesive and added them across the card.


Lastly, I added a fun pop of yellow patterned paper from the Catherine Pooler Designs paper pack, "Moose Crossings".

Thanks for stopping by!  Have a great rest of the weekend everyone!

~ Ally ~

Sweet November Stamps ~ PenPal Woodsy Wishes

Happy Thursday!  This past month I began a penpal swap for fans of Sweet November Stamps. Each fan signed up to receive another SNS fans mailing address to send a card and message to.

So this week's card features the card I made and sent to penpal!

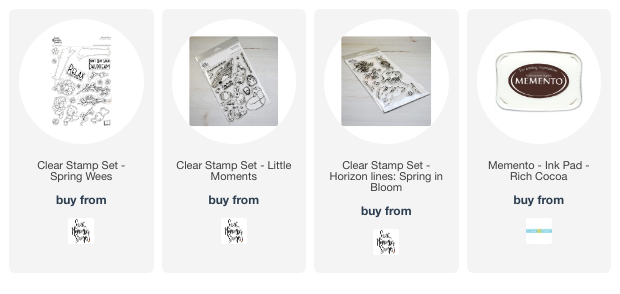
This card features the sweet mouse and fairy from the "Spring Wees" stamp set, the cool woodland log from "Little Moments" stamp set and the trees "Background Builder: Spring in Bloom".

I started my scene by stamping the mouse and fairy.  Then I masked each of those off.

Then I stamped the forest log image and added a mask over it.

Then I stamped the 2 sets of tree images in the background.

I decided to air brush the soft blue sky first and then I colored my trees right over top of the blue.


Thanks for stopping by!  Have a great rest of the week everyone!

~ Ally ~

Chibitronics - Blinking Mushroom Card

Happy Wednesday all!   Today I'm over on the Chibitronics YouTube channel showing you how I made today's blinking mushroom card.

You can click the image below and check out the whole circuit building technique. 


Now... a little run down as to how I made this circuit using photos.

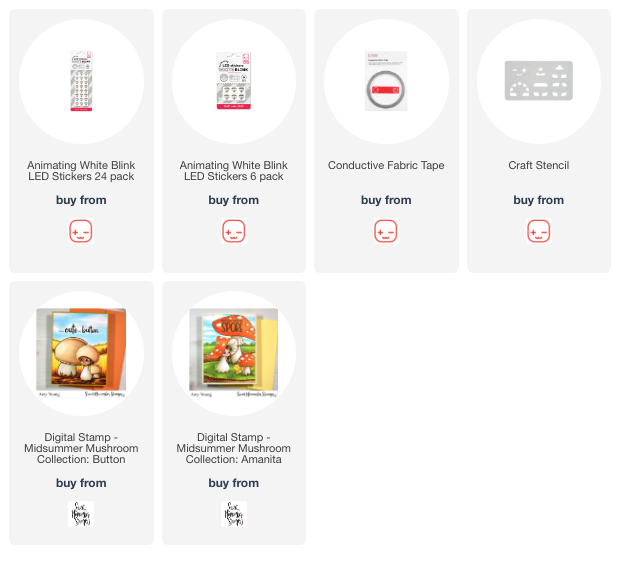
I first created the 2 panels of my mushroom background and two little mushroom gals.  These images are from the Sweet November Stamps digital images, Midsummer Mushroom Collection, "Amanita" and "Button".

I used the outline of my mushroom cap and located the 4 positions of my LED Lights on my image.  I then took my Craft Stencil and outlined all of the 4 positions of my light stickers on my circuit base.

I placed my Battery Holder under what will be my sentiment location will be to create my switch for my circuit.  The Battery Holders are very easy to use - it's just a peel and stick.

Next I drew the lines of my circuit.  Starting with the negative side of the circuit, I drew my blue line from the inside bottom of the Battery Holder all the way up to the "pointy" ends of the light stickers.

Then I drew the red lines of the circuit, the positive side of the circuit. In this case, they're sharing a single line of the circuit.

I decided to add my 4 Animating White Blink LED Light Stickers to their locations along the circuit.  Just peel and stick! You can add your stickers first before applying your Conductive Tape or afterwards!

Next I added the Conductive Fabric Tape to my circuit.  I started by applying a single piece of Conductive Tape across the LED Light Stickers and the adding an additional line of tape to take it into the base of the Battery Holder to make contact with the bottom of the battery.

You can cut your Conductive Fabric Tape easily to make another connection point on your circuits. You just have to make sure you overlap your tape.

The positive line of the circuit always starts inside the flap of the Battery Holder.  This end of the tape must contact the battery when the switch is activated/pressed. 


And finally to complete the circuit, I peeled the backer off the C-shaped foam and adhered inside the Battery Holder.  This foam holds the 3V Battery in place so it doesn't move around.  Take off the backer paper on the top of the foam C and close the lid of the Battery Holder and test your circuit!

And voila!  Here's what the card looks like all lit up!  Just press the switch, in this case, pres the word "Spore" and the card lights up and begins to blink!!!

Don't forget to check out how this circuit was built over on the YouTube channel!

Thanks for stopping by!

~ Ally

Sweet November Stamps & Craft Roulette: The Fairy Touch

Happy Monday all!  Hope you're having a great week so far!  Today's card is this past week's entry for Craft Roulette

The four parameters that the wheel gave us this week were:

  • Project: Card with a Heart
  • Colors: Vintage (lots of rich rusts and reds this week)
  • Element: Plant (the florals)
  • Random: Lace on the Base (lacy doily on the top & along her dress)

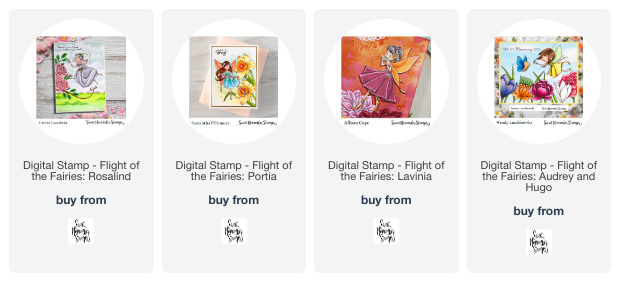
So this week's card features brand new Sweet November Stamps digital image from the Flight of the Fairies digital collection, "Lavinia".  This sweet little fairy is playing her pan flute in the forest of Dahlias from the "Scene Builder: Dahlia and Peony".


The background paper is from one of my Scrap 'N Stamp Crafty Live videos called "Beautiful Bokeh" and I just knew I had to pair it with this sweet fairy.

I actually popped up the florals and fairy from the background with foam!


To check out all the brand new fairies, you can click the link at the bottom of the page.

PLUS don't forget to join us this Friday at 6:10pm CT for another fun episode of Craft Roulette!

Happy crafting!

~ Ally ~

Sweet November Stamps ~ Flight of the Fairies

Happy Saturday!  It's time for a new mini digital release from Sweet November Stamps.

So this week's card features one of the new "Flight of the Fairies" digital stamps.  I used the sweet "Portia".

I configured my scene using "Portia" along with stone wall from the "Scene Builder: Castle" collection.  I printed out my scene onto X-Press It cardstock plus I also printed out an image onto my masking paper.  I cut out my mask.

Next I applied the mask to my panel and used my Copic air brush to spray down a light teal background.  Then I took a plastic fern and applied darker teal through the fern to achieve the fern background.  I also applied some green toned marker colors to the grassy foreground before removing the whole mask.

I then I colored up the stone wall.  I used a variety of Tonal greys, Cool Greys and Warm Grey Copic Markers.

I then colored up my pretty "Portia" fairy.  I wanted a wispy look so I added some White Gel Pen dots to make her appear floaty and dreamy.

To finish off the card, I stamped the sentiment on a piece of paper using CP Uptown ink and added in to the bottom.

Thanks for stopping by!  Have a great rest of the weekend everyone!

~ Ally ~

Catherine Pooler Designs ~ NEW Inks Are Here & an Insta Hop! *Prize!*


New ink colors from Catherine Pooler Designs are here!  We have three new Party Collection inks: Lemon Sorbet, Creamsicle and Frosted.

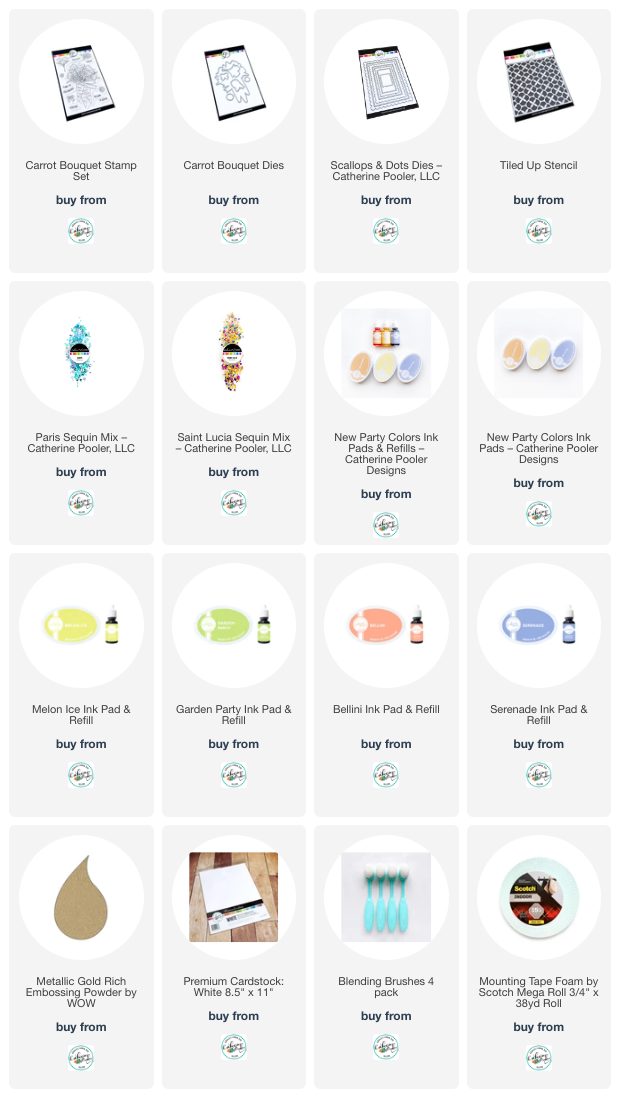
Today's card features all three colors and the new "Carrot Bouquet".  I began by stamping the beautiful veggie bouquet with Versamark ink and added gold heat embossing to the image.

I used our 3 new inks, Lemon Sorbet, Creamsicle, and Frosted along with Bellini, Melon Ice and Garden Party ink to watercolor in the image.

I die cut out the image using it's coordinated die set, "Carrot Bouquet Dies".  I stamped the Happy Birthday sentiment onto the bow tails from the same stamp set.

Next I created my orange panel to mount my bouquet on.  I first used the "Lemon Sorbet" and "Creamsicle" inks direct to paper and blended them together slightly.  Next I took the "Tiled Up Stencil" and added some Bellini ink threw the stencil to create the unique pattern.  I splattered this panel with some black acrylic paint.

Next I die cut the large "Scallops & Dots Die" rectangle and blended some Frosted ink along the edges and adhered the scalloped panel to it.

I adhered the carrot bouquet using some foam tape and I added some purple and clear sequins from the "Paris Sequins" and "Saint Lucia Sequins" packs.

NOW... how can you WIN???

Head on over to Instagram and Catherine Pooler's account; @catherinepooler .

You'll want to follow each participant, leave a comment and share it with a friend!

You have the opportunity to WIN a $100 gift certificate to the Catherine Pooler Designs shop.

Commenting ends Monday, March 18th at 11:59 PM EDT.

Good luck!

~ Ally ~

Scrap 'N Stamp ~ MISTI Tool Tips & Tricks


Join me TODAY at 2pm ET over on the Scrap 'N Stamp Facebook page for a fun live Technique Tuesday event.  Click here to visit.

This week, I'll be playing with the MISTI tool and talking all about the ways to use it.

Hope to see you there! 

~ Ally ~

Catherine Pooler ~ Happy Easter

New ink colors from Catherine Pooler Designs are COMING TOMORROW!  We have three new Party Collection inks: Lemon Sorbet, Creamsicle and Frosted.

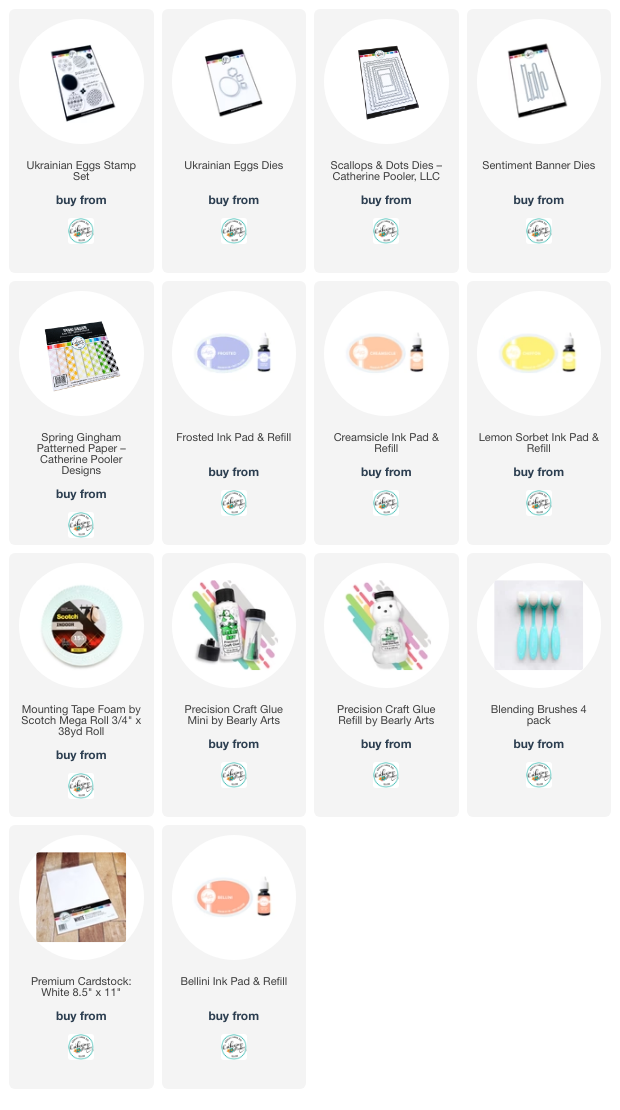
Today's card features all three new colors and the beautiful stamp set, "Ukrainian Eggs".

I started off by stamping 3 egg shaped stamp bases from the "Ukrainian Eggs" stamp set.  Then I added the decorative patterns on top of egg - I used the same color of ink on each one and stamped it multiple times. I did end up stamping the Lemon Sorbet inked egg base with Creamsicle ink just to make sure the pattern showed up.  I took my polychromos pencils and added some tracing on some of the elements included the stamped flowers.

For the gingham base, I first cut a piece of white cardstock with the "Scallops & Dots Dies" and inked it up with some of the new Frosted ink.  Then I cut a piece if the "Spring Gingham", the Garden Party color, and adhered and stitched the gingham to the scalloped piece.


To add the final touch, the sentiment, I stamped it in Frosted ink and die cut it with the "Sentiment Banner Dies".

Hope you have a wonderful and creative week!  Don't forget to stop by TOMORROW as Catherine Pooler and a few of her crafty friends will be having a INSTAGRAM HOP where you could win a $100 gift certificate to the CP shop!

~ Ally ~

Craft Roulette ~ Royal Crowns

Happy Monday!  Hope you're having a great week!  It feels like Spring here in Southern Alberta.  Today's card is this past week's entry for Craft Roulette.  This will be my 61st submission.

The four parameters that the wheel gave us this week were:

  • Project: Include an Envelope (little mini envelope with a frog stamp)
  • Colors: Party (lots of bold colors this week)
  • Element: Crown(s) (they all have crowns)
  • Random: 3 Strips of Paper (3 little red banner ends)

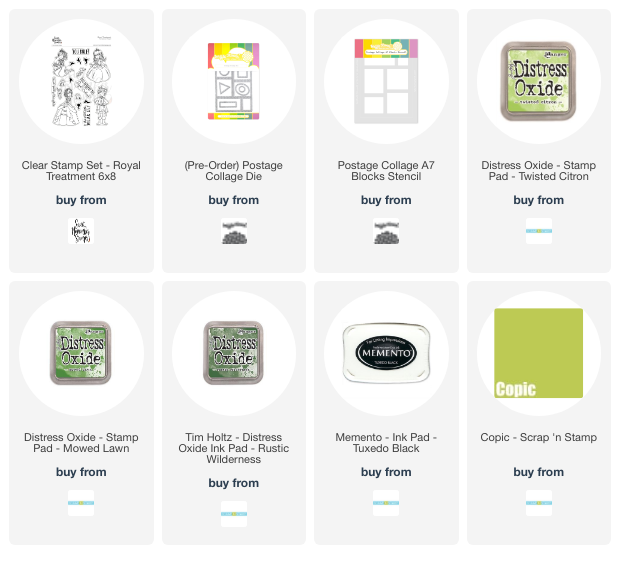
So this week's card features the "Royal Treatment" stamp set by Sweet November Stamps.  I started with the Waffle Flower Postage A7 Collage die and stencil set.

I stamped all of my little prince and princesses with their frogs first.  Then I masked them all off and then added a blend of Distress Oxides of green in the background.

I colored all of my images using Copic Markers.

I decided to cut all of the stamps apart and laid them on a square card instead of creating an A7 sized card.

Make sure to check out Craft Roulette over on YouTube and join us every Friday at 6:30pm CT for a brand new episode! Hope you'll join us Friday for the next episode with Ann Butler!

Hope you have a great week!

~ Ally ~
Catherine Pooler Designs ~ New Inks Are Coming!

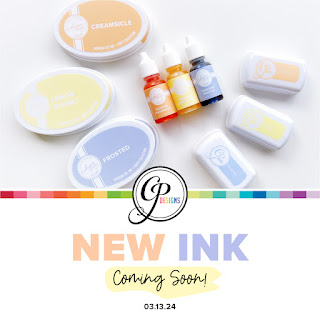
New ink colors from Catherine Pooler Designs are COMING SOON!  We have three new Party Collection inks: Lemon Sorbet, Creamsicle and Frosted arriving on Wednesday.

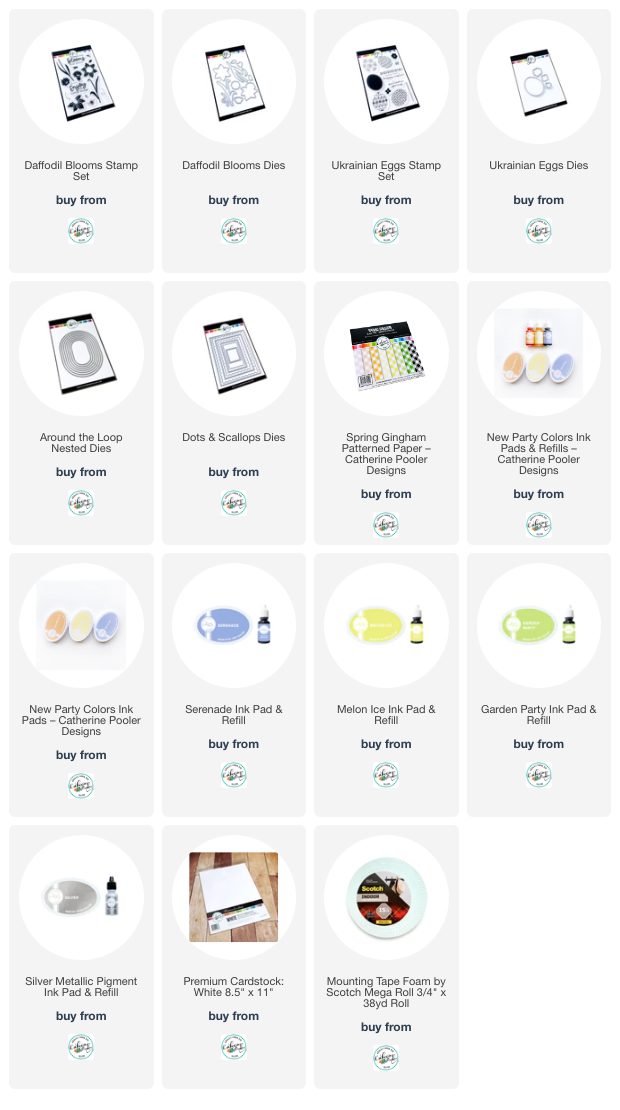
Today's card features all three new colors and the beautiful "Daffodil Blooms" stamp set.  I used Creamsicle for the matting, the inside of the daffodils and also the tops of the daffodil stems.  I used the Lemon Sorbet ink for the daffodil insides and also the subtle background, using the "Ukrainian Eggs" stamp set. I used the new Frosted ink for the base color for the daffodils and the dot clusters.


The pretty gingham is part of the new "Spring Gingham" patterned papers and die cut with the "Dots & Scallops Dies" for the outside and the "Around the Loop Nested Dies" for the inside of the gingham panel.

I hope you are excited about these 3 beauties coming to the CP shop!

Happy inking!

~ Ally ~

Sweet November Stamps ~ Little Moments with Bunnies

Happy Saturday!  Today I'm sharing another fun card using some cute bunnies from Sweet November Stamps.

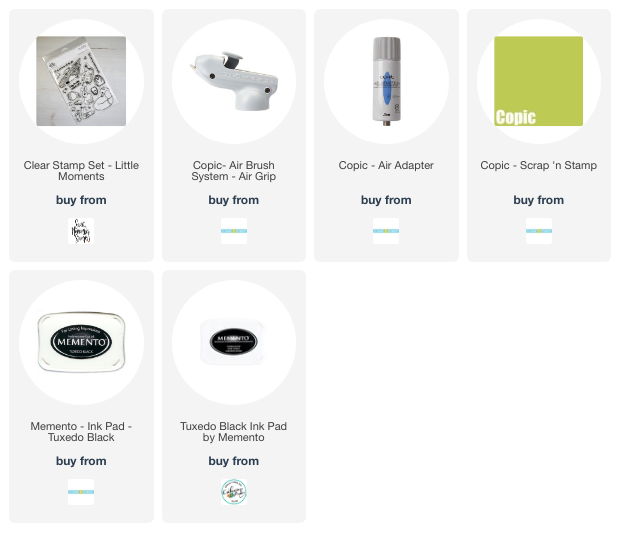
To begin today's card, I stamped my two little bunnies from the "Little Moments" stamp set in Memento Tuxedo Black ink.  I then masked them both off and then stamped the tree trunk from the same stamp set.  I then masked it off as well.

Then I began adding some soft Copic color to my entire card using my Copic Air Brush system.  I blocked in the sky and the ground.

Next I colored in the tree line, 2 little trees and the overhead canopy of leaves.  Then I colored in the foreground.

I peeled off all 3 masks and colored in the tree stump and the 2 bunnies.

To finish off the card, I stamped the sentiment at the top.

Thanks for stopping by!  Have a great rest of the weekend everyone!

~ Ally ~

 
09 10