Showing posts with label background tutorial. Show all posts

Scrap 'N Stamp & Catherine Pooler ~ Secrets to Success with Metallic Inks

Today at 2pm EST I was LIVE sharing a tutorial on how to have success with Metallic Inks.

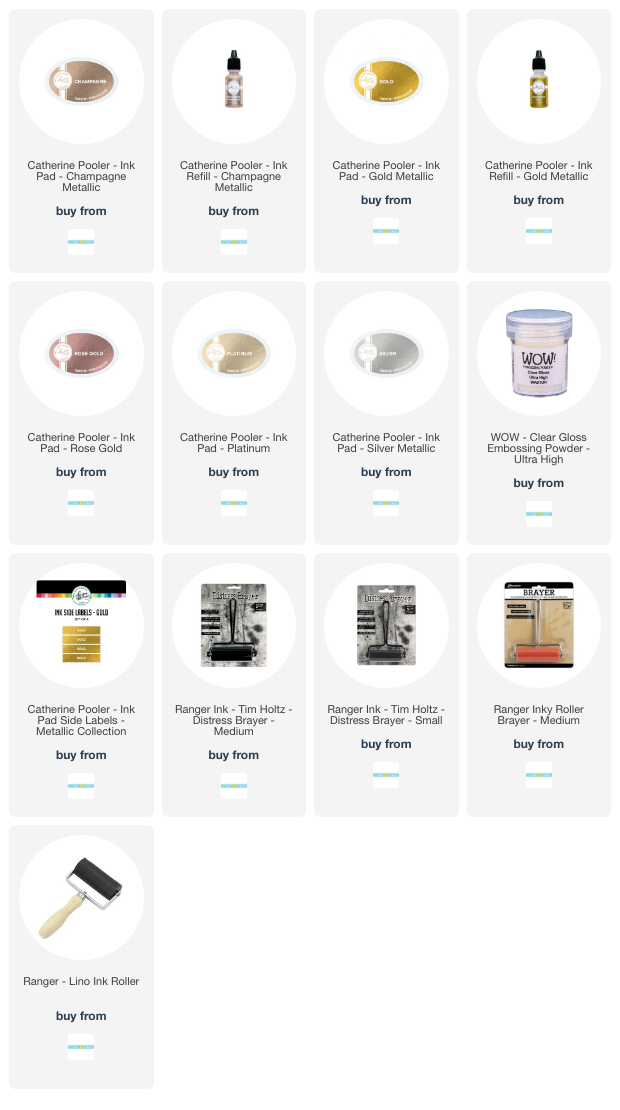
The image above features the Catherine Pooler Designs stamp set called "Blowing Leaves" plus all of the cool CP metallic inks: Silver, Gold, Platinum, Rose Gold and Champagne.

Here's the video of today's tutorial...


You can also find the tutorial over on the Scrap 'N Stamp Facebook page, HERE.

Don't forget to purchase your refills when buying your metallic inks - you won't regret it!!!

Hope you'll check it out!

~ Ally ~

Scrap 'N Stamp ~ Mixed Media & Lavinia

Join me today at 2pm EST for a LIVE tutorial on how to create a mixed media panel featuring Lavinia products.

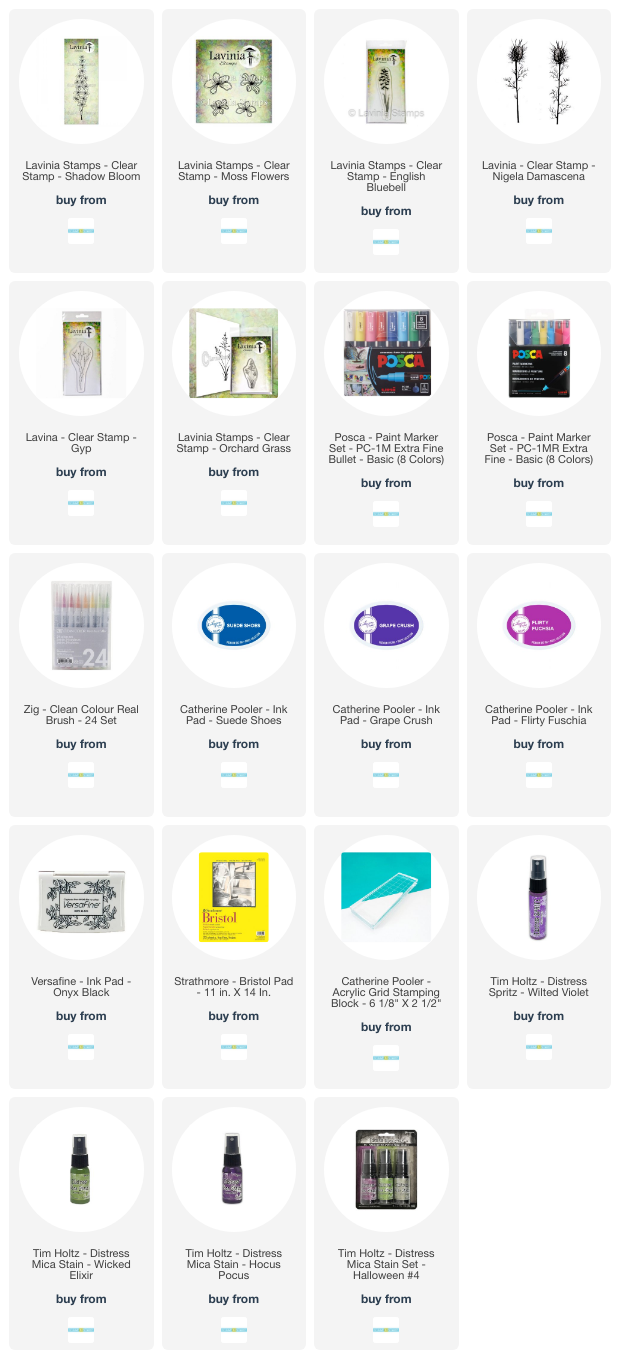
The card above features the Lavinia "Shadow Bloom" and "Moss Flowers" stamp sets plus all kinds of other mediums.

I'll be over on the Scrap 'N Stamp Facebook group! 

Hope to see you there!

~ Ally ~

Pink & Main ~ Stay Sparkly Mermaids

Happy Tuesday all!  Today I'm sharing another fun card featuring the May release from Pink & Main.

I started by making my background for my little mermaid friends.  I used a variety of blue shades of Distress Oxides and swiping and blending them together.  If you're interested in how I did this EASY background, you can check out my live tutorial over the Scrap 'N Stamp FB page HERE.

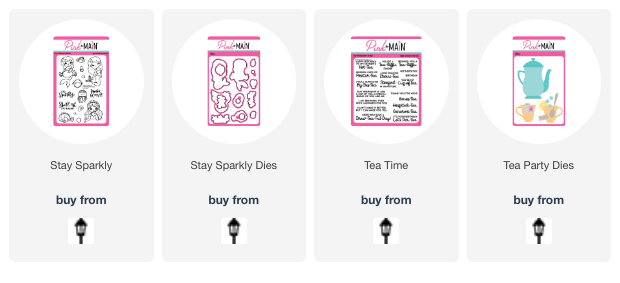
Next I stamped out my two lil mermaids, some fish and a shell  from the "Stay Sparkly" stamp set with Memento Tuxedo Black ink and colored them up with Copic Markers.  I trimmed the grassy blades from the side of the one mermaid and added them to the sand bottom instead. I cut everything out using their coordinating dies.

I die cut out the tea pot from "Tea Party Dies" and coloured my die cut in.  I tried to make it look like it was older and even had a few cracks in it under the sea.

Next off I torn some kraft cardstock into a few strips and added them layered to the bottom of my sea background.  I tucked the shell, tea pot and grasses into the layers sometimes elevating them with 3D foam adhesive.  Then I added the 2 mermaids and their fishy friends to the sea scape.

For the sentiment, I took a greeting from the "Tea Time" stamp set and stamped on my sandy bottom. I think the tea related and "bestie" sentiment goes well with the scene!

As a finishing touch, I added some dots to the sand and some bubbles to the water.

Such a fun card to make!

Make sure you check out all the new products from Pink & Main today.  They have some VERY COOL foil products too!

Have a fantastic rest of the week!

~ Ally ~

Sweet November Stamps & Craft Roulette: The Fairy Touch

Happy Monday all!  Hope you're having a great week so far!  Today's card is this past week's entry for Craft Roulette

The four parameters that the wheel gave us this week were:

  • Project: Card with a Heart
  • Colors: Vintage (lots of rich rusts and reds this week)
  • Element: Plant (the florals)
  • Random: Lace on the Base (lacy doily on the top & along her dress)

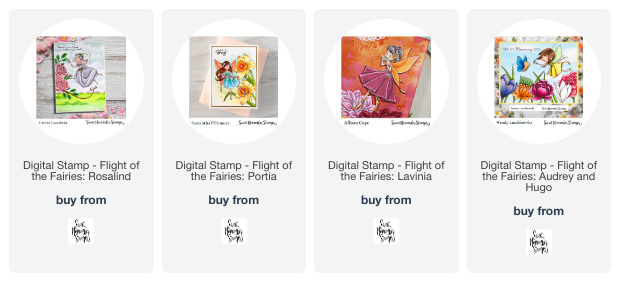
So this week's card features brand new Sweet November Stamps digital image from the Flight of the Fairies digital collection, "Lavinia".  This sweet little fairy is playing her pan flute in the forest of Dahlias from the "Scene Builder: Dahlia and Peony".


The background paper is from one of my Scrap 'N Stamp Crafty Live videos called "Beautiful Bokeh" and I just knew I had to pair it with this sweet fairy.

I actually popped up the florals and fairy from the background with foam!


To check out all the brand new fairies, you can click the link at the bottom of the page.

PLUS don't forget to join us this Friday at 6:10pm CT for another fun episode of Craft Roulette!

Happy crafting!

~ Ally ~

Scrap 'N Stamp ~ Quick Backgrounds for Simple Cards


Join me TODAY at 2pm ET over on the Scrap 'N Stamp Facebook page for a fun Technique Tuesday live video.  Click here to visit.

This week, I'll be playing with some cool Catherine Pooler Designs inks to make some quick backgrounds to make some simple cards!

Hope to see you there! 

~ Ally ~

Scrap'N Stamp ~ Scene Building Tutorial

Today, over on the Scrap'N Stamp Facebook page, I shared some fun tips and tricks for building scenes using your stamps.

You can check out the full video tutorial right HERE.

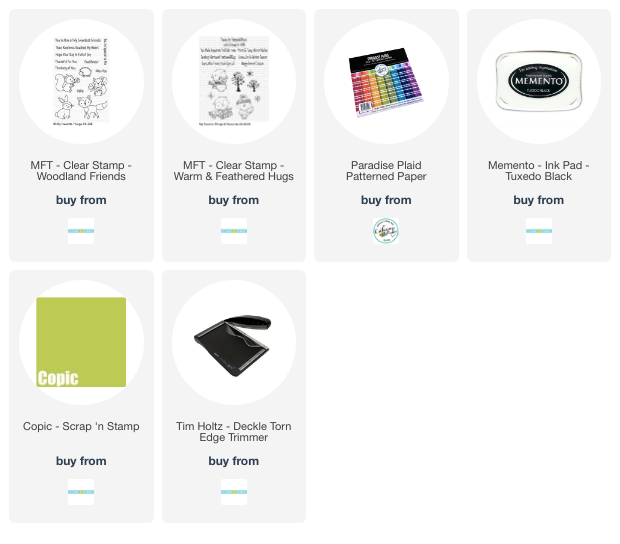
My cards featured the My Favorite Things stamp sets; "Woodland Friends" (all the critters), "Scene Builder" (the landscape and leafy trees) and "Warm and Feathered Hugs" (the bare trees).

I wanted to share my card from the video first.  This card shares the scene I built with the sky and grass area inked with Distress Oxides.

And here is the card all finished up using Copic Markers.  I used a Deckle Edged Trimmer by Tim Holtz to give my colored panel a funky edge.

I used some Polychromos Pencils to add some of the deeper shadows and fur details...

I hope you come and check out my tutorial and find lots of crafty tips while watching!

PLUS... the cards that I typically create, I tend to giveaway to any live attendee of my video.  Join us to win one of my creations.

Have a great day!

~ Ally ~

Scrap'N Stamp ~ Paper Kintsugi Tutorial


Join me TODAY where I'm LIVE on the Scrap'N Stamp Facebook page at 2pm ET for my weekly Technique Tuesday.

I'm going to be playing with the fun technique called Paper Kintsugi (pronounced kin-sin-gee).  Also meaning "golden jointery" or "golden seams".

Kintsugi fosters the idea of that a broken object can be repaired and be made to be useful again.

See you there!

~ Ally ~

Scrap'N Stamp ~ Layered Flowers & Leaves

Join me tomorrow where I'm LIVE on the Scrap'N Stamp Facebook page at 2pm ET for my weekly Technique Tuesday.

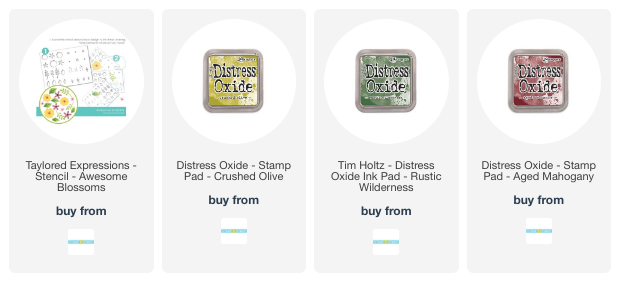
I'm going to be playing with the fun Taylored Expressions layered stencil "Awesome Blossom" and lots of fun Distress Oxide inks.

See you there!

~ Ally ~

Scrap'N Stamp ~ Black Magic Fairy


Join me today over on the Scrap'N Stamp Facebook page where I share a video showing you how to create a card with the BLACK MAGIC technique!

Click HERE to join me!

Have a great week!

~ Ally ~

Scrap'N Stamp ~ Crafty Video: Double Stencilling


Happy Sunday!  I am away at camp with my Scouts this week but I couldn't leave your crafty hands empty today!

I made a simple video all about creating with the DOUBLE STENCILLING technique.

My short video shares 4 ways in how to use this fun technique.

CLICK HERE to take a peek at today's video.

Have a great week everyone!

~ Ally ~

Feathered Friends

Happy Hump Day everyone!

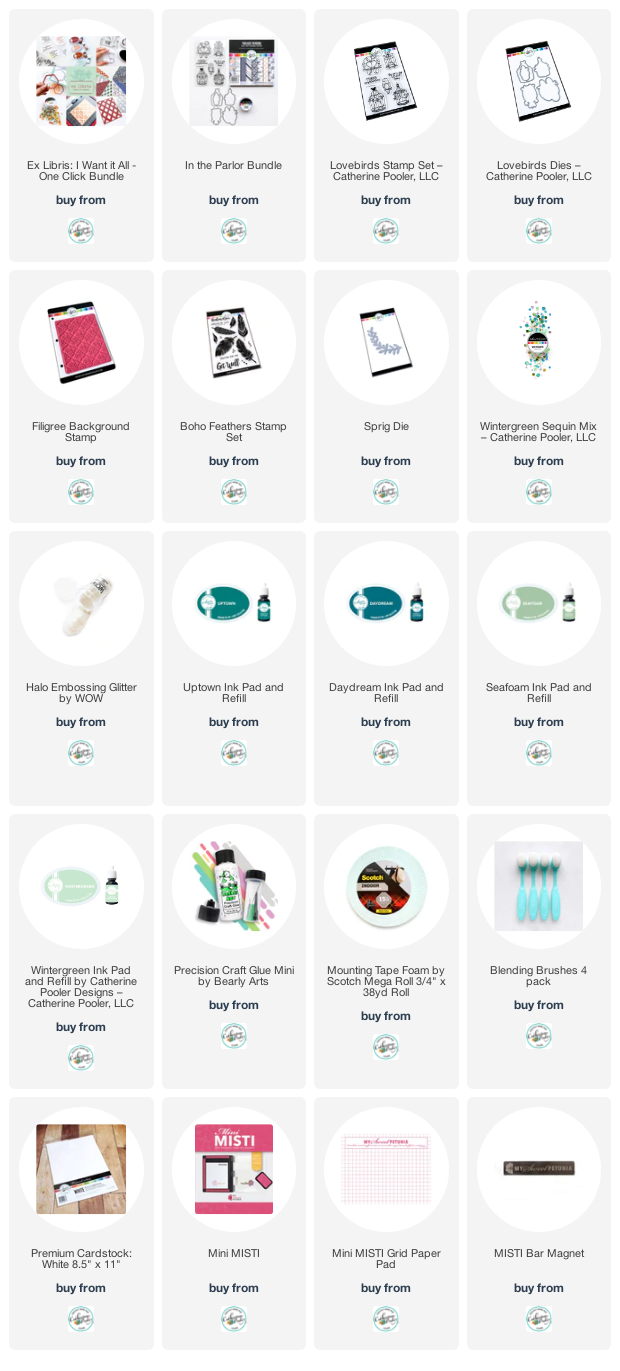
I've been having a lot of fun lately just playing with some more layered backgrounds.  I began this background by first embossing all the different sises of feathers from the "Boho Feathers" stamp set all over my cardstock using Halo Embossing Powder.  Then I took my four inks, Wintergreen, Seafoam, Daydream and Uptown, and adding them randomly across the feather embossed images.

Then I took the stunning "Filigree Background" stamp and inked it up in Uptown ink in a splotchy manner and pressed over the entire feather back drop.  I love that the Filigree images are not crisp and even.

Next I die cut 2 branches from the "Sprig Die" and inked up one with Uptown ink.  I stamped and die cut out the 2 little lovey birds from the "Lovebirds" stamp set.  I colored them up with Copic Markers to match the backdrop colors.  A few "Wintergreen Sequins" were added and the card is complete.

I left my card without a sentiment today since I think it's cute without but I certainly could add one if I needed at a later date. 

Have a great day!  I hope you're able to get get crafty today!

~ Ally ~


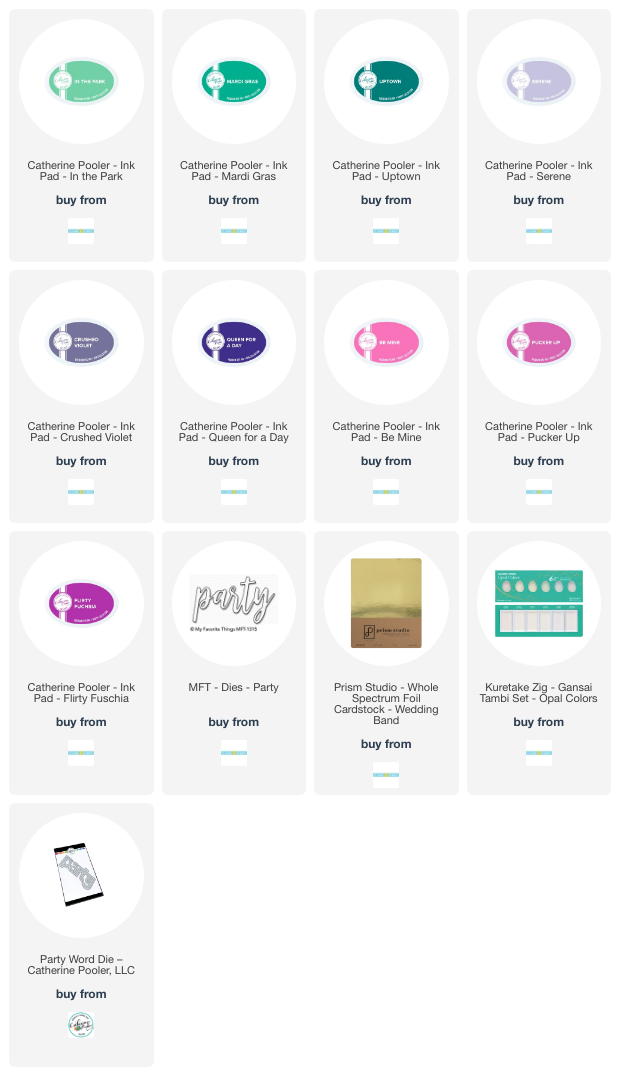
This post contains affiliate links.  By pressing any of the linked images below and making a purchase in the CP Shop, I make a small commission.  This allows me to bring more content and new products.  This is my one and only income.
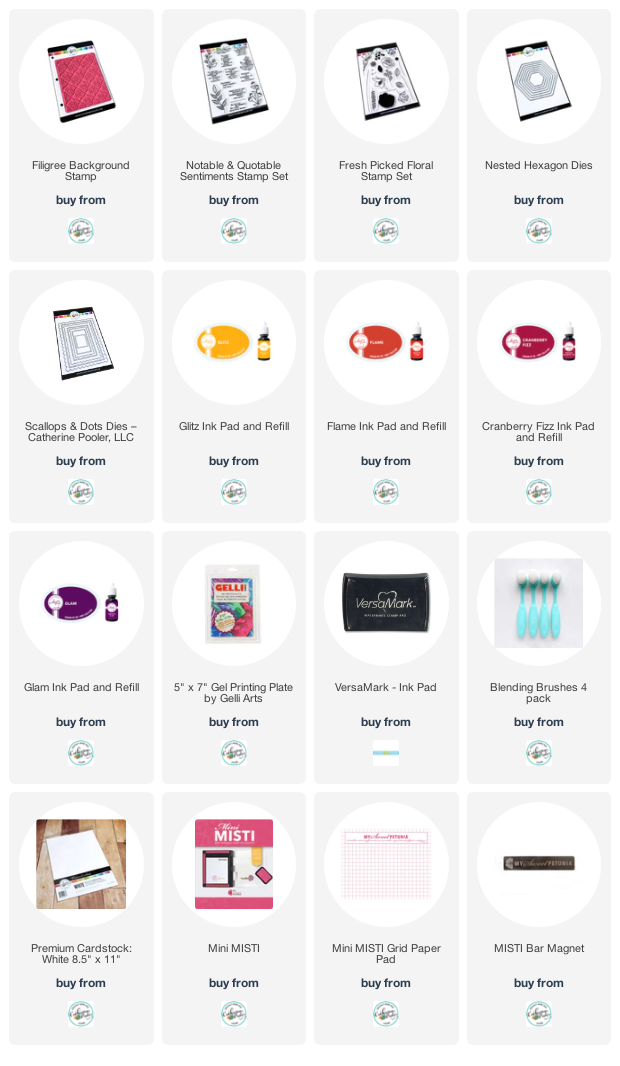
CP ~ For the Love of Filigree


Happy Thursday all!  Yesterday during Catherine and Erika's live on YouTube I was inspired to pull out my Gelli Plate. 

I had already decided I wanted to use the beautiful color palette of Glam, Cranberry Fizz, Flame and Glitz inks.  So I used my Gelli Plate and created a bold ombre effect of inky color straight down my cardstock.

Then I took the new "Filigree Background" stamp and stamped the same ink colors around just the edges of the stamp and added it to my background.  To get a more subtle pattern in the center to allow from my greeting, I used just a little bit of Versamark ink to get a subtle pattern.

I stamped my greeting from the new "Notable & Quotable Sentiments" stamp set in Glam ink and then framed it up with our new "Nested Hexagon Dies" and a few cut leaves from the same stamp set.  I used the solid leaf stamp from the previously released "Fresh Picked Floral" stamp set to "ink in" the leaves.

I die cut a rectangle from the background using my favorite "must-have" dies, the "Scallops & Dots Dies" and backed with a simple, thin frame.

And voila... a card was born!  I just can't get enough of that "Filigree Background" stamp!

Have a fabulous and crafty day!

~ Ally ~


This post contains affiliate links.  By pressing any of the linked images below and making a purchase in the CP Shop, I make a small commission.  This allows me to bring more content and new products.  This is my one and only income.

Do-It-Yourself Ombre Plaid Holiday Greetings

Happy Tuesday evening!  Tonight I'm sharing a requested tutorial featuring products from Catherine Pooler Designs.

Someone requested to know how I created the plaid from THIS card.

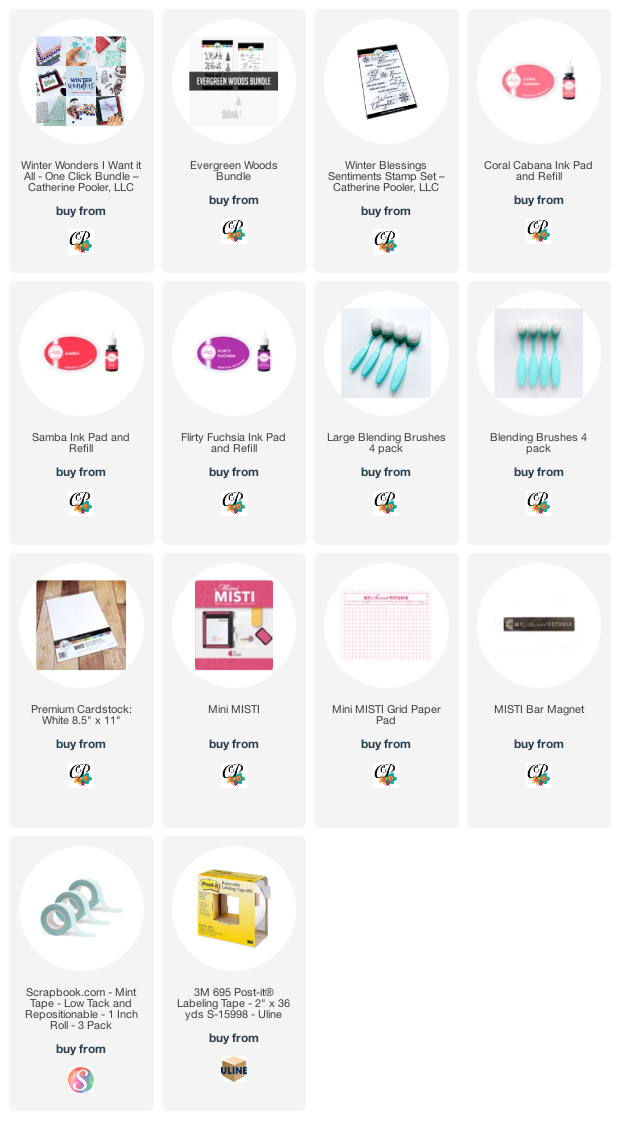
I created today's card featuring the new stamp set "Winter Blessings Sentiments" and Coral Cabana, Samba and Flirty Fuchsia inks.

Check out my real-time video tutorial: (Click the image below)

Let me know what you you think about this technique!

Have a great night!

~ Ally ~


This post contains affiliate links provided at no extra cost to you.  All brand new products will be hitting the CP shop on tomorrow at 9am ET...

CP INK-aversary ~ Gelli Plate Background

Happy CP INK-aversary this lovely Saturday!  

November marks the 5th anniversary of Catherine Pooler's inks!  Happy INK-aversary everyone!  The whole Catherine Pooler Designs team is celebrating everything INK!!  To celebrate we are having a CP INK SALE!!!

 
Ink Flash Sale on Ink Pads & Refills

Our Flash Sale runs November 1st- 2nd. All full size Ink pads and refills will be 15% off!  (excluding the 6 new Luxe colors). We almost NEVER put our ink on sale, so this is a very special offer!   

PLUS... A Refresh of 3 Classic Colors
Coming January of 2022... 
We're so excited to now be able to bring a more highly saturated version of our classic colors: Mint to Be, It's a Boy & Sweet Sixteen.  These refreshed colors will be added in January 2022 to our party collection as we retire our three classic colors.
 
Inks go on SALE for November 1 & 2 ONLY!

Today I thought I'd share one of my favorite inky techniques today using a Gelli Plate.  

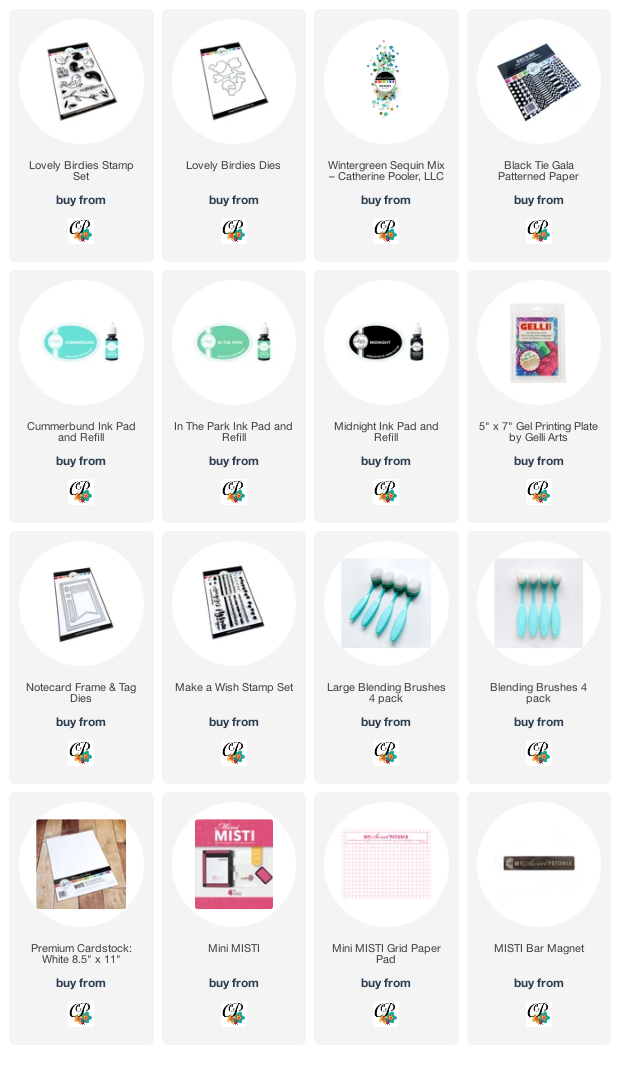
I love making cool backgrounds so I pulled out my 5x7 Gelli Plate and some gorgeous Cummerbund and In The Park inks.  I used the "Lovely Birdies" to adorn my background along with a piece of "Black Tie Gala" patterned paper and some "Wintergreen Sequins".

I've decided to keep track of these fun color combos using the tag from the "Notecard Frame & Tag Dies" set and the little star from the "Make a Wish".  I created a printable template for the tag to be temporarily adhered to and passed through my printer for all the ink names. Voila!  A fun tag!

Now, take a few minutes and checkout how I made this fun background.  Click the image below...


See you tomorrow with more inky inspiration!

~ Ally ~


This post contains affiliate links at NO EXTRA cost to you!

Be a Mermaid


It's Day TWO day of the JULY Krafty Peeks at Kraftin' Kimmie Stamps!!

Today we've got an incredibly magical new stamp set for you! We've got a brilliant new collection of fantastic images from artist Sabrina van Vloten! It's called... BE A MERMAID! I mean...who DOESN'T wanna be a mermaid?


This sweet new set features FIVE mermaid images (including an awesome mer-dude) plus some underwater friends, accessory stamps and some coordinating sentiments!

For my card I used this sweet little mer-gal and her 2 little manta ray friends!  For my back ground I used the amazing "She Sells Seashells Stencil".  First I laid down a layer of white pigment ink.  Then I moved my stencil a little bit down and lightly blended or new ink "Fresh Fields" and "Lovely Lagoon" & "Stormy Sky".


Check out BE A MERMAID in action as you hop around the Krafty Team's blogs today! You'll also see the new stencils, new ink and new dots along the way!! Be sure to leave some love at each stop because I'm going to give away some krafty $$ to a lucky commenter!

You'll see MORE of our brand new goodies on Saturday and everything will be released at our LIVE Online Release Party in the Krafty Friends Facebook group on
Saturday, July 11th at 2pm EST!

And be sure to come on back tomorrow for one MORE fun-filled summer stamp set!!
Happy hoppin'!

~ Ally ~


stamps: KKS (Be a Mermaid)

cardstock: Recollections (110# White), Catherine Pooler (Sand Dunes)

inks: KKS (Totally Taupe, LovelyLagoon, Fresh Fields, Stormy Sky), ColorBox (Frost White), Copic Markers, Polychromos Pencils, FineTech (Red-Brown), DecoArt Paints (Black, White)

stencils: KKS (She Sells Seashells Stencil)

You are invited to the Inlinkz link party!

Click here to enter

Introducing... Solid Holiday!

We're back with more inky goodness for our Day Two of the OCTOBER 2019 release for Kraftin' Kimmie Stamps!

Today we have another holiday set by our fabulous artist, Melissa Baker-Nguyen!  It's called... Solid Holiday!

Such a lovely assortment of solid festive images... trees, ornaments, pressies and I adore the coffee mug! They can be used as accessory images on your creations, on tags, bags, stamped in all sorts of coloured inks!! Or make your own patterned papers! So many possibilities!

I had a ball making my own patterned papers using all those sweet little trees and our new “Stormy Sky” ink.  To make even more festive, I used some fun metallic cardstock too!


For my second card, I went a little more with a layered, rustic look!  Cute little tags. Lots of layers!  PLUS, I even made my own wood grain paper for the background using some Totally Taupe, Creamy Caramel, Granite Grey, and Marvellous Mocha inks.  Too cool!


Check out Solid Holiday stamp set in action as you hop around the Krafty Team's blogs today! Be sure to leave some love at each stop because Kimmie is going to give away some krafty $$ to one lucky commenter!

You'll see MORE of our brand new goodies over the next couple of days of Krafty Peeks and everything will be released at our LIVE Online Release Party in the Krafty Friends Facebook group on Saturday, October 19th at 2pm EST!

For now, hop around and check out some incredible designs from our Krafty Team!!

~ Ally ~
 
 
Trees
Stamps: KKS (Solid Holiday)
Cardstock: Recollections (110# White), Tim Holtz (Metallic Cardstock), MFT (Vellum)
Inks: KKS (Ruby Red, Goblin Green, Stormy Sky), Sakura (Star Dust Pen)
Dies: Spellbinders (Create a Flake 5, Nesting Ovals)
 
Deer Tags
Stamps: KKS (Solid Holiday)
Cardstock: Recollections (110# White), Catherine Pooler (Chocolate)
Inks: KKS (Totally Taupe, Creamy Caramel, Granite Grey, Marvellous Mocha, Bubbly Blue), Stickles (Star Dust), Micron Pen (Brown 0.5)
Dies: MFT (Stitched Rectangles), WPlus9 (Timeless Tags 2), Spellbinders (Create a Flake 5)
Patterned Papers & Die Cut Shapes: KaiserCraft (Wonderland)
Brads: Basic Grey, Making Memories
Twine: Catherine Pooler (Silver Twine)
Stencils: KKS (Brick Wall Stencil)
You are invited to the Inlinkz link party!
Click here to enter

Happy Fall Y'All!

Join me over on the Gerda Steiner Blog this week for a fun fall card tutorial.

I used the adorable “Raccoon” and “Squirrel with Acorns” digital stamps to create a cute Autumn themed creation.

Here’s a little sneak peek for ya…
Click HERE to go to check out my full project!

Hope you enjoy my tutorial too!

~ Ally ~

Introducing... Big Sexy Blooms


Welcome to Day 1 of the Power Poppy “Enchanted Garden” release!

Today we’re sneak peeking the glorious new 6x6 stamp set “Big Sexy Blooms”.

I chose to mix and match the colours of my blooms and so I chose some luscious pinks, purples and orange Copics to colour in these beauties!

To find out more about this stamp set, please visit the Power Poppy Blog.

Now check out all the amazing cards created with this big stamp back ground…
Allison Cope – you are here!


Stay tuned tomorrow for another amazing Power Poppy stamp reveal!

~ Ally ~


Stamps: Power Poppy (Big Sexy Blooms, Summer Berries)
Cardstock: Recollections (110# White), Tim Holtz (Metallic)
Inks: KKS (Wicked Black), Copic Markers, Polychromos Pencils, Versamark 
Dies: Spellbinders (PageMaps – On the Edge)
Embossing Powder: Stampendous (Detail Copper)
 
09 10