Showing posts with label baby. Show all posts

Sweet November Stamps ~ More Enchanted Spring!


Happy Wednesday!  A few Sweet November Stamps items to share today!

Our YouTube Hop is still live and offers a chance to win the entire Spring clear release if you participate! 
 
We have seven amazing content creators whom are sharing their talent and creations with you, and all you have to do is subscribe to their channels, like and comment on their videos.You only have until tomorrow, April 18th, to leave a comment!
 
 
Happy hopping! 

Now, two new cards from the Enchanted Spring release...

This card features the "SN Gal Maya". This sweet girl is cuddled up with her adorable babe.

I began this card by stamping Maya and masking her.  Then I stamped the window from the "Simple Room: Autumn Add-On" and the panelled flooring from the "Background Builder: Simple Room" stamp set.
 
 
To set the scene, I used the tiny tulips from the "Spring Garden Critters" stamp set to add outside the window in a window box type situation.
 
To decorate the wall paper, I used the cute butterflies from the "Background Builder: Wildflower Meadow" stamp set in a soft blue ink.
 
I designed this card and it's color scheme for a specific person.  She became a Grandma for the first time this past month and is enjoying swooning over her new grandson.
 
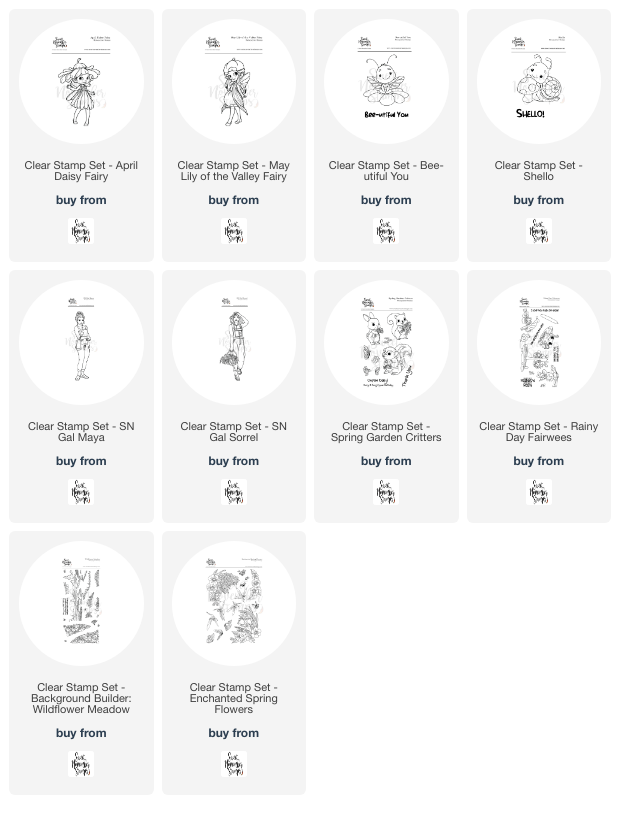
Next we are featuring the "Spring Garden Critters" clear stamp set.  This sweet stamp set features three adorable critters and lots of fun spring flowers.
 

I had fun building the simple scene for our sweet furry friends.  I used the sweet tulips and daffodils to set that scene.


Aren't there floral details super cute?!?!
 
Stay tuned for my Enchanted Spring release fun coming soon!
 
Have a great rest of your week!
 
~ Ally ~
Chibitronics ~ Light Up Ocean Baby Card

Today I'm sharing a very simple tutorial on how I created this fun light up Oceanic scene card with you over on the Chibitronics blog!


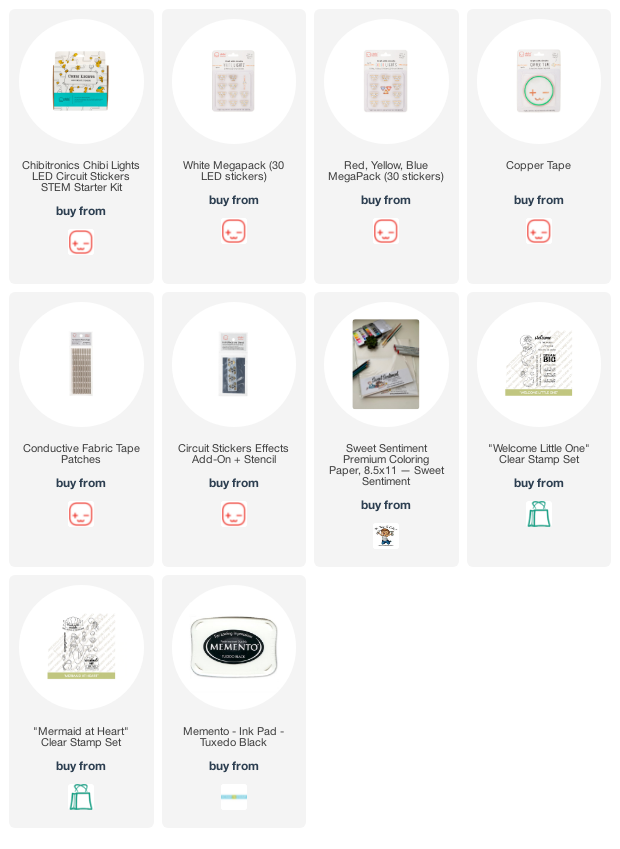
To begin my card, I first stamped out my images from the Three Room Studio stamp sets, "Welcome Little One" and "Mermaid at Heart" onto some cardstock. I stamped one piece to color and one piece to use as my circuit backer. I then colored up my mermaid and her fishy friends with Copic Markers. 

Next I stamped the same mermaid image onto black cardstock and cut her out. I adhered her to the back of the Copic colored front panel of my card. This doesn't allow any light to pass through the mermaid and allows the lights to glow around her instead.


Next I took my stencil tool from the “Craft Effects and Stencil” set and mapped out my entire circuit on my lighted stamped background. Red pen equals negative side of the circuit and the green pen is the positive side of the circuit. The image stamped on the back makes it a lot easier to know exactly where I want to place my LED Light Stickers.


I laid down our “Copper Tape” along my negative lines of the circuit on the card base. I tend to start this side of the circuit first because I can lay all my Copper Tape down under the area where my batteries will go.


I finished placing all of the copper tape along the positive lines of the circuit and built my little battery house. I used some 5mm (1/8") thick foam tape to create the battery housing and added it to the card panel parameter to allow for the thickness of my batteries. Next I adhered down my White LED Light Stickers, my Blue LED Light Stickers and my single Yellow LED Light Sticker. To ensure that some of my lights were secure and some of my joints were connected properly, I secured them our "Conductive Fabric Tape Patches".

Now that circuit is complete and the batteries are installed. Let's light it up...

Voila! By pressing the sentiment, this pressed the copper tape in the battery housing to complete the circuit and light up our amazing little LED Light Stickers! So super fun!

To check out the card in action, you can view this very short video:


Thanks for joining me today! I hope this inspires you to get out your Chibitronics products and go light something up!

~ Ally ~


This post contains affiliate links...

Congrats Sweet Boy!

Howdy all!  I know… two posts in one day – it’s a miracle!

I thought I’d pop in with a super simple card using this week’s SugarPea Designs SugarSketch 38

It’s a card for my nephew whom is being baptized at the end of February.  Unfortunately I cannot make it back to home to attend this event so it will be accompanied by a gift for little Z in the mail in the next few weeks.

I used the cute little critters & matching dies from the SugarPea Designs “Everyday is Christmas” stamp set.  Even though though they are meant for a holiday, they are generically themed enough to use on anything – I love that!  Can you see the "12 Drummers drumming, 11 Pipers piping, 10 Lords a leaping"?

Thanks for stopping by!  Have a great Wednesday!

Ally.

Supplies:
stamps: SugarPea Designs (Everyday is Christmas, Fairy Sweet)
cardstock:   Stampin' Up! (Baked Brown Sugar)
patterned papers:  My Favorite Things (Homespun Gingham 6x6, Dots & Stripes Neutral 6x6)
inks:  Memento (Desert Sand), Copics (E81, E84, BG0000, BG000, BG11, G00, G000, Y000, YG0000, YG11), Sakura Glaze Pen
dies:  MFT (In & Out Stitched Rounded Squares, Homespun Stitched Lines), Pretty Pink Posh (Stitched Borders 2), SugarPea Designs (Everyday is Christmas)
twine:  Darice
#prettypinkposh #mftstamps SPDSS38

Timeless Tuesday ~ Have a Heart!

Hey everyone!  It's Tuesday!  Time for another Timeless Tuesday Challenge at Flourishes!  Valentine's Day is only two days away and sadly I have made many beautiful cards but just haven't sent them out yet.  Oh well!  I know they'll be appreciated even if they are a little late!

This week's challenge from the super talented Maki!  Maki is challenging us this week to create a card or project with hearts on it (FLLC207)!  Yup... it's as easy as that! 

I knew just what kind of card I was going to create! I found out this week that my "brother" (he's like my brother! - known him since he was a baby!) and his wife are expecting their first baby!  So I knew I wanted to use the super cute "Hello Baby!" stamp set.

I began my card by first stamping the onesie image from the "Hello Baby!" stamp set onto some Flourishes "Color Made Easy" light pink cardstock from the "Poppy" collection using Memento "Tuxedo Black" ink.  I also stamped in on to some cute heart patterned paper.  I fussy cut each image out and applied the heart papers to the top of the pink cardstock.  I also added some white pen detail to the snaps and mini tag on the image using a Inkssentials™ White Opaque Pen.


Then I began to assemble the remainder of my card.  I designed to be a Surprise Pop-Up style of card.  You check out the video tutorial here for Splitcoaststampers.  It's a super fun card to make!

I die cut out the frame for the onesie from the Flourishes Perfectly Pierced Victorian Ovals die set and mounted it on my card front.

When you pull on the tag at the top, you reveal a message of "Best Wishes... Congratulations!"  Both sentiments are from the "Sentimental Favorites" stamp collection.  I used Memento Rich Cocoa ink to stamp all of my sentiments and verses.

The upper portion of the tag created using Flourishes Classic White cardstock, reveals the message:

A baby is a blessing,
a gift from heaven above,
a precious little angel,
to cherish and to love.


This verse is from the "Hello Baby!" stamp set as well. Such a sweet verse too!

I hope you'll join us this week for our fabulous challenge!  We also have our February Pre-Release Challenge that you can enter to win our new release stamps too! Click here to find out what that challenge is all about!

Our February stamp reveal begins TOMORROW on the Flourishes blog!  Make sure to check out what the Senior Design Team has created using this month's amazing new stamp sets!  I promise... you'll want them ALL!


Now, take a peek at what the Timeless Tuesday designers have created for today's challenge… 
You can find all the challenge details at Flourishes Timeless Tuesday Challenge FTTC207.


Supplies:
stamps: Flourishes (Hello Baby!, Sentimental Favorites)
cardstock: Flourishes (Classic White), Bazzill
patterned papers:  Carta Bella
die cut shapes: Spellbinders
pin: Making Memories 
pen: Inkssentials 
inks: Memento
ribbon: Offray
accessories: thread.
 Photobucket
 
09 10