Today we're going to make a flickering lantern card with some fun Catherine Pooler Designs stuff.

To begin my card I created a side folding 4 1/2" x 5 1/2" card. I used a 9 1/4" x 5 1/2" piece of cardstock and scored the middle twice; once at 4 1/4" and next at 4 3/4". This give me a 1/4" fold to allow for the thickness of my circuit materials.
I embossed the front panel of my card using the Tim Holtz "Lumber" embossing folder. Next I die cut a lantern shape from the CP "Camping Lantern Die" and I stamped a whole lot of fun leaves from the CP "Autumn is Calling" stamp set and I fussy cut them all out. I applied 2 layers of vellum to the glass bulb of the lantern die cut.
Next I traced my lantern globe shape on to the inside of my circuit panel and also located my sentiment (or circuit completing area).
I used the stencil from the "Circuit Stickers and Effects Stencil" set and mapped where each of my LED Light Stickers were going to go (2 red = R and 3 orange = O). Plus for this circuit I'm going to make my lights do something special, the red light are going to use the "Heartbeat" Craft Effects Sticker and the orange lights are going to use the "Twinkle" Craft Effects Sticker.


Next I create a battery housing. I used 3mm Foam Adhesive to create a box to contain my batteries over top of the Copper Tape at the beginning of the circuit.
Once the batteries are contained, I create a little flap. This time I used a piece of clear acetate so you can see inside that battery housing. I applied the tape to the back of the piece of acetate, then wrapping it around to the top side of the acetate. This allows the Copper Tape to have contact with the batteries. Then I adhered the flap down and continued the Copper Tape application to the remainder of the Positive side of the circuit.

Next I applied the stickers. I applied 2 Red LED Light Stickers from the "Red/Yellow/Blue Mega Pack" of LED lights and 3 Orange LED Light Stickers from the "Tropical Light Mega Pack" of stickers.
Plus I had to place down the "Twinkle" and "Heartbeat" Craft Effects Stickers in their positions too!
I tested my circuit and I had 2 orange lights that weren't quite working properly so I to use some of my "Conductive Fabric Tape" to create some more complete connections.

And voila my circuit worked!
Here's a look at the final card...

Plus, if you want to learn more about how I made this circuit, please visit this quick video too:
 |
| CLICK TO VIEW |
Thanks for stopping by! I hope you enjoyed today's tutorial/video!
Happy circuit making!!!
~ Ally ~
Products used today: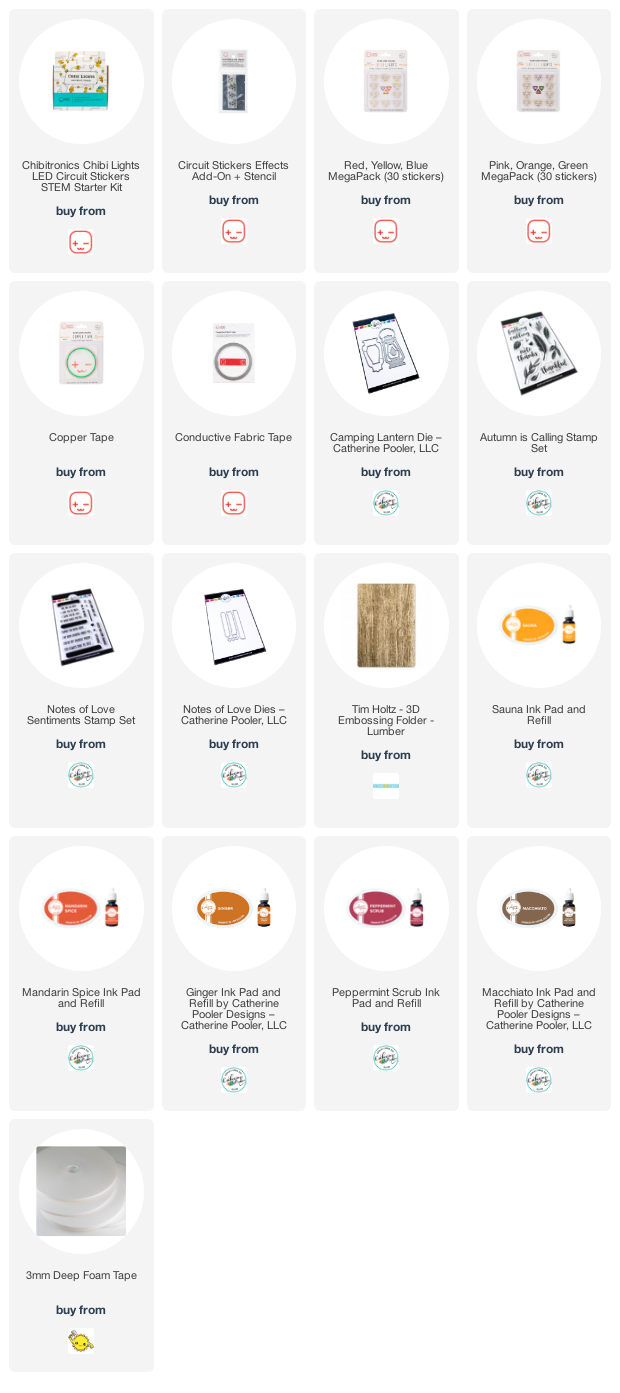


No comments:
Post a Comment