Each crafty participant is giving a Craft with Light kit of your choice!
Here are the hop participants:
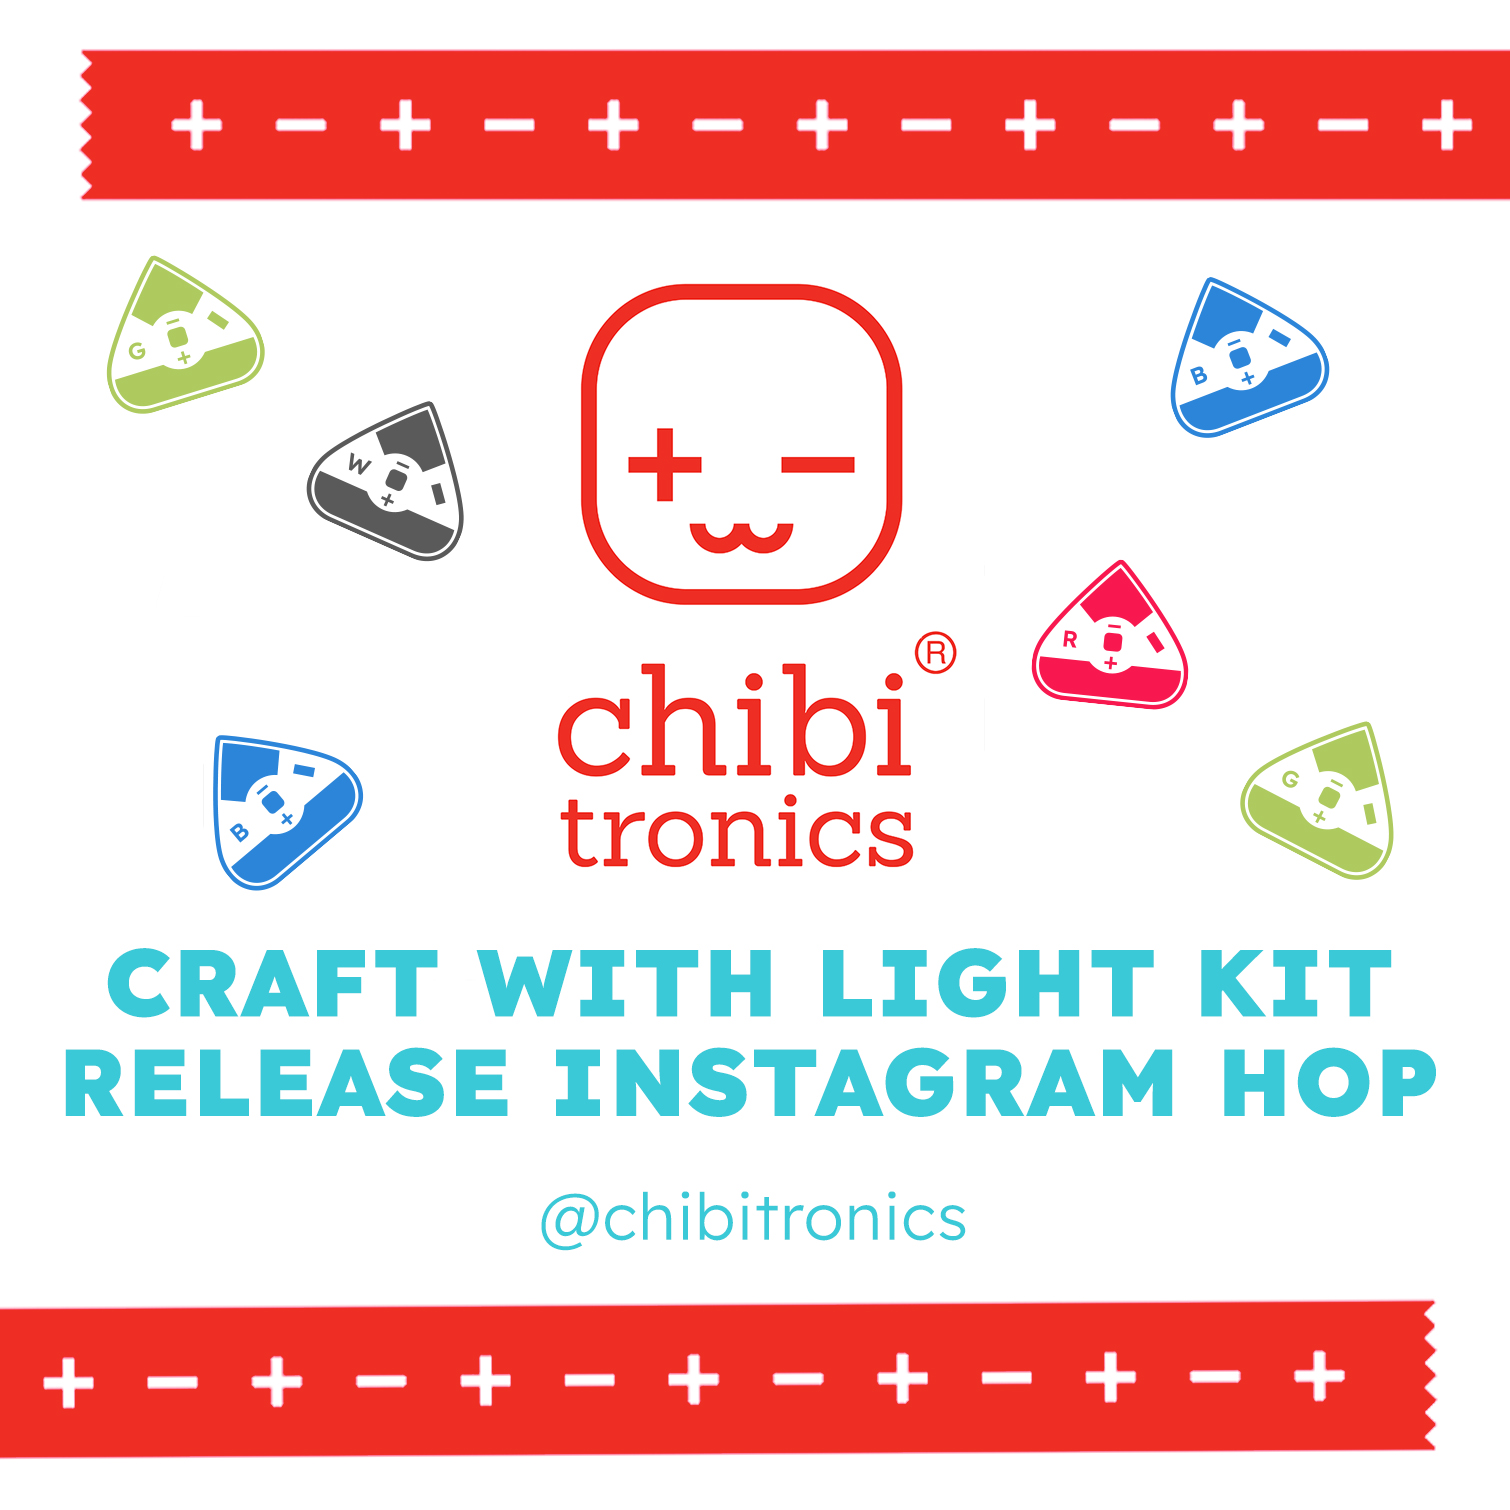
What's in a Craft with Lights Kit you ask? Good question!!
Each kit contains:
- 6 LED Light Stickers (either 6 White or a Color Kit has 1 of each LED Light Sticker color; red/blue/yellow/orange/pink/green sticker)
- a complete roll of our Fabric Conductive Tape with a red tape tag
- 2 Coin Batteries (3V)
.jpg)

For today's card I first trimmed down a piece of fun rainbow patterned paper and die cut 5 heart shapes from a few of the color corresponding stripes of the paper.
I stamped and fussy cut out the little puffins and colored them using Copic Markers.
I die cut a few cloud edges and applied them to the bottom of the card and then added in all my puffins.
Before I adhered the panel to the front of my card, I traced each of the heart shapes on the inside of my circuit panel. I labelled each heart with the color of stripe the heart was passing through.


Next I create my battery housing. I use foam tape to "trap" my batteries within the walls of the 3 dimensional adhesive strips.
I decided at the last minute to STACK my 2 batteries on top of one another instead of laying them side by side. I decided to do this because my foam was too high to reach my batteries on the top so my circuit would be harder to activate.
Next I started laying down my POSITIVE side of the circuit. I always start my conductive tape under the flap on top of my batteries. You can kind of see the layer of tape through my piece of acetate - this is where the circuit touches the batteries. Next I wrapped that tape around the flap and laid it down the side of that little foam housing to the paper layer of my card.

Then I added all of my LED Light Stickers. In this case, I used the orange, pink, blue, green and yellow stickers from the Craft with Light Kit.
Next I checked to see if my circuit worked... VOILA! We have light!!!

Here is the final card all lit up! Isn't it adore and SO EASY to create!!!


No comments:
Post a Comment