Happy Monday! Today I’m sharing my latest light up card featuring products from Chibitronics. I'm headed on all the way to Valentine's Day with my card creating this week.
Today we’re going we are going to light up a Valentine's themed love card with some pretty pink LED Light Stickers and also one of our cool Animating Rainbow Fade Stickers.
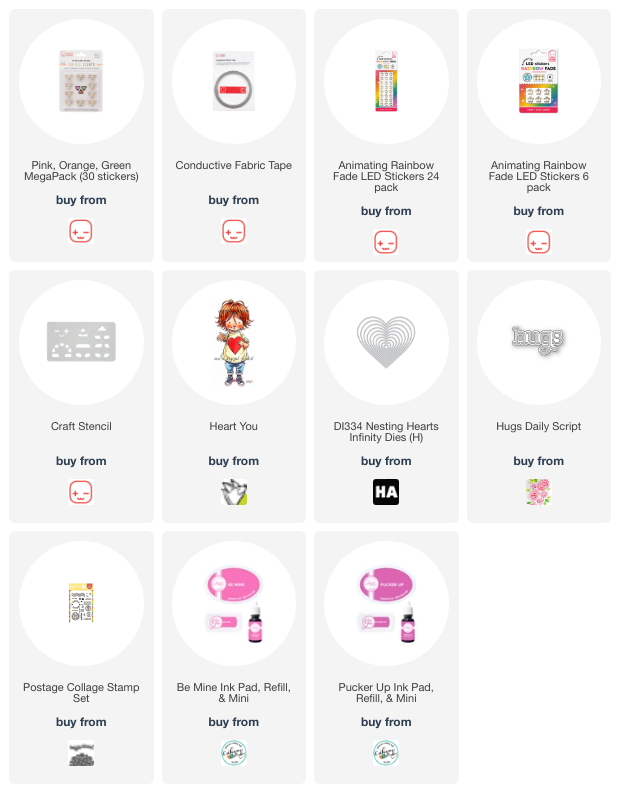
I began today’s card creation by stamping our little girl from Mo's Digital Designs and coloring her up with Copics. I created a framed embossed heart with some simple dies and an embossing folder. And for the greeting, I die cut and inked up a "hugs" sentiment. For the card front, I used some postage themed stamps and lots of fun pink ink.
I positioned all of my elements on the card front ensuring a cut a hole through the embossed heart and the card front under the little girl's T-shirt to allow the light to pass through and shine more brightly.
I transferred the location of the hole to the inside of my circuit building surface and traced out the heart shape to allow me to know the location of all my lights. I used my Craft Stencil to trace the location of my 5 Pink LED Light Stickers and my final single Animating Rainbow Fade LED Light Sticker.
I traced the paper Battery Holder and located it in the bottom right hand corner of the card. From there I drew the negative side of the circuit using a blue pen. The blue line crossed over all 6 of the negative sides of the light stickers.
Next I drew a red line to indicate the positive side of the circuit. This side of the circuit will start on the inside of the paper battery holder or switch.
Next I applied my self-adhesive Battery Holder to the circuit surface. I began to apply the Conductive Fabric Tape to the negative side of the circuit, beginning inside the Battery Holder.
Next I applied all of the
Conductive Fabric Tape to the positive side of the circuit. I began my tape inside the
Battery Holder lid. This will allow the tape to make contact with the battery when the lid is pressed down.
I stuck down all 6 of my LED Light Stickers. I placed one Animating Rainbow Fade LED Light Sticker under the T-shirt location and 5 Pink LED Light Stickers in the rest of the light locations.
To finish off the inside, I adhered down the C-shaped foam adhesive inside the Battery Holder, added a battery in the center and closed up the battery holder. Don't forget to test your creation before adhering this closed!
Then I added Foam Tape around the edges of the card, peeled off the backer paper and closed up my card.
Let's see the card all lit up...
Super cute!
Make sure to check out the step-by-step video over on our YouTube channel on all the card making details and the making of the circuit. You also get to see the card go through all of it's rainbow lights too! CLICK HERE for the video.
Hope you enjoyed today's tutorial and I hope you and your loved ones have a wonderful holiday season!
~ Ally ~
