Showing posts with label Mo Manning. Show all posts

Chibitronics ~ Glowing Hearts Card

Happy Monday!  Today I’m sharing my latest light up card featuring products from Chibitronics.  I'm headed on all the way to Valentine's Day with my card creating this week.

Today we’re going we are going to light up a Valentine's themed love card with some pretty pink LED Light Stickers and also one of our cool Animating Rainbow Fade Stickers.


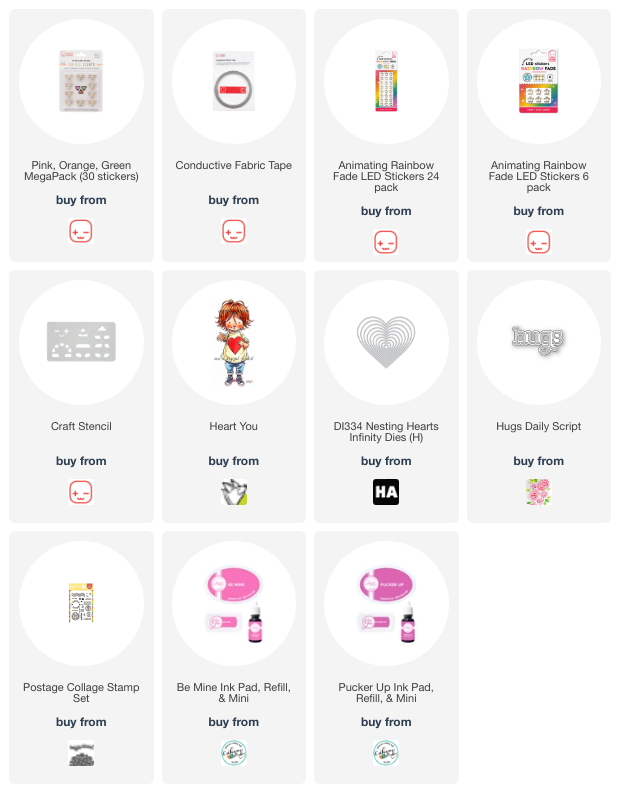
I began today’s card creation by stamping our little girl from Mo's Digital Designs and coloring her up with Copics. I created a framed embossed heart with some simple dies and an embossing folder. And for the greeting, I die cut and inked up a "hugs" sentiment. For the card front, I used some postage themed stamps and lots of fun pink ink.

I positioned all of my elements on the card front ensuring a cut a hole through the embossed heart and the card front under the little girl's T-shirt to allow the light to pass through and shine more brightly.

I transferred the location of the hole to the inside of my circuit building surface and traced out the heart shape to allow me to know the location of all my lights. I used my Craft Stencil to trace the location of my 5 Pink LED Light Stickers and my final single Animating Rainbow Fade LED Light Sticker.

I traced the paper Battery Holder and located it in the bottom right hand corner of the card. From there I drew the negative side of the circuit using a blue pen. The blue line crossed over all 6 of the negative sides of the light stickers.

Next I drew a red line to indicate the positive side of the circuit. This side of the circuit will start on the inside of the paper battery holder or switch.

Next I applied my self-adhesive Battery Holder to the circuit surface. I began to apply the Conductive Fabric Tape to the negative side of the circuit, beginning inside the Battery Holder.


Next I applied all of the Conductive Fabric Tape to the positive side of the circuit. I began my tape inside the Battery Holder lid. This will allow the tape to make contact with the battery when the lid is pressed down.


I stuck down all 6 of my LED Light Stickers. I placed one Animating Rainbow Fade LED Light Sticker under the T-shirt location and 5 Pink LED Light Stickers in the rest of the light locations.

To finish off the inside, I adhered down the C-shaped foam adhesive inside the Battery Holder, added a battery in the center and closed up the battery holder. Don't forget to test your creation before adhering this closed!

Then I added Foam Tape around the edges of the card, peeled off the backer paper and closed up my card.


 Let's see the card all lit up...

Super cute!

Make sure to check out the step-by-step video over on our YouTube channel on all the card making details and the making of the circuit. You also get to see the card go through all of it's rainbow lights too! CLICK HERE for the video.


 Hope you enjoyed today's tutorial and I hope you and your loved ones have a wonderful holiday season!

~ Ally ~
Chibitronics ~ Isolating Blinking Lights featuring our Sweet Robot


Happy Monday all!

Today I'm over on the Chibitronic YouTube channel sharing how I put the circuit together for today's card!

Today's card features the cool Sizzix "Mechanics" 3D Embossing Folder and the adorable "Bip Bip Birthday" digital image by Mo Manning.  Plus I as used the "Interactive Label" stamps from MFT to add the word "Press" to my balloon.

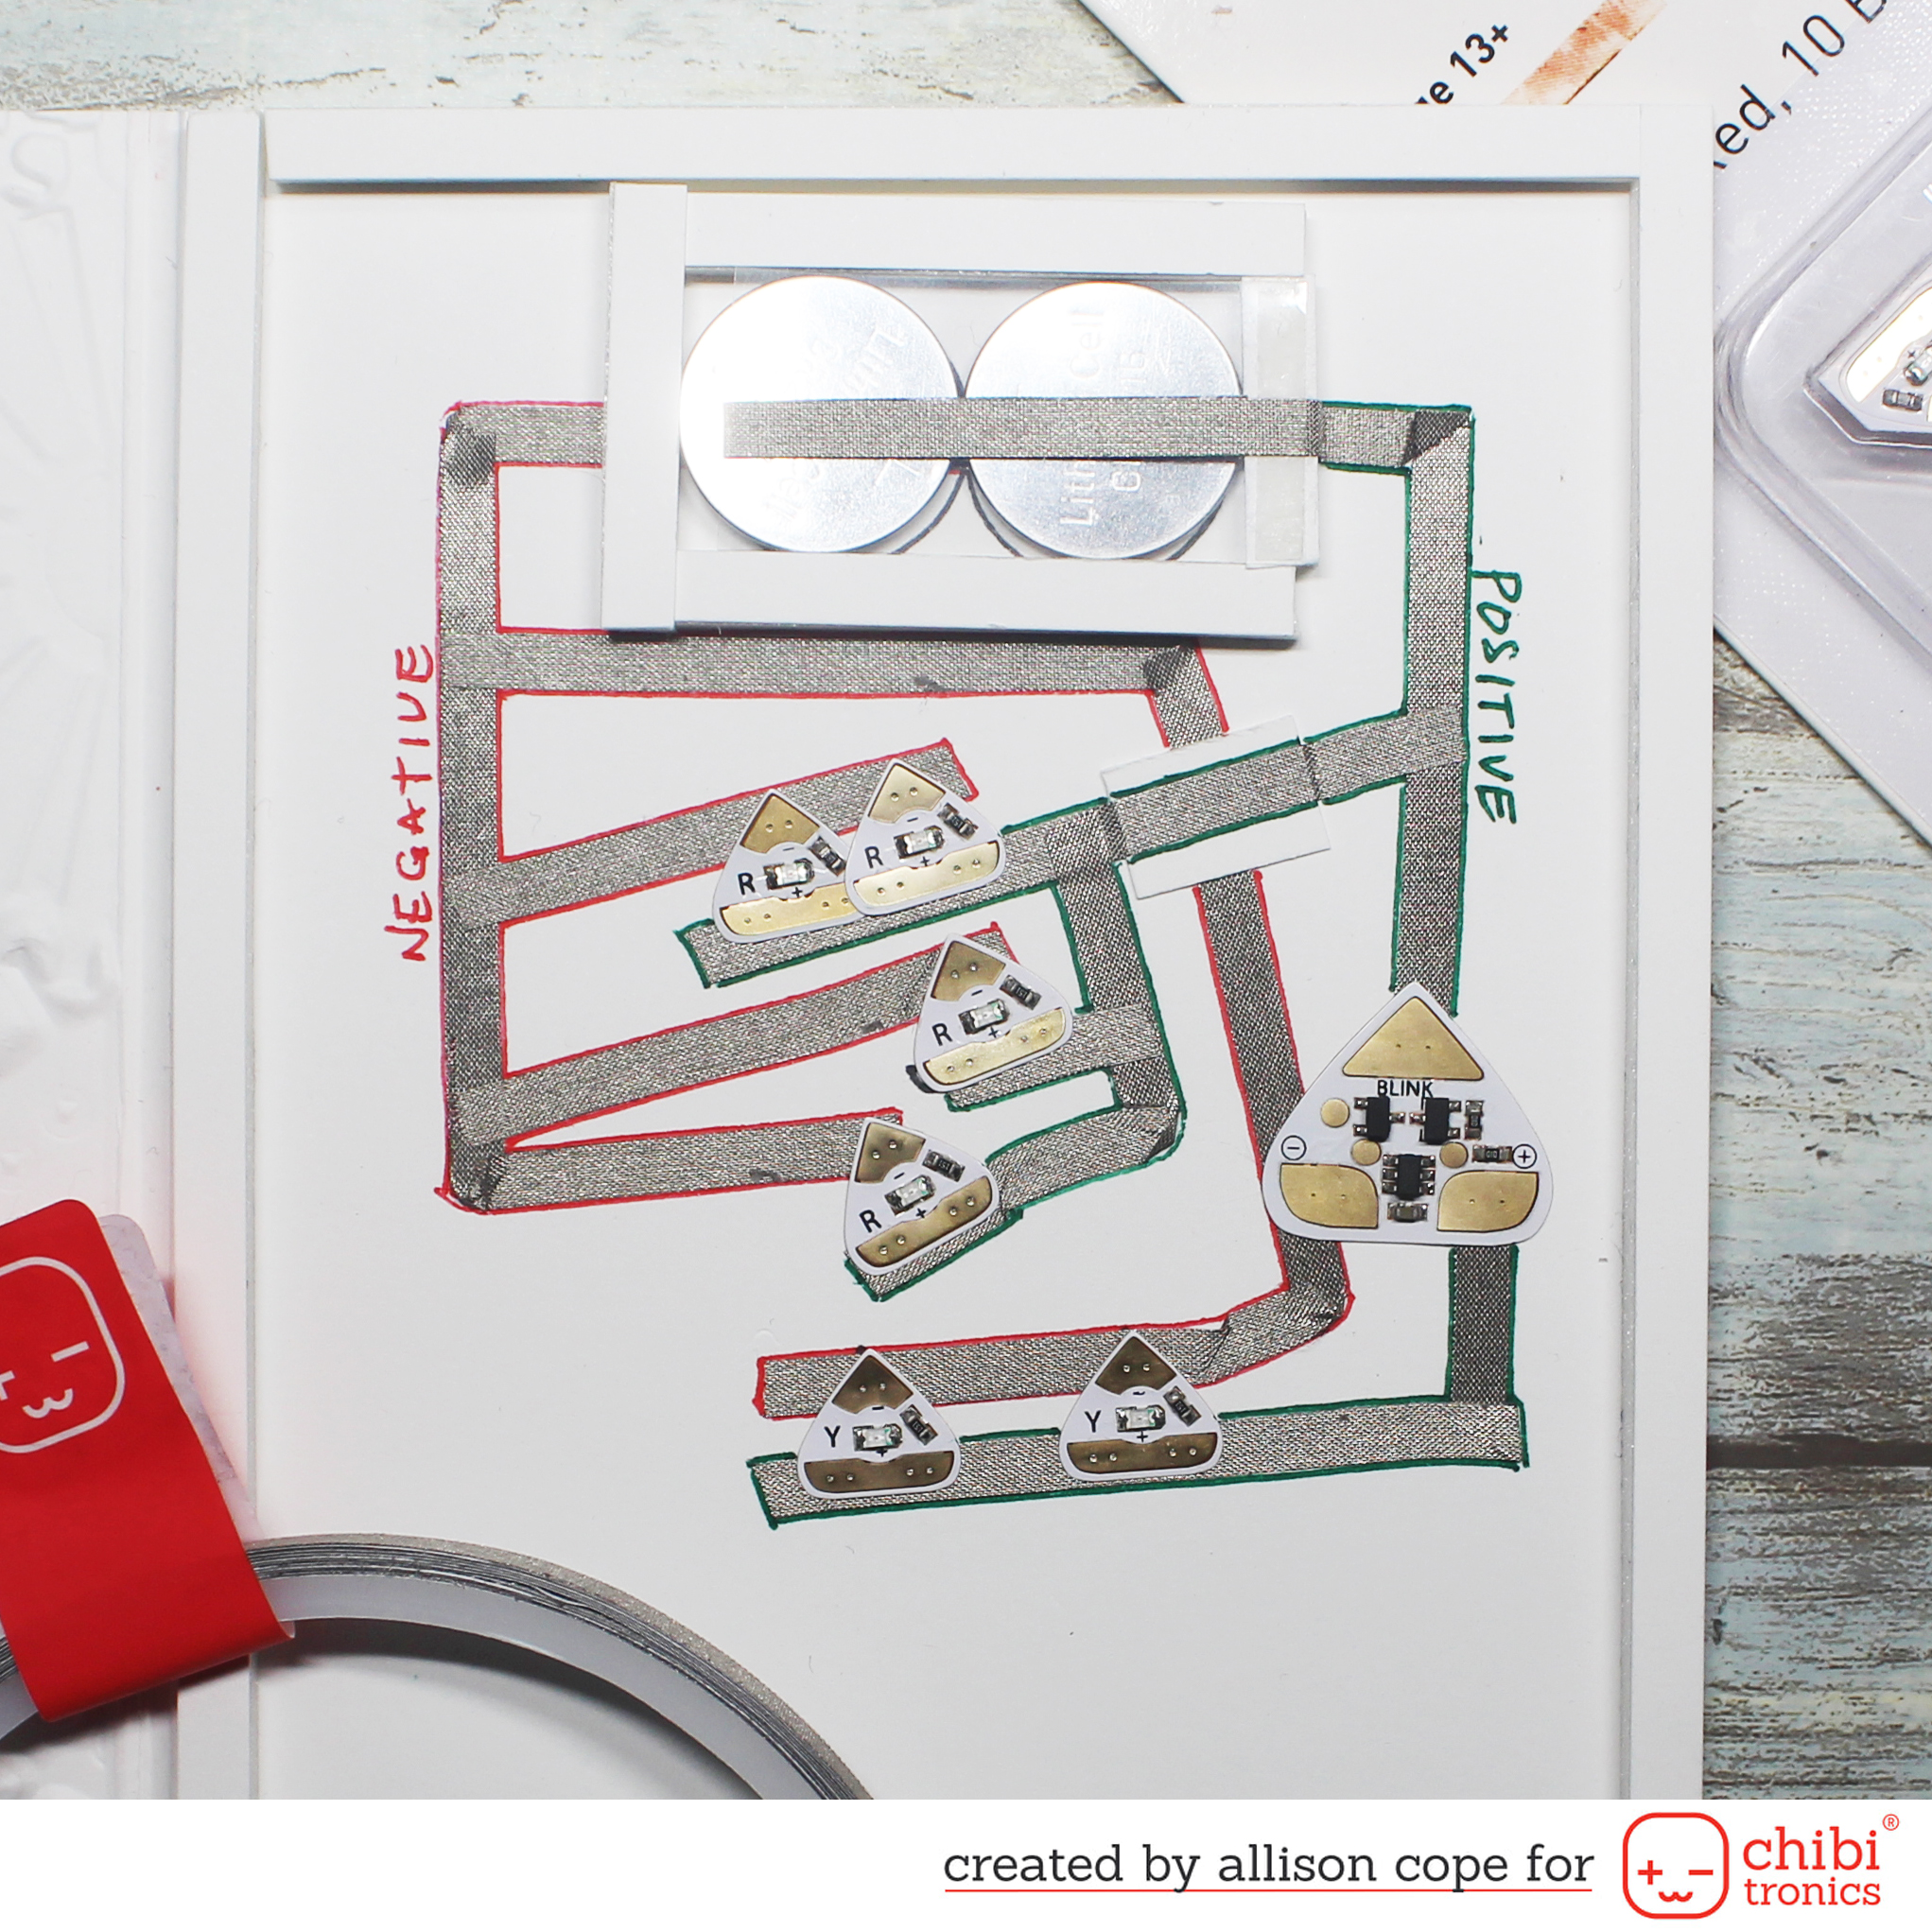
For today's circuit I used the "Blink" stick from the "Craft Effects Sticker & Stencil" set to light up my little robot's buttons, switch and flames on his boots. The blink sticker is placed within the circuit so only the flames blink yellow and the rest of the robot's light up features remain lit red.

The circuit is built with "Fabric Conductive Tape", 2 batteries and Red & Yellow LED Light Stickers.

To find out step-by-step how this circuit was created you can either READ THIS BLOG post or view it on the Chibitronics YouTube channel by clicking the image below:

Thanks for stopping by!  I hope you have a wonderful day!

~ Ally ~

Chibitronics ~ Monster Birthday Light Up Card


Happy Friday!  I'm here today to share my latest light up card creation featuring the fun-tastic Chibitronic products!

Today I'm making a fun card for my nephew's birthday coming up next week!  I know he's going to love this interactive card!

To begin my card, I printed out this adorable "Cupcake Monster" digital stamp from Mo Manning of Digital Pencil.  I digitally added the blue and faded green background before printing out my picture.

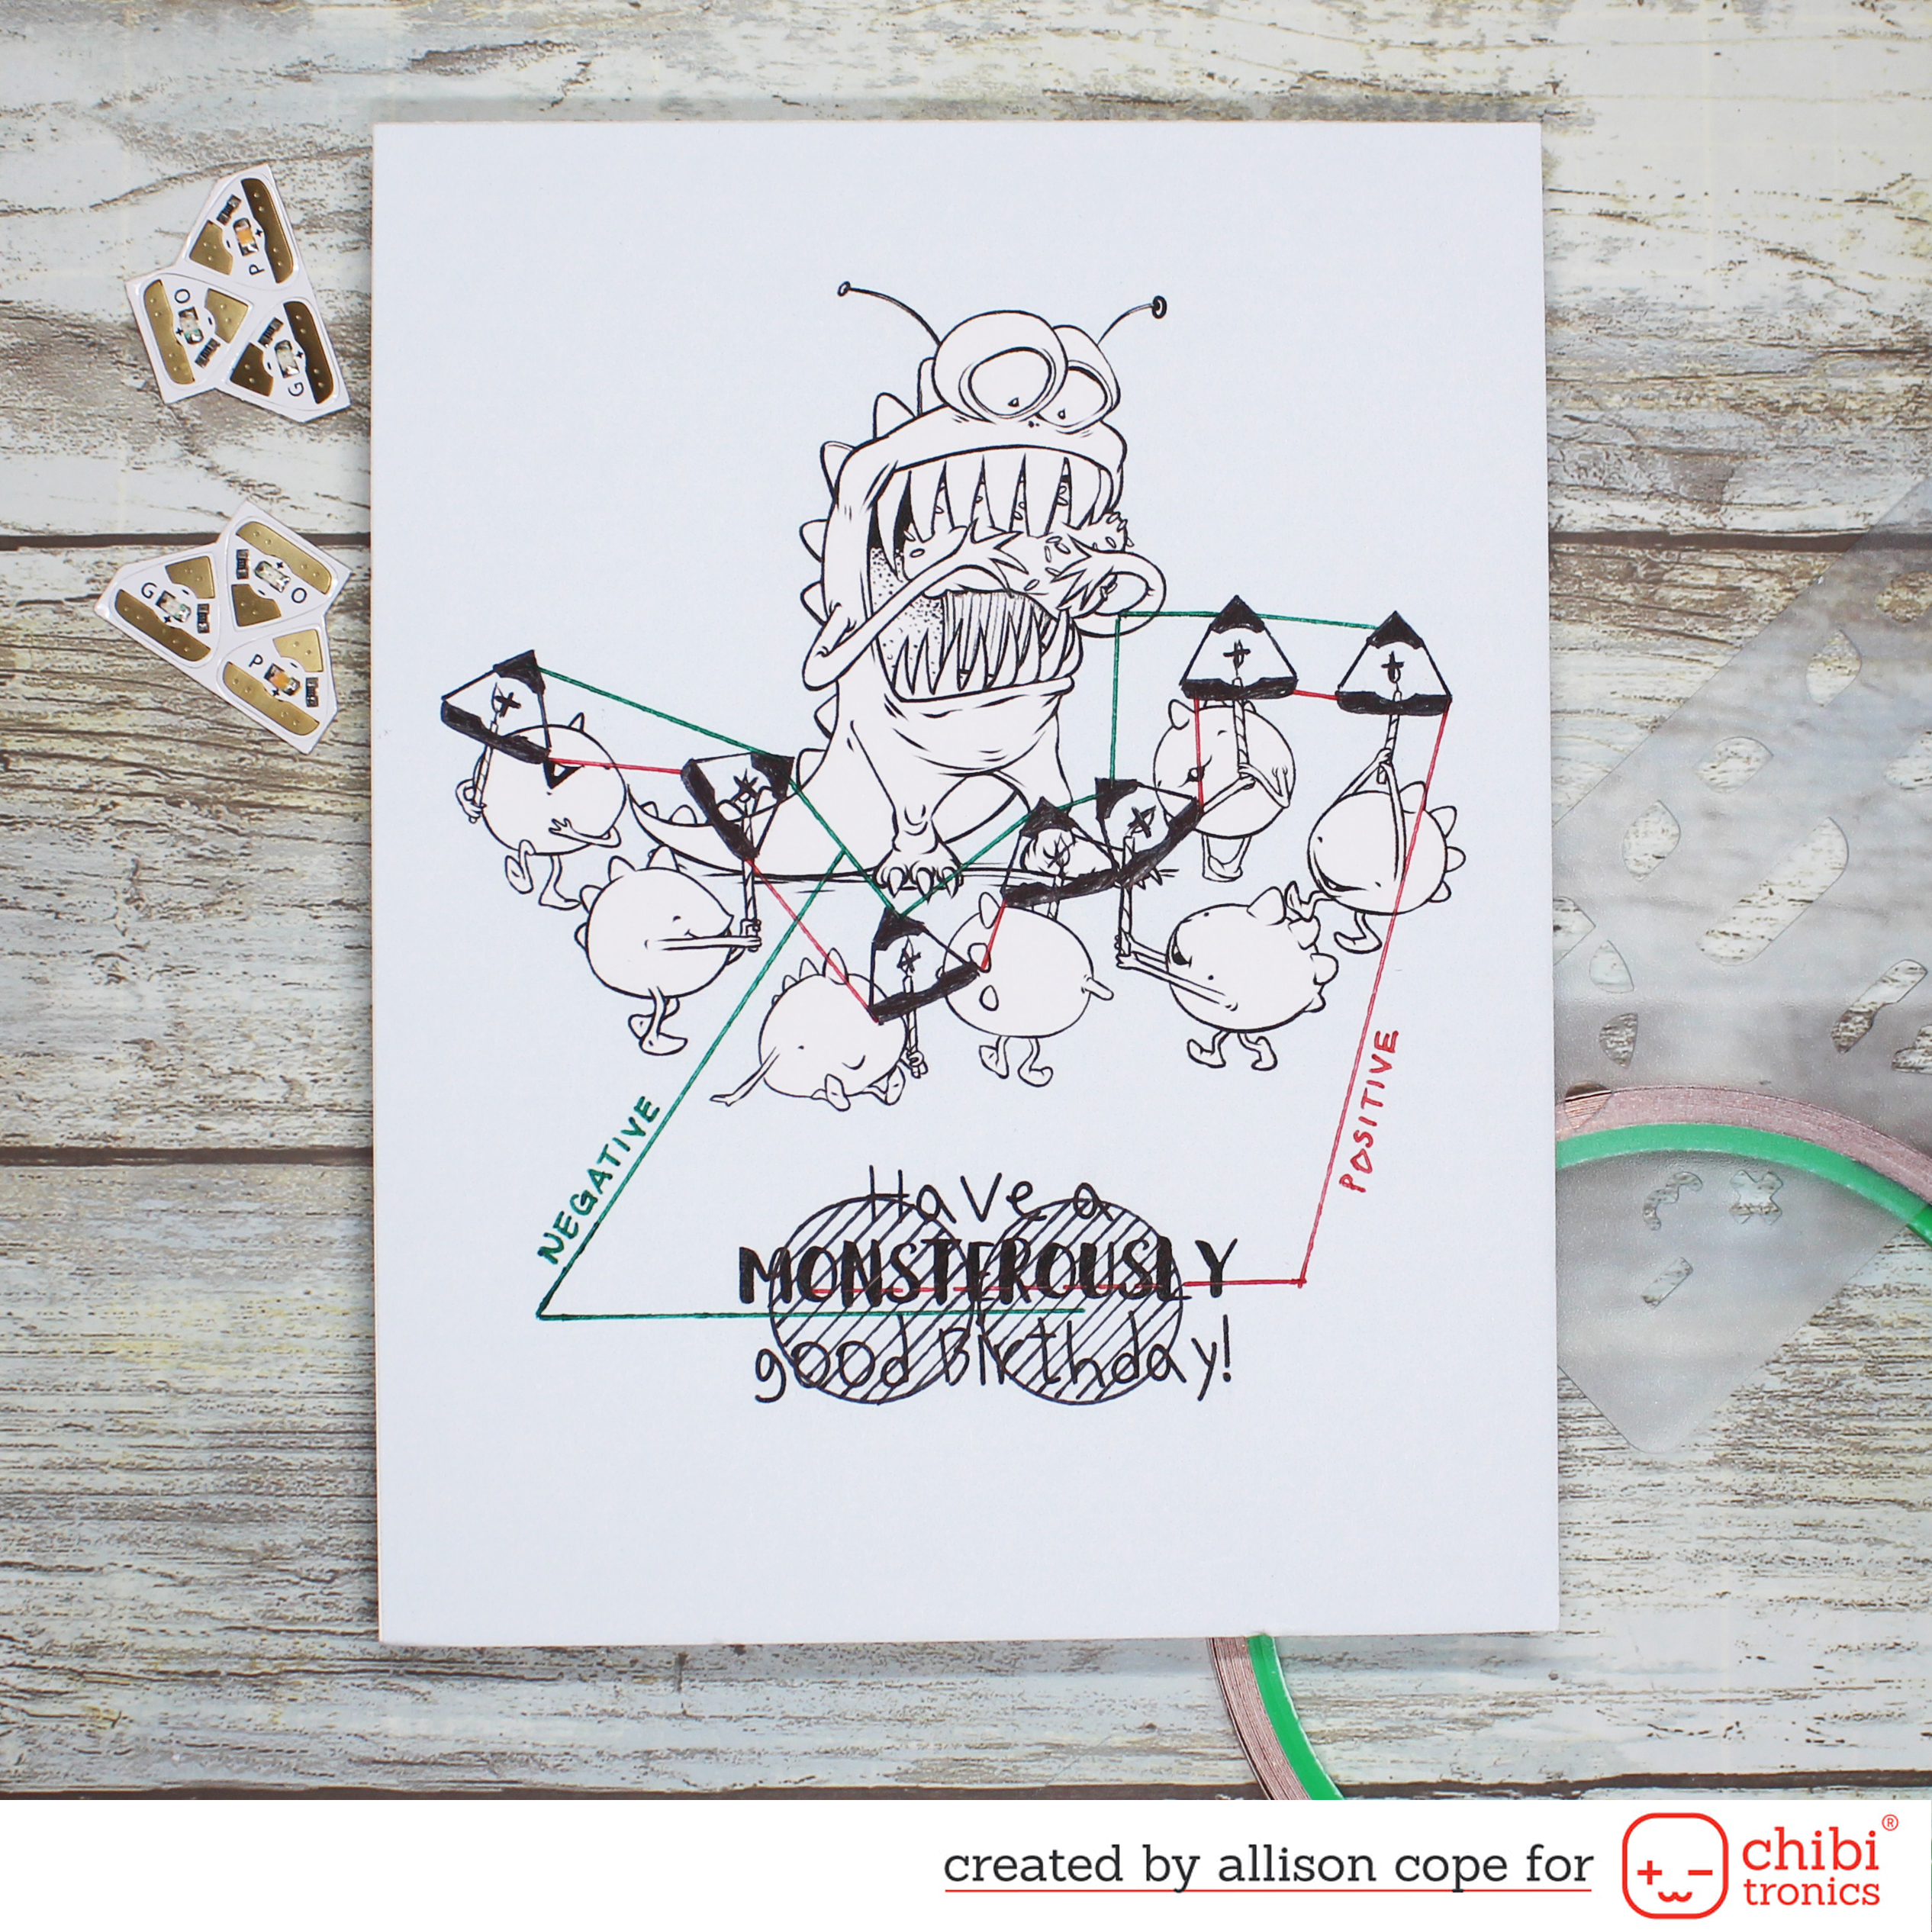
I also printed out another version without the color so I could use the image as a map for my circuit.

Next I mapped out my entire circuit on my card base print out.  I used the fun stencil from the "Circuit Stickers and Effects Stencil" set.  I planned where all of my lights would go (where all the candles were!), my circuit lines and the placement of my batteries.

Next I started by laying down the negative side of my circuit with my handy-dandy Copper Tape.  I made sure it laid down under both of my battery positions on the card.

Next I built my little battery house.  I placed my 2 batteries into place and built a little 3D foam tape house around them.  Then I added a piece of clear acetate over top with the Copper Tape wrapped around it so it would touch the tops of both of the batteries.  I continued laying down my line of Copper Tape to complete the positive side of my circuit.  Where my positive side had to cross over the negative line of tape, I laid down a small piece of cardstock to create bridge.

Next I laid down all of my LED Light Stickers in each of their corresponding candle placements.  I used red, blue and yellow LED stickers from the Red/Yellow/Blue Mega Pack, then orange, pink and green stickers from the Tropical Lights Mega Pack plus one additional White LED sticker from the White Mega Pack of lights.  I used every single color of light that Chibitronics has on this card - SO FUN!!

Next I added some more 3D foam tape all around the outside of my card base and adhered my card panel down.

And voila!  A super fun interactive birthday card for a special little boy!


Thanks for stopping by!  I hope you give these amazing products a try!

~ Ally ~


Go Green with Happy Bunnies

Hey everyone!  Happy Hump Day! 

Today is another fun challenge day over at StampNation.  This week it’s all about…

…you guessed it… GREEN!

Here’s a little sneak peek of my card for the challenge.   It features “the Wiz” by Mo Manning, a digital image.
I had lots of fun colouring him up!

It’s also time for a new card sketch at Splitcoaststampers today too!  And this week I’m the hostess.  Here’s my fun sketch…
And here’s the simple card I made to showcase it…
It features the little bunny fella from the Hero ArtsBaby Animals Stamp & Cut” set for Operation Write Home.  As soon as Sandy Alnook showed this set on her blog I knew I just had to have it.

I used the die, also included with the stamps, to create a little window where my bunny is actually stamped inside the card…
Super cute right?!?

And a reminder…
March 11th, TODAY, is the day I am to pick a winner for the PageMaps U Cardmakers Class 2015 GIVEAWAY.  I will wait until later in the evening to pick a winner so you still have time.  CLICK HERE for more details.  Good luck!!
Thanks for stopping by!

~ Ally ~


Supplies:
stamps: Hero Arts (Baby Animals Stamp & Cut), My Favorite Things (Somebunny)
cardstock:  X-Press It Cardstock, Bazzill

patterned paper:  My Mind’s Eye (Here is Happy)
die cut shapes: Simon Says Stamp (Stitched Rectangles, Stitched Squares) #simonssaysstamp
ink: Memento (Gray Flannel)
Copic Markers:  BG11, BG10, RV63, R56, YG91
other:  Sakura Glaze Pen.

My Final Additions to the Dirt Pile


Sadly my 6 month stint has come to end with the Dirty Girls this month. But do not despair… this month’s theme is the ultimate theme!  If you aren’t a member of the Splitcoaststampers Fan Club, this is your month to join! Click here to find out more.

Here’s some sneak peeks of my Dirty Girl cards for this month…

Hope to see you over at Splitcoast this month!  Come and play along!

~ Ally ~

Time to Get Dirty Again!!!


Happy Tuesday everyone!  It's the 15th of the month... time to no only reveal two new creative faces over at Splitcoaststampers but also to reveal the newest theme for all of the Splitcoast Fan Club members!

Do my sneak peeks above give you any clues as to what the theme might be for this month!?  Well come on over to Splitcoast, become a Fan Club member and find out!!!  Happy creating everyone!

~ Ally ~
 
09 10