Showing posts with label Lawn Fawn. Show all posts

Chibitronics ~ Light-Up Rainbow Birthday Greetings

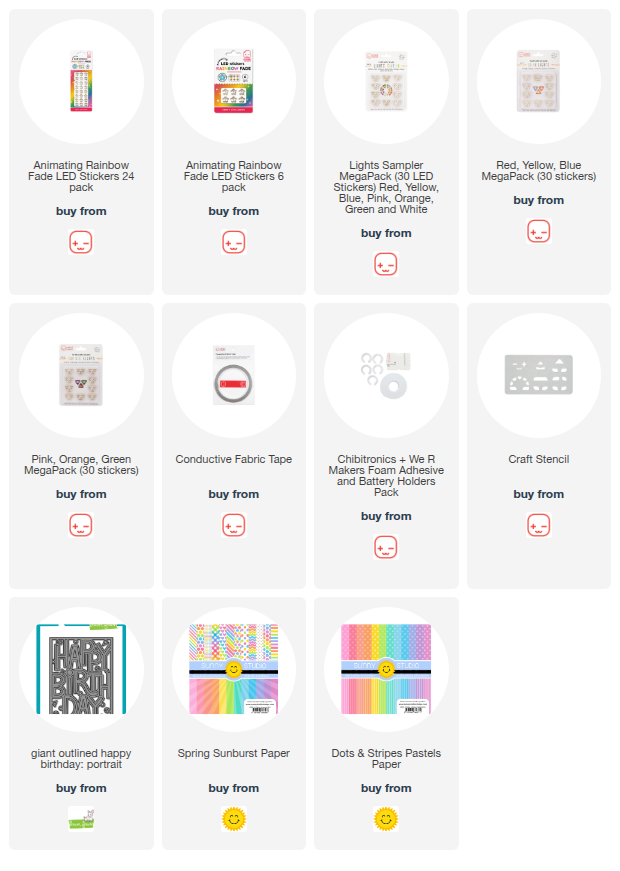
What’s a birthday without a little extra sparkle and surprise? Today, I’m sharing a super fun and vibrant light-up birthday card featuring Chibitronics LED stickers and the Lawn Fawn's "Giant Outlined Happy Birthday: Portrait" die!


To create this bold and playful card, I started by backing the die-cut panel letters with some colorful patterned papers from Sunny Studio—the perfect way to bring that festive rainbow feel to life. Then, for an added wow-factor, I layered a funky cat’s eye semi-transparent plastic behind the whole die cut. This cool material helps diffuse the light and gives it a dreamy glow when lit up!

Of course, the magic happens when the card lights up! I used:

  • 3 Animating Rainbow Fade LED Light Stickers to create a soft, color-shifting glow across the panel.

  • 5 solid LED stickers in green, orange, yellow, pink, and red to brighten up specific letters and details.


All the lights were connected using Chibitronics Conductive Fabric Tape, and a simple battery mechanism powers the card with a press of the finger!

Whether you’re new to paper circuits or a light-up card pro, this project is a blast to make and guaranteed to bring smiles. Perfect for birthdays and celebrations where you want to stand out!

Check out Chibitronics to grab your own LEDs and get crafting! 💡

~ Ally ~

Scrap'N Stamp ~ Easter Bird Card Tutorial


Join me today at 8pm EST for a LIVE tutorial on how to create this super cute Easter card.

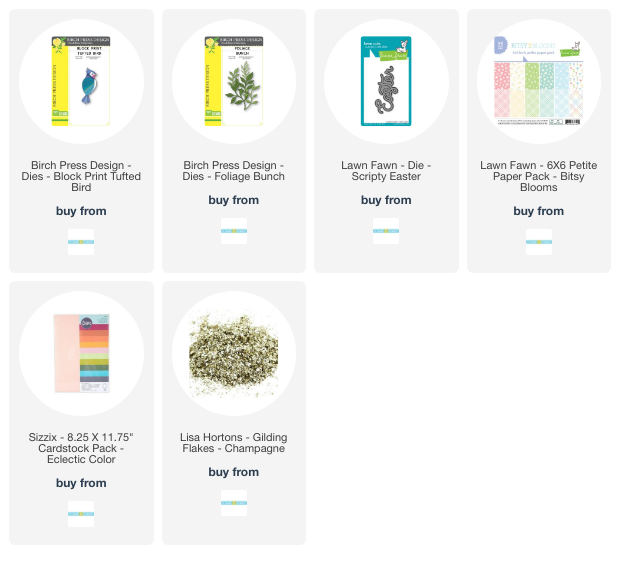
The card above features the Birch Press Designs "Block Print Tufted Bird Die" & "Foliage Bunch Dies" and some cute Lawn Fawn "Bitsy Blooms" patterned papers and the "Scripty Easter Die".

I'll be over on the Scrap 'N Stamp Facebook group! 

Hope to see you there!

~ Ally ~

Scrap'N Stamp ~ 3D Birthday Inspirational Hop **PRIZE**


Welcome to the Scrap 'N Stamp the 3D Birthday Inspiration Blog Hop!  Today's hop is all about sharing fun 3 dimensional birthday projects!

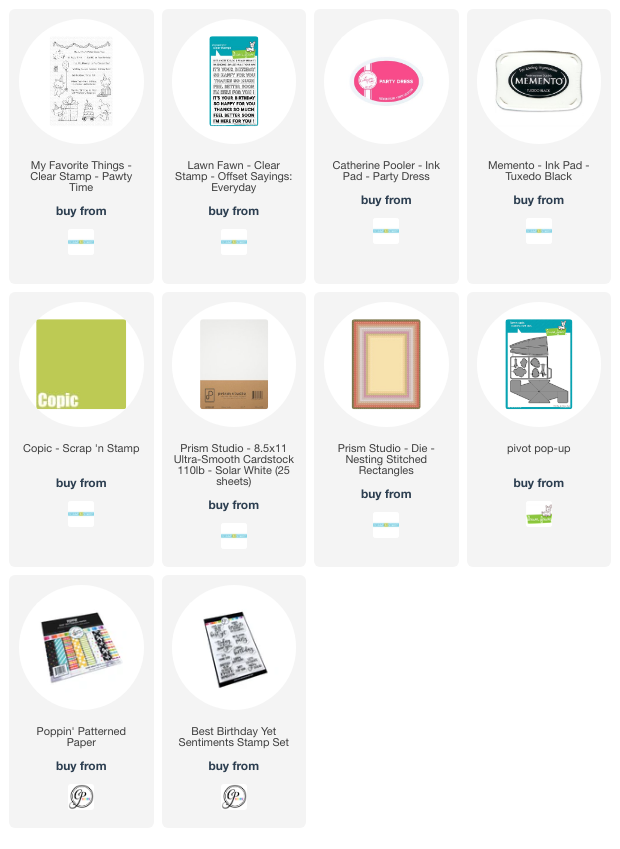
For my card today I'm using the very inventive die set from Lawn Fawn called the "Pivot Pop Up Die". 

I began by stamping all of the critters from the My Favorite Things stamp set, "Pawty Time".  I colored all of the cats and puppies using Copic Markers and then fussy cut them out.

I die cut a scalloped rectangle of yellow polka dotted paper from the Catherine Pooler Designs "Poppin'" paper pack and then a few other pieces for the front of the card.

For the sentiment, I stamped it from the Lawn Fawn "Offset Sayings Everyday" stamp set and colored it in using the same rainbow of colored Copic Markers.

For the inside and the mechanism, I used the same patterned paper pack from Catherine Pooler plus a sentiment from the "Best Birthday Yet" stamp set in Party Dress pink ink.  I also used the same "Pawty Time" stamp set from My Favorite Tings to add the inside sentiment. 


I love the "Pivot Pop Up" die's action!

 Here's the card in action...

NOW... check out all the other projects that our design team has to share today!! 

But first...we're also having a SALE...

Here's our hop list...

Now for the GIVEAWAY...

 GIVEAWAY DETAILS!!

  1.  Hop along and LEAVE A COMMENT on each designers blog post.
  2.  One lucky WINNER will be chosen to receive a $50 gift certificate to the store.
  3.  Winners will posted on the Scrap 'N Stamp blog sometime in mid to late March.  Good luck!

Thanks for stopping by!  Happy hopping and GOOD LUCK!

~ Ally ~ 


Scrap'N Stamp ~ My Favorite Technique Hop *PRIZE*

Welcome to the Scrap 'N Stamp My Favorite Technique Blog Hop!  Today's hop is all about sharing our very favorite techniques for card making.

My very favorite technique as most of you can guess... is Copic Marker coloring.

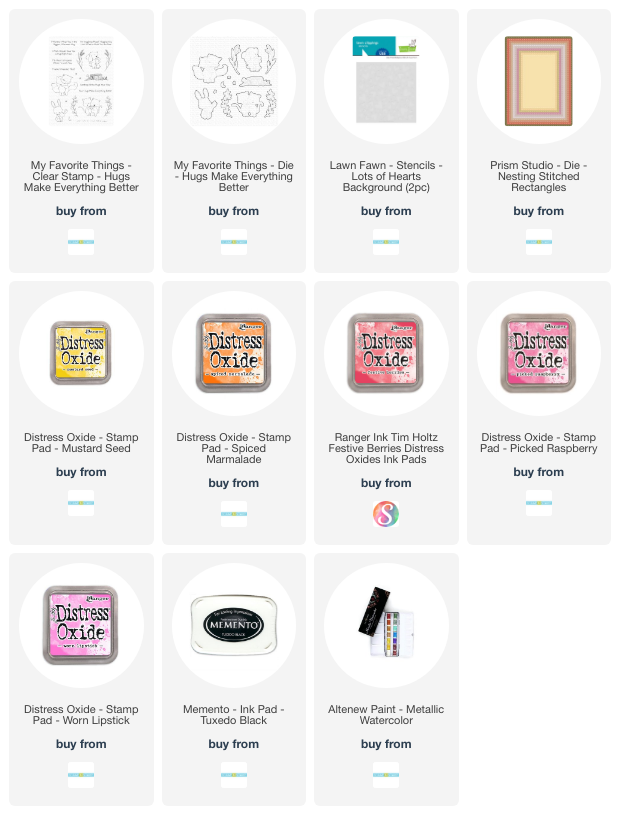
Today's card features the adorable pair of kitties from My Favorite Things stamp set, "Hugs Make Everything Better".

I started by stamping my kitty image with Memento Tuxedo Black ink. This is my favorite black ink to use with Copic Markers.

The Copic colors I used include:

  • Orange Fur: YR20, YR21, YR24
  • Grey Fur: W3, W4, W6, W9
  • Ears: R22

I kept my coloring very simple today! 

Next I die cut some black cardstock scalloped frames.  I included a die cut rectangle from the Prism Studio "Nested Stitched Rectangles" inside the smaller frame.

I die cut a vellum heart and glued it to the back of my kitties.

To create my background, I used the Lawn Fawn "Lots of Hearts" stencil.  There are 2 separate pieces to this background stencil.  I took the first panel and blended the pink Oxides from top to bottom; Picked raspberry Oxide to Festive Berries Oxide.  I took the second panel and blended the Mustard Seed Oxide into the Spiced Marmalade Oxide ink. 

Then I took some Worn Lipstick Oxide and blended a light application from all 4 edges of my panel to a few inches towards the centre.

I used some bright gold paint from the Altenew Metallic Watercolor palette to splatter across the heart panel plus some black acrylic paint too.  To finish off the panel, I stamped a few of the mini stars from the My Favorite Things stamp set, "Hugs Make Everything Better" all across the panel.

NOW... check out all the other projects that our design team has to share!! 

We're also having a SALE...

Offer valid Feb. 6 to Feb. 15 2025.

Here's our hop list...

Scrap'n Stamp
Meghan
Allison
Kate -- go here!
Tara
Deepa

Now for the GIVEAWAY...

 GIVEAWAY DETAILS!!

  1.  Hop along and LEAVE A COMMENT on each designers blog post.
  2.  One lucky WINNER will be chosen to receive a $50 gift certificate to the store.
  3.  Winners will posted on the Scrap 'N Stamp blog sometime in mid to late February.  Good luck!

Thanks for stopping by!  Happy hopping and GOOD LUCK!

~ Ally ~ 

Scrap 'N Stamp ~ Wanna Build a Snowman?


Join me SUNDAY evening at 8pm ET over on the Scrap 'N Stamp Facebook page for a fun Crafty Live.  Click here to visit.

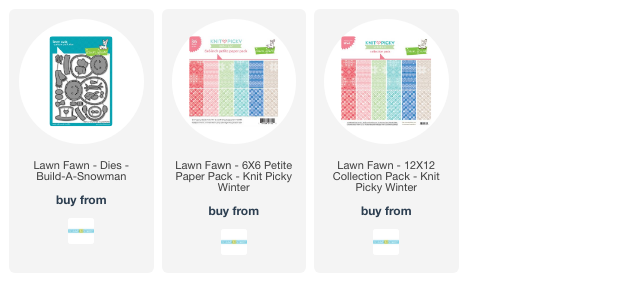
This week, I'll be playing with the adorable die by Lawn Fawn called "Build a Snowman" and some cute knit patterned papers also by Lawn Fawn.

Hope to see you there! 

~ Ally ~

Summer Fun with Altenew Blog Hop ~ Scrap'N Stamp

Welcome to the Scrap'N Stamp Summer Fun with Altenew Blog Hop!  Howdy!  I'm Allison Cope.  You should have come from the Scrap'N Stamp Blog.

  • TODAY'S PRIZE:  A $50 gift certificate to the Scrap'N Stamp shop!
  • HOW TO WIN:  Comment on EACH BLOG along the way for a chance to WIN!
  • OUR WINNER:  Our randomly chosen winner will be announced on the Scrap'N Stamp Blog on August 29th.

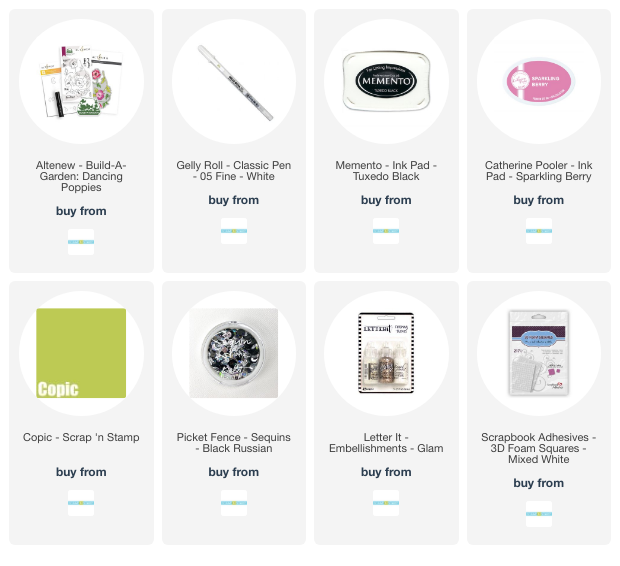
For today's card I started by stamping the beautiful poppy images from the Altenew "Dancing Poppies" stamp set with Memento "Tuxedo Black" ink onto white cardstock.  I used my Copic Markers to color up my blooms and greenery. I used my Gelly Roll White Gel Pen to add some white detailed accents.

I then used the "Dancing Poppies Die" set by Altenew to cut out all of the poppy images. 

All of the Altenew goodies that I have used today are included in the Scrap'N Stamp "Build-A-Garden - Dancing Poppies Kit"; the "Dancing Poppies" stamp and die set and also a coordinating stencils.

I used a retired script font stamp from Catherine Pooler Designs using "Sparkling Berry" ink.

I popped up all the blossoms and greenery using Scrapbook Adhesives 3D Foam.

To finish this card I added some black sequins with dobs of Stickles to the centers. 

Don't forget to comment for a chance to WIN!!!

 The next person on the hop is:

Meghan Kennihan

Our blog hop participants:

Scrap 'N Stamp Blog

Tracey McNeely
Tara Nixon Cox
Deepa Robbins
Kia Gibson-Clapper
Nancy Elrick
Laurie Case
Allison Cope -- you are here!
Meghan Kennihan

Have a great weekend!

~ Ally ~


Scrap 'N Stamp ~ Sending Love Kit

The Scrap 'n Stamp February kit, "Sending Love" is now available!

Included in the Kit:
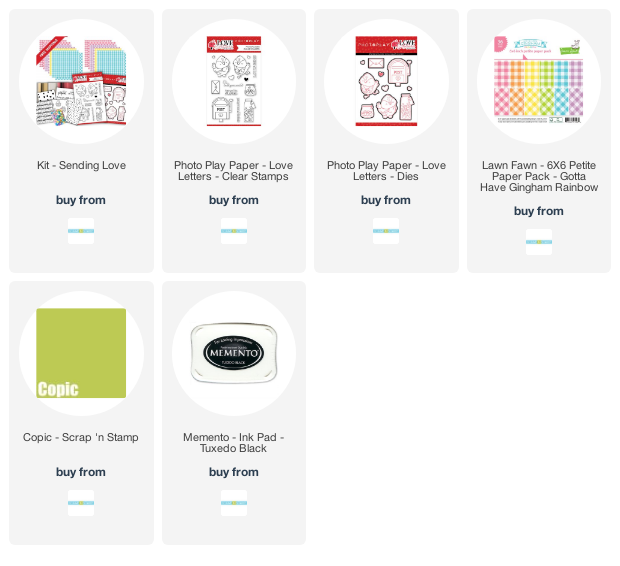
  • Photoplay Love Letters stamp 'n die sets
  • 3 sheets of foil - white, red 'n gold
  • 12 sheets of 6x6 Lawn Fawn Gingham Paper
  • 2 sentiment toner sheets
  • 2 Background toner sheets
  • Coordinating sequins 
  • Inspiration and Instruction Sheet

I made a second card creation using this fun kit.

I started by stamping both birds and whole bunch of fun candy jars from the Photoplay "Love Letters" stamp set in Memento Tuxedo Black ink.  I coloured all these items with Copic Markers and then die cut everything out using the coordinating "Love Letter Die" set.

Here's a little close up of the card front...

I had a ball creating this little gingham scene.

The Scrap 'N Stamp's design team is having a inspirational hop. To check out all of the amazing LOVE inspired creations, please head on over to the Scrap 'N Stamp's blog to begin today's hop.  (Comments left here are not entered into the hop's chance to win.)

You could WIN a $50 gift certificate to the shop!

BEGIN HERE!

Best wishes and happy hopping!

~ Ally ~

Scrap 'N Stamp ~ Sending Love Sale & Hop


Scrap 'N Stamp has a SALE and a HOP going on today!

Today's hop is all about "SENDING LOVE" and the design team is sending out lots of crafty love vibes today!

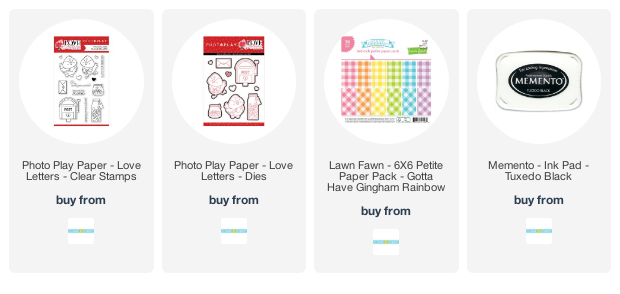
My card features the PhotoPlay "Love Letters" stamp and die set.

I stamped each of the little bird images, the mailbox and the envelopes and then coloured them using Copic Markers.  I used the coordinating dies to cut them all out.

To allow the envelope to stick out of the mailbox and the sentiment strip to stick out of the envelope, I cut thin lines and tucked them in their respective places.

I created my own background paper by stamping the 3little hearts from the "Love Letters" stamp set all over my white card base in black ink.

To check out all of the amazing LOVE inspired creations, please head on over to the Scrap 'N Stamp's blog to begin today's hop.

You could WIN a $50 gift certificate to the shop!

BEGIN HERE!

Best wishes and happy hopping!

~ Ally ~

Chibitronics ~ Sandy Santa SEAsons Greetings

Happy Monday all!  Today I'm over on the Chibitronics Instagram channel and we're having a fun HOP.  Chibitronics now has a variety of fun possible light up stamp sets available for purchase in their shop.  Designs from Lawn Fawn and Heffy Doodle are now in the shop.  I'm sharing how I made this adorable sandy Santa and his light up sun and Palm Tree lights light up.

So I started by making my circuit base which included stamping and coloring my image up.  I used the adorable "Beachy Christmas" stamp set from Lawn Fawn and some fun Copic Markers.


I always stamp my images in lighter ink on my circuit base.  This allows me to more easily place my lights in their desired positions.


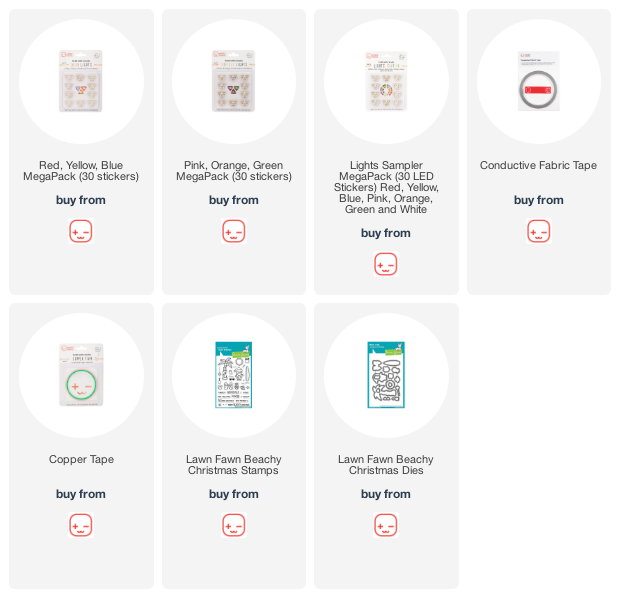
I used the stencil from the "Circuit Stickers and Effects Stencil" set and mapped where each of my LED Light Stickers and Craft Effect Stickers were going to go. Today I'm using Green LED Light Stickers from the Tropical Lights Pack and a single Yellow LED Light Sticker from the Color Lights (Red, Blue, Yellow) Pack.  All of these colored lights can also be found in the Lights Sampler Pack too!

Next I added all of the Conductive Fabric Tape to my circuit. You also have the option of using our  Copper Tape instead of the Conductive Fabric Tape for a circuit. I started by creating the Negative side of the circuit first; allowing the Copper Tape to start underneath my battery area. 

Then I built a little battery housing to hold my batteries in place and allow me to start the Positive side of the circuit on top of my battery.  In this case, I used a piece of acetate for the top of battery housing, wrapped the Conductive Fabric Tape around that acetate and continued on with the rest of circuit.

For the Positive side of the circuit, I had to lay down a little piece of paper to create a bridge over my negative side of the circuit.  This allows for a barrier between circuits and it's super easy to create.

Next I added all of the green and yellow LED Light Stickers and my circuit is complete!

Now that the circuit is complete, let's test it out!

VOILA... some of the green lights wrapped around the palm trees and the sun now light up...

I hope you'll come and join us over on the Chribitronics Instagram account and check out what my fellow Chibitronics designers have to share!

Hope to see you there!

~ Ally ~

Splitcoast ~ Fall is in the Air

Happy Hump Day everyone!  Today I'm sharing a fun Halloween card featuring some of the newly released spook-tacular Sweet November Stamps products.

For today's card I used the adorable "Spooked Pumpkin with Pip, Squeak & Shortcake" digital image plus an additional pumpkin from the "Frightful Pumpkin with Freddy & Quil".

I printed out my images and masked off the pumpkins and mice plus a circle for my big moon.  then I used Distress Oxide inks (Salty Ocean & Chipped Sapphire) to blend in a starry sky.  I added some sparkly white paint for the stars.


Then I colored up my scene with Copic Markers.  I mounted it on a thin black cardstock mat and added some orange gingham paper from Lawn Fawn called "Gotta Have Gingham: Rainbow" paper.

To finish off the card, I stamped a greeting from the "Fall Calls for Lattes" stamp set from Catherine Pooler Designs.

For the base of this card design, I used this week's sketch designed by me over at Splitcoaststampers:

Come and play along this week!

~ Ally ~

Crafty Live ~ Build a Snowman!


Join me today at 5pm ET over on the Scrap 'N Stamp Facebook page for a Crafty Live!

I'll be playing around with some cute Lawn Fawn products... including the newly released "Build-a-Snowman Die" and the fun "Perfectly Plaid" 6x6 Papers!

Come and join me!  I'll be giving away a few cards too for a couple of lucky commenters!

~ Ally ~


Chibitronics ~ Light Up Trick or Treat Creation

Today we're going to have a spook-tacular time and create a fun light-up Halloween card!

I begin by creating a circuit base for my card front panel and circuit. I create an actual card base to write to my recipient after my circuit is complete. I just make a base and slap it on the back of my circuit base. I always allow for the depth of my foam tape when creating this base.

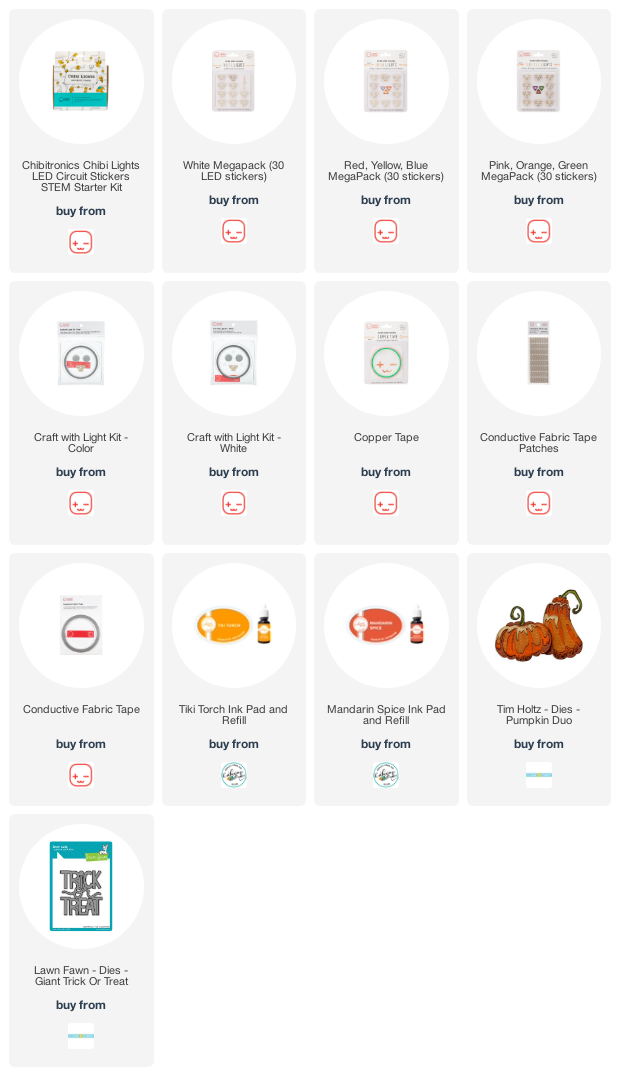
I used some Catherine Pooler inks, Mandarin Spice & Tiki Torch, on the front of my card to add a colorful mat and a patch of color to add to the back of my die cut. I die cut the cool Lawn Fawn "Giant Trick or Treat Die" die from thick black cardstock - this will block any extra light from passing through the card other than in the die cut area.

Next I added some pre-made 3 dimensional pumpkin die cuts made from the Sizzix "Pumpkin Duo Die" set and inky layers of cardstock.


Next I flipped my circuit base over and traced the die cut on the inside of my panel. This makes for easier placement of all the light stickers, circuit tape and batteries.

I used the stencil from the "Circuit Stickers and Effects Stencil" set and mapped where each of my LED Light Stickers were going to go. Today I used red, orange and yellow stickers.  


Next I attached all the stickers using the circuit lines. Green lines = positive side of the circuit and pink lines = the negative side of the circuit. Each line comes back to cross over the battery.


Typically I start with the negative side of my circuit but today I began with the positive side. I added the Conductive Fabric Tape to my circuit beginning where my battery will be located. Traditionally I start on the negative side because the TOP of the battery cell is the positive side. To solve this problem, I know I have to add the batteries in UPSIDE DOWN.

Next I created my battery housing. I used some pieces of 3D foam adhesive to create a 4 sided little compartment. Then I added a piece of acetate (you can use anything for the flap!) that runs across the top of the battery. The negative side of the circuit (in this case because I had to flip my battery) has to start on top of the battery, so I begin my Conductive Fabric Tape on the underside of the flap and wrap it around the flap and out to the remainder of the negative side of the circuit.


Here is my my almost completed circuit...

Next I need to stick down the LED Light Stickers. In this case, I used 3 orange light stickers from the Tropical LED Lights set, 4 red light stickers and 3 yellow light stickers from the Red/Yellow/Blue Lights set. You can also purchase a Lights Sample MegaPack of LED stickers with all 6 colored sticker colors in it.  

It's always good to TEST your circuit to see if it works! Ta-da!!


And here is the final card all lit up...


This circuit did not take long to map out and create!

I hope I've inspired you to create today! Grab one of our new Craft with Lights kits to give this light up project a try! Everything you need for your project's circuit is included in these kits! All you have to do is pick "white lights" or "colored lights" ~ SO EASY!

Thanks for checking out the blog today! A full product list can be found on my blog.

Happy crafting!

~ Ally ~
 
09 10