Happy Friday everyone! Today I'm sharing a fun non-card project today featuring products from Chibitronics!
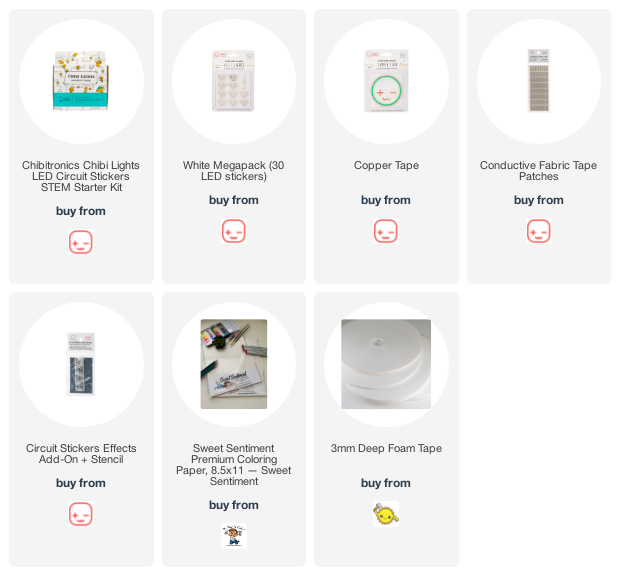
I made a fun tag display element using the fabulous LED White Light Stickers and lots of fun inks and stamps!
When you press the button at the back, the gold glitter crystals light up in and around the beautiful fairy from the retired "Oak Fairy" stamp set by Sweet Sentiment.
Here's how I created my stand up tag...
I stamped and coloring in my little fairy with Rich Cocoa Memento ink and Copic Markers. Then I used a LOT of Ranger Distress Oxide inks to create my tag base. I also used the Stampers Anonymous "Slate Stencil" and some texture paste plus the Catherine Pooler Designs "F as in... Background Stamp" to create a distressed back drop. I cut another tag from thin chipboard as a backer for my tag to aide in the stability of the whole unit.
Then I mapped out where I was going to place the LED lights and punched holes through my tag. I placed my tag over my chipboard base and placed marks on the locate of all 8 lights. I glued different sizes of the Studio Katia clear "Gold Sparkle Crystals" over each of the holes on the tag. These crystals are clear but have gold glitter embedded in them so they allow the light to shine through them.
Next I used my stencil from the Chibi "Stickers Affects Add-On & Stencil" set and mapped out my circuit. Red lines for the POSITIVE side of the circuit and green lines for the NEGATIVE side. I cut 2 little chunks from the chipboard base so my Copper Tape could be wrapped around the edge of the tag without showing along the edge of the finished project.
Next I used my Copper Tape and completed my circuit. Where my negative and positive circuits crossed, I used a little piece of cardstock to create a bridge and barrier. I used some "Conductive Fabric Tape Patches" at some of my Copper Tape joints to ensure my circuit would be complete. I added all 8 of my White LED Light Stickers to the circuit.
I created my little 3D battery housing on the back of my tag using some 3D foam and piece of clear acetate so you could see the battery.
To complete the tag, I added some thin foam to the chipboard base and my CAS-ual Fridays branch die shapes and placed the front panel on top.
Next I attached my tag to the green chipboard base I created for it to stand in and it was complete!
Don't you just love the end result?!?!
I hope you have an amazing Friday and creative weekend! I'm off to Scout camp with my troop this weekend for along winter hike and camp! Have a good one!
~ Ally ~
This post contains affiliate links...


No comments:
Post a Comment