Chibitronics ~ Celebrate Light Up Candle Card

Happy Monday everyone!   Today I'm sharing an interactive card featuring products from Chibitronics.

I decided to design a light up candle card with a shaker element!

We're going to use the new Animating White Fade LED Light Stickers to light up our candle flames today!  These LED Light Stickers come in 4 different forms.  You can buy a 24 or 6 White Fade package OR you can buy them in a combination package of both White and Red Fade LED Light Stickers both in a 6 or 24 package.

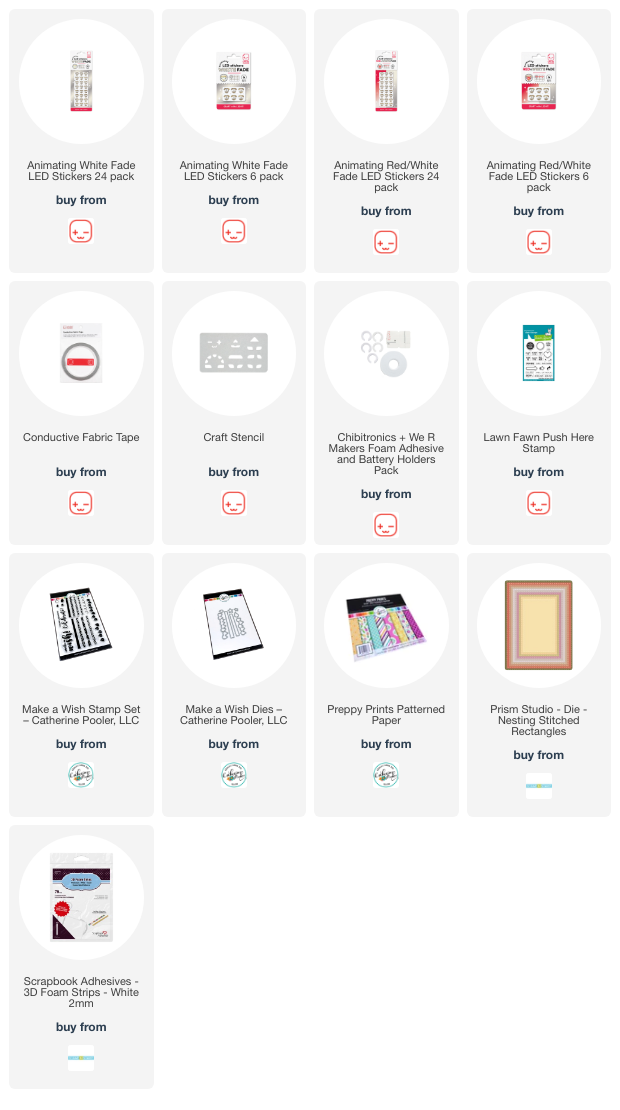
I started by die cutting the rectangle of the fun "Preppy Prints" patterned paper.  Then I took the coordinating die for "Make a Wish" stamp set and die cut the 5 candles with the flame shapes.  I traced the flame holes on the circuit panel of the card so I could easily position my stickers within the voids of the flames.  I also stamped the "Push Here" indicator from the Lawn Fawn "Push Here" stamp set to use as the circuit's switch.

Next I backed the candle panel with acetate. Turning the candle panel over, I added some slim 3D Foam strips around each candle and each flame.  I carefully added the Sprinkletz clay pieces in "Orchid" dials and "Fruit Cocktail" pieces and also some matching sequins in each candle and flame.


I backed the panel with another die cut rectangle to trap in all the shaker pieces.

I die cut the "Celebrate Word Die" (retired) by Catherine Pooler twice; once in white cardstock and a second in a diagonal strip from My Favorite Things.

Next I began to map out my circuit.  I used the simple and handy Craft Stencil to trace out the location of my 5 Animating White Fade LED Light Stickers (heart shaped).  Then I located my Battery Holder location and attached that to it's spot.

Next I drew the lines of my circuit.  Starting with the negative side of the circuit, I drew my blue line from the inside bottom of the Battery Holder all the way up to the "pointy" ends of the light stickers.  In this case, they're sharing a single line of the circuit.

Then I drew the red lines of the circuit, the positive side of the circuit.  This circuit is very simple and only requires a single line of Conductive Fabric Tape to complete.

I peeled off the self adhesive backer tape from the cardstock Battery Holder.

Next I added the Conductive Fabric Tape to my circuit.  The negative line is simple!  Straight from the Battery Holder to the light stickers.

The positive line always starts inside the flap of the Battery Holder.  This end of the tape must contact the bottom side of the battery when the switch is activated/pressed.

The final aspect of the card is simple!

First you add your stickers!  Just peel and stick.  Again, I'm using 5 Animating White Fade LED Light Stickers for today's card.  Just make sure to lay the negative ends of the sticker over the negative side of the circuit and the positive over positive. 

And finally, peel the backer off the C-shaped foam and adhere inside the Battery Holder.  This foam holds the 3V Battery in place so it doesn't move around.  Take off the backer paper on the top of the foam C and close the lid of the Battery Holder and test your circuit!

Here's what our card looks like all lit up...


The light passes through the light-weight cardstock and through the lemon clay pieces and orange sequins to make the flames appear yellow in color.

And that's it for today's light up card.  Thanks for stopping by!

~ Ally ~

Sweet November Stamps ~ Miss Rainbow Fairy

Happy Sunday!  Today I'm sharing another fun card using the brand new digital stamp "Rainbow Fairy" from Sweet November Stamps.

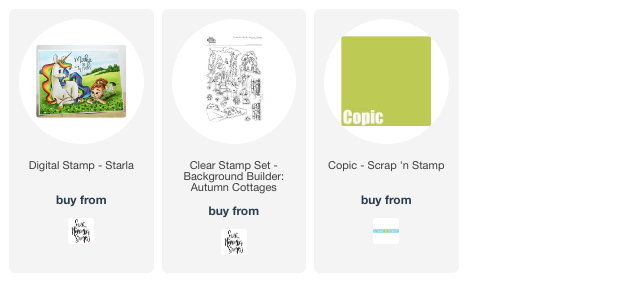
To begin today's card I printed out my card front with the sweet "Rainbow Fairy" and the darling "Starla" unicorn.

I also printed off masks for my fairy character.  I fussy cut it out and added it over top of the image.  Then I stamped the landscape from the "Background Builder: Harvest Cottages" across the top of the card panel.


I colored up the entire image using Copic Markers.  I had quite a time trying to build the background so it took on some depth.

I had a ball coloring in rainbows though!!


For a finishing touch, I added some White Gel Pen dots to the Fairy's rainbow, cheeks and her dress.

Thanks for stopping by!

Have a great of the week everyone!

~ Ally ~

Sweet November Stamps ~ Tiny Hearts Mice

Happy Saturday!  Today I'm sharing another fun card using the brand new recent clear stamp "Tiny Hearts" from Sweet November Stamps.

To begin today's card I stamped the little mouse on his belly and masked him off.  Then I stamped the little mouse holding his heart candy up high and masked him off.  Next I stamped the little mouse that's seated and removed all the masks.  I also stamped the sentiment.


Next I took a pencil and drew in the base board and wall details.  I even added a little candy heart inside the wall.

Next I colored up my entire card using Copic Markers.  I tried to make the inside of the wall a little darker.

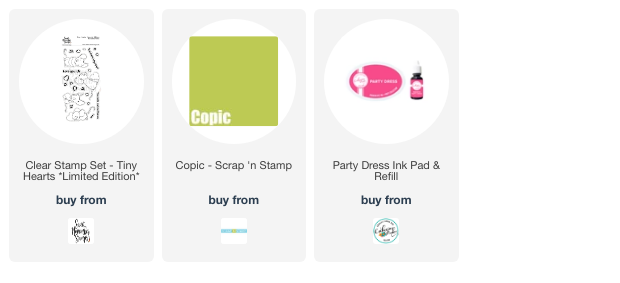
Once everything was colored, then I took my dark pink ink and stamped all the candy heart greetings and heart embellishments.

I love how this whole card ended up!  Have a wonderful weekend!

~ Ally ~


Catherine Pooler Designs ~ Love of Metallics

Today I'm over at StampNation posting a brand new Weekend Challenge!

This weekend's challenge is to use something metallic on your card.

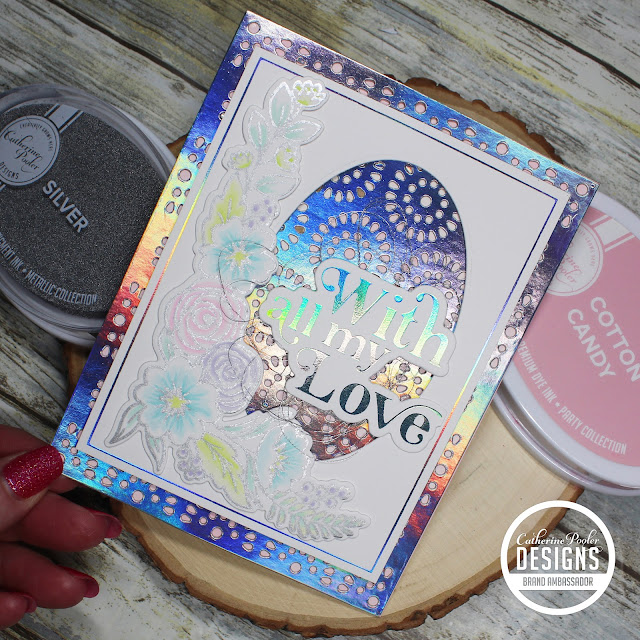
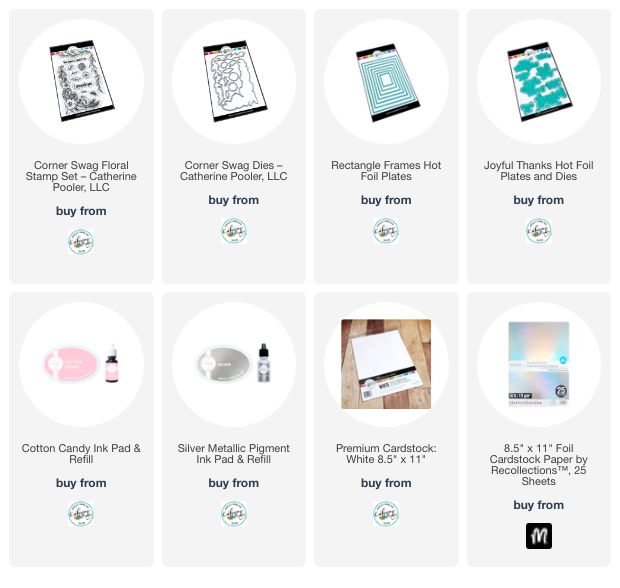
I began today's card by die cutting the "Cosmic Cover Plate Die" from some mirrored silver cardstock. Before placing my silver die cut on my card base, I inked it up with a soft layer of Cotton Candy ink.

Next I used my foiling system and foiled up one of the "Rectangle Frames Hot Foil Plates" using some Silver Foil and also the "With All My Love" sentiments from the "Joyful Thanks Hot Foil Plates".  I used the coordinating dies to cut out my sentiment.

Then I die cut an oval from the rectangular panel using the "Nested Ovals Dies".

Then I took some Silver ink and stamped out the large floral from the "Corner Swag Floral" stamp set and colored it in using Copic Markers.  I die cut it out and adhered it and the sentiment on the card front with a messy nest of silver thread.

Lots and lots of metallic elements on this card for sure!

Have a great weekend everyone!

~ Ally ~

Sweet November Stamps ~ Kitty Cuddles

Happy Hump Day!  Today I'm sharing another fun card using the brand new recent clear stamp "Kitty Cuddles - Sully" from Sweet November Stamps.

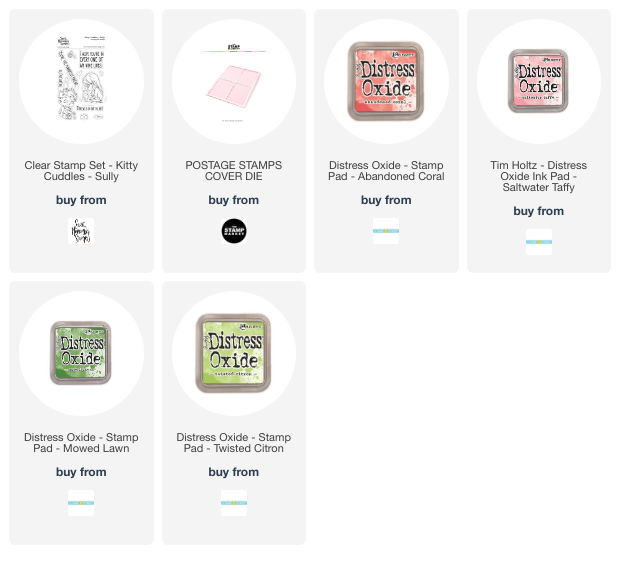
To begin today's card I used The Stamp Market's "Postage Stamps Cover Die".  I masked off all 4 rectangles and stamped the 2 pet pairings from the "Kitty Cuddles - Sully" stamp set inside the apposing rectangles.  I stamped out masks for each one, fussy cut them and applied them over the images.


Next I took two pretty pink Distress Oxides, "Saltwater Taffy" and "Abandoned Coral" and inked up the rectangles.  I even used the "Abandoned Coral" ink to stamp on some of the pet accessories in the empty rectangles.

Next I peeled off the masks and colored up each of my little scenes.


I inked up my card base with "Twisted Citron" and a bit of "Mowed Lawn" Distress Oxides to make the panel pop.  Then I added foam tape the back of the panel and adhered it the card front.

Who can resist a kitty stamp set!?!

Have a great of the week everyone!

~ Ally ~

Craft Roulette ~ Cup of Cheer

Happy Monday!!  Hope you're having a great weekend!  Today's card is this past week's entry for Craft Roulette.  This will be my 59th submission.

The four parameters that the wheel gave us this week were:

  • Project: 5x7 Card (that's a large one!)
  • Colors: Formal & Informal (formal Christmas colors with informal blue colors)
  • Element: Warm(s) (each one is holding a warm beverage)
  • Random: Crisscross (there's a crisscross pattern on her apron)

So this week's card features a few Christmas stamps from Sweet November Stamps.  The majority of the images are from the "Cup of Cheer" stamp set with one little reindeer from the "Winter Wishes Reindeer" stamp set.

I began my card by temporarily adhering the 5x7 A7 Stencil to my cardstock.  Then I took my Santa, Mrs. Claus, elves and reindeer stamps and stamped them through the stencil's pattern using Memento Tuxedo Black ink.

Then I added a mask over each of the people, elves and the reindeer.  I then used my Broken China Distress Oxide in all the backgrounds of the openings.  I blended the darker Prize Ribbon Distress Oxide ink to some of the corners.

Then I added some white acrylic paint splatter over all the openings.

Then I removed all of the masks and colored in all of the characters using Copic Markers.


To complete the card, I added a greeting and some white embossed snowflakes found in the "Winter Wishes Reindeer" stamp set.

Make sure to check out Craft Roulette over on YouTube and join us every Friday at 6:30pm CT for a brand new episode! Hope you'll join us tomorrow evening!

Hope you have a great week!

~ Ally ~

Catherine Pooler Designs ~ Joys of Spring Collection is Coming!


We have a brand new release coming from Catherine Pooler Designs this coming week!  It's called the "Joys of Spring" collection and it's packed full of some super cute Spring themed products.

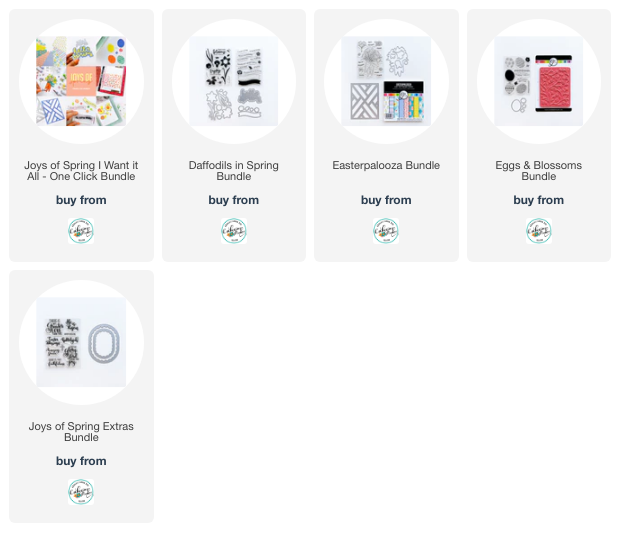
The first bundle of Joys of Spring is the "Daffodils in Spring" Bundle.

This bundle contains:

  • Daffodil Blooms Stamp Set
  • Daffodil Blooms Dies
  • Hello Spring Layered Word Dies
  • Welcome Spring Sentiments Stamp Set
  • Welcome Spring Dies

Purchase the bundle at a discount, or choose your favorites a la carte.

Next is the beautiful "Eggs & Blossoms Bundle".

This bundle contains:

  • Ukrainian Eggs Stamp Set
  • Ukrainian Eggs Dies
  • Little Blossoms Background Stamp

Purchase these products a la carte, or grab the bundle at a discount!

And our final Joy of Spring collection bundle is the "Easterpalooza Bundle"!

This bundle contains:

  • Carrot Bouquet Stamp Set
  • Carrot Bouquet Dies
  • Greenhouse Gate Cover Plate Die
  • Easterpalooza Patterned Paper

Purchase these products a la carte, or in the bundle for a discount.

NOW.... the whole collection arrives in the Catherine Pooler Designs shop on Wednesday, February 21st but if you are a StampNation member than you get to shop a WHOLE DAY early - beginning on Tuesday at 12 pm EST.

Check out all the amazing projects on Catherine's Blog.

Hope you join us for a YouTube live today at 12 noon EST.

~ Ally ~

Sweet November Stamps ~ You're So Dog-Gone Cute!

Happy Weekend!  Today I'm sharing another fun card using the brand new digital "Dog Park 3" release from Sweet November Stamps.

Today's card features the adorable new digital "Scout the Border Collie".


I actually used this card as a Valentine's Day card for my hubby this year.

To build my scene, I used the pine tree from the "North Pole Friends: Background Builder".  I sized the tree in 3 different sizes to create a layered scene.

To add a little snow and snowy effect, I used a Sharpie paint pen to add some glitter.

Make sure to check all the new puppies!

~ Ally ~

Sweet November Stamps ~ Here Come the Puppies!

Happy Weekend!  Today I'm sharing another fun card using the brand new digital release from Sweet November Stamps.

Today's card features the adorable "Mave the French Bulldog" and her little "Bentley's Octo Toy".

I began the card by printing out "Mave" and her toy on my printer.  I also printed out the same images with my masking paper too.  I cut the puppy and toy out of that mask and applied it to the panel.


Then I used 2 of the trees and some bushes from the "Horizon Lines: Spring in Bloom" to set the park background.

I also created masks for the trees and bushes which allowed me to add an airbrushed soft rainbow sky and a grass base using Copic Markers.

I had a blast coloring up this whole scene!!!

I always need birthday cards so I added a "Happy Birthday" greeting from the "Fairy Hair" stamp set using silver embossing powder.

Don't forget to check out all of the amazing new puppies in the digi shop; HERE!

Have a great weekend!

~ Ally ~

Sweet November Stamps ~ That's a Whole Lotta Stamps!

Happy Hump Day everyone!

Today I'm sharing another fun card using a whole lotta Fall themed stamp sets from Sweet November Stamps.

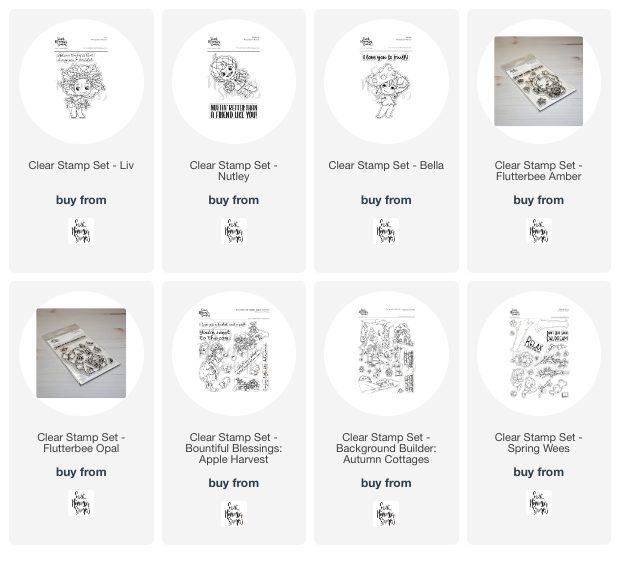
Today's card features three little Autumn cuties, "Liv", "Nutley" and "Bella".  They're all featured in the largest 3 openings of the stamps.  For this very large card, I used the "Postage Collage A7 Die" and it's coordinating stencil from Waffle Flower for my front panel.

I also incorporated one of the pumpkin and squash blossoms from the "Bountiful Blessings: Pick of the Patch" stamp set.  I decided to color my pumpkins in an unconventional pumpkin color of teal.

Beside our little "Liv" gal all decorated in purple and green variegated cabbage leaves I used the large sentiment from "Spring Wees" and some maple leaves from the "Flutterbee Amber" stamp set.

And for the final 2 panels, along with sweet little "Bella", I used another fun pumpkin from the "Background Builder: Autumn Cottages" stamp set and an oak leaf from the "Flutterbee Opal" set.

This card was a true labor of love!  I had a ball featuring out all of the elements and how I could stick to my theme all on one card.  I had a great time coloring up all of the mini panels too!

Thanks for stopping by!  I hope you have a wonderful and crafty week!

~ Ally ~
Sweet November Stamps ~ Love That We're Friends

Happy Tuesday everyone!

Today I'm sharing another fun stamp set from the new "Love Notes" collection from Sweet November Stamps.

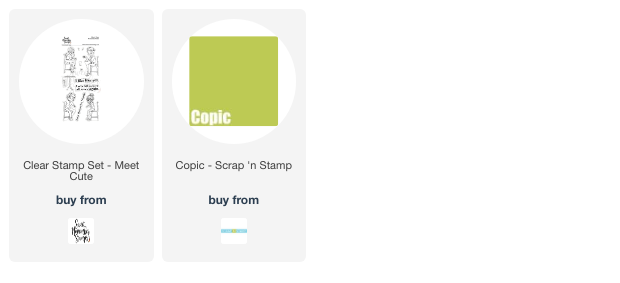
Today's card features the new "Meet Cute" clear stamp. This adorable stamp set includes 2 young ladies and 2 young men seated in chairs, a cute table and some cafe accessories.

I used the 2 young ladies, the cafe table and the drink cups.

To give these ladies a scene, I hand drew my background of a simple coffee shop.


Everything is colored up using Copic Markers and a Copic Multi-liner was used to draw in the background details.

I had fun creating this cute scene!

Hope you have a great rest of the week!

~ Ally ~

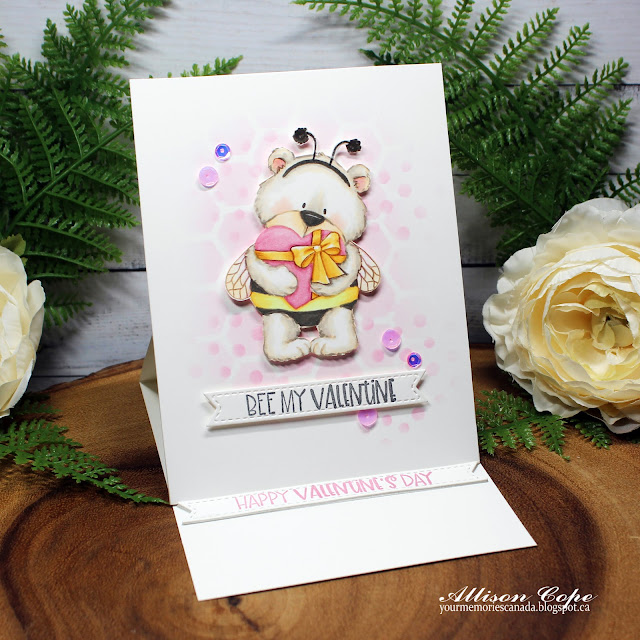
Craft Roulette ~ BEE My Valentine?

Happy Sunday!!  Hope you're having a great weekend!  Today's card is this past week's entry for Craft Roulette.  This will be my 58th submission.

The four parameters that the wheel gave us this week were:

  • Project: Easel Card
  • Colors: Quiet (lots of soft, subtle colors)
  • Element: Sweets (bee is holding a chocolate box)
  • Random: Bokeh (there's hexagon & circle bokeh in the background)

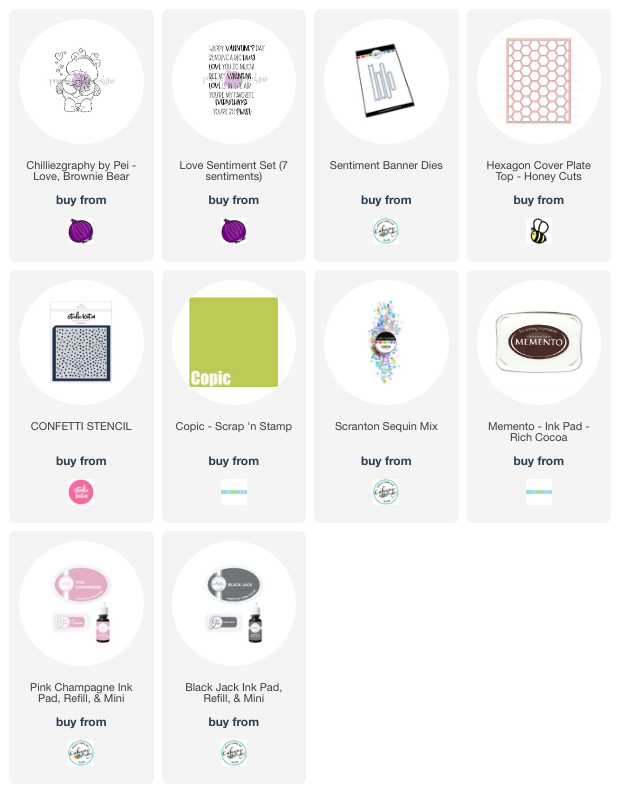
So this week's card features the adorable little bear bee from Purple Onion Designs called "Love, Brownie Bear".

I began my card by stamping my bee bear in Rich Cocoa Memento ink.  I used some softer Copic Marker colors to color in my little critter's image.  Then I fussy cut him out.

I used the Honey Bee stamps (how appropriate!) die "Hexagon CP: Top Layer" and cut out a piece of cardstock to use as a stencil.  I used it with some CP Pink Champagne ink to add that to my card front panel.  Then I took the Studio Katia "Confetti Stencil" to add some additional circle images using the same pink ink to the front.


To finish off my card I die cut out 2 sizes of "Sentiment Banner Die" from CP for the outside and the inside of my easel card.  I used 2 fun sentiments from the "Love Sentiments" from Purple Onion Designs.

Plus a few pink "Scranton Sequins" as a shiny, final touch!

Make sure to check out Craft Roulette over on YouTube and join us every Friday at 6:30pm CT for a brand new episode! Hope you'll join us tomorrow evening!

Hope you have a great week!

~ Ally ~

Sweet November Stamps ~ Day at the Park

Happy Saturday everyone!

Today I'm sharing another fun stamp set from the new "Love Notes" collection from Sweet November Stamps.

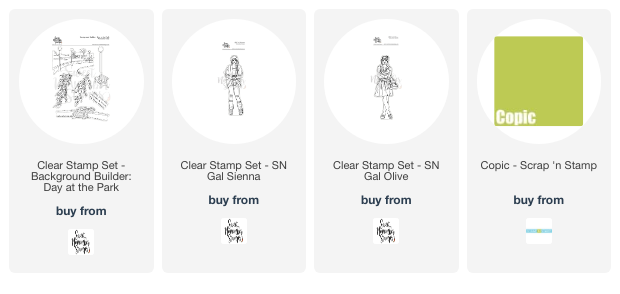
Today's card features the new "Background Builder: Day at the Park".  This cool and extremely large stamp set contains 2 bridge landscapes, a park bench and light plus some leafy branches a great sentiment.

I chose to use the bridge landscape with the 4 beautiful street lamps. To create the pebbled look to the walkway, I colored the base of the ground and then used a textured piece of cloth and Copic Blender Solution to get a pebbled look.


To complete the scene, I used two SN Gals, "Sienna" and "Olive" to round out the view.


 I also added a gold heat embossed sentiment to the corner.  This is the sentiment included in the new "Background Builder: Day at the Park" stamp set.

I hope you have a wonderful weekend!

~ Ally ~

 
09 10