Happy Wednesday all! Today I'm over on the Chibitronics YouTube channel showing you how I made today's secret message reveal card.
You can click the image below and check out the whole circuit building technique.

Now... a little run down as to how I made this circuit using photos.
I always start designing my circuit on a stamped out image that matches the front of my card panel. Today's sweet image comes from the Purple Onion Designs "Mr. Corgi & Balloons" stamp set. It's so much easier to locate the light stickers in the exact right places this way. You can see a light stamping of my little corgi puppy beneath the lines of the circuit.
Next I heat embossed my secret message of "Happy Birthday" onto some vellum. I glued the sentiment directly to the backside of the balloon image on the inside of the front panel. This way, when the light passes through the paper, it shows the sentiment beneath! This sentiment came from the Catherine Pooler Designs stamp set, "Critter Crew".
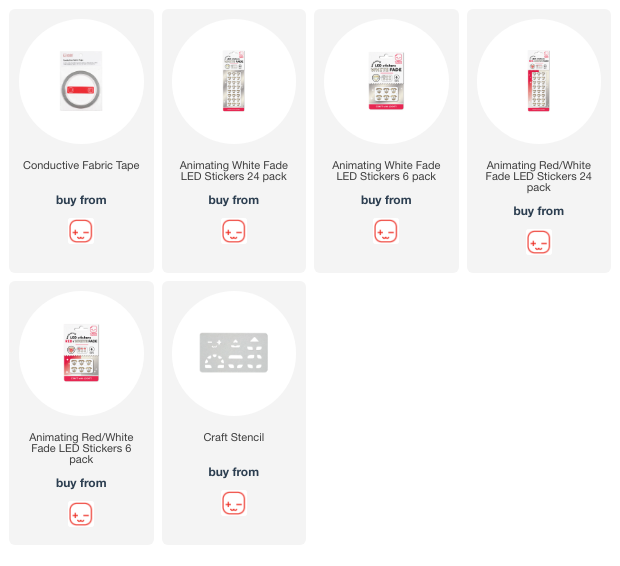
I used the simple and handy Craft Stencil to trace out the location of my 2 Animating White Fade LED Light Stickers (heart shaped). Then I located my Battery Holder location and attached that to it's spot.
Next I drew the lines of my circuit. Starting with the negative side of the circuit, I drew my blue line from the inside bottom of the Battery Holder all the way up to the "pointy" ends of the light stickers. In this case, they're sharing a single line of the circuit.
Then I drew the red lines of the circuit, the positive side of the circuit. I needed in this case, to attach this line to the wider parts of the sticker locations.

Next I added the Conductive Fabric Tape to my circuit. The negative line was simple! Straight from the Battery Holder to the light stickers.
The positive line always starts inside the flap of the Battery Holder. This end of the tape must contact the battery when the switch is activated/pressed.
You can cut your Conductive Fabric Tape easily to make another connection point on your circuits. You just have to make sure you overlap your tape.

The final aspect of the card is simple!
First you add your stickers! Just peel and stick. Again, I'm using 2 Animating White Fade LED Light Stickers for today's card. Just make sure to lay the negative ends of the sticker over the negative side of the circuit and the positive over positive. In this case, the hearts stickers are kissing tip to tip!
And finally, peel the backer off the C-shaped foam and adhere inside the Battery Holder. This foam holds the 3V Battery in place so it doesn't move around. Take off the baker paper on the top of the foam C and close the lid of the Battery Holder and test your circuit!

And voila! Your light up card is complete... and that lit balloon fades in and out!

Don't forget to check out how this circuit was built over on the YouTube channel!
Thanks for stopping by!
~ Ally ~


No comments:
Post a Comment