
Today Chibitronics and Heffy Doodle are having an Instagram Hop!
To check out the entire hop, here are today's participants:
Heffy Doodle @heffydoodle
Melissa Goodman @melissagoodman75
Lauren Taylor @lauren.taylor.made
Bri Firth @brifirthcreates
Amanda Fitterer @craftyandcreativevibes
Allison Cope @i_card_so_hard
Francesca Vignoli @francifridayfinally
Wei Wei Wang @weiweiwang_12
Kari VanNoy @kariavan
Jessica Frost-Ballas @jessicafrostballas
Claudia Mauri @mrsclocards
Chibitronics @chibitronics
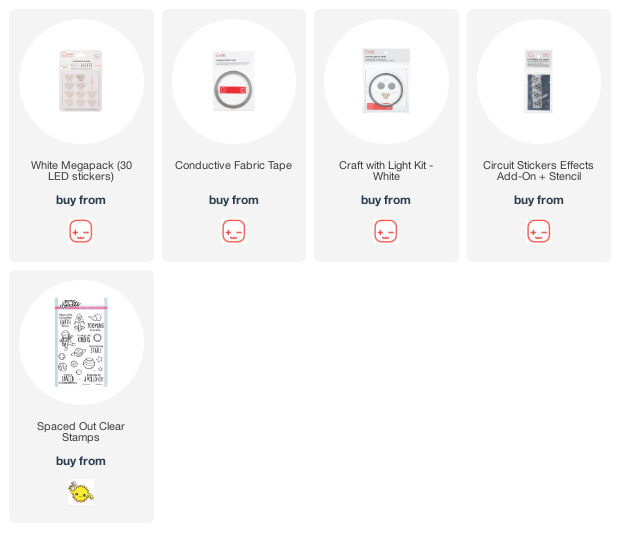
My flat shaker card today features the adorable "Spaced Out" clear stamp set by Heffy Doodle.

Today I began my space themed card by stamping out and coloring in my sweet little starry galaxy scene that I created. I also stamped a copy on the inside of the card panel for preparing my circuit.
I masked off all the planets, stars, rocket ship and astronaut and applied a variety of fun Distress Oxide inks to make a blended colorful galaxy background. I also added a splatter of white paint before peeling away all of my masks.

Next I mapped out my circuit on the inside panel and applied a black cardstock mask on the back of the rocket image. This mask doesn't allow any light to pass through it and allows the light with in the ship's window to shine through. To create the sticker shapes, I used the stencil from the "Craft Effect Sticker & Stencil" set.

Next I laid down the "Conductive Fabric Tape" for the negative side of the circuit. I always start my tape under the battery area so my circuit begins with contact on the underside of my batteries.

Then I lay down the tape for the positive side of the circuit. Then I created the housing for my batteries to stay in. I created a flap of acetate (you can use anything non-cuductive for this) and wrapped my "Conductive Fabric Tape"around that flap so it touches the top of the batteries.

Then I continue laying down the remainder of the positive side of the circuit's "Conductive Fabric Tape to complete the curcuit. Next I apply all of my light stickers. In this case I used all White LED Light Stickers from the "White Megapack" of stickers.

And the circuit is now complete!
To make it a shaker card, next I added a thin plastic sheet over top, taped 3 sides of the plastic down first (on the underside of the panel), added some simple star sequins inside the plastic and then sealing it all up on the fourth and final side.
I added some strong magnets to the inside of the circuit and the card front panel so I can access the circuit.
Here's the completed card all lit up...

Have a great rest of the week!
~ Ally ~


No comments:
Post a Comment