Showing posts with label Aall & Create. Show all posts

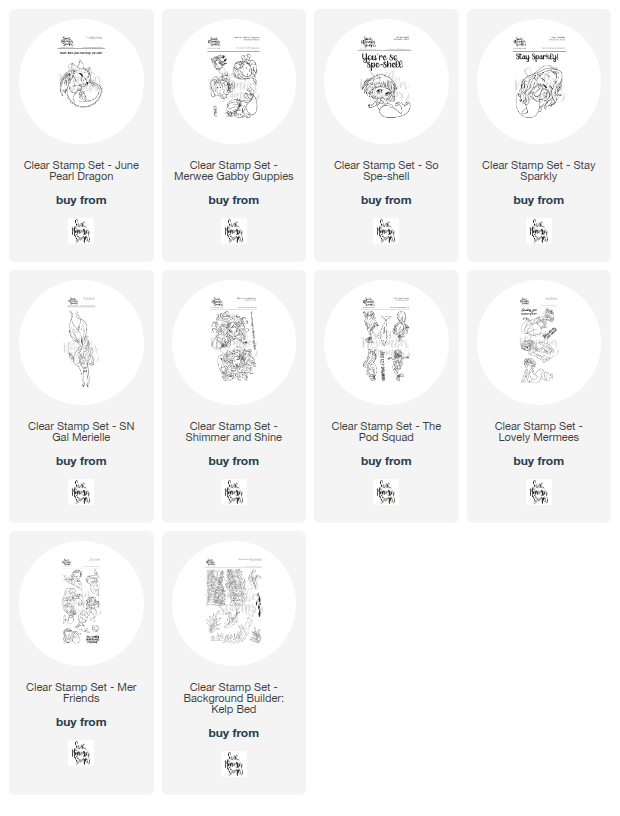
Sweet November Stamps ~ Making a Splash with the Merwee Gabby Guppies

Today I’m sharing a playful underwater-themed birthday card featuring the adorable Merwee Gabby Guppies clear stamp set from Sweet November Stamps!


For this card, I used the darling mermaid draped over the rock along with her sweet little octopus friend from the Merwee Gabby Guppies set. To tie it all together, I chose a sentiment from The Guppies clear stamp set—“A wish, a splash, a birthday bash!”—which fit the whimsical underwater vibe perfectly.

To add a mixed media feel, I reached for a wild and colorful background paper from Aall & Create. I love how it adds so much energy and movement, like a bustling coral reef. I framed my mini scenes using the funky hexagon frames from Catherine Pooler Designs, giving the layout a modern, dynamic touch. I also added a few teal enamel dots for extra pop of texture and color.

Everything was colored using Copic Markers, and I love how those bold colors stand out against the artsy background!

Thanks for swimming by today—hope this card inspires you to dive into your next crafty project!

~ Ally ~

Scrap 'N Stamp ~ Manly Masterpieces Hop *PRIZE*

Welcome to the Scrap 'N Stamp Manly Masterpieces Blog Hop!

Today's card features the very dapper Lavinia "Small Compass" stamp set!  My husband is a sailor and so I'm always attracted to things that are sailing related.  Of course, a compass is used in other ways like orienteering (ask me how I know... Scout Leader here!

So I started out my card by created a background.  For my background, I stamped the compass image in random spots all over the watercolor paper.  Then I applied some light washes of several Catherine Pooler Designs inks including, Tranquil, Cove Blue and Mardi Gras.


I also used the All & Create "Cascading Dots #173" stencil to add some random dots on my grungy background.


For the finishing touches, I used the Happy Birthday die from one of my favorite stamp & dies sets, the Hero Arts "Stamp & Cut XL - Birthday" set using some Prism Studio "Solar White" and "Iris" cardstock.  I adhered them both together with a slight offset so the white sentiment would break up the sentiment from the card base.

Lastly, I added a heat embossed compass image on a piece of vellum just below the sentiment.  It's a little more texture to the card with the vellum and the raised embossed image.

We also have some shop SALES to go along with our fun theme. Check out the SALES for this event!


This is our hop rotation this month...

Scrap'n Stamp Blog
Meghan
Kate
Allison
Deepa <== GO HERE!
Tara
Tracey

Now for the GIVEAWAY details...

 GIVEAWAY DETAILS!!

  1.  Hop along and LEAVE A COMMENT on each designers blog post.
  2. One WINNER will be chosen to receive a $50 gift certificate to the store.
  3.  Winners will posted on the Scrap 'N Stamp blog on June 18th.  Good luck!

Thanks for stopping by!  Happy hopping and GOOD LUCK!

~ Ally ~ 

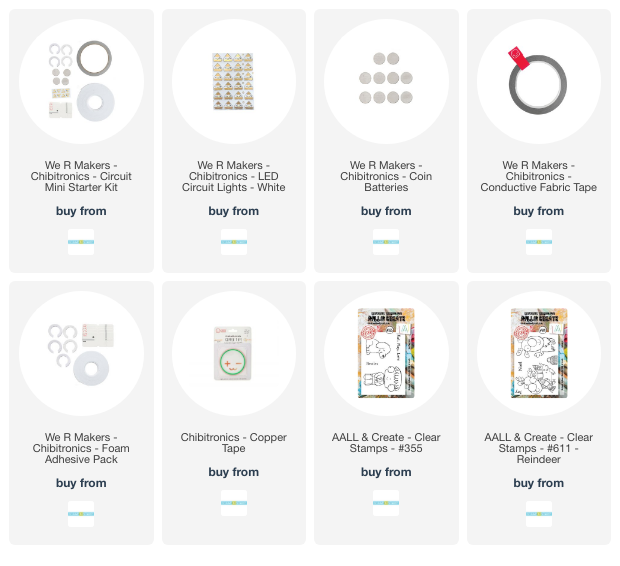
Scrap 'N Stamp ~ Simple Light Up Card featuring Chibitronics


Join me today at 2pm EST for a LIVE tutorial on how to create a simple light up card featuring the Chibitronics Starter Kit.

Today's card also features some adorable stamp sets from Aall & Create, "#355 Eat Play Love" and possibly "#611 Reindeer".

I'll be over on the Scrap 'N Stamp Facebook group! 

Hope to see you there!

~ Ally ~

Chibitronics ~ Wizard's Wand

Happy Friday all!   Today I'm sharing my latest Chibitronics creation that I made this week.

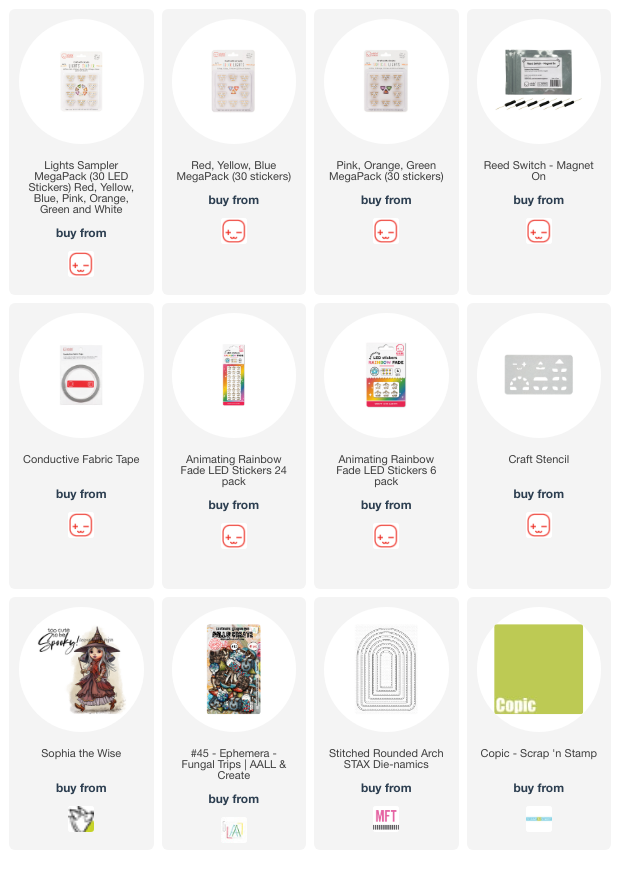
This card features cool paper circuit products including the Rainbow Fade Animating LED Light Stickers.


I first created the front panel of my card. For the front panel I printed out the sweet little wizard, "Sophia the Wise", from Mo's Digital Pencil and also her birthday greeting.  I colored her image using Copic Markers.

Next I created the frame to wrap around the little wizard.  I covered a piece of black cardstock with a variety of the Aall & Create "Fungal Trip" ephemera.  I used a white gel pen to add some sparkles between all images.

I printed a copy of my wizard image on a piece of copy paper and adhered it to my circuit building panel.  This piece always helps me position all of my lights and circuit aspects more easily.

Next I located the positions of all of my lights.  I actually punched holes through my front panel and the mushroom elements and transposed their locations.  I used my Craft Stencil to trace the light sticker shapes onto my circuit building panel.  I chose to use red, green and blue LED Light Stickers to correspond with the color of the mushrooms on the card front.  I chose to use one Rainbow Fade Animating LED Light Sticker at the end of the wizard's wand!

I traced out a circle for the location of my 3V Battery and laid out my Reed Switch to ensure I made room on my circuit for it.

Next I laid out the plan to create my circuit; blue lines for the negative side of the circuit and red lines for the positive side!  I made sure to include the negative points of all the stickers on the negative side of the circuit and the positive on the positive side.

I also included the Reed Switch in between the battery and the positive sides of all the light stickers.

Next I laid down all the Conductive Fabric Tape for the negative side of the circuit, starting underneath the battery location.

Next I laid down the Conductive Fabric Tape for the positive side of the circuit.  I made sure to tape in my Reed Switch.  I just used the tape from the circuit to hold it in place.  

Since I didn't need a battery style switch to complete my circuit this time, I just taped the 3V Batteries into place.  YES... I used two 3V batteries for this card.  They are just sitting on top of one another.

The last and final touch was to add in our LED Light Stickers.  I used the Rainbow Fade Animating Light Sticker for her wand and Blue, Green and Red LED Light Stickers for the fungi around her!

To allow the Reed Switch to close, you have to add a little magnet to the top of the switch to close the circuit.  I decided to create a mushroom wand (seen in the lower right corner of the photo above).  I attached a little thin magnet to the back of one of the mushroom ephemera along with a metal wire handle.  By taping the fungi wand to the word "MAGICAL" on the card front, the circuit closes and activates all the lights! 

And here's what happens in action...


Thanks so much for stopping by!  I hope you enjoyed my card share today!

See you again soon!

~ Ally ~
Sweet November Stamps ~ A Strollin' Gnomie

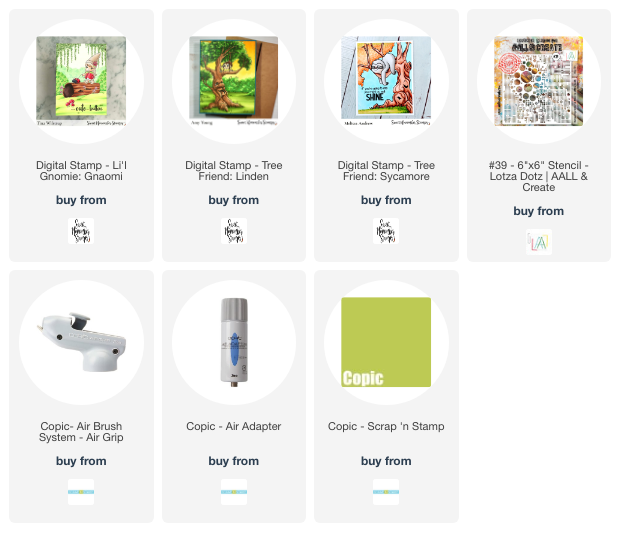
Happy Tuesday!  Today I'm sharing another card featuring the "Lil Gnomies" digital stamps from Sweet November Stamps.

This little Gnome is called "Gnaomi" (how cute!) and she's out walking her little ladybug out in her imaginary world.  A world with teal colored trees and spotted red and orange skies.


I paired this little cutie with the trees from "Tree Friend: Linden" and "Tree Friend: Sycamore", also digital images.

To create the fun sky, I masked off all of the tree images and our sweet Gnome and used my Copic Air Brush System and brushed on an umbre background of reddish pink and orange and then used a funky stencil from Aall & Create called "Lotza Dotz". 

Join the Sweet November Stamps team on Saturday for a Instagram hop featuring the new Enchanted Spring Clear Stamp Release!

PLUS there will be a SNS YouTube Hop on Sunday too!  Hope you'll join us!  There are PRIZES to be won!

Have a great week!

~ Ally ~

Scrap 'N Stamp ~ Bugs & Butterflies Blog Hop *PRIZE*

Welcome to the Scrap 'N Stamp Bugs & Butterflies Blog Hop!

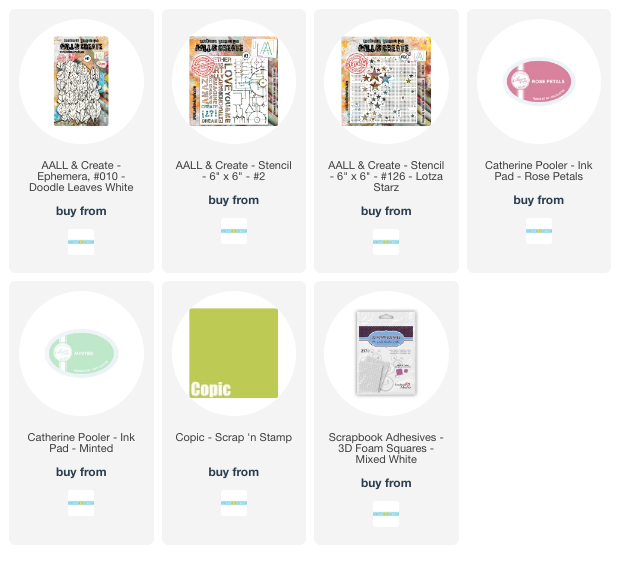
Today's card features something a little different.  Instead of using a butterfly image or something of the like, I chose to make my own.  I used the cool Aall & Create ephemera "White Doodle Leaves" to create my own!


First I designed the tag base for my creation.  I used a Ranger Manila #8 tag.  I laid down a light layer of Catherine Pooler Rose Petals ink.

I pulled out the cool Aall & Create 6x6 Stencil #2 and and added a variety of cool parts of the stencil to the tag using the word art part.

Next I pulled out the Aall & Create Stencil #126, "Lotza Starz". I used some CP Minted ink to add a whisper of stars to the tag.

I used some of the new Hero Arts Collage Background Transfers from the "Antique Collage" package and added some scripty rub-on images on the tag plus a touch of stitching and some white and black paint splatters..

Last but not least, I created my butterfly using leaves from the "White Doodle Leaves".  I colored them in using Copic Markers and glued them together with a hand-cut body.  I mad the antenna with some very fine strips of paper.  I also adhered a few uncolored leaves on the tag too.

This is our hop rotation!  Enjoy! 

Scrap'n Stamp
Deepa
Meghan
Kate
Tara
Kia
Allison  -- you are here!

Now for the GIVEAWAY details...

 GIVEAWAY DETAILS!!

  1.  Hop along and LEAVE A COMMENT on each designers blog post.
  2.  A WINNER will be chosen by each designer along the hop to receive a $50 gift certificate to the store.
  3. Winners will posted on the Scrap 'N Stamp blog in late April.  Good luck!

I am at the end of today's blog hop!

Thanks for stopping by and GOOD LUCK!

~ Ally ~ 
 
09 10