Make it Rain... and Shine!

Happy Tuesday everyone!  If you are a StampNation member you get to SHOP EARLY TODAY!  As a StampNation member you get to shop a day early plus all the SN member boxes get shipped first!  Hooray!


If you are curious about StampNation, click here for more information.

Catherine offers 3 subscriptions for StampNation

  • You can try it out for a single month and see if you like it by purchasing a 1 month Subscription HERE
  • You can try it out for a season, StampNation Quarterly HERE
  • Or save the most money and subscribe for a year, HERE.

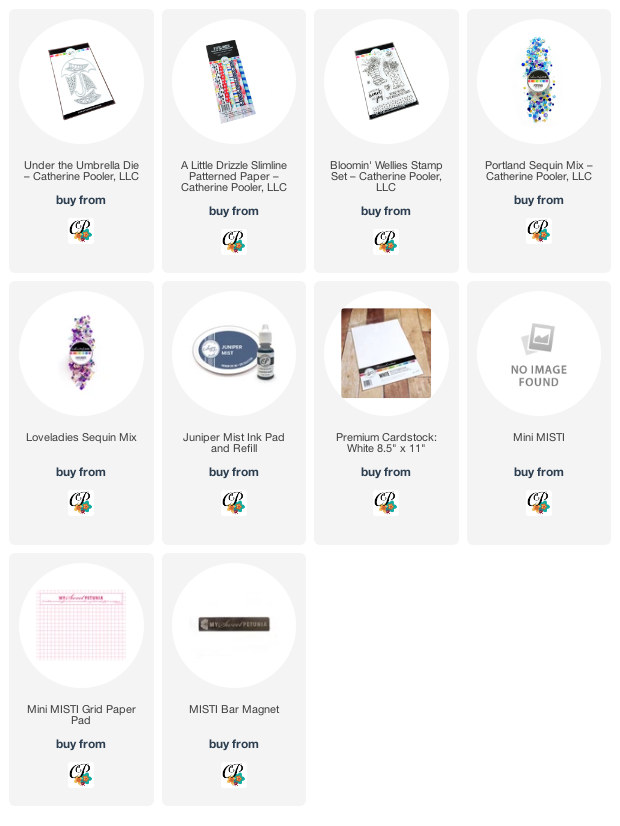
For my card today I knew I just had to make a falling-bead card using that fabulous "Under the Umbrella" die!  I chose to make my umbrella white on white.

To create the falling beads, I attached silver threads evenly to a strip of cardstock and beaded each string with little beads from the "Portland Sequins" mix AND I also brought in some fun yellow flower sequins from the "Loveladies Sequins" mix.   I attached the ends of the threads to the back of the fussy cut flowers piece of patterned paper from the "A Little Drizzle" Slimline paper pack.

I had a blast making this fun card! 

For my second card, I wanted to use the adorable "Rise and Shine" stamp set!  Who can resist all of those amazing kitchen elements.  I combined the stamps with the fun "Great Start 6x6" patterned paper pack too!


Remember as a member of StampNation, you MUST log in to your account at Catherine Pooler Designs and then and only then will you be able to see all the new goodies to shop in!  

Happy shopping in a few hours!

~ Ally ~


This post contains affiliate links for ease of shopping at NO EXTRA COST to you!
Shine On Shaker

Howdy all!  I'm back with more fun Catherine Pooler creations featuring the products from the April Showers Bring release.

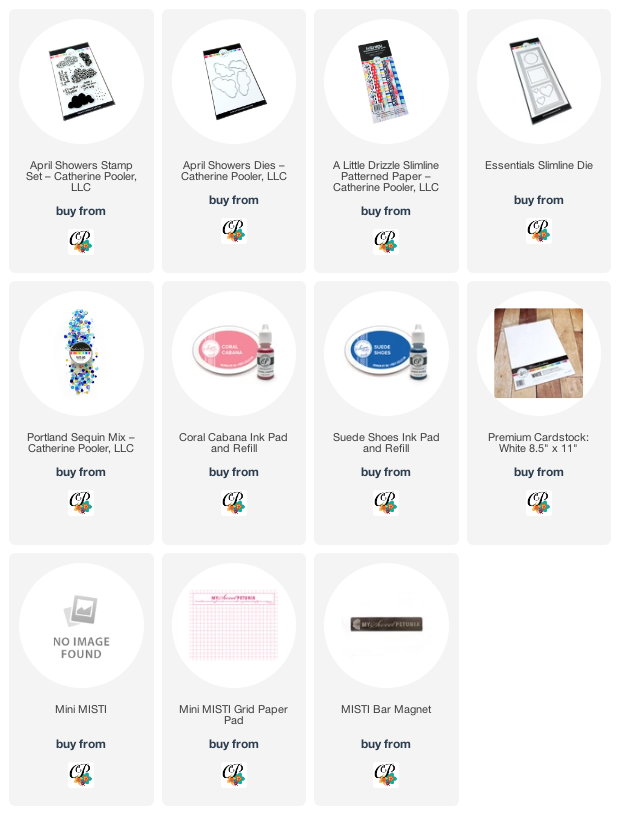
Today I'm sharing a fun and simple shaker I created.  I first started by cutting out the fun slimline frame from the "Essential Slimline Die" set, attaching acetate to the back of each window and then backing each window with a fun patterned paper piece from the "A Little Drizzle" Slimline patterned paper pack.

Then I die cut some fun cloud shapes using the "April Showers" die set - these dies don't necessarily need to be used with their coordinating stamps.  They are a wonderful stand-alone die set for sure!

I added some fun "Portland Sequins" to the card and called it... FUN!

Thanks for stopping by!  I hope you're enjoying all the fun CP creations!

~ Ally ~


This post contains affiliate links for ease of shopping at NO EXTRA COST to you!

Little Yellow Submarine

Happy Sunday!  Have you come and checked out the Kraftin' Kimmie Stamps "Spring Krafty Krop" yet?  Click here to see what we're up to!

For challenge #7, I wanted to create a super fun interactive card for one of my nephews.  For this challenge, as you can see below, you had to choose 3 elements listed to use on your card.


I chose to use; slimline card, stitching and stencilling.

So here is the finished card featuring the fun "Underwater Fun" stamp set.

And here is the WOW factor.... it lights up!  YUP!!!

So here's a quick tutorial on how I made this card.

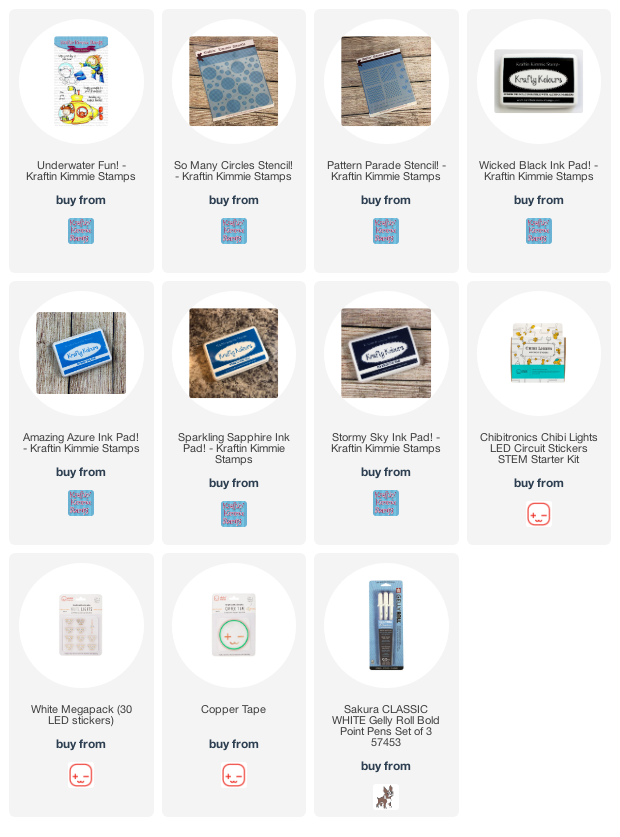
1.  I stamped my images on 2 pieces of cardstock.  I coloured everything with Copic Markers but I ink blended my back ground using Amazing Azure, Sparkling Sapphire and Stormy Sky inks.  I used the "So Many Circles Stencil" and some white pigment ink to stencil on the bubbles.

2. I fussy cut out the window and the helmet from the top panel.

3. Next I built a battery house and laid down a row of copper tape for the negative and positive lines.  Then I stuck down the white LED light stickers from Chibitronics.

4. Then I framed in all my windows and the helmet using doubled foam tape.  You can lay the foam right over top of that copper tape.

5. Next I cut really thin silver metallic paper strips and backed them with really thin Scor Tape and ran them around the outside of all the windows to allow the lights to reflect back over the images.  It really did allow the light to better transmit across the faces.

6. I removed the foam tape backer paper and laid the top panel across the foam taped lower layer.

TIP:  When using my stitched line on the "Patterned Parade Stencil" with my white gel pen, I used a thin piece of Post-It Note Tape on the back to create a very simple little lip for my stencil to sit against the card panel to keep it straight!  Yup... super fun tip!


I hope you'll come join in the fun!  Hope to see you there!

~ Ally ~

Pictures for ease of shopping...

Calling For Drizzle!


Happy Sunday everyone!  It's time for some fun Catherine Pooler Designs new sneak peeks!  This month's release is called "April Showers Bring"!! 

Meet part of the new "Calling For Drizzle" bundle!  This fun bundle includes some fantastic Spring inspired goodies.

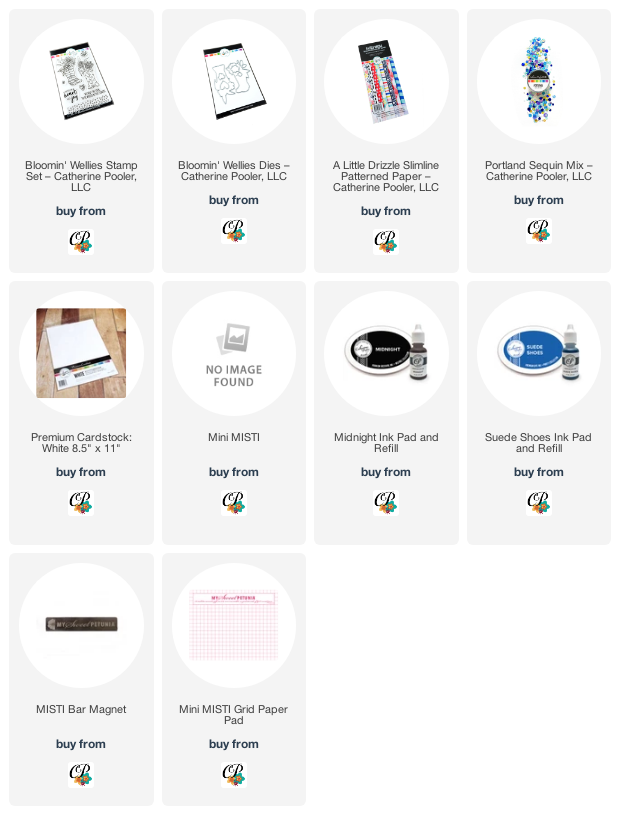
One of the first goodies is the adorable "Bloomin' Wellies" stamp set and coordinating die!  Aren't those floral filled boots adorable!?!  Plus... look at that fun patterned paper?  It's from the new "A Little Drizzle" slimline patterned paper collection.


This bundle and MORE will be available for StampNation members on Tuesday April 13th.  The shop will be come available for the public on Wednesday!

Happy craftin'!

~ Ally ~


Affiliate links have been provided for YOU at NO EXTRA COST for ease of shopping!  Enjoy!

 
09 10