Happy Wednesday! Today I'm sharing my latest Chibitronics creation that I've made this week.
This is a special week as today is my son's 19th birthday and he LOVES all things plane related!

I started today's card by printing 3 copies of the plane blue print image. I used one to fussy cut out the plane to pop it up on my card front. Before I added the plane I punched holes in the lower plane panel to allow the light to transmit through the image more brightly. I also cut holes in the 3 locations of the lights in the actual cardstock front to allow as much light as possible to pass through the card front panel from the circuit.
The third copy of the image I used on the inside guts of my card to map out my circuit.
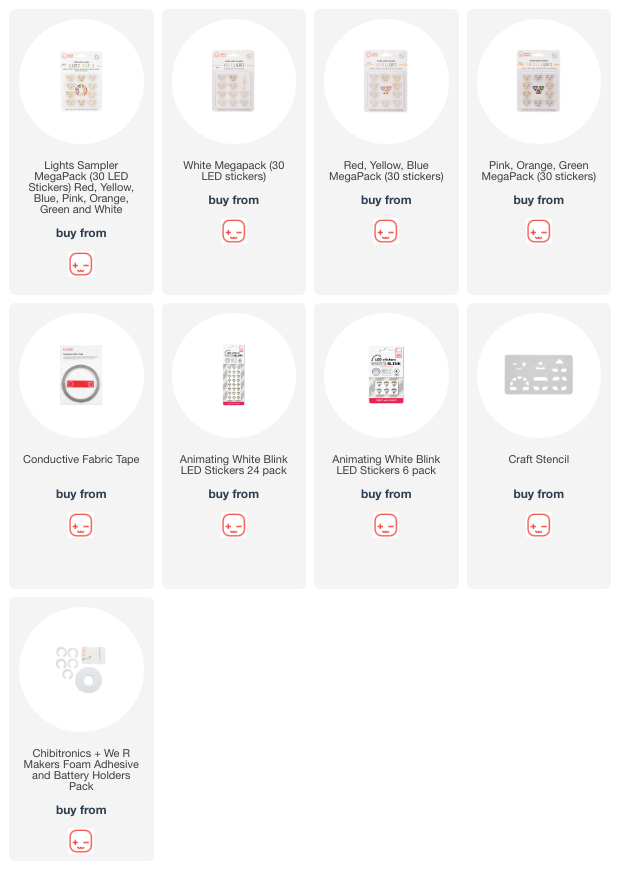
First I located my battery location underneath one of the engine fan images on my card front. Then I used my Craft Stencil and added the 3 locations of the light stickers I wanted to use; one on each wind tip and one on the tail. Next I mapped out the pathways of the negative (blue lines) and positive (red lines) of my circuit using pen.

Next I laid down the Conductive Fabric Tape for the negative side of my circuit. I began on the bottom side of the self adhesive Battery Holder.

Next I added a piece of paper for a bridge over top of the piece of negative side of the circuit where my tape was going to cross over it. Then I laid down the positive side of the circuit tape. I began on the inside of the lid of the Battery Holder. This allows the lid of the Battery Holder to be pressed to close the circuit and allow the lights to come on - otherwise known as the switch.

Lastly, to complete the circuit, I added my three LED Light Stickers, I used one Green LED, one Red LED and an Animating White Blink LED Light Sticker.
I used the green sticker from the Pink/Green/Orange MegaPack, the red sticker from the Red/Yellow/Blue MegaPack and the White Blink sticker from the Animating White Blink LED Lights Pack (comes in 24 or 6 pack).

I adhered the double sided self-adhering "C" shaped foam inside the Battery Holder and popped in a 3V Coin Battery.
To allow for the bulkiness of the Battery Holder, I applied 3D foam around the perimeter of the circuit panel so the card front closes on the same level as the whole card.
Let's give it test... and REMEMBER... the white light BLINKS on and off!

I sure hope he likes it! Happy birthday buddy!
~ Ally ~


No comments:
Post a Comment