Happy Thursday all! Today I'm sharing my latest Chibitronics card I made this week.
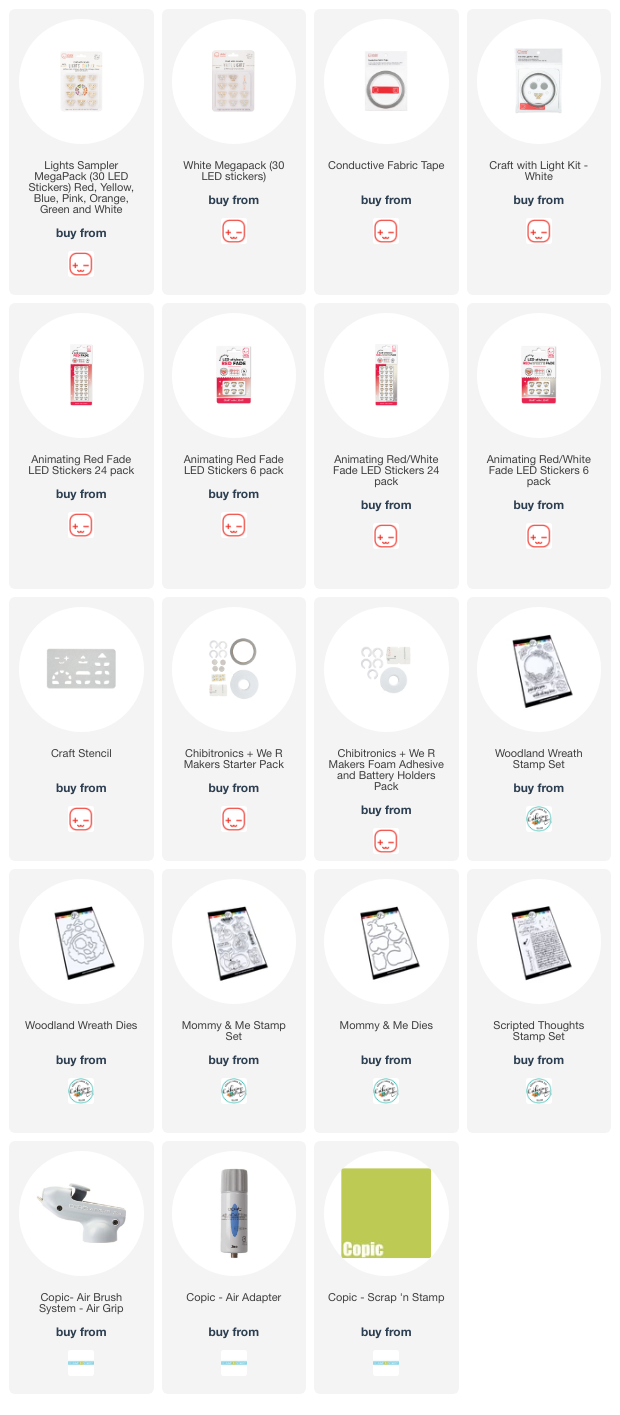
This card features cool paper circuit products including the Red Fade Animating LED Light Stickers found in four configurations: see images listed below.
Now... a little run down as to how I made this circuit using photos.
I first created the 2 panels of my card creation. For the front panel I stamped the pretty floral wreath from the Catherine Pooler "Woodland Wreath". I cut out the center of the wreath and eventually backed it with vellum. Next I masked off the wreath and air brushed the background with a few shades of rich blue Copic Markers. I removed the mask and colored the wreath. I also stamped the wreath on my card base to eventually begin my circuit.
I stamped the little fox pair from the Catherine Pooler "Mommy & Me" stamp set and also colored them in using Copic Markers. I fussy cut them out added them tucked in the wreath. I also stamped the foxes location on my card base.
To complete the front panel, I stamped and heat embossed the sentiment from the "Scripted Thoughts" stamp set in gold embossing powder.
Then it was time to begin my circuit building!
I first located the 6 spots I wanted to use my lights. I chose to use my White LED Light Stickers ("W") in the floral centers and my Red Fade Animating LED Light Sticker ("R") on the "heart" area of my foxes. I also traced in the location of my switch or Battery Holder. I chose this spot since it's right where the word "brighten" is in my sentiment. I always leave a little message on the inside of my card for the recipient as to how to turn on the lights.
Next I drew the lines of my circuit. Starting with the negative side of the circuit, I drew my blue line from the inside bottom of the Battery Holder all the way up to the "pointy" ends of all the light stickers. I kept in mind that the center of my wreath will be see though and NOT to put any parts of my circuit through the center.
Then I drew the red lines of the circuit, the positive side of the circuit. In this case, the lines of both sides of the circuit are CROSSING. I will be creating some bridges to solve this problem as I build the circuit.
I also peeled off the paper backer on my Battery Holder and applied to my card base.
Then I added all 6 of my LED Light Stickers; 5 White LED Light Stickers and one Red Fade Animating LED Light Sticker. Just peel and stick... it's that easy!
Next I added the Conductive Fabric Tape to my circuit. I started by applying my Conductive Tape across all the blue lines and all of the LED Light Stickers. I made sure to start my circuit on the inside of the Battery Holder to make sure the circuit has contact with the bottom of the battery.
You can cut your Conductive Fabric Tape easily to make another connection point on your circuits. You just have to make sure you overlap your tape.The positive line of the circuit always starts inside the flap of the Battery Holder. This end of the tape must contact the battery when the switch is activated/pressed.
Before I laid down my positive side of the circuit's tape, I created 3 paper bridges at the cross over points of the negative side of the circuit. This will allow me to adhere the Conductive Fabric Tape down without short circuiting the whole circuit.
Once those paper bridges were down, I could add my positive side of Conductive Fabric Tape.
And finally to complete the circuit, I peeled the backer off the C-shaped foam and adhered it inside the Battery Holder. This foam holds the 3V Battery in place so it doesn't move around. Take off the backer paper on the top of the foam C and close the lid of the Battery Holder and test your circuit!
I added some 3D Foam Tape all around the edges of my card base to pop the card front on to.
And voila! Here's what the card looks like all lit up! Just press and hold the switch, in this case, press the word "brighten" and the card lights up and begins to fade in and out red under those cute little foxes!!!
I hope you like today's card creation.
Thanks for stopping by!
~ Ally ~


No comments:
Post a Comment