
Today I'm over on the Chibitronics blog sharing a fun tutorial. You can find it here.

I began by stamping my two lantern images and my sentiment from the "Lantern Festival" stamp set from Catherine Pooler on my card front. I used Oh Boy!, Minted and It's a Girl inks. Then before repositioning my stamps, I stamped the lanterns with Versamark ink and added "Halo" embossing powder and heat set it to make the lanterns sparkle!! To make it easier to design my circuit, I also stamped the 2 lanterns and the sentiment in soft ink for ease of placement of all my circuit elements on my card base.

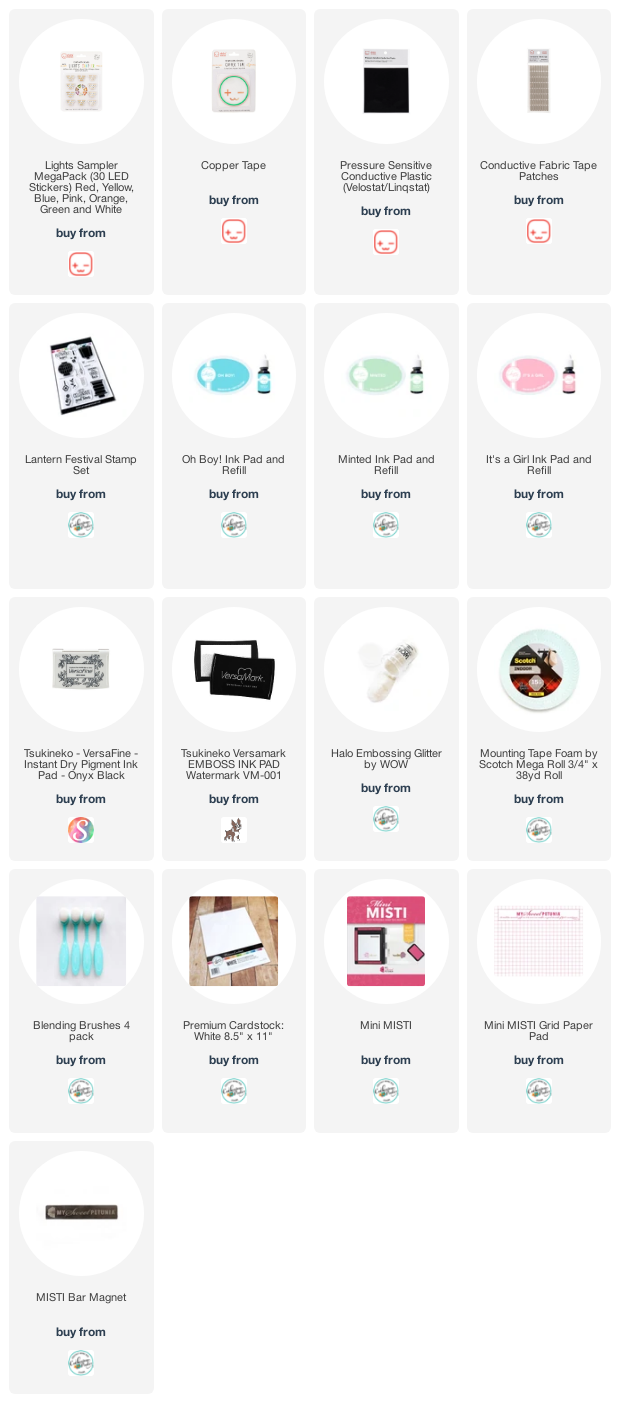
Next I mapped out my circuit across my card base. I used my stencil tool from the "Craft Effects and Stencil" set. I created 4 spots for our fun LED Light Stickers. I'm going to use pink, blue and green LED stickers from the "Light Sampler MegaPack". This light sticker package has 6 different colored lights plus white LED stickers to use; Red, Yellow, Blue, Pink, Orange, Green and White.

Then I laid down our "Copper Tape" along my negative lines of the circuit on the card base. Then I used two layers of foam tape and created a barrier for my sliding battery holder. The "T" shape of the battery holder allows for the holder to remain in the card without falling out.

Next the "Copper Tape" was added to the positive lines of the circuit. To complete the circuit over top of the battery holder, I used a piece of "Pressure Sensitive Conductive Plastic" to fold over the stacked batteries. Yes, I used two batteries for this card. I also added the pink, green and 2 blue LED stickers to the circuit. To ensure my stickers have great contact with the "Copper Tape", I add a few "Conductive Fabric Tape Patches" to the LED stickers on the right side.

The image below shows the "Pressure Sensitive Conductive Plastic" closed over the battery area and already to place the front on the card base. I added a triple layer of foam tape all around the card edges including another layer of foam tape around the battery area.

Here's the final completed card! Very simple!

Now... let's light it up!

There we go! One fabulous light up greeting card! And so easy to create!
Thanks so much for stopping by! I hope you get crafty soon!
~ Ally ~
This post contains affiliate links at NO extra cost to you!


No comments:
Post a Comment