Today I'm sharing how I made this fun light up fire breathing dragons card. Today I'm featuring the Chibitronic Red and Orange LED Light Stickers. Our fiery friends are from the "Dragon Trio" stamp set by Sweet November Stamps.
I first began my card by stamping out my images on the front and inside of my cardstock. I colored up my image using Copic Markers.
As you can see, I stamped the same scene on the circuit surface. This allows for ease of placement of all of my circuit elements.
I used my Craft Stencil to trace out the placement of all 3 of my LED light stickers and then I used the edge of the stencil to draw out each side of the circuit. I used a small circle shape to trace a place for my battery. The blue lines indicate the negative side of the circuit and the red lines are the positive side of the circuit.
Next I applied the Conductive Fabric Tape to each side of the circuit. I began on the negative side of the circuit to allow for the tape to be laid down under the battery area. To create the battery housing, I used 3D foam tape to create a 4 sided barrier. This just keeps the battery in place so it won't move once the card front is attached. A used a small piece of copy paper to create the flap over the battery housing. The tape has been wrapped around the piece of paper and it continues on to complete the rest of the positive side of the circuit.
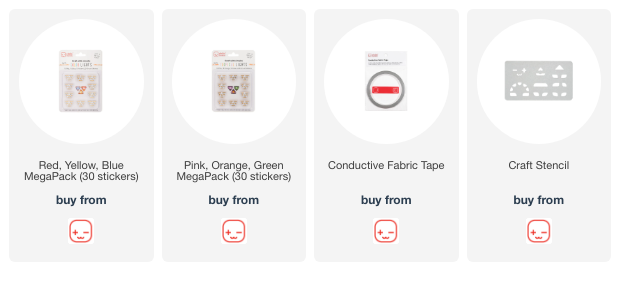
The final step is add our LED Light Stickers. I used one Orange (O) sticker and 2 Red (R) stickers. These lights can be purchased in the Lights Sampler (contains all 6 colors of lights) or in the Red/Blue/Yellow Megapack or the Pink/Orange/Green Megapack.
Now that everything is built, let's check out the finished lit of card...
Three little cute fiery dragons!
Don't forget to check out the step by step video tutorial on how I built this circuit... HERE!
Thanks for stopping by! Making your own circuits is a LOT easier than you think! Happy creating!
~ Ally ~


1 comment:
This is so amazing! You are just so creative and talented!!
Post a Comment