Keepin' You Cloche!

Well over on Catherine Pooler's YouTube today (Video Replay), Catherine and Erika had a fun time creating some fun winter cards using the cloche from the "Got You Covered" stamp set.

So I grabbed my own stamp set and stamped along with them as they created.  Erika had made mention about putting some Christmas lights on the cactus and so here it is...

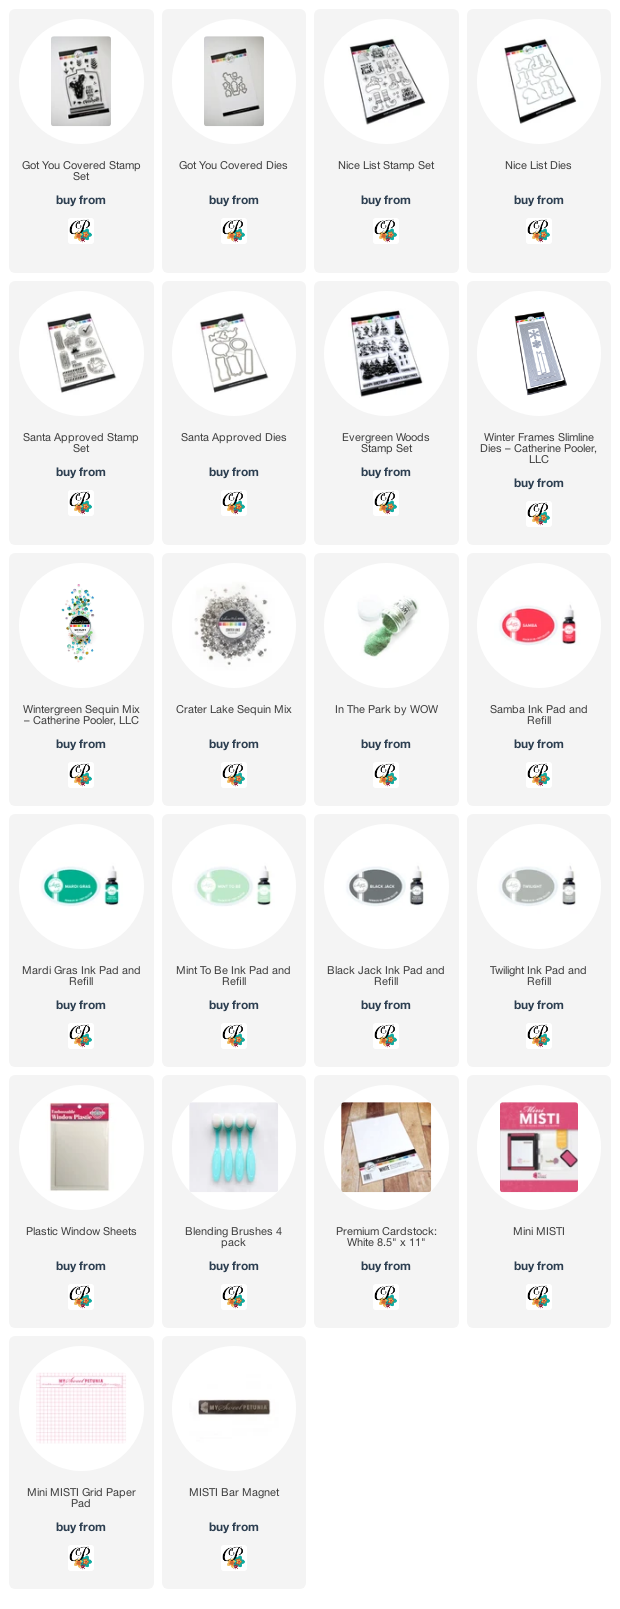
I first stamped the cactus image on my cardstock using a no-line ink by Ink on 3. Then I used one of the "rocks" from the stamp set that was light bulb shaped and stamped it repeatedly using Samba ink all over the cactus.  I masked them off using a masking fluid, then stamped the cactus again in Green Tea ink right over top.  I wiped away any ink left on the red bulbs and peeled off the masking fluid.

I also stamped a festive hat from the "Nice List" stamp set and die cut and colored it up.  I added a greeting from the new "Evergreen Woods" stamp set to match. A few Twilight snowflakes too!

For my second cloche card, I stamped the elf from the "Santa Approved" stamp set and coloured her using Copic Markers.  Then I masked her off and stamped the beautiful trees in the back ground from the "Evergreen Woods" stamp set using Mint To Be and Mardi Gras inks.

I also used the seal stamp from the "Santa Approved" stamp set and the new die cut snowflake from the "Winter Frames Slimline Die" set on my card.  I filled the shaker with Wintergreen and Crater Lake Sequins.

I hope you're inspired to create along with us this week!  Happy creating!

~ Ally ~


This post contains affiliate links...
Flash Sale & A Sweater Knit Flat Shaker Card

We've got a Flash Sale going up TODAY on three fun & festive products - 40% off Sweater Weather, Flurries Slimline and the Merry Christmas Layered Word Die.  Starts today and runs  through 11:59pm ET on Thursday Nov. 18th.  Happy Shopping!

So I decided to pull out the Sweater Weather and the Merry Christmas Layered Word Die that I happen to own and give some creativity a go!

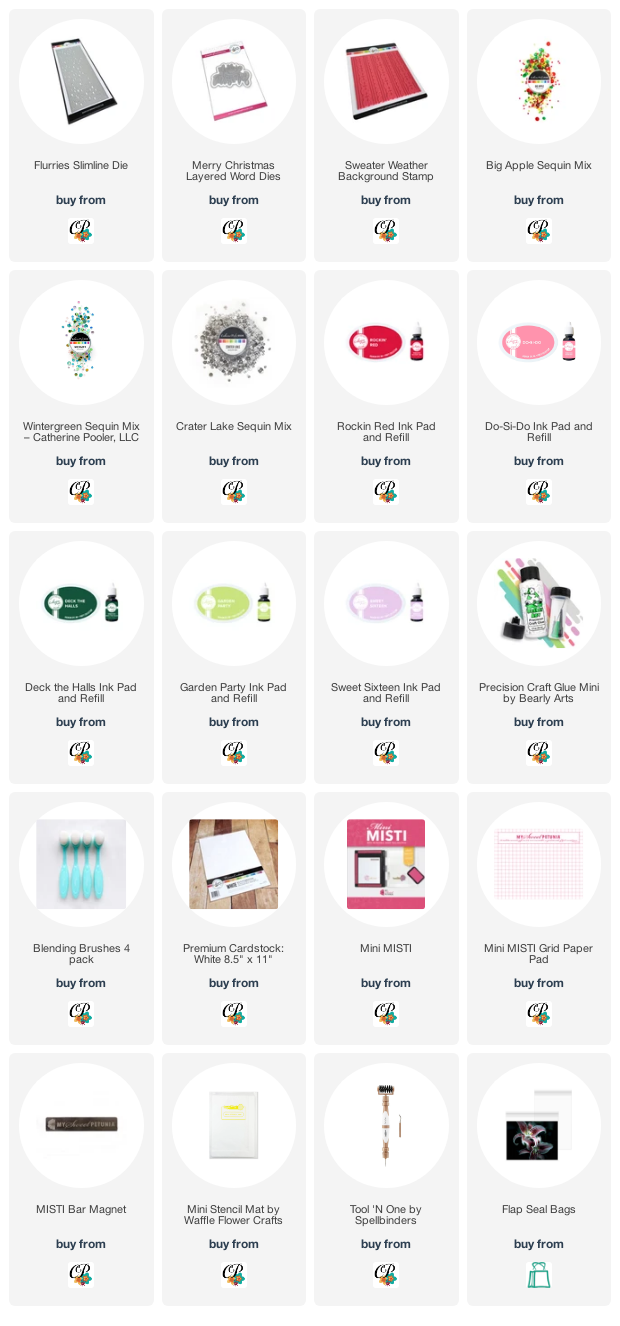
I started off with an interesting color palette; Rockin' Red, Do-si-do, Sweet Sixteen, Garden Party and Deck the Halls!  I used each ink color and inked up the Sweater Weather background stamp.

I then took each panel and cut them into strips for each and every line of the pattern...

I figured creating strips was MUCH easier than masking off each line of the stamp to create a fun pattern.

So I took a piece of light weight copy paper and covered it with lines of my ATG Tape and reassembled the pattern but using the colored strips of paper instead.  I used a light weight clear acetate card envelope from my stash and wrapped it around my diagonally cut sweater patterned piece and dumped a variety of fun sequins inside and sealed it all.  This created a simple flat shaker on the front of my card.  I adhered a simple white cardstock die cut of the Merry Christmas Layered Word Die across the front so you can see both the pattern and the sequins through it.


It's definitely a different kind of card and the color palette is a little on the extreme side but I guess it works!  What do you think?

New to the CP Shop today is the Waffle Flower Mini Stencil Mat and also the Spellbinder's Tool 'N One tool... so you might want to check out those items too!

Thanks for stopping by!  Happy shopping!

~ Ally ~


This post contains affiliate links...

Catherine Pooler ~ A Masculine Holiday Card with Solid Stamps & Colored Pencils


Happy Tuesday!  Last night I was playing around with more of the Winter Wonders goodies from Catherine Pooler. 

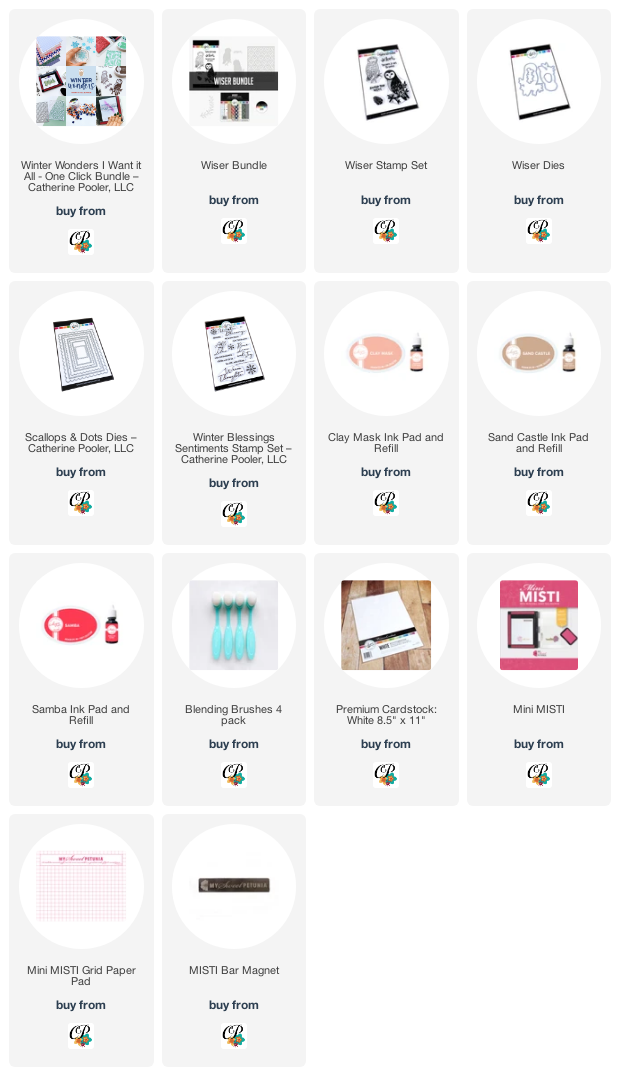
I finally got my copy of the adorable "Wiser" stamp set featuring the 2 adorable owls on it. So I started by stamping out the solid owl image using some Sand Castle ink and I took my blender pen and added some Clay Mask ink over my owl as well. I cut my panel from a cool rustic kraft colored paper using one of my all-time favorite CP dies, the "Scallops & Dots Dies".


Then I took my Polychromos Pencils and added lots of fun color and texture to my little owl.  I just love how he turned out!


Then I slipped him back into the die and again and edged the rectangle using a soft blend of Clay Mask to add a rosy hue to my image.


I cut a piece of the Eucalyptus colored "Paradise Plaid" patterned paper, added a thin strip of ink-to-paper using Samba ink and added a mini sentiment from the new "Winter Blessing Sentiments" stamp set in Samba ink too!

I can't wait to send this handsome card out to someone special!

Thanks for stopping by!

~ Ally ~


This post contains affiliate links provided at no extra cost to you.

Pawsome Stamps ~ Cupcake Season's Greetings

Happy Tuesday!  Today I'm sharing a fun watercolor card using some fun new products from Pawsome Stamps!

A little while ago, I shared this on my Instagram for our festive holiday hop for Pawsome Stamps but I forgot to share here too!

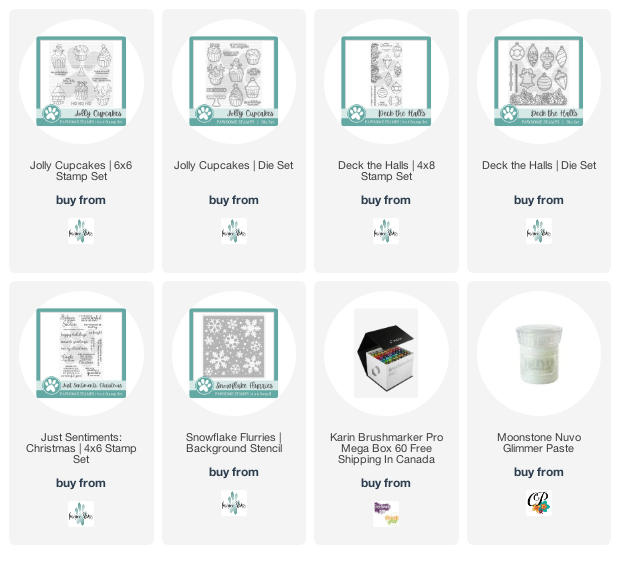
I just love the watercolor effect of this card.  I've used the beautiful "Deck the Halls" stamp set for my background, the "Just Sentiments: Christmas" for my greeting and "Jolly Cupcakes" for my cupcake image.

Believe it or not, but this is how this card started (see below!) and I thought it really wasn't quite finished...

So I added the sweet little holly cupcake.  For my card, I used my Karin Markers to ink everything up.  And did you notice, those clear but super sparkly snowflakes in there?  I used some Nuvo Glimmer Paste with the beautiful "Snowflake Flurries Stencil".

Don't you just love that little cupcake?

Thanks for stopping by!

~ Ally ~


09 10