Kraftin' Kimmie: O Holy Night


It is time to begin the September Krafty Peeks at Kraftin' Kimmie Stamps!!

Our Christmas Krafty Peeks begin today and you're not going to believe the fabulous goodies we have in store for you this month! As you may know our September release is always focused on the HOLIDAYS!!
 
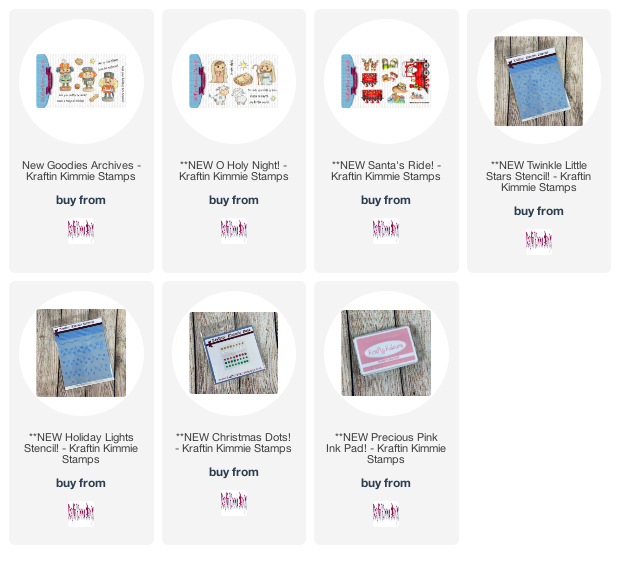
Today is Day One and you may have spotted this precious stamp set over the retreat weekend because it was the focus of Krafty Girl, Paula's pencil colouring class!! This sweet new set is from artist Neda Sadreddin and it's called... O HOLY NIGHT!!
 
 
The perfect set for Christmas includes the holy family... Mary, Joseph, the baby Jesus and some adorable, fluffy animals!! This set also includes 4 perfect sentiments and the coordinating stars!
 
I used all the amazing images and clustered them around the glow of the baby Jesus.  I also used the Twinkle Little Star stencil to create a fun starry sky.
 
Joy to the World by Allison Cope featuring the "O Holy Night" stamp set
 
As you hop around the Krafty Team's blogs today you will see the O HOLY NIGHT stamp set in action in combination with our all of our other awesome new September Kraftin' Kimmie products!
 
You will spot our newest addition to the Krafty Kolours Hybrid Ink rainbow! It's a soft new blush colour named PRECIOUS PINKAs always it will be available in full sized ink pads, mini cubes and ink refills!
 

We've got TWO brand new Krafty Stencils for this month's release to help accessorize your creations! They are called.... TWINKLE LITTLE STARS and HOLIDAY LIGHTSBoth designs are perfect for all your festive cards!
 

And of course, we are adding the perfect new coordinating Krafty Dots for this release! The package includes mini enamel dots in varying sizes in 6 different colours! These ones are called CHRISTMAS DOTS!

 
You'll get to see all of our brand new goodies in action over the next few days of September Krafty Peeks and everything will be released at our LIVE Online Release Party in the Krafty Friends Facebook group on Saturday, September 19th at 1 pm EST!
 
COMMENT TO WIN!
For now, hop around and check out some incredible designs from our Krafty Team!! Be sure to leave some love on EACH stop on the hop because I'm going to be giving away some krafty $$ to the shop!! PLUS our designers are AMAZING and you should tell them so! 
 
Come on back tomorrow for more Christmas krafty goodness! See you then!
 
~ Ally ~ 


stamps: KKS (O Holy Night)

cardstock: Recollections (110# White), Tim Holtz (Copper)

inks: KKS (Wicked Black, Marvellous Mocha, Creamy Caramel, Sandy Shores, Morning Marigold, Mermaid Melody, Stormy Sky, Magical Midnight), Copic Markers

stencils: KKS (Twinkle Little Star Stencil)

other: Dream Weaver Stencils (Pearlescent Embossing Paste)
 

You are invited to the Inlinkz link party!

Click here to enter

Jolly Holiday ~ Quick & Easy Christmas Cards


Howdy StampNation and Catherine Pooler Designs lovers!  The Jolly Holiday collection is about to go live at 9:00am EST!

I thought I'd share today some easy-peasy holiday cards that you can make multiples of really quickly.

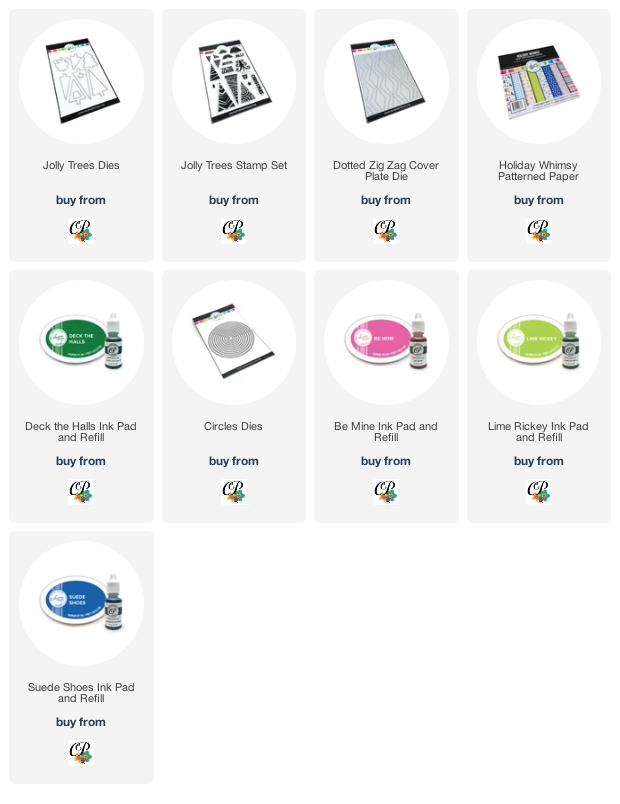
The secret to fast cards is shaped dies and fun patterned papers. The dies for the trees are the "Jolly Trees" stamp set dies and they are perfect as they still identify as trees without the stamped image. I used the amazing patterned papers from the new "Holiday Whimsy 6x6 Paper" pack. 

TIP: I actually taped all 3 tree dies together and die cut 3 trees at a time out of each piece of a pattern.


For my second card, I first used the "Dotted Zig Zag Cover Plate Die" and embossed it into my card front.  Then I cut a circle border for my window and my tree shapes.  I also cut circles of the fun snowy and gingham paper to make my scene.  I even used our new "Deck the Halls" ink along with Lime Rickey ink for my trees.


 I hope you have fun shopping in the SHOP.

 ~ Ally ~


This post contains affiliate links. These links provide me with a little bit of income BUT are at NO cost to you. Thanks for supporting my family.

Capped Peace & Joy


Put on your elf hat because here comes more Christmas crafty fun from Catherine Pooler Designs!

Today I'm featuring the adorable elf hats from the "Nice List" stamp set plus they have their very own co-ordinating dies set of course!

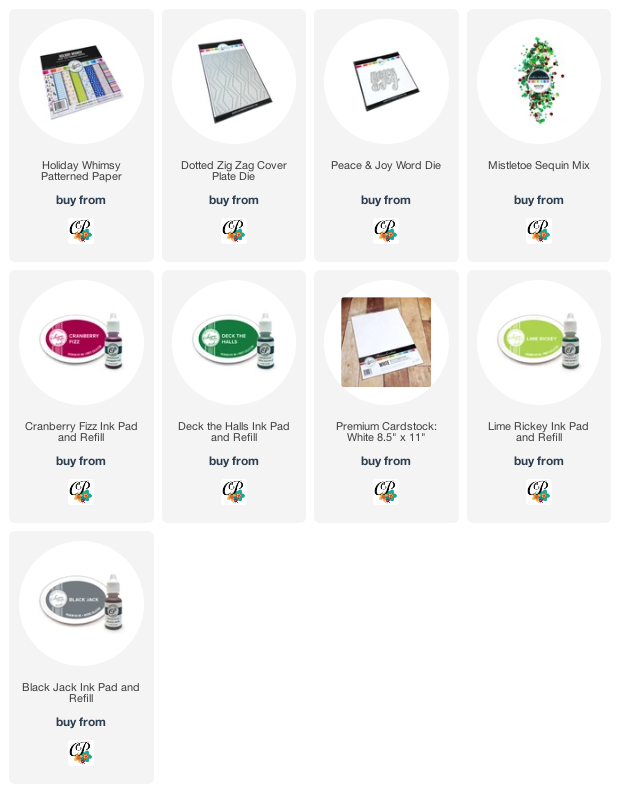
Look at that fun "Peace & Joy Word Die"!  It's perfectly designed for the front of all your Christmas cards! And that cover plate, "Dotted Zig Zag Cover Plate" can be used all year round!

Today is the day that StampNation members can order the items from the Jolly Holiday collection early!  Plus we're havin' a PJ party for all StampNation members to celebrate the release!  Hope to see you all there!

Customer ordering begins Wednesday at 9:00am EST.  Happy shopping!

Have a great Tuesday!

~ Ally ~

Inspire Me Monday ~ No Stone Unturned!


Happy Monday everyone!  Allison Cope here!  Welcome to Inspire Me Monday here on my blog!

I don't know about you but I am constantly looking for inspiration all around me.  As a Scout leader, we're always on the go (when Covid isn't impacting us!) in the wild outdoors.

When we're not Geo-caching, camping or hiking we like to investigate the city we live in. So on our adventure one day, we came across this cluster of painted rocks.  Each one was decorated by someone different and each one was uniquely cool to look at. This art of decorating rocks is a trend right now.  An art perfect for any age.

So I decided to join the trend but incorporate stamps of course!

First, I sent out my 15 year old son and gave him the job of finding me some nice smooth rocks to check out.  He managed to find a few along our alfalfa field that were perfect.

I began by washing my rock and using my heat gun to dry it off quickly. (Can you picture this?!?!  Drying rocks with a heat gun?!?)

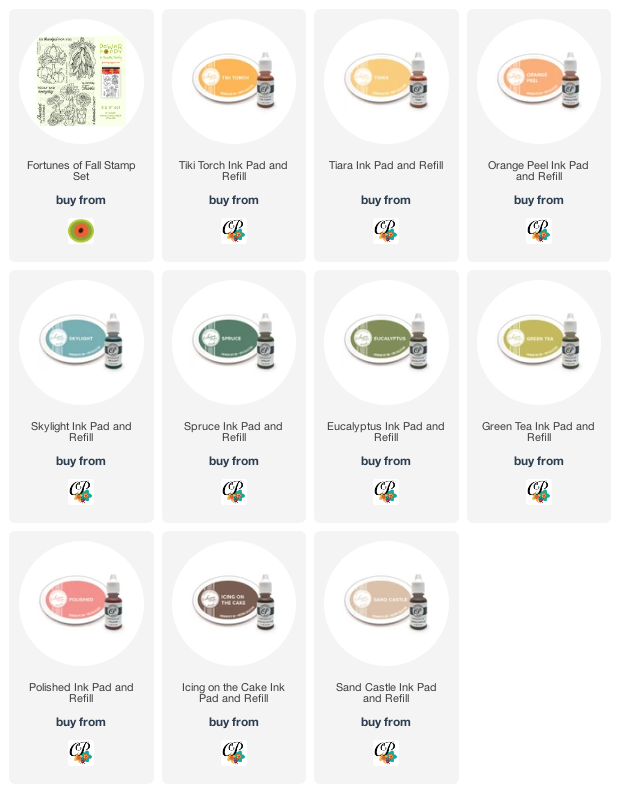
I grabbed the ever beautiful and Autumn themed stamp set, "Fortunes of Fall".  I just had to use that gorgeous stack of pumpkins on my rock!  I used Versafine Black Onyx ink and carefully stamped my image right on the surface.  Now, my rock was not totally flat so I carefully rolled my stamp all around to get full coverage of the surface.  Now because of the round surface, I knew I wasn't going to get a perfect image - no need to fret!  I knew I was going to cover up the ink lines with paint anyway!

Now I don't own all different kinds of colors of acrylic paint!  I just don't have the storage for it but I do own white acrylic paint....  Yup... and a LOT of re-inkers for some of my favorite hybrid inks.  So I simply took my white paint and used my re-inkers to color it up to what ever shade I needed!

So here's a little sneak peek of my in-progress project...

I tried to put down a few layers of tinted paint so my paints would be opaque.  I'm still working on my painting skills since I work mainly with Copic Markers so it's not perfect but I'm okay with that.  It's just there to put a smile on someone face after all.

Here's my final rock...

A little bit of varnish and it's ready for the real world!

A little close up.  I wish you could see the texture of the little white blossom areas!


I hope I've inspired you today to think outside of the box and how your stamps can be used in many other ways then just on paper!

Thanks for joining me!  I'll see you again soon!

Happy craftin'!

~ Ally ~

 
09 10