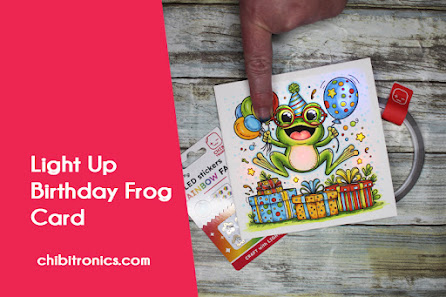
Happy Wednesday! Today I'm sharing my latest Chibitronics creation that I made this week.
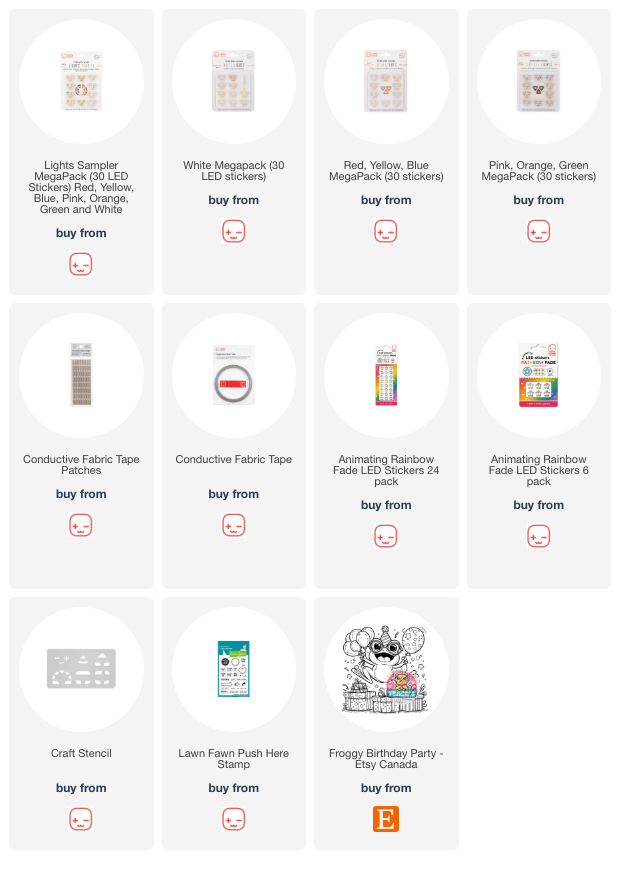
This card features cool paper circuit products including the Animating Rainbow Fade LED Light Stickers! This particular light sticker rotates through the rainbow of colors!
I began today's card by printing off a front card panel using the adorable "Froggy Birthday Party" digital stamp from "Teaco's Custom Stamps". I also printed off a lighter version for the inside of my circuit building surface. I colored up my froggy image using Copic Markers and add the "push me" sentiment from the Lawn Fawn "Push Here" stamp set in the yellow balloon.

Next I began to plan out my light locations.
I used the lighter version of my front panel image to locate the spots for all of my lights; the frog's eyes, the large blue balloon, the frog's tongue, the 4 stars and finally the froggy's belly. The belly will be the location of the Animating Rainbow Fade LED Light Sticker!
The blue lines indicate the NEGATIVE side of the circuit and he red lines indicate the POSITIVE side of the circuit.
I used my Craft Stencil to trace out the location of all my stickers. I also added my Battery Holder to my circuit. They have a peel and stick backing so they're easy to add to your projects.

Next I began to lay down the Conductive Fabric Tape to connect up my circuit.
I started with adding Conductive Fabric Tape to the negative side of the circuit. I started in the bottom of the Battery Holder and extended it out to cross over all of the blue pen lines. Where I had branches of the circuit that I couldn't get with one continuous piece of tape, I just cut a piece of tape to fit and made sure to cross over the 2 pieces of tape for good circuit contact.
Once the negative side of the circuit was complete, I started on the positive side. I began laying down my Conductive Fabric Tape on the inside lid of the Battery Holder. I started on the inside, wrapped the tape around to the top of the Battery Holder and then laid the tape over all of the red lines.
I had TWO places where my tape was going to cross over the blue lines/negative lines of the circuit so create 2 paper BRIDGES over top of the tape. This little paper barrier would allow me to pop these lines right over top as to not short circuit my circuit.

The above dots are indicating the placement of my LED Light Stickers; yellow = yellow lights, orange = orange lights, blue = blue lights, red = red lights, black circles with the white centres = white lights and the circle with R in the middle = animating rainbow fade LED light sticker.
Next I added all of my light stickers. I used the Animating Rainbow Fade LED Light Sticker for the frog's belly, two White LED Light Stickers for his eyes, 2 Blue LED Light Stickers for the large blue balloon, one Red LED Light Sticker for his tongue and 2 Orange and 2 Yellow LED Light Stickers for the stars surrounding the frog. Each sticker is as easy as a peel & stick motion.

To finish off the card, I placed a C-shaped 3D foam sticker inside the Battery Holder by peeling off the sticker backers. I laid 2 3V batteries, one on top of the other into the foam void and closed the lid of the Battery Holder.
I also used 3D foam to wrap around the 4 sides of the circuit on the edges of the circuit building surface. This allows for the depth of the foam around the battery to dealt with.
For the card to light up, just press the yellow balloon indicted with the "press here" sentiment and this closest the circuit and the card lights up.

Holding the button/switch allows for the Animating Rainbow Fade LED Light Sticker to cycle through it's 6 different colors of light. I just let my recipient know to press and hold the button to activate their card with a little note inside.
Here's a little bit darker image of the card front in action... the Chibitronic light stickers are BRIGHT!!

Now, if you'd like to see build this card and it's circuit, please check out my YouTube video over on the Chibitronics YouTube channel. Click HERE or click the image below to view the video.
Thanks for joining me today! I hope this tutorial inspires your to make your very own light up card too!
Have a great week!
~ Ally ~



 Posts