Happy Wednesday! Today I'm sharing my latest Chibitronics creation that I've made this week.
Today's card features the cool Animating White Blink LED Light Stickers and the adorable "Fa la la" stamp set from Magengo Designs.
I began by stamping out my little critters and coloring them in. I fussy cut them all out. I wanted to make it easier to create my background.
Next I stamped the 3 lamp posts on my card front panel. I created masks for each one and applied them to the image. Next I drew on some lines for the wall. I then masked off the wall and inked up my sky with Distress Oxide Pine Needles and Chipped Sapphire inks. Then I masked off everything but the bottom of the wall and applied a brick stencil and used my Copic Air Brush to color it in. I finished off the rest of the wall and the ground with my air brush. I applied some snowflakes and snowy areas to the background image.

With every stamp of the lamp post, I also stamped the same image, in the same place on my inner card panel to create my circuit panel.

Next it was on the circuit.
First I applied my Battery Holder to the lower right hand corner of my circuit building surface. This will used as a switch to activate the lights.
Next I mapped out the location of all my light stickers and the pathways of the negative (blue lines) and positive (red lines) of my circuit using pen.

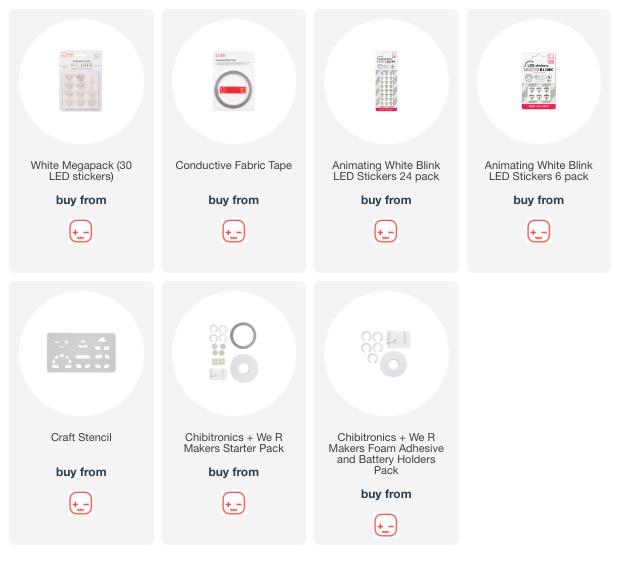
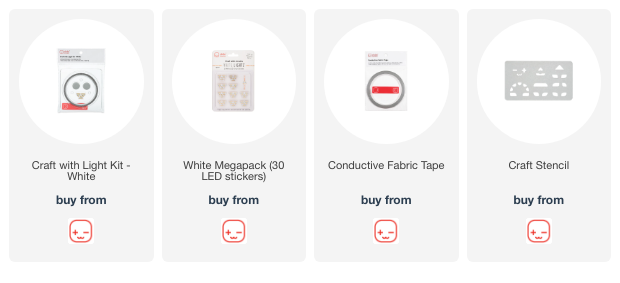
Next I laid down the Conductive Fabric Tape for the negative side of my circuit. I began on the bottom side of the self adhesive Battery Holder and the location of the Battery.

Then I laid down the positive side of the circuit tape. I began on the inside of the lid of the Battery Holder of the top circuit and I adhered the Battery to the Slide Switch circuit. This allows the lid of the Battery Holder to be pressed to close the circuit and allow the lights to come on - otherwise known as the switch.

Lastly, to complete the circuit, I added my LED Light Stickers. I used 3 Animating White Blink LED Light Stickers to the circuit.
I adhered the double sided self-adhering "C" shaped foam inside the Battery Holder and popped in a 3V Coin Battery.
I also added some 3D foam strips all around the edge of the circuit panel so the card feels flat.
Let's give it test... and REMEMBER... the switch, when pressed and held, allows the 3 lamp posts to light up and blink.

So much fun to make!
So if you want to see how this card was made, please visit the Chibitronic's YouTube channel for the full tutorial...

Thanks for stopping by! I hope you have a wonderful week!



 Posts
Posts