This week, Krafty Girl Brigitte is your hostess and her challenge theme for you is:
CRITTERS!
You can have so much fun with this theme - using adorable little animals or sweet little bugs!
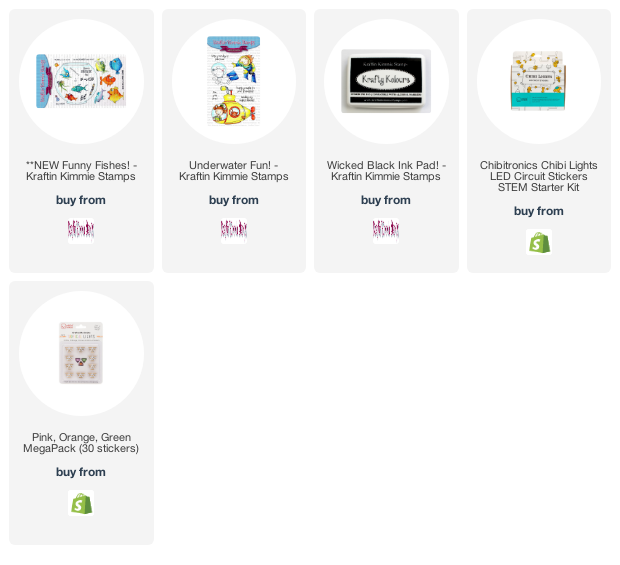
So, as most of you know, I just released my newest stamp design, called "Funny Fishes"! I knew right away that I wanted to use it for today's challenge.
This card is actually a LIGHT-UP card! Yup!!! You press the sentiment on the front and the little bulb on the Angler fish lights up!
So I wanted to show you how EASY this card is to make if you have the right products. A few years back I bought a Chibitronics "Chibi Lights LED Circuit Stickers STEM Starter Kit".
The Chibitronics Starter Kit comes with:
- 1 Circuit Sticker Sketchbook
- 12 circuit stickers (6 white, 2 yellow, 2 red and 2 blue)
- 2 binder clips
- 2 coin cell batteries
- 1 roll of copper tape
So I initially stamped all my fishies in their bowl. Then I used a craft knife and cut out the inside of the bulb on the fish. Then I traced the hole in the bulb right through to my card front. I did back the hole with a little bit of vellum to diffuse the light a bit.
I first created a little safe place for my battery (1" x 2" piece folded in half) and adhered it right underneath where my sentiment is on my card front. My recipient is going to press the sentiment on the front to light up my fish's lil' bulb.
The copper tape from kit is actually cut right down the center to create 2 very thin pieces. You can do this step with regular scissors! First I laid my copper tape piece from underneath the battery holder folder down and across to the NEGATIVE side of where the little LED light sticker (I used an orange one) was going to be placed (over top the bulb trace mark). So "negative" is attached to "negative" - the little LED stickers are labelled with negative and positive markings so you know what connects to what.
I did the same thing to run my POSITIVE side of the tape. This run is a little harder. I had to run the tape on the little folder holder. Notice the copper tape is run from INSIDE the TOP of the folder, over and across to the TOP of the folder and all the way to the (+) side the LED light sticker? Yup... you have to run it from the TOP or (+) side of the battery to the little light sticker. This is the EASIEST way to do that! Every copper piece of tape has to be a SINGLE piece without cuts to work it's best!
Next, you have to use some 3D adhesive to help disguise the depth of that battery and it's holder.
You can actually run your DOUBLED UP foam tape right over top of that copper tape. First I built a little cage of foam tape around my battery so it can't fall out of it's folder and an area for my light to light up in. I left a little gap for a little piece of cardstock to stick out and act as my fail-safe battery turn off paper. The removable piece of paper is placed between the battery and the copper tape in the holder folder so the light does not go on at all during mailing. I just leave a little message on the paper or the inside of the card for the recipient to remove that piece of paper to allow the battery button to be pressed.
Once your recipient has removed that paper and pressed that sentiment, that little fishy bulb lights up!
I used my Copic Airbrush System to colour in my tank and add the glow. Then I used my Copic blender pen to create the highlights in the bowl and the fun texture at the bottom.
Each and every Saturday we post a brand new challenge for the week and you are welcome to enter as many times as you like. These must be new creations and you are welcome to use any stamp, however, using Kraftin' Kimmie Stamps products will earn you double entries! The monthly prize is a $25 voucher to the Krafty shop!!! There are two ways to enter: you can link up your creation on the Kraftin’ Kimmie blog page and/or you can upload your photo to the album in our Krafty Friends FB group.
Also, if you need a little extra inspiration or a jump start to your mojo, we have a new sketch each month! Feel free to use it any time!
And don't forget about this weekend's Frugal Friday Specials!! We've got a selection of gorgeous stamp sets on SALE 40% OFF this weekend while supplies last!!


5 comments:
Such a cute card. I love the fish stamps and you went the extra mile with the light feature. Lucky person who gets this card.
This is so cute. What kind of stamps do I want to see?? Hmm. Star wars, camping, sleepover, best friends, ..... More boy stuff. I don't know I have close to 70 Kraftin Kimmie stamp sets.
Oh my goodness...this card is awesome! What a great idea! Thanks for the inspiration ❤
What an awesome card!!!
I am always looking for images to use with boy, teenage boys or men cards. Thanks
Oh I forgot, anything for anniversary cards.
Post a Comment