Meet "Skipper"! She's an adorable little mermaid just chillin' with her tiny crab friend on the beach.
I began today's card by printing out this sweet little seaside image onto Neenah 80# white paper. Then I began the process of adding in the sky. I used a variety of soft pinky-purples and violet purples plus a tiny hint of light blue. I used my Colorless Blender marker to soften and blend all the blobs and dots together.
Once the sky was done, I added the sand and then colored up our sweet little Skipper and her seascape.
I trimmed the long panel up and matted it with a few shades of purple cardstock and tiny strip of silver glitter cardstock... so fun!
You can check out all the amazing digital images over on the Sweet November Stamps site right HERE.
For today's card I used the adorable stamp set, "Birthday Fiesta" from Catherine Pooler Designs. I stamped my image with Memento "Tuxedo Black" ink and colored everything up using Copic Markers.
To begin creating today's card I first created my card base with a 3/8" wide fold in the center of 2 A2 sized panels. Then I stamped my images onto the front panel and my light up elements on the inside of the panel. This helps with better placement of the light stickers.
Next I mapped out the circuit on my inside panel to show where the battery will be located, where the light stickers will be placed and how everything is connected to make the completed circuit. I used the handy "Craft Stencil" to help map everything out.
I began my circuit by placing the "Fabric Conductive Tape" from the Craft with Lights Kit over top of the blue lines. This tape is backed with adhesive and is easy to bend around corners. It can easily be cut and overlapped to continue a side of a circuit.
Next I created a little house for my battery. To create the battery housing, I used some 3D foam to build 4 walls to hold the batteries tightly.
Next I used a slender piece of copy paper to create a flap to go over the batteries. I wrapped this paper piece with the Fabric Conductive Tape
to ensure that the tape makes contact with the top of the batteries.
Then I proceeded to follow the red pen line and finish off the remainder
of the positive side of the circuit.
I had to create a "bridge" of paper to allow my negative and positive sides of the circuit to cross one another and not touch.
The "Soda Pop" collection is now in the Catherine Pooler Designs Shop (9am ET)! Everything is now in the CP shop. You can purchase everything individually, in bundles or there's an "I Want It All Bundle" too.
There's lots of fun retro goodies up for grabs including 3 new grey inks... Pebble, Hoodie and Slate! There are also ink pad labels for these too!
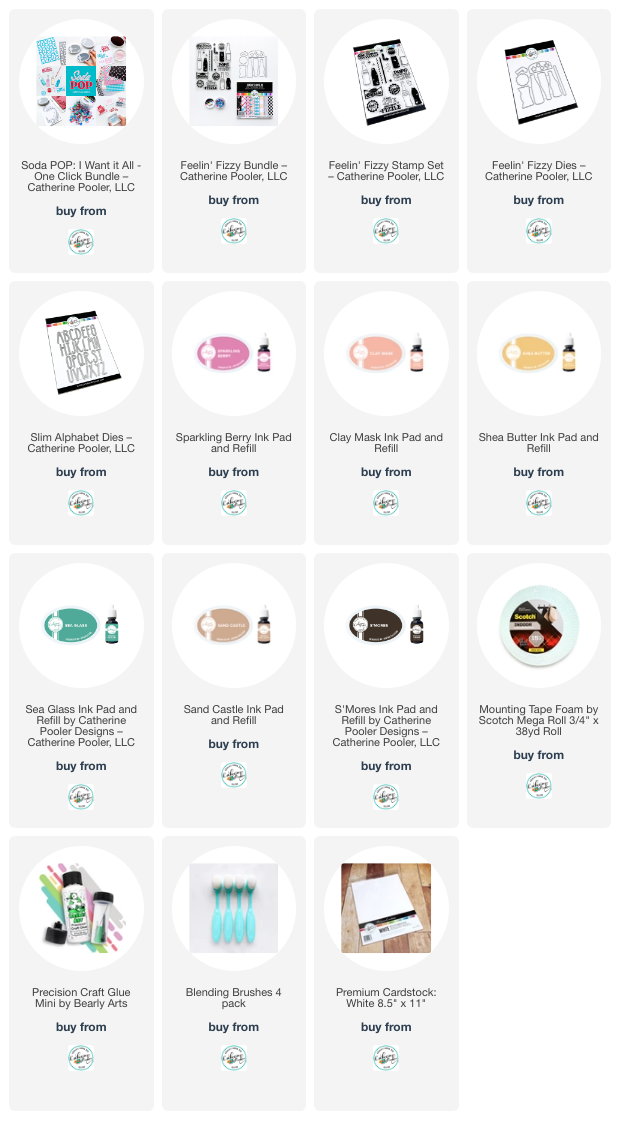
I started today's card by stamping all 3 bottle cap images using S'mores ink all over my white cardstock panel. I distressed the panel with a few light taps of some S'Mores and Sand Castle inks.
Then I stamped the 3 bottle caps using Shea Butter, Sea Glass, Sparkling Berry and Clay Mask inks. I fussy cut out all the insides of the bottle caps and adhered them on with 3D foam tape.
For the final part of the card, I die cut the word "cheers" using the "Slim Alphabet Dies", inked them in S'mores ink and added some sparkly Stickles on the top.
Don't forget to check out all the bundles that the "Soda Pop" collection offers.
This fun bundle is the called the "Feelin' Fuzzy Bundle". It includes the "Feelin' Fuzzy" stamp set and dies, the Arnold's Drive-In patterned paper pack and the Milwaukee Sequins.
The new "Soda Pop" collection is now in the Catherine Pooler Designsif you are a StampNation member! Yes... as a StampNation member, you get to shop a WHOLE DAY EARLY!
Today's card of course, features the brand new "Feelin' Fizzy" stamp and coordinating die set!
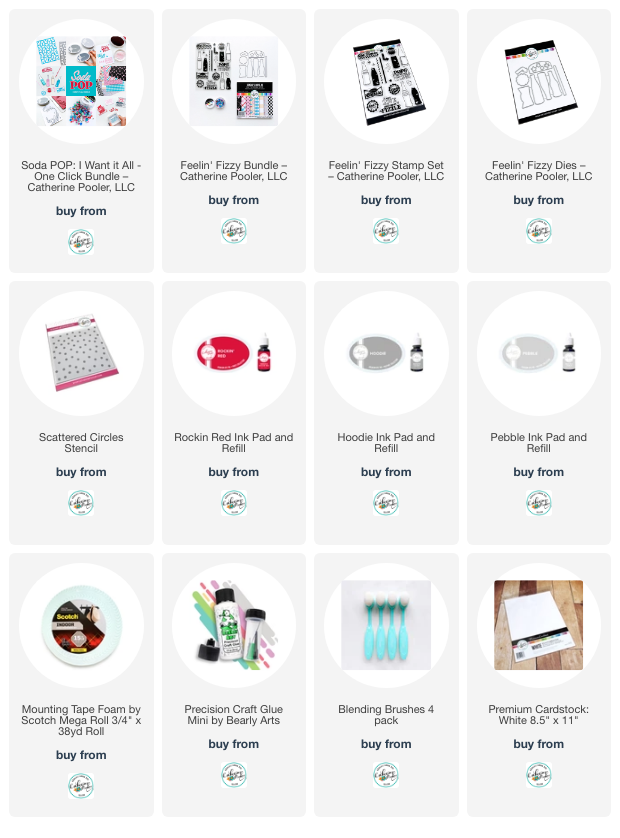
I started my card by using the new "Pebble" ink and the fun "Scattered Circles Stencil" and making a simple dotted backdrop.
Then I used "Rockin' Red" ink for the sentiment and then I used the striped straw image down the side of the front panel. To add a little "sparkle" to the word "fizzle", I added some white dots with a white gel pen.
Next I stamped 5 cola bottles using "Hoodie" ink and colored them in using Copic Markers. Then I die cut each bottle out using the "Feelin' Fizzy Dies".
So much fun!
Catherine just announced a fun new up coming event over at StampNation...
The brand new "Soda Pop" collection is coming from Catherine Pooler Designs this week! If you're a StampNation members can shop tomorrow at 12 noon ET.
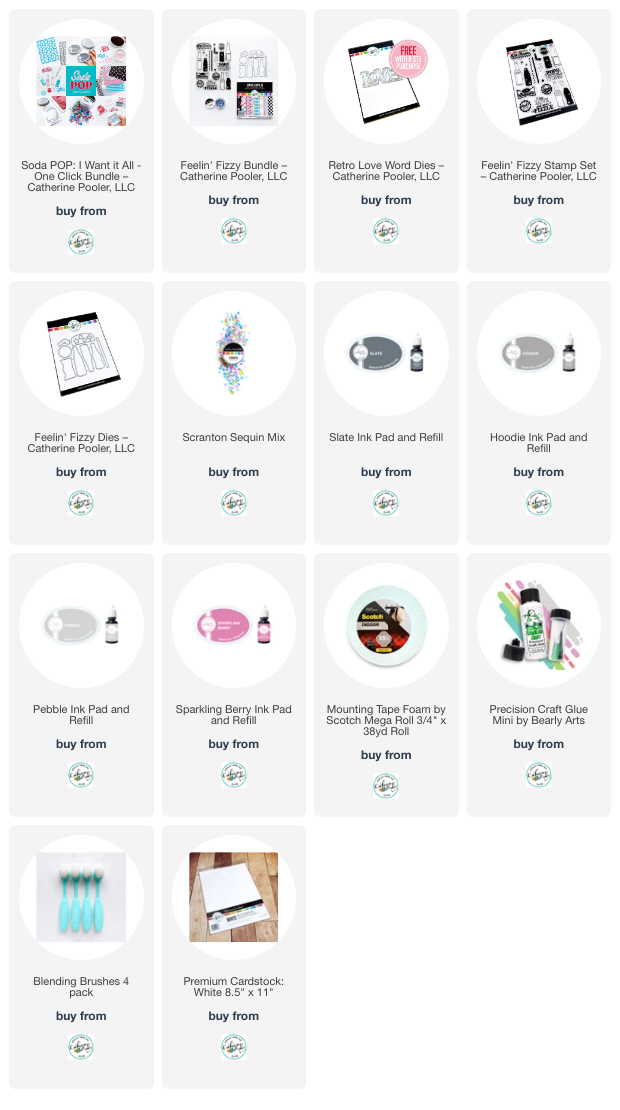
Today's card features products from the "Feelin' Fizzy Bundle"... a bundle that contains the "Feelin' Fizzy" stamp and coordinating dies, Arnold's Drive In patterned papers and the fun Milwaukee Sequins. Plus I also used the "Retro Love Word Die" too - did you k now you get this die for FREE with a $75 purchase!?!?
I started my stamping the bubbles in "Pebble" ink across the background. Then I die cut the "Retro Love Word Die" set and inked up the base with Sparkling Berry ink and then I added some sweet little stars in "Hoodie" ink on the word love.
Then I stamped out the soda pop bottle, stars, bottle cap and arrows from the "Feelin' Fizzy" stamp set using Slate, Pebble and Sparkling Berry inks.
For the checker board, I stamped the greeting "Happy Birthday Old Timer" and cut off just the checker board pattern off the bottom. I stamped it in "Slate" ink.
All the "Soda Pop" release products with go on sale tomorrow at 12 noon ET for StampNation members - #stampnationperks . The whole collection will then be available for purchase for the public on Wednesday April 18th at 9am ET.
Don't forget, when you purchase $75 of CP products before shipping and taxes, you can get a "Retro Love Word Die" for FREE with the coupon code shown below...
Stay tuned for more "Soda Pop" collection creations!
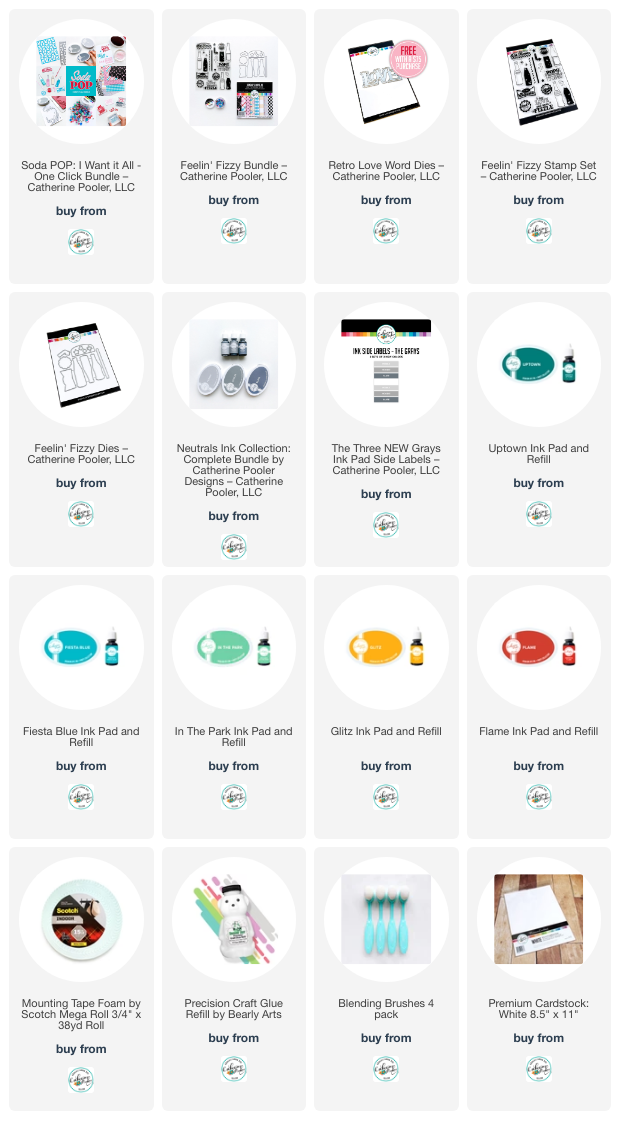
My card today features the adorable "Feelin' Fizzy" stamp and die set!
I began by created a light grey back ground using the sweet little star shapes from the "Feelin' Fizzy" stamp set. I used the NEW grey ink, "Pebble" for this!
Then I stamped 5 bottle shapes withe the NEW "Slate" grey ink. I filled each bottle with it's coordinating liquid shape using Uptown, Fiesta Blue, In The Park, Glitz and Flame inks. then I die cut them out using their dies, "Feelin' Fizzy Dies" and popped them up on the front. I tucked some NEW "Hoodie" grey inked straws in between all the bottles.
To finish it off I stamped the greeting from "Slate" ink and die cut it out. For the final touch, I added some sparkly Stickles dots.
So, so cute, right!?!?
Make sure you check out the three NEW inks because grey inks are a must-have in your ink stash for sure!
There are even coordinating label stickers for purchase too!
Everything for today's post goes LIVE in the Catherine Pooler Shop on Wednesday at 9am ET.
If you are a StampNation member, then you get to hit the shop a DAY EARLY. You can shop on Tuesday at 12 noon ET.
PLUS with release, if you purchase more $75 before shipping and taxes, you can grab a "Retro Love Word Die" for FREE using the code shown!
Who doesn't love a FREEBIE!?!?
Stay tuned for more creations with the new "Soda Pop" collection!
Today's sweet little Easter card creation features the new "Spring Elf: Blossom" from Sweet November Stamps and the Sweet November Vault!
I paired our sweet Blossom with the adorable little "Troll Home" digi to create a whimsical scene.
To begin my card, I created my fun scene on my computer and printed it out. I also ran some masking paper through to create masks for both my little elf and her little home.
I fussy cut out my masks and applied them over my images.
Next I took my Copic Airbrush system and applied a base layer of color to my scene. Some soft yellows and oranges for the sky and some bright greens for the grass.
Next I peeled off the masks and colored in the remainder of the scene. I used a wide variety of colors and added some more grassy details to the ground.
To finish off the card, I added my trimmed panel to some fun tartan pattern papers. I even added some white gel pen details to the bib of her dress to mimic the patterned papers.
So cute!
Don't forget to check out all the fun elves from this Sweet November Vault release! You can see them all linked with photos below.
It's time for a new Weekend Challenge over at StampNation!
This week we are asking you to use a background stamp OR create a background using some smaller stamps!
I chose to make an Easter card this week!
I started by making my background using one of the beautiful hexagon shaped stamps from the "Ornamental Thoughts" stamp set. I used 5 colored inks to create with: Whipped Honey, Matcha, Hot Tub, Lilac and Pink Champagne. All of these inks are from the Catherine Pooler Designs Spa ink line.
I die cut the background with the "Scallops & Dots Dies" set and backed the panel with black cardstock to make it pop!
Next I die cut an umbrella from the "Under the Umbrella Die" and added a cute bunny from the "Hops & Peeps" stamp set. I die cut it with it's coordinating die set.
Come and check out all that StampNation has to offer!
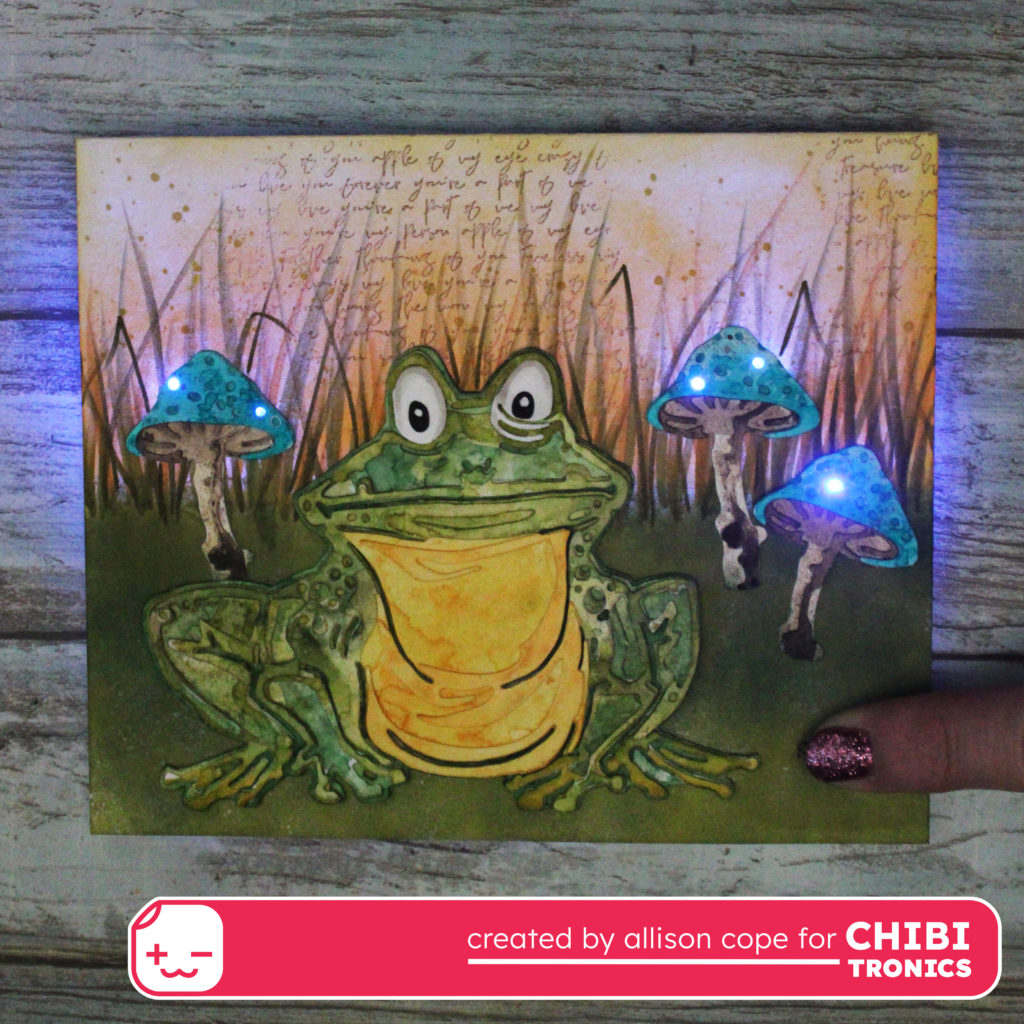
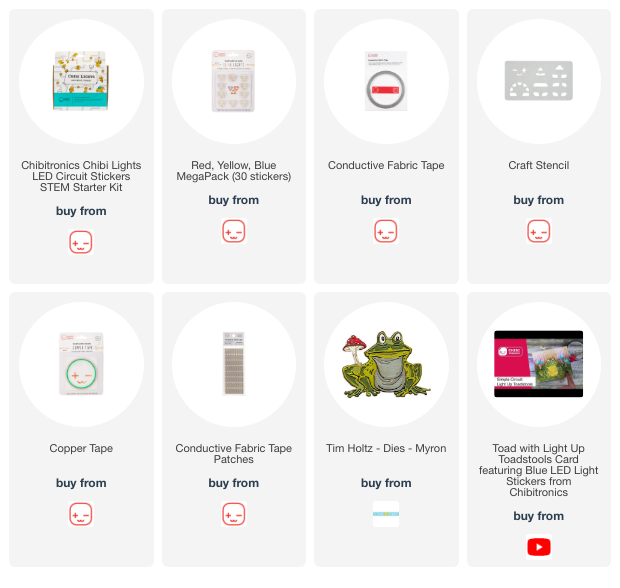
Happy Monday all! Today we’re going to create a
light up swampy scene with this adorable toad and his toadstools!
To begin my card I first created a simple card base with a 3
dimensional fold in the center. This allows for the depth of my foam
tape. This card is not a traditional size because I wanted to make sure
that our little Sizzix “Myron” toad had enough room on the card front
for the scene. I used a variety of Catherine Pooler inks to color up my
entire scene.
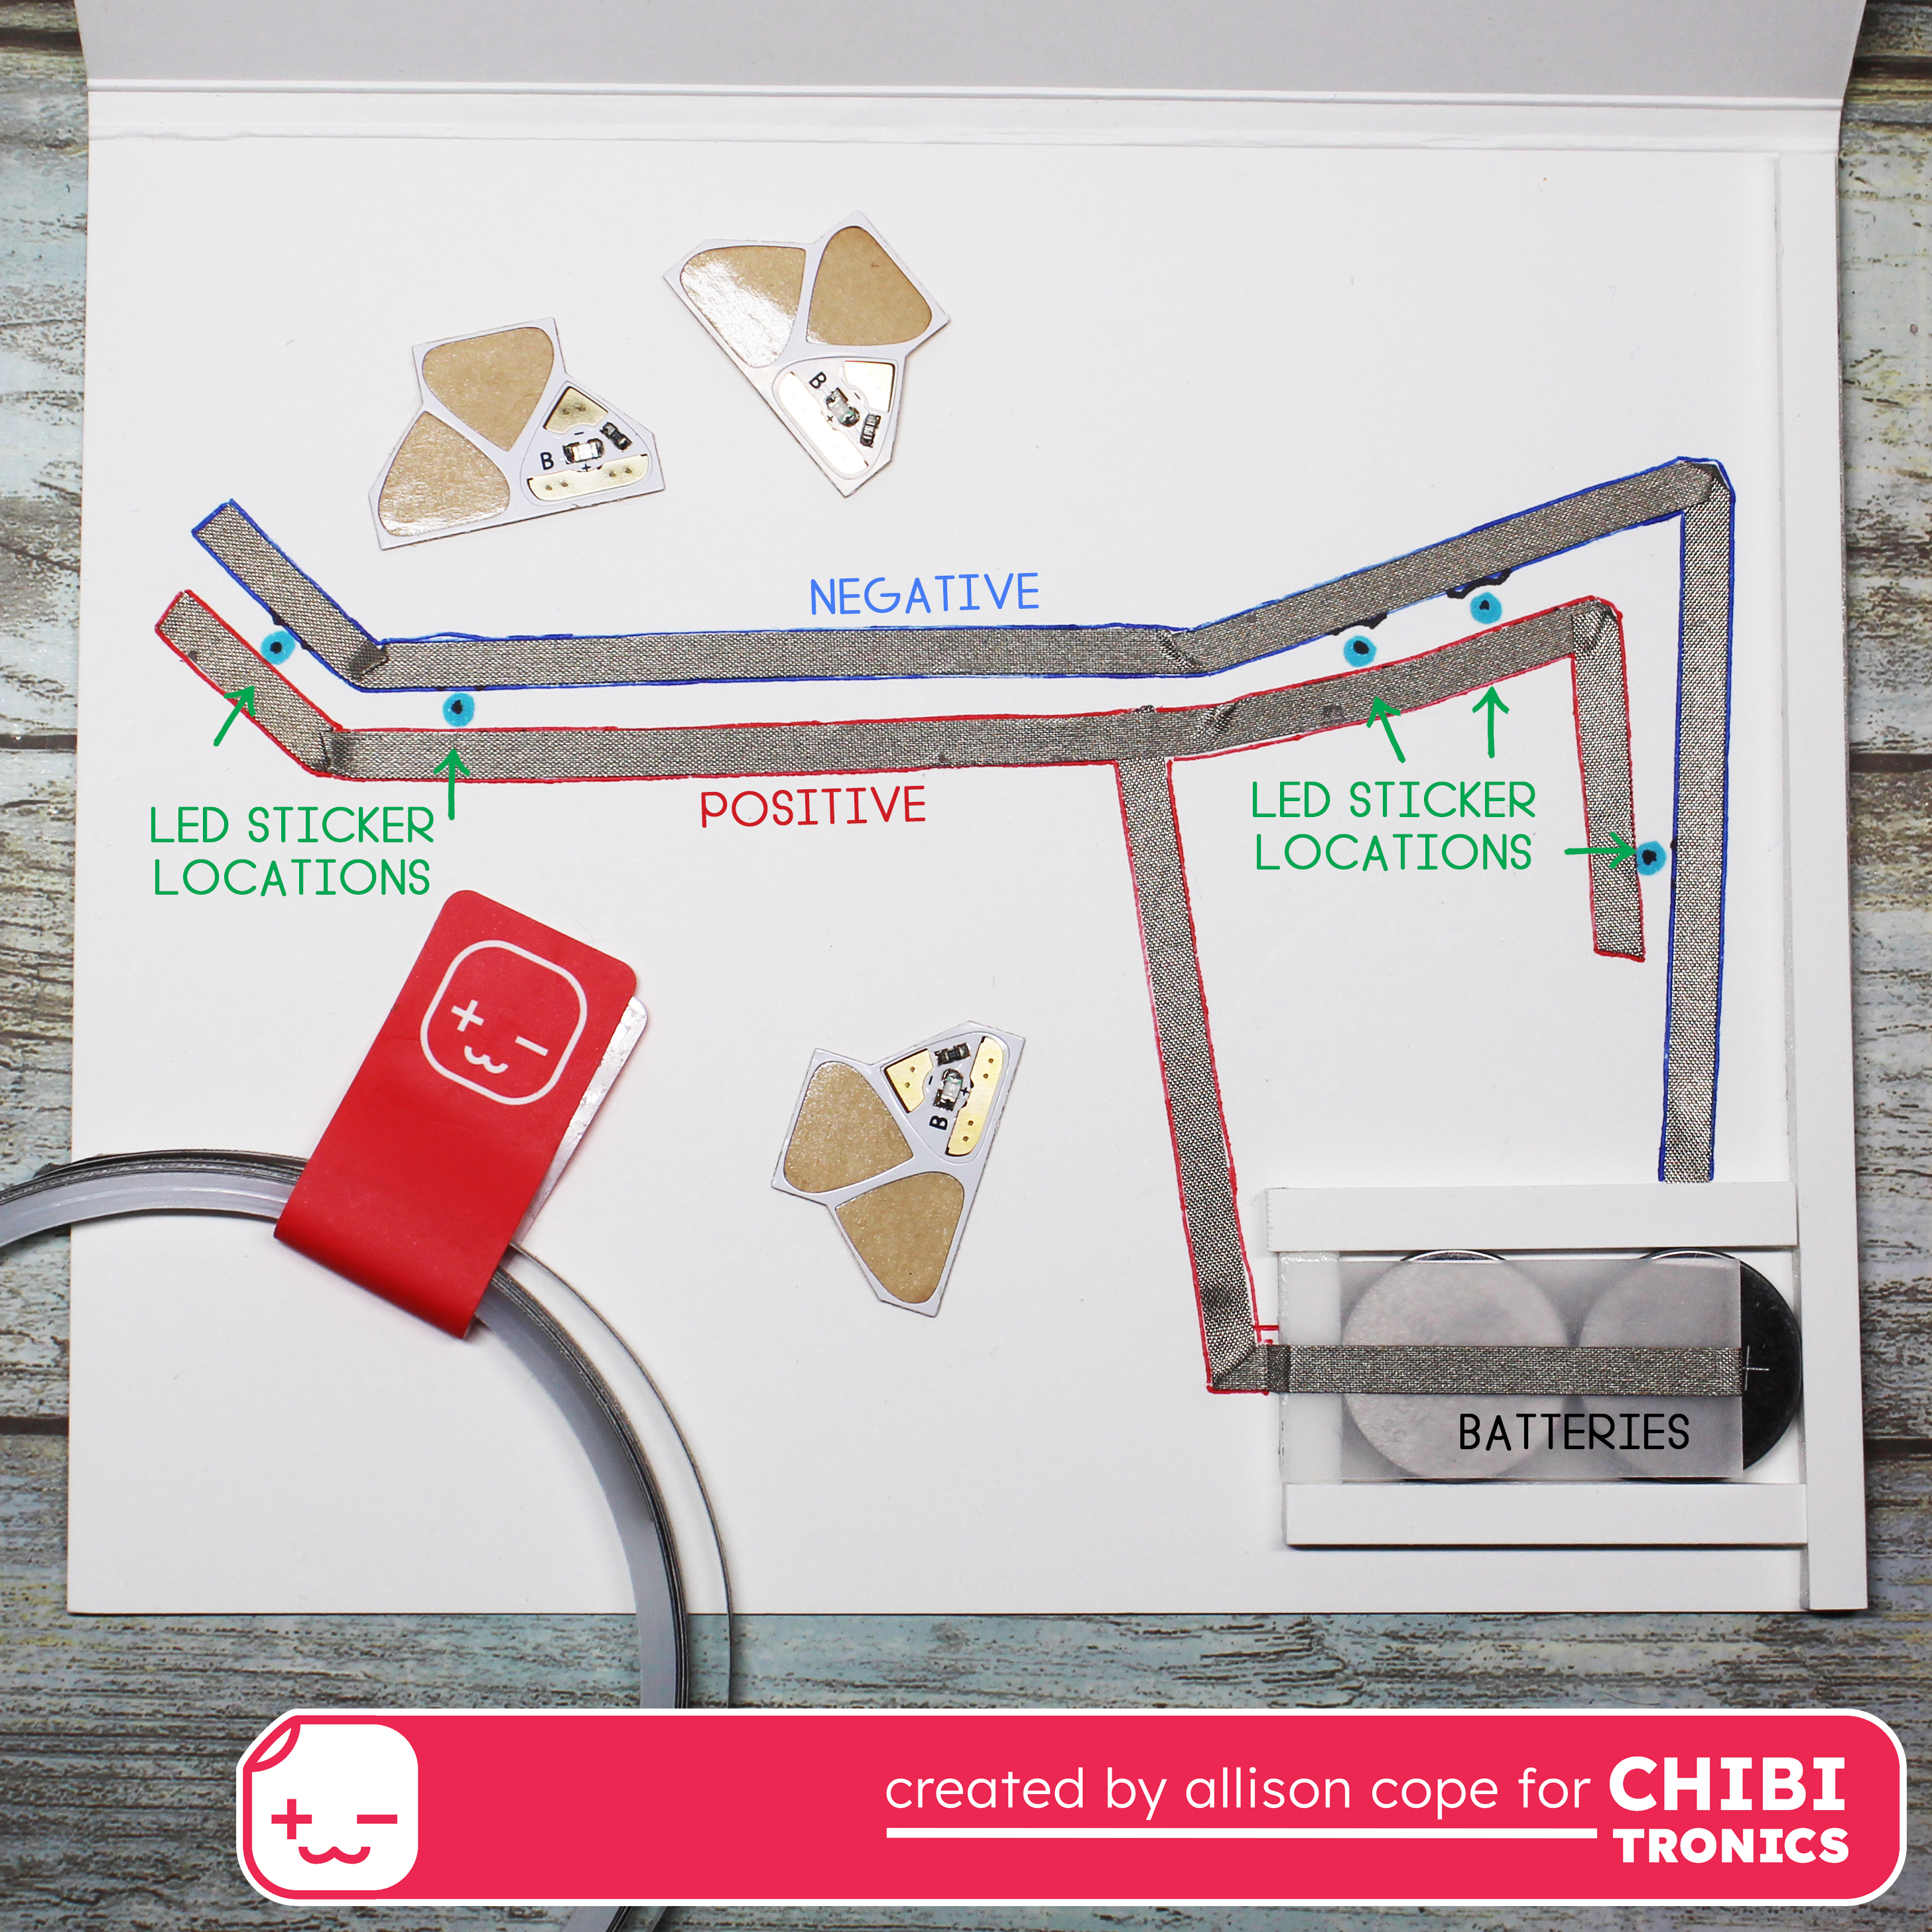
To begin my circuit under my card front, I poked holes through the
toadstool die cuts in 5 places. Then I poked a pencil through the holes
to place marks on the circuit surface. This way I would know exactly
where to place my LED Light Stickers.
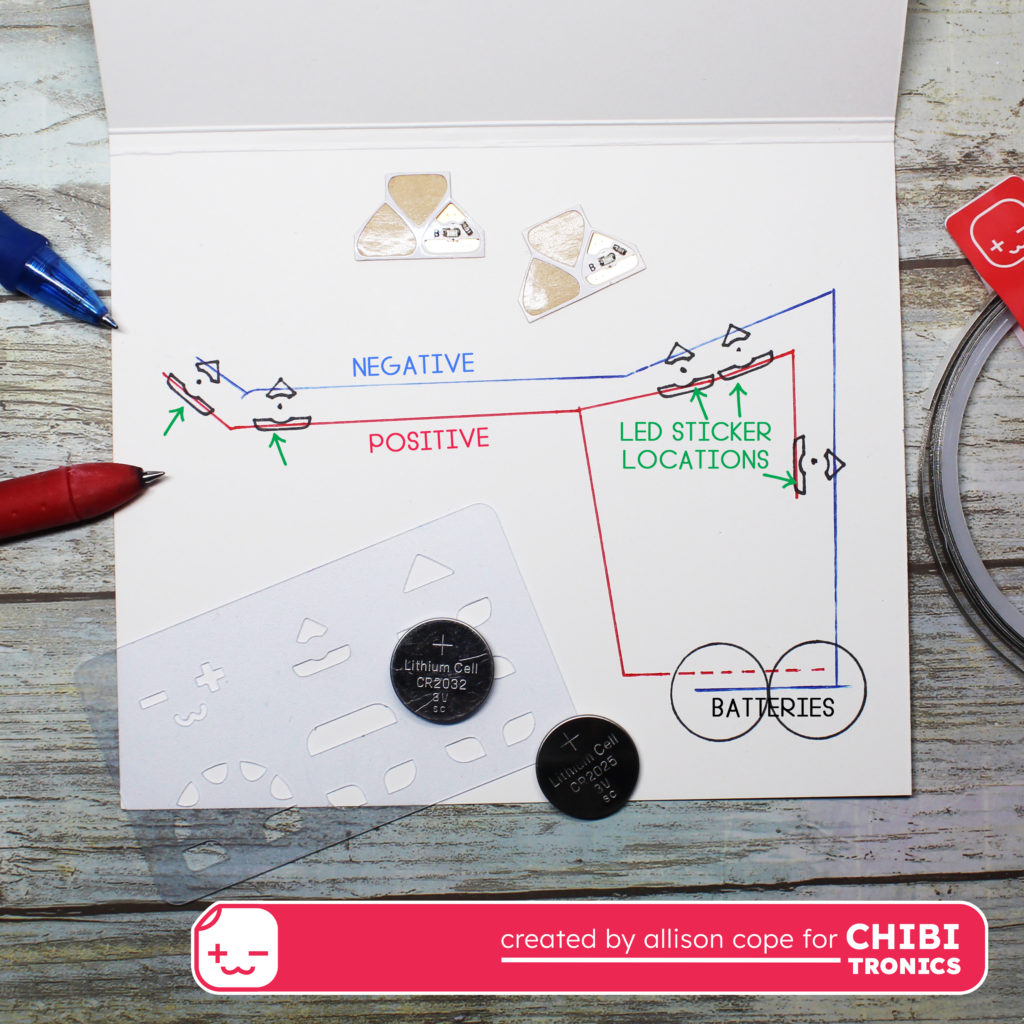
Once those light positions were located, I used my Craft Stencil
and traced where each of my 5 stickers would go. Then I created a spot
for my battery housing and connected the batteries and LED Light
Stickers to complete the circuit.
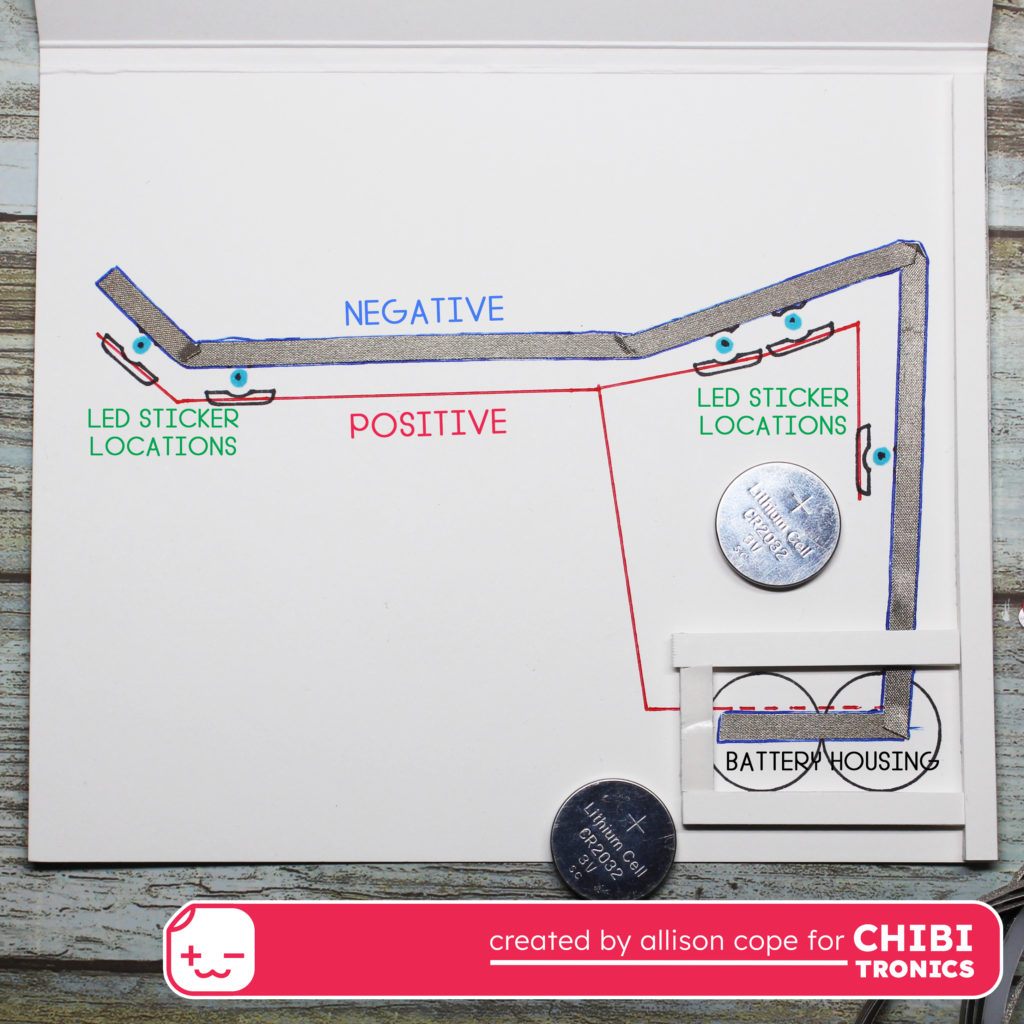
Now I can lay down the Conductive Fabric Tape on the negative side of the circuit. This tape is very flexible and self adhesive.
Next I created a little house for my 2 batteries. You do not have to
use 2 batteries but I like my lights to be nice and bright.
To create the battery housing, I used some 3D foam to build 4 walls to hold the batteries tightly.
Next I used a slender piece of vellum to create a flap to go over the batteries. I wrapped this vellum piece with the Fabric Conductive Tape
to ensure that the tape makes contact with the top of the batteries.
Then I proceeded to follow the red pen line and finish off the remainder
of the positive side of the circuit.
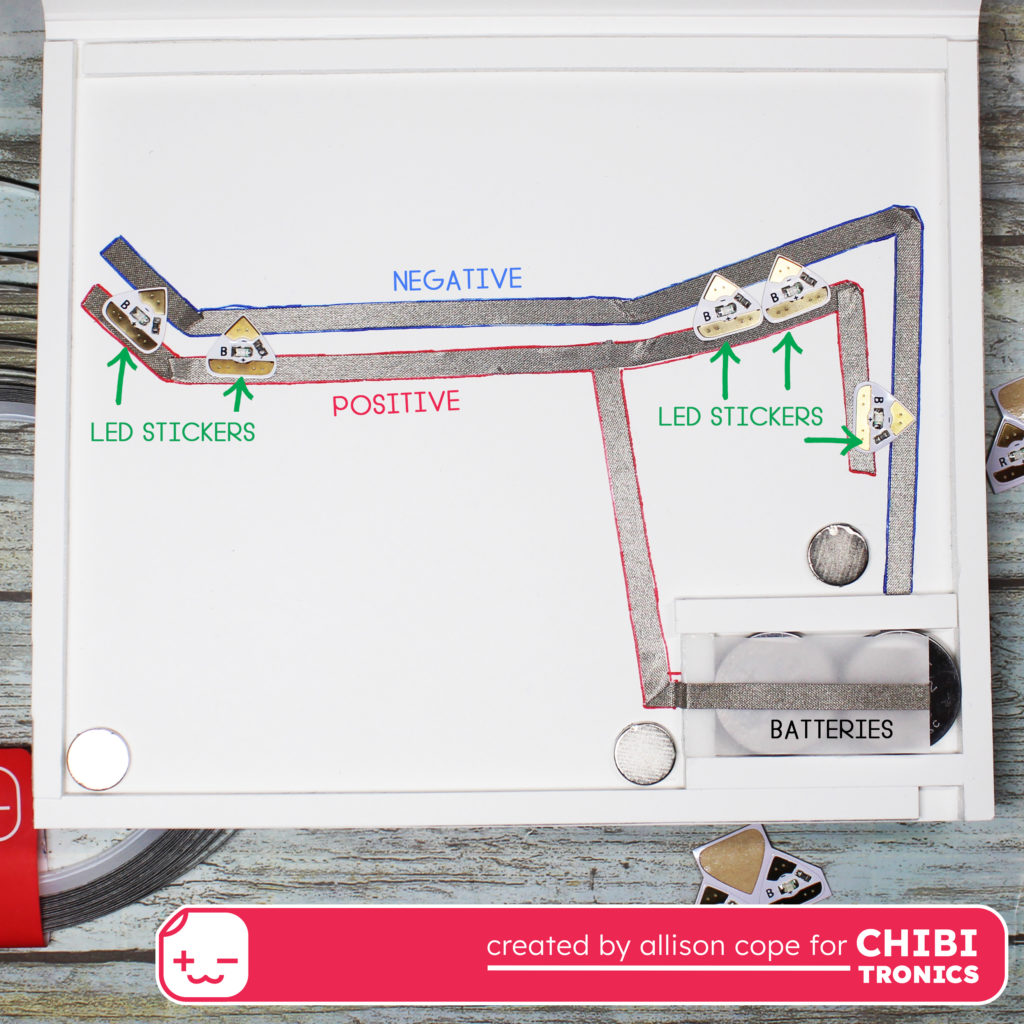
The final step is to place the Blue LED Light Stickers
in their spots. Each sticker is clearly labelled which side of the
sticker is the negative side (-) versus the positive side (=).
To finish off the interior of the card, I added 3D foam around the
parameter of the card. When I give an interactive card I always leave
the circuit available to be accessed so for this card I added some small
magnets for the closure.
And volia! You press the word “press” on the front of the card and those cute little toadstools light up!
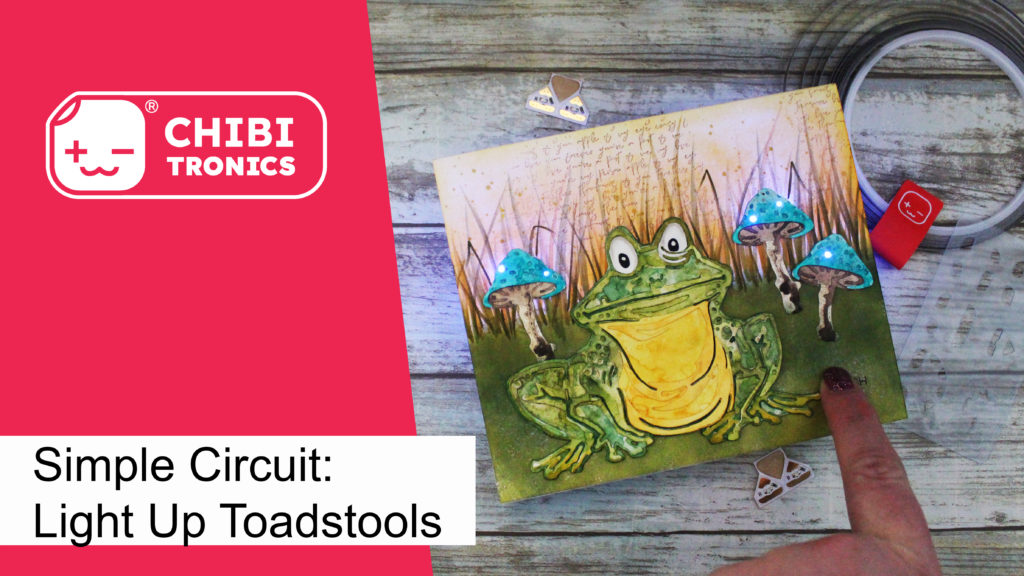
If you’d like to see exactly how I created the circuit , please check out my VIDEO tutorial:
Thanks for joining me today! I hope I’ve inspired you to light up your next card!