Showing posts with label masculine card. Show all posts

Grateful for You | Autumn on Main

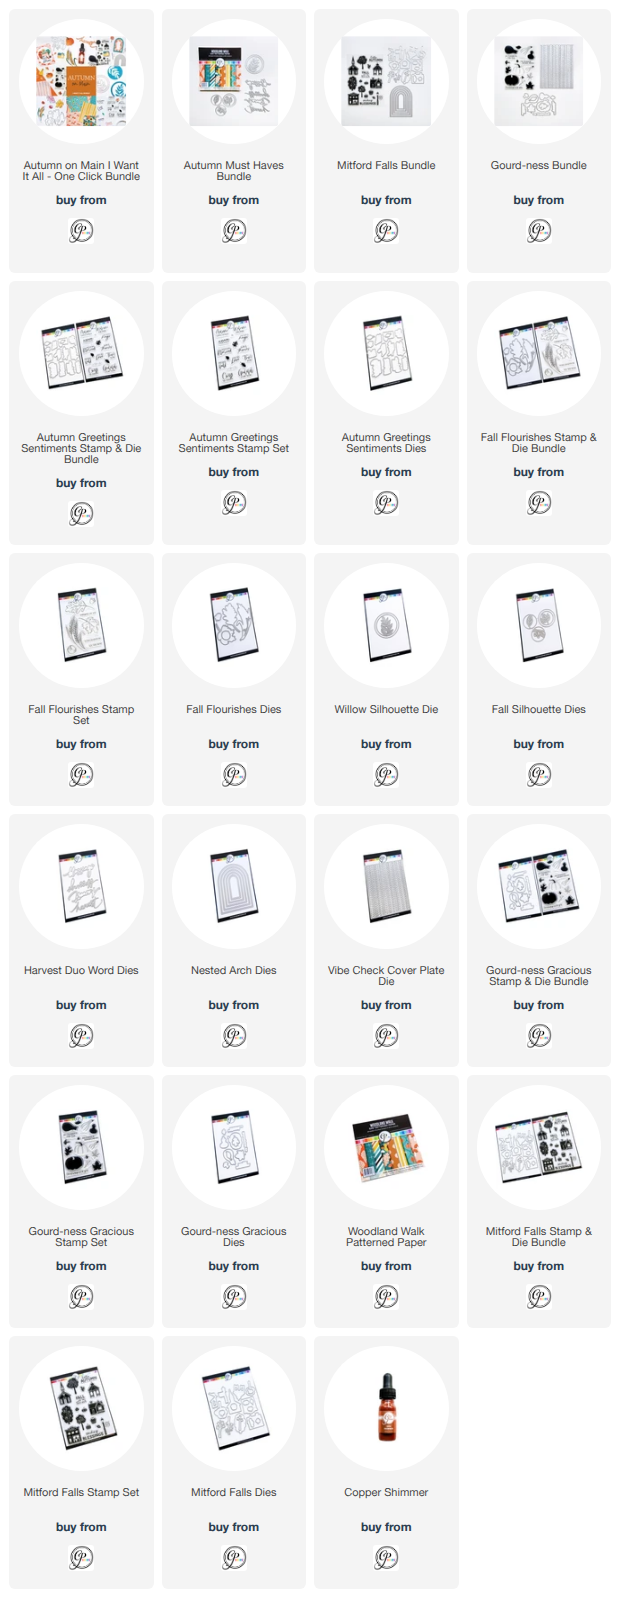
Today I’m sharing a more masculine-inspired Fall card featuring some fabulous new products from Catherine Pooler Designs“Autumn on Main” Collection. I love how this card proves that Autumn designs don’t always have to be filled with traditional oranges, reds and yellows—the monochromatic gray palette paired with touches of copper gives this one such a cool, modern feel!

The star of today’s card is the adorable new “Fall Silhouette Dies.” This set includes three different silhouette designs featuring some beautiful seasonal foliage—a maple leaf, a saw-toothed leaf, and a grouping of oak leaves and acorns. They’re such a fun way to add Fall imagery to a card while keeping the overall design clean and graphic.


I began by die cutting the different Fall Silhouette Dies several times down one side of a panel of Hoodie cardstock. I love how the circular designs create an almost patterned effect as they trail down the card front.

For the layer underneath, I used another piece of Hoodie cardstock and had a little fun with some splattering! I added the gorgeous new Copper Shimmer, along with splatters of white and black acrylic paint. My goal was to have all of that beautiful texture and sparkle peek through the open areas created by the leaf dies. Once the die-cut panel was layered over top, the splattered background became a really fun feature within each silhouette.

The Copper Shimmer is especially striking against the Hoodie cardstock. Depending on the light, you get these little flashes of warm metallic copper mixed in with the black and white speckles. It adds just enough shine without taking away from the masculine feel of the card.


To finish everything off, I chose the “Grateful for You” greeting from the new “Autumn Greetings” Stamp Set. I white heat embossed the sentiment onto coordinating Hoodie cardstock and then cut it out with its matching die. I popped the greeting up over the Fall silhouettes for a simple finishing touch.

I really love the understated look of this one! The tone-on-tone gray cardstock keeps it clean and masculine, while those little pops of Copper Shimmer bring in just the right amount of warmth for an Autumn card.

The new “Autumn on Main” Collection is almost here! StampNation members get to shop early tomorrow, and the collection opens to everyone on Wednesday. ๐Ÿ‚๐Ÿงก✨

~ Ally ~ 

StampNation Weekend Challenge: By the Sea

This weekend’s StampNation Challenge is taking us “By the Sea!” For this challenge, create a project inspired by the ocean, the beach, seaside vegetation, ocean animals, or anything connected to water. You could even incorporate water into your creative process by watercoloring with inks!

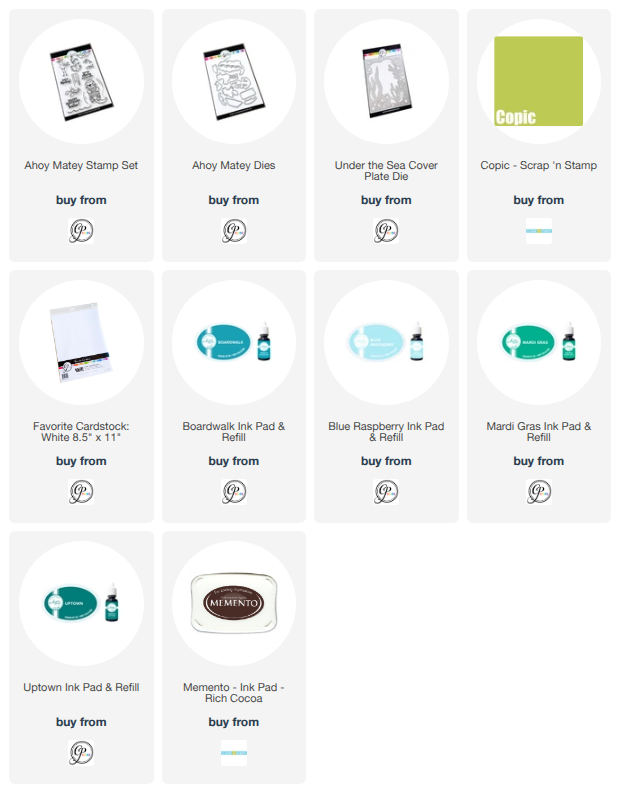
For my card, I created a playful underwater birthday scene featuring the adorable sailor otter from the Ahoy Matey” stamp set. I surrounded him with colourful fish, coral, seaweed, bubbles, and other fun treasures from beneath the waves.


The Under the Sea Cover Plate Die was used to create the fabulous ocean frame. Behind it, I blended Blue Raspberry, Boardwalk, Mardi Gras, and Uptown inks to make my own vibrant, ocean-inspired background. I love how all those beautiful blues and aquas bring the underwater scene to life!

I also added some pretty "Party Blues" enamel dots for a few darker ocean bubbles! Everything image and piece of the scene was colored using Copic Markers.

Now it’s your turn to dive into your crafty supplies and create something inspired by the sea. We cannot wait to see your “By the Sea” projects in the StampNation gallery!

~ Ally ~ 

Hang Loose Birthday Vibes with the New "Give Me a Sign" Collection!

There's a brand-new crew of cuties arriving at Sweet November Stamps this Saturday, and they're bringing all the personality! The new "Give Me a Sign" digital collection features six adorable little friends, each showing off a fun, expressive gesture that's perfect for celebrating friendships, birthdays, encouragement, and so much more.

For today's card, I couldn't resist using "Shaka Brah." That huge smile and classic shaka hand sign instantly made me think of my nephew, so this became his 11th birthday card!

To create a tropical backdrop worthy of his laid-back vibe, I masked off the image before stamping the palm fronds from the "Aloha Wees" clear stamp set all around him. The leafy frame really helps draw your eye to that happy face while adding fun island vibes. Everything was colored with Copic Markers, and I finished the scene with a warm sunny glow behind him. The bright blue patterned paper ties everything together and keeps the card feeling cheerful and full of summer energy.


Whether you're making birthday cards, sending a little encouragement, or just sharing a smile, the "Give Me a Sign" collection is packed with personality and so much fun to color.

The entire "Give Me a Sign" crew is now available to download from the Sweet November Stamps shop. I can't wait to see which expressive little friend becomes your favorite!

Happy crafting! ๐Ÿ’™๐ŸŒด

~ Ally ~ 

Rolling Into Fun with the New “On the Go” Release! ~ Sweet November Stamps

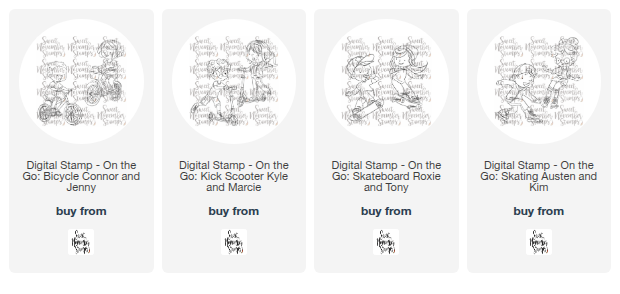
Hi crafty friends! Today I’m sharing a bright and playful card featuring the brand new “On the Go” digital release from Sweet November Stamps! This new series is packed with energy and includes four fabulous bundles—bike riders, skaters, skateboarders, and scooter riders—perfect for creating action-filled scenes.


For my card, I chose the adorable “Skating Austen” and “Skating Kim” images from the skaters bundle. I just love how full of personality these two are! They were the perfect pair to bring my colorful skate park scene to life.

I wanted to create a setting that matched their fun, carefree vibe, so I designed a rainbow-inspired skate park full of bold, vibrant colors. It was such a joy to bring everything together with my Copic Markers—blending all those bright hues really helped add movement and depth to the scene.


To finish things off, I added the sentiment “Have a Chill Birthday”—because what’s cooler than cruising through a rainbow skate park with your bestie?

This card would be perfect for kids, teens, or anyone who loves a little adventure and color in their day!

Thanks so much for stopping by today! I hope this inspires you to check out the new “On the Go” release and create some action-packed scenes of your own.

Happy crafting! ๐ŸŽจ✨

~ Ally ~ 

Egg Hunt Fun ~ Sweet November Stamps

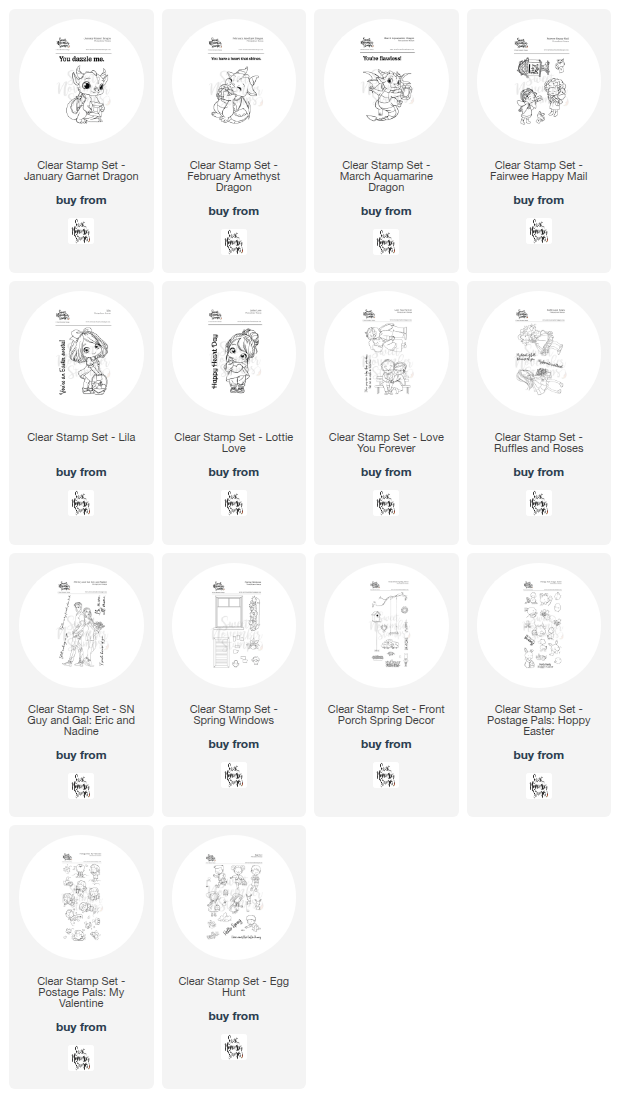
Today I’m sharing a sweet Easter card featuring the adorable “Egg Hunt” stamp set from Sweet November Stamps. This set is packed with Easter cuteness and includes three little girls, three little boys, two bunnies, and lots of fun scene-building elements—perfect for creating cheerful springtime cards.

For my card, I chose two of the little boys as they excitedly gather their colorful Easter eggs. I love how their playful poses bring the whole scene to life! I also added a few of the spring elements from the set along with one of the cute little bunnies to complete the egg hunt setting.

Everything was colored with Copic Markers, which helped create the bright spring grass and soft sky background for these little guys to explore. I kept the design clean and simple so the sweet scene could really shine.


The sentiment “Here comes the Easter Bunny” is also included in the Egg Hunt stamp set and felt like the perfect finishing touch.

This card was extra special because I sent it off to my two nephews for Easter. I thought these two little egg hunters suited them perfectly!

Sweet November Stamps always makes it easy to build charming scenes, and this set is just full of springtime joy.

Have a great weekend!

~ Ally ~ 
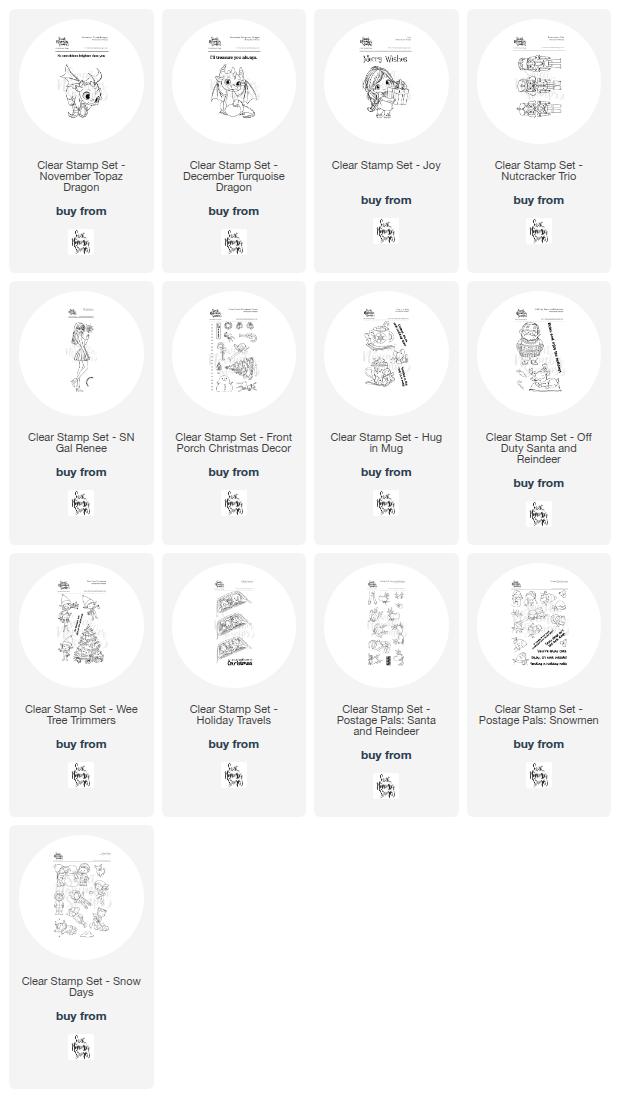
Sweet November Stamps ~ A Masculine Holiday Trio

Today I’m sharing a festive and fun holiday card featuring the brand-new “Nutcracker Trio” clear stamp set from Sweet November Stamps! This whimsical set includes three charming nutcracker characters, and I couldn’t resist showcasing all three of them together on one cheerful card.

I stamped and colored each nutcracker using my Copic Markers, giving each one their own personality with bright pops of colour and classic toy-soldier details. To keep the focus on the trio, I framed them in a crisp stitched-edge rectangle, then paired the panel with some vibrant patterned papers full of ornaments and holiday icons. The playful prints bring in just the right amount of festive flair!

This design makes a fantastic masculine holiday card—bold colours, clean lines, and the timeless nutcracker theme come together perfectly for a card that’s sure to bring a smile.

Thanks for stopping by today! I hope this little trio inspires your next round of holiday crafting.

~ Ally ~ 

Chibitronics ~ Batter Up Birthday Card

Today I’m sharing a special birthday card I created for my baseball-loving nephew, who is turning 9 years old next month. Of course, I had to make it extra interactive and fun with some light-up elements using my favorite Chibitronics products!


Card Concept

The focal point of this card is the Power Poppy “Baseball Vignette” digital stamp, which features all the classic gear—a baseball glove, bats, and a ball. I colored everything up with Copic markers for a warm, realistic look and layered the image on a baseball-detailed stamped background. I wanted the card to feel nostalgic yet playful, just like a day at the ballpark.


Light-Up Surprise

Here’s where the fun comes in… ✨

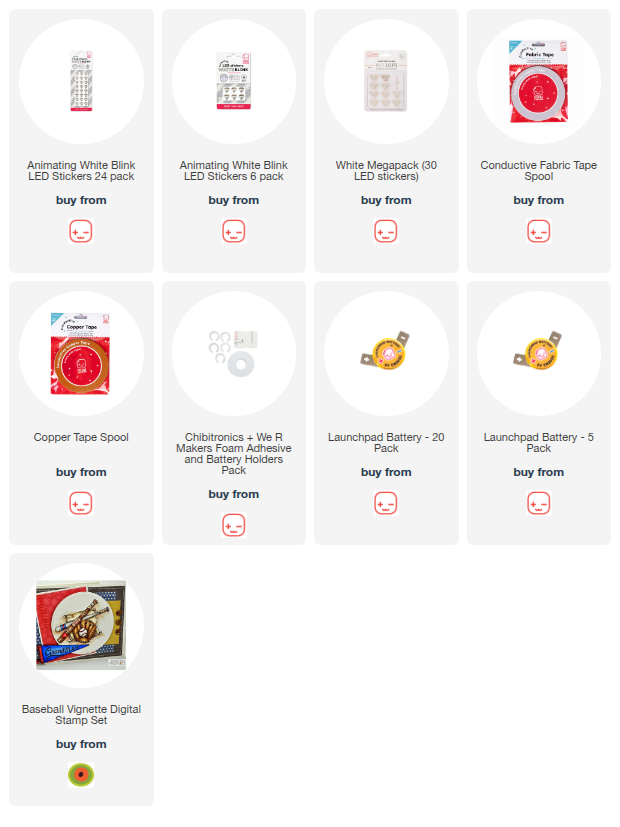
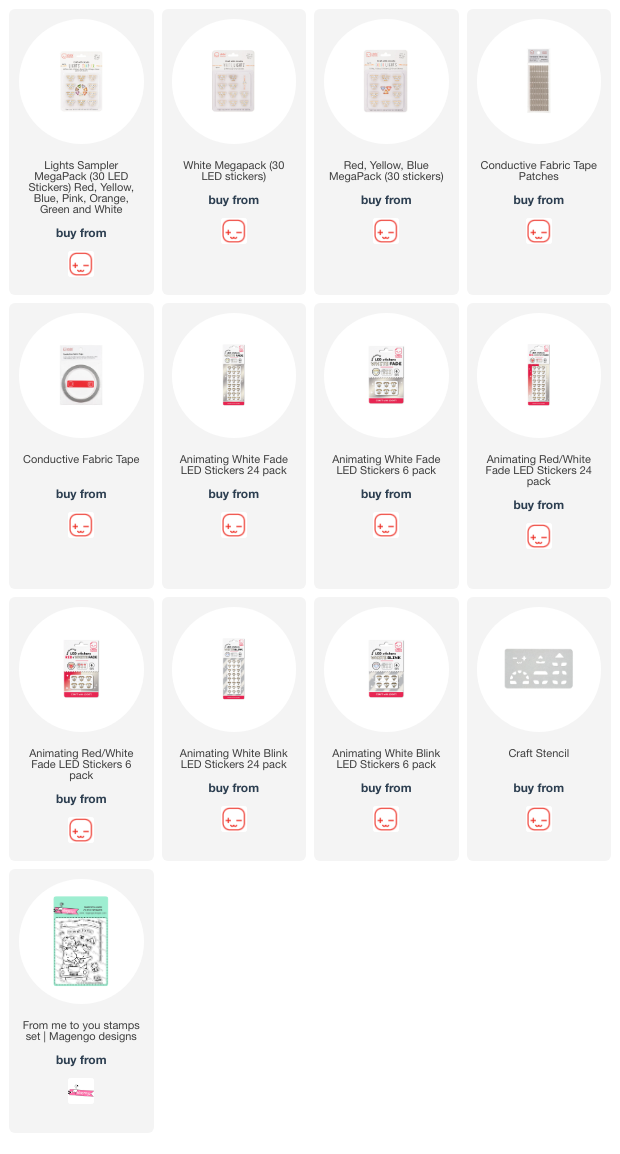
  • I used the Animating White Blink LED Light Stickers along with the White LED Light Stickers from Chibitronics.

  • By pressing the small baseball inside the glove, the switch is activated and lights up the large baseball in the background.

  • As the baseball glows, it reveals the hidden word NINE—perfect for celebrating his 9th birthday in a unique way!

This interactive feature really makes the card special and adds that wow factor when he presses the baseball.


Finishing Touches

To keep the spotlight on the stamped image and the light-up reveal, I kept the sentiment simple with a bold “Happy Birthday” greeting. A bit of stitched edging frames the card nicely, giving it a finished, polished look.


Products Used

  • Stamps: Power Poppy “Baseball Vignette” (digital stamp)

  • Electronics: Chibitronics Animating White Blink LED Stickers & White LED Light Stickers

  • Circuit Build: Conductive Fabric Tape + battery holder

  • Mediums: Copic Markers for coloring


I can’t wait to see my nephew’s face light up (literally and figuratively!) when he presses the glove and reveals his special birthday surprise. Cards like this are why I love mixing papercrafting with Chibitronics—it takes a simple design to the next level and creates a memory they won’t forget!

Happy crafting, friends! ✨⚾

~ Ally ~ 

Sweet November Stamps ~ Ahoy Mate! **WIN!**


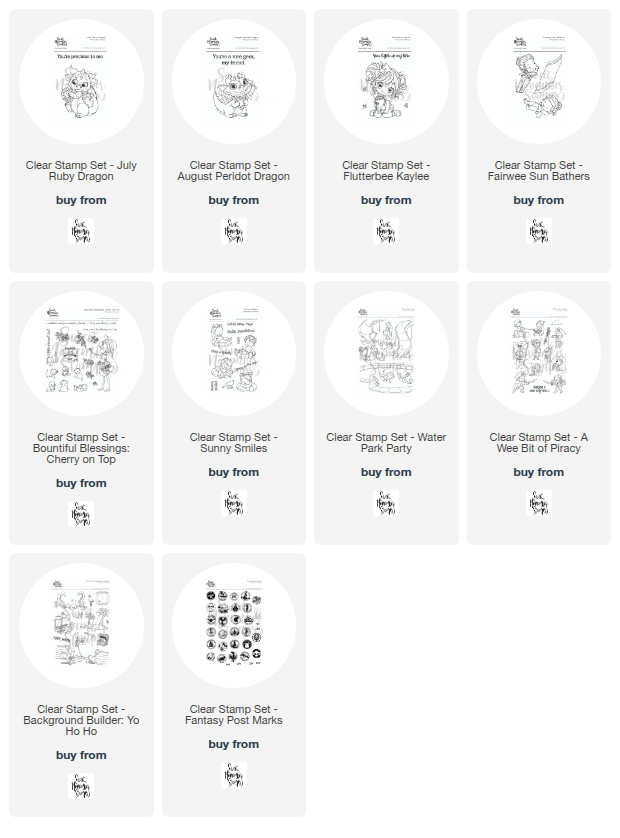
It’s time to set sail on a creative journey because Sweet November Stamps is kicking off a brand new Instagram Hop to celebrate the Summertime Adventures clear stamp release! I'm excited to be joining in with this fun pirate-themed card featuring the brand new "A Wee Bit of Piracy" clear stamp set. These charming little buccaneers stole my heart—and a few coconuts too! ๐Ÿด‍☠️๐Ÿน๐ŸŒด


To bring this adventurous scene to life, I also used the "Yo Ho Ho Background Builder" stamp set to build the deck of a pirate ship at sea, complete with a tropical island sunset and even a cheeky parrot looking on.


Everything is colored with Copic Markers, and I added multiple popped-up dimensional layers to give the whole scene that interactive, storybook feel.


 ๐Ÿงญ You can start hopping over on the Sweet November Stamps Instagram page and follow the designers along the way for inspiration, fun, and your chance to win the entire release! ๐ŸŽ

๐Ÿ›️ Don’t forget—you can shop the brand new clear stamp release now at www.sweetnovemberstamps.com!

๐Ÿ“… Hop Dates:

  • Starts: Saturday, July 12th

  • Ends: Tuesday, July 15th at midnight EDT

Now grab your treasure maps, follow the trail of inspiration, and don’t miss your chance to win big!

~ Ally ~ 

Sweet November Stamps ~ Boy Birthday!
Happy Thursday!  Today I'm sharing one of my cards from the newest Sweet November Stamps release, "Fab Favorites".

I chose to pull out lots of boy images for today's card!

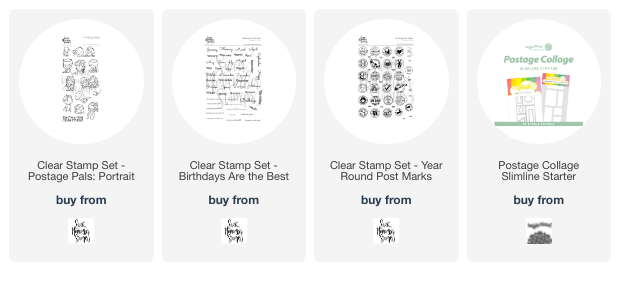
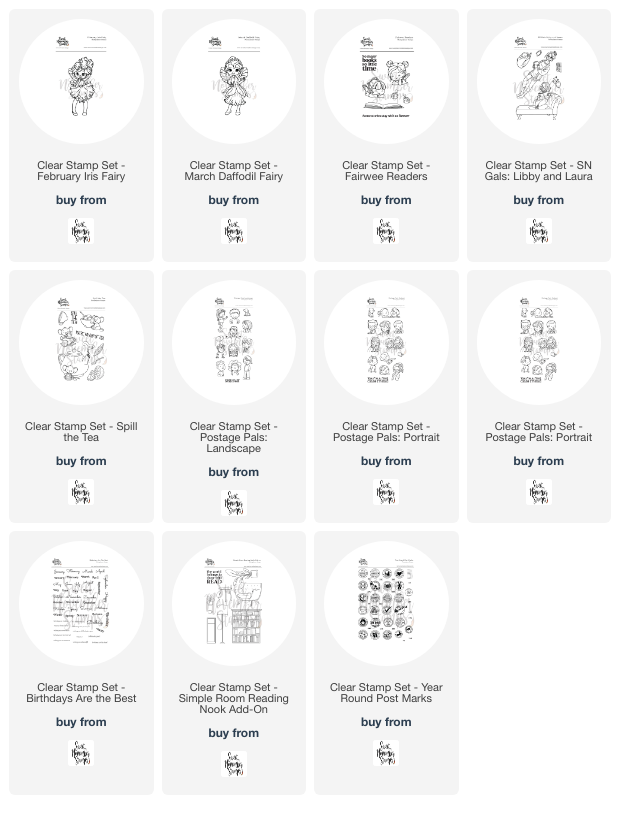
All of these boys (and critters!) are from the Postage Pals (Landscape & Portrait) stamp sets. I stamped them all on the Waffle Flower Slimline Postage Die cut.


To accompany the postage theme I used the "Year Round Post Marks" stamps to create a subtle stamped card base.  I also stamped them across my Copic Marker colored boys and critters too!

To finish off this slimline birthday card, I added a simple sentiment from the "Birthdays are the Best" stamp set.


I just love how this turned out!

Hope you have an amazing rest of the week!  Got get creative!

~ Ally ~

Sweet November Stamps ~ Postage Pals

Happy Saturday all!  Today Sweet November Stamp is releasing a whole new collection of stamps!  This collection is called Fab Favorites!  Plus we having a few giveaways too!  Today over on Instagram and tomorrow over on YouTube!

My card for the hop features the adorable boys of the "Postage Pals: Landscape" clear stamp set.  This stamp set was designed to go in the postage stamp style dies on the market. I used the Waffle Flower Postage Collage Slimline Die for my card today.

I also featured our new "Year Round Post Marks" stamps too!  These stamps are packed full of post marks to be used all year long.  Everything from St. Patricks Day to Birthdays to Mother's Day to Christmas... they all have some kind of post mark!  I LOVE this stamp set!!!!

To make it even more birthday themed, my sentiments came from the new "Birthdays Are the Best" clear stamp set.  This stamp has all the month's of the year and lots of fun birthday sentiments to boot!  This would be a great stamp set for a journaler!

Aren't all of these little boys adorable?!?!  I had so much fun creating this card!

What do you think?!?!

Have a great weekend and make sure you check out Instagram and YouTube for the giveaways!

~ Ally ~

Catherine Pooler ~ Let's Party

Happy Friday!

StampNation is having a birthday this week!  We're turning 14!  Yup... it's been around for 14 years!

To celebrate, we're having a little challenge over at StampNation!  

The challenge is to make a birthday card.

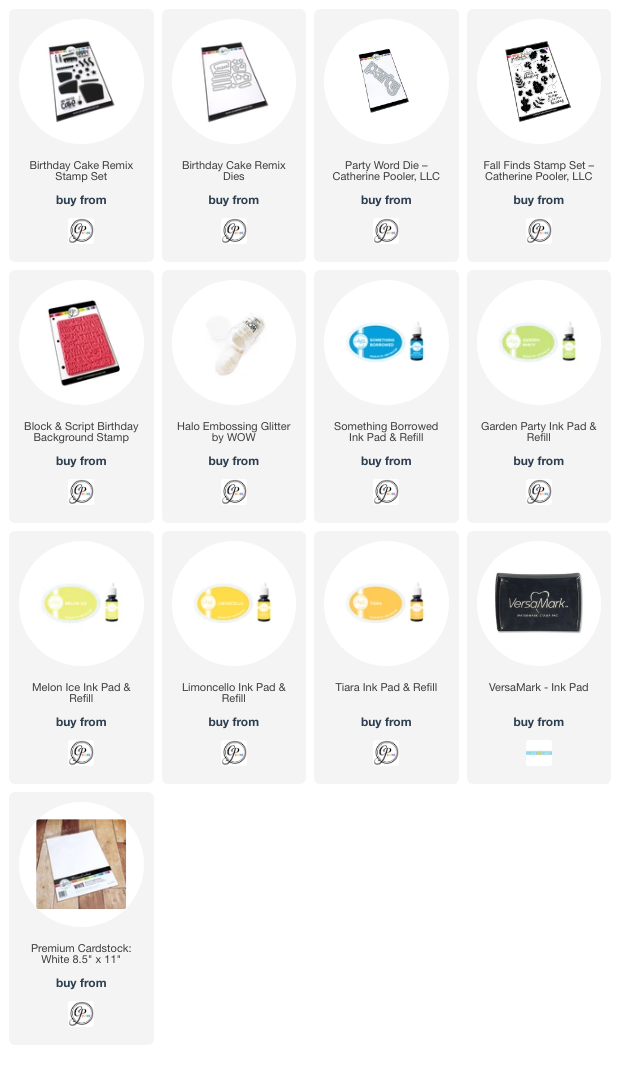
So I pulled out the newest Catherine Pooler ink color, Blue Raspberry. I also pulled out Something Blue, Melon Ice, Garden Party, Limoncello, and Tiara.

I started by making my background.  I used the "Block & Script Birthday Background" stamp set. 


Then I pulled out the "Birthday Cake Remix" stamp set.  I stamped and die cut all of the elements of the 3 layer cake.  I also used some "Halo Embossing Powder" to create the frosting layers.

For the sentiment, I used just the letter die shapes of the "Party Word Die" and used 5 of my ink colors.  I wanted a little "let's" word so I pulled that word from one of the sentiments for the "Fall Finds" stamp set.

For the finishing touch, I used some Star Dust Stickles to add some dots of sparkle!

Come and check out more about StampNation if you are not a member... click below...

Hope you'll come and party along with us!

~ Ally ~

Catherine Pooler Designs ~ Flyin' By...


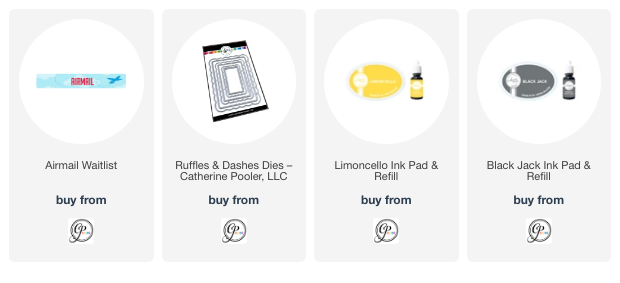
A new Catherine Pooler Designs exclusive BOX is being released this week!  Meet the AIRMAIL BOX!

SIGN UP HERE FOR THE WAITLIST!

Some of the fun things that are included in this exclusive box are:

  • signature patterned papers
  • many versatile stand alone dies
  • unique stamps and coordinating die sets
  • a NEW CP mini ink pad color with a refill & side labels... Blue Raspberry ink!
  • a SWAK word die too!

That's LOTS of new goodies that you are sure to love!

Today I'm sharing my first sneak peek with products from the new box.  I've used the adorable (and my favorite part of the box...) the "Prop-erly Yours Dies".  I had a blast making this fun prop plane die come together!

And who doesn't love a blue sky, the new Blue Raspberry ink color with some fun puffy clouds using the new "Fluffy Cloud Dies".

The new Blue Raspberry ink will also be release to purchase separately from the box in early 2025. This new color is included in the box in mini ink pad form and is accompanied with side labels and an ink refill bottle too!

I paired it with the "Ruffles & Dashes Dies" to create the fun, fluffy frame.


For the greeting, I used the "Postcards from the Hearts" stamps and dies.  I even included some cute hearts from the corresponding die set!

GET ON THE WAITLIST TODAY!

  • This box has a limited supply.  When it's gone, it's gone!
  • Everything in this box is EXCLUSIVE to this box and won't be sold separately... except the new ink color!
  • Get on the waitlist to be able to SHOP EARLY!  You can shop TOMORROW!
  • The box goes on sale to everyone on Wednesday December 11th... get it now!

You won't be disappointed!

Have a wonderful week!

~ Ally ~

Chibitronics ~ Happy 8th Birthday!

Happy Wednesday!   Today I'm sharing my latest Chibitronics creation that I've made this week.

This is a special card today as it's for my nephew's 8th birthday next month.

I start creating my card by stamping, coloring and fussy cutting out the sweet little car from the Magengo  Designs "From Me to You" stamp set.  The background is a cover plate by Catherine Pooler called "Starry Night" as well as the sentiment is from the CP "Best Birthday Yet Sentiments".

The headlights were cut out and backed with vellum and along with the starry background. 

I used the starry die cut out to make a template for my circuit.  This will allow me to position my light stickers accurately on my circuit building surface.  I used the new stencil to locate the position.  I also located the position of my Battery Holder/Switch.

Next I mapped out the pathways of the negative (blue lines) and positive (red lines) of my circuit using pen.

Notice how my negative and positive lines cross.  We will solve this problem very easily.

Next I laid down the Conductive Fabric Tape for the negative side of my circuit.  I began on the bottom side of the self adhesive Battery Holder.

Next I added a piece of paper for a bridge over top of the piece of negative side of the circuit where my tape was going to cross over it.  Then I laid down the positive side of the circuit tape.  I began on the inside of the lid of the Battery Holder.  This allows the lid of the Battery Holder to be pressed to close the circuit and allow the lights to come on - otherwise known as the switch. 

Lastly, to complete the circuit, I added my LED Light Stickers.  I used 2 Yellow LED, 2 White LED, 2 Animating White Blink LED Light Stickers and 2 Animating White Fade LED Light Stickers.

Two White LEDs underneath the moon to reveal the secret number 8.  Two Yellow LEDs in 2 of the little stars in the background.  Two Animating White Fade LED Light Stickers for the other 2 little stars and two Animating White Blink LED Light Stickers for the car's headlights.

I adhered the double sided self-adhering "C" shaped foam inside the Battery Holder and popped in a 3V Coin Battery.

To allow for the bulkiness of the Battery Holder, I applied 3D foam around the perimeter of the circuit panel so the card front closes on the same level as the whole card.

Let's give it test... and REMEMBER... the white light BLINKS on and off for the headlights and the white little stars in the sky FADE in and out!

To find out exactly how I built today's circuit step by step, check out my VIDEO TUTORIAL over on the Chibitronic's YouTube channel... HERE!!

Thanks for stopping by!  I hope you have a wonderful week!

~ Ally ~
 
09 10