Happy weekend all! Today I'm sharing another fun new digital stamp set from Sweet November Stamps.
Today's card features the brand new "Wee Cupid" digital stamp set. If you are signed up for the Sweet November Stamps newsletter, you wold have received a code to download this cutie for FREE! Yup... for FREE!
I printed out this little fella and colored him with some Copic Markers. I just add some cute little white gel pen hearts to his little shorts.
To create my soft background, I used the Lawn Fawn "Lots of Hearts Background Stencils" and Tiara, Be Mine and Pixie Dust inks by Catherine Pooler Designs. I blended them through the first stencil with the inks and then I used the second stencil to add some sparkly embossing glitter from WOW.
If you'd like some fun tips and tricks for coloring SKIN with Copic Markers, why not check out this simple video just for you! CLICK the IMAGE BELOW to proceed to the video...
I hope you enjoyed that short video. See you again soon! Have a great weekend!.
StampNation has a brand new challenge for you to participate in today! I'm luck enough to be this week's hostess.
If you're not familiar with what StampNation is:
Paper crafters from all over the world gather at StampNation to share the love of stamping and card making! As a member, you'll hone your skills with quality Master Classes and tutorials, learn alongside fellow stampers of all abilities, ask questions, share and grow your paper crafting skills with kindred spirits. You can cancel anytime if you don't love it (but we think you will!). Your membership includes:
You have three memberships to choose from: an annual membership, a quarterly membership and a monthly membership. Try out the monthly membership to see if you like it!
This week's challenge is create a card using the colors PINK and RED.
For my challenge I created a card with lots of texture in it but it's almost all white! I began by die cutting the "Nottingham Lace Cover Plate Die" in white and then I used the frame from the "Notecard Frame & Tag Die" set to frame a piece of the lace die.
Then I stamped the largest heart from the "Yours Truly" stamp set and colored it with Copic Markers. I even added some dotted detailing on some of the floral and leaf elements.
I laid my colored heart over a striped piece of the new "Stroke of Midnight" papers and a simple "With Love Word Die" on top of it all!
I hope you'll come and join us over at StampNation for lots more fun and PERKS!
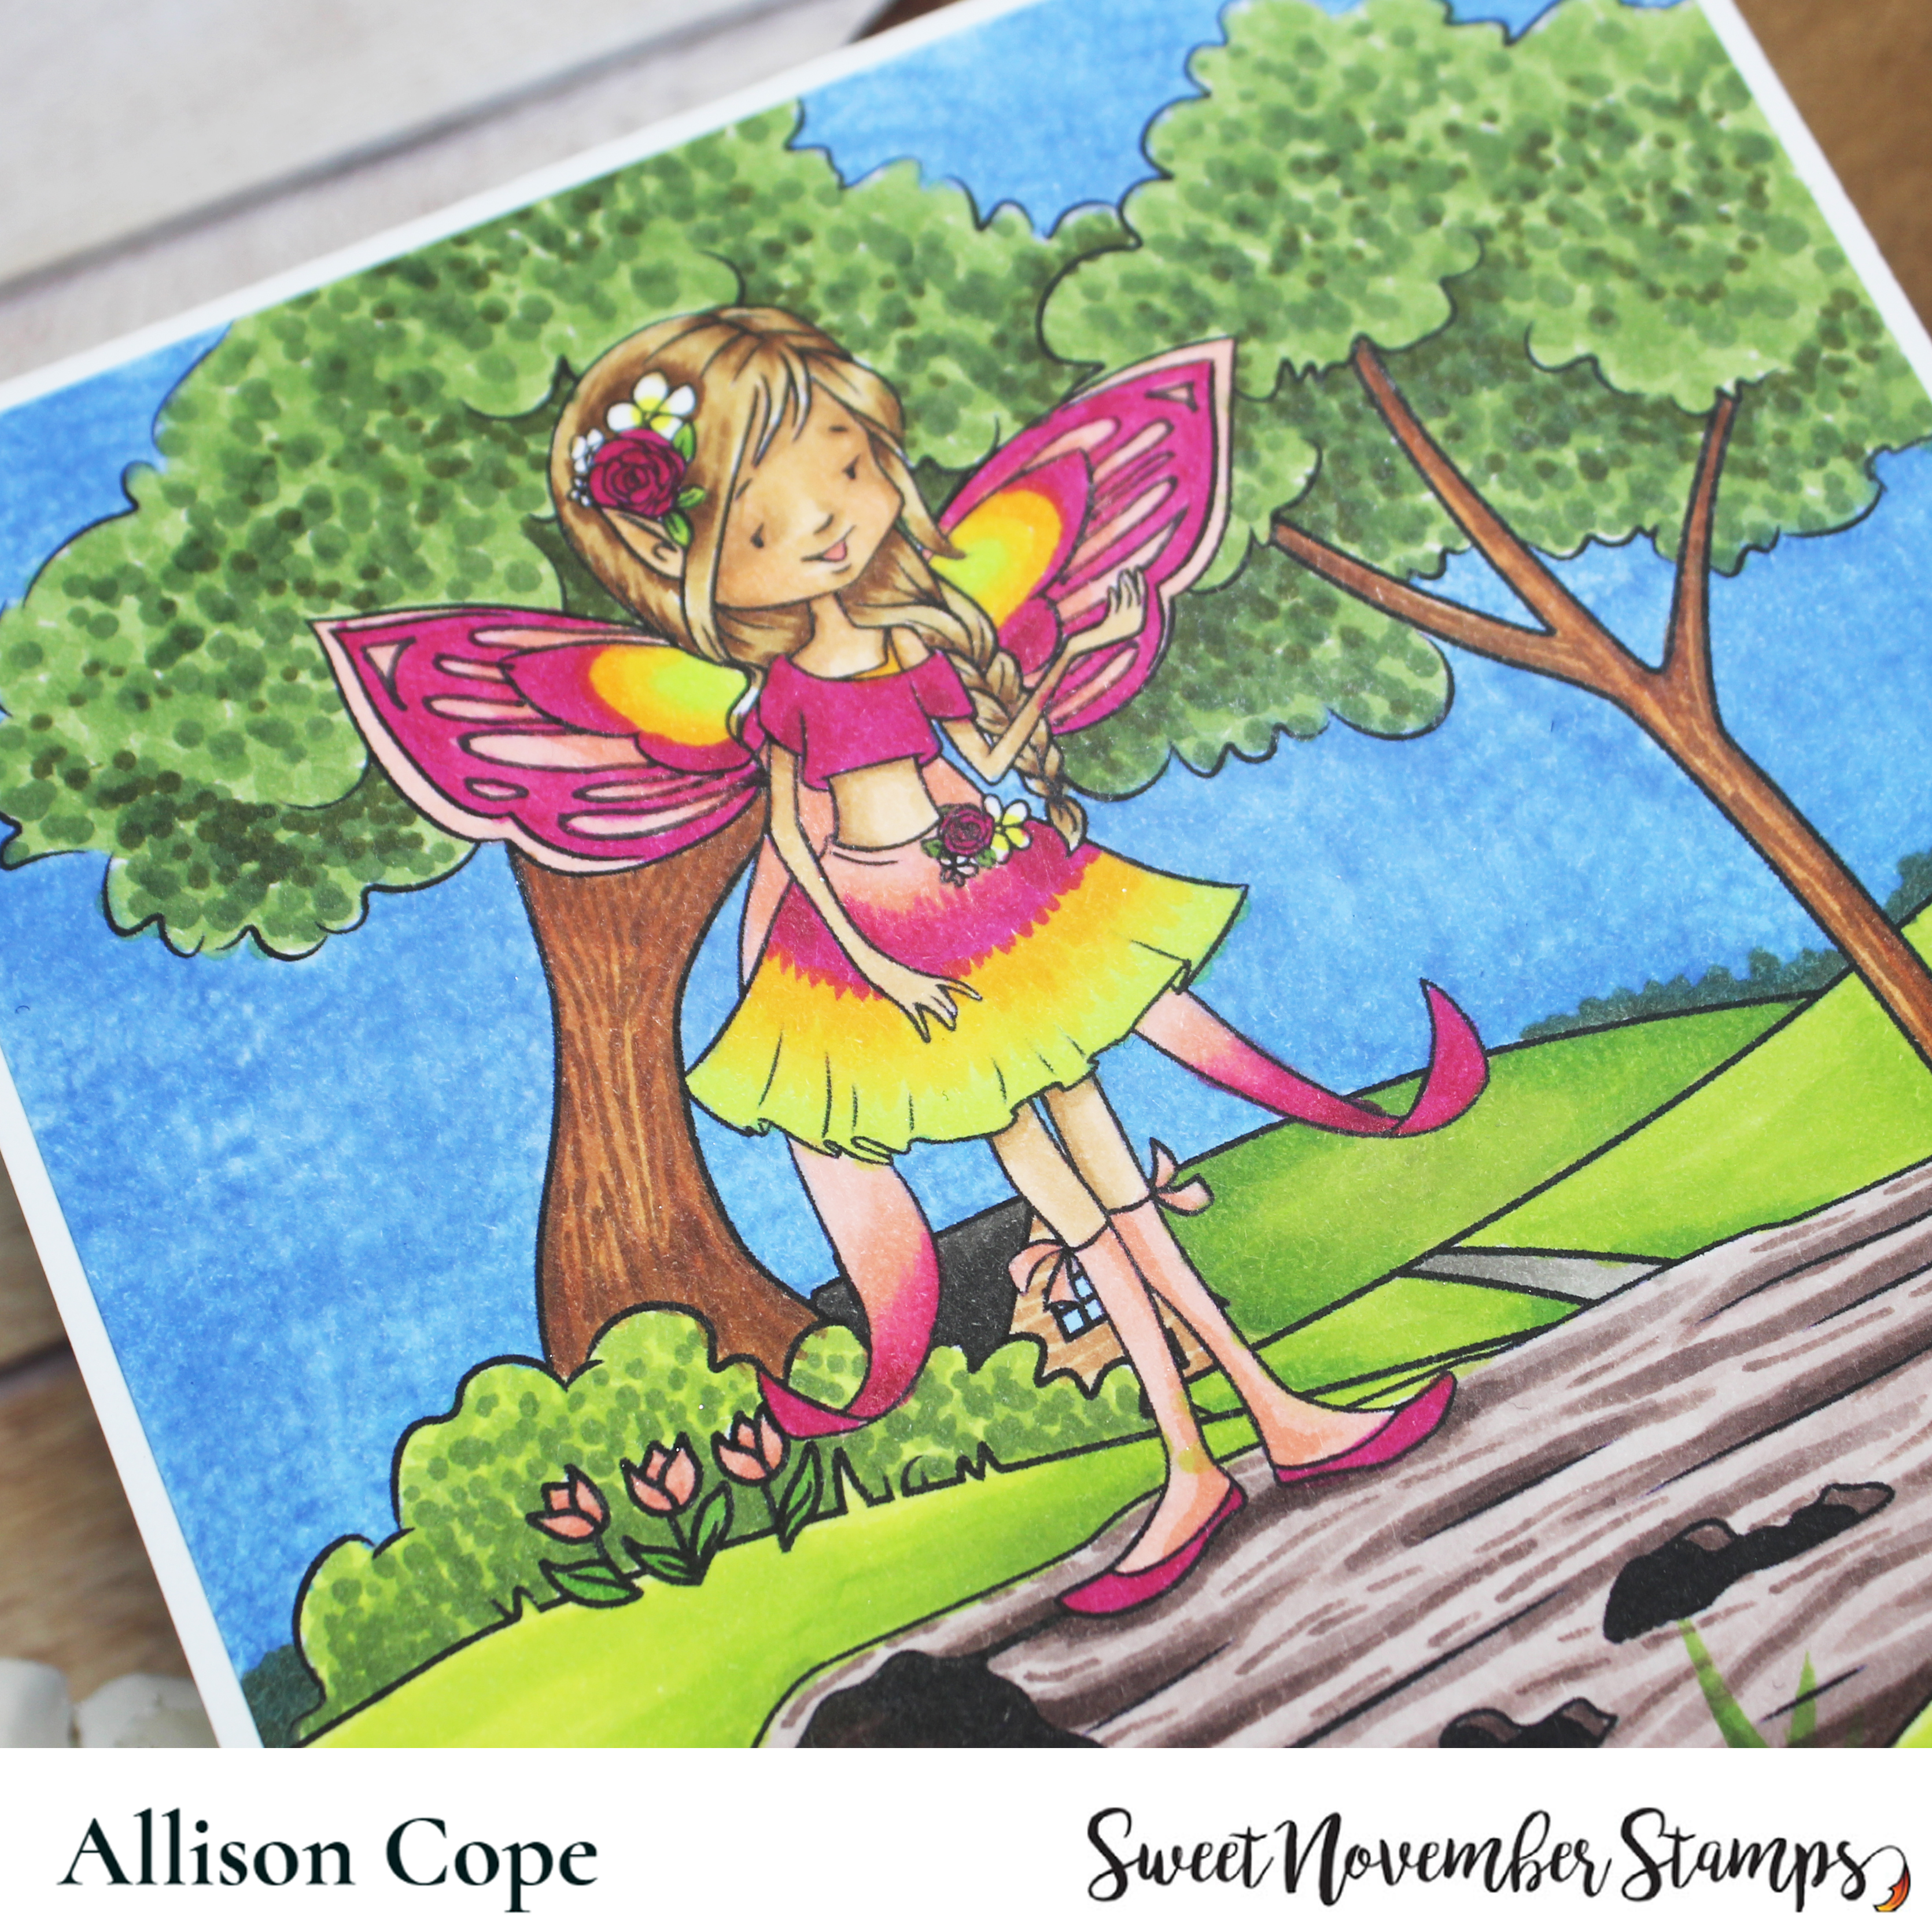
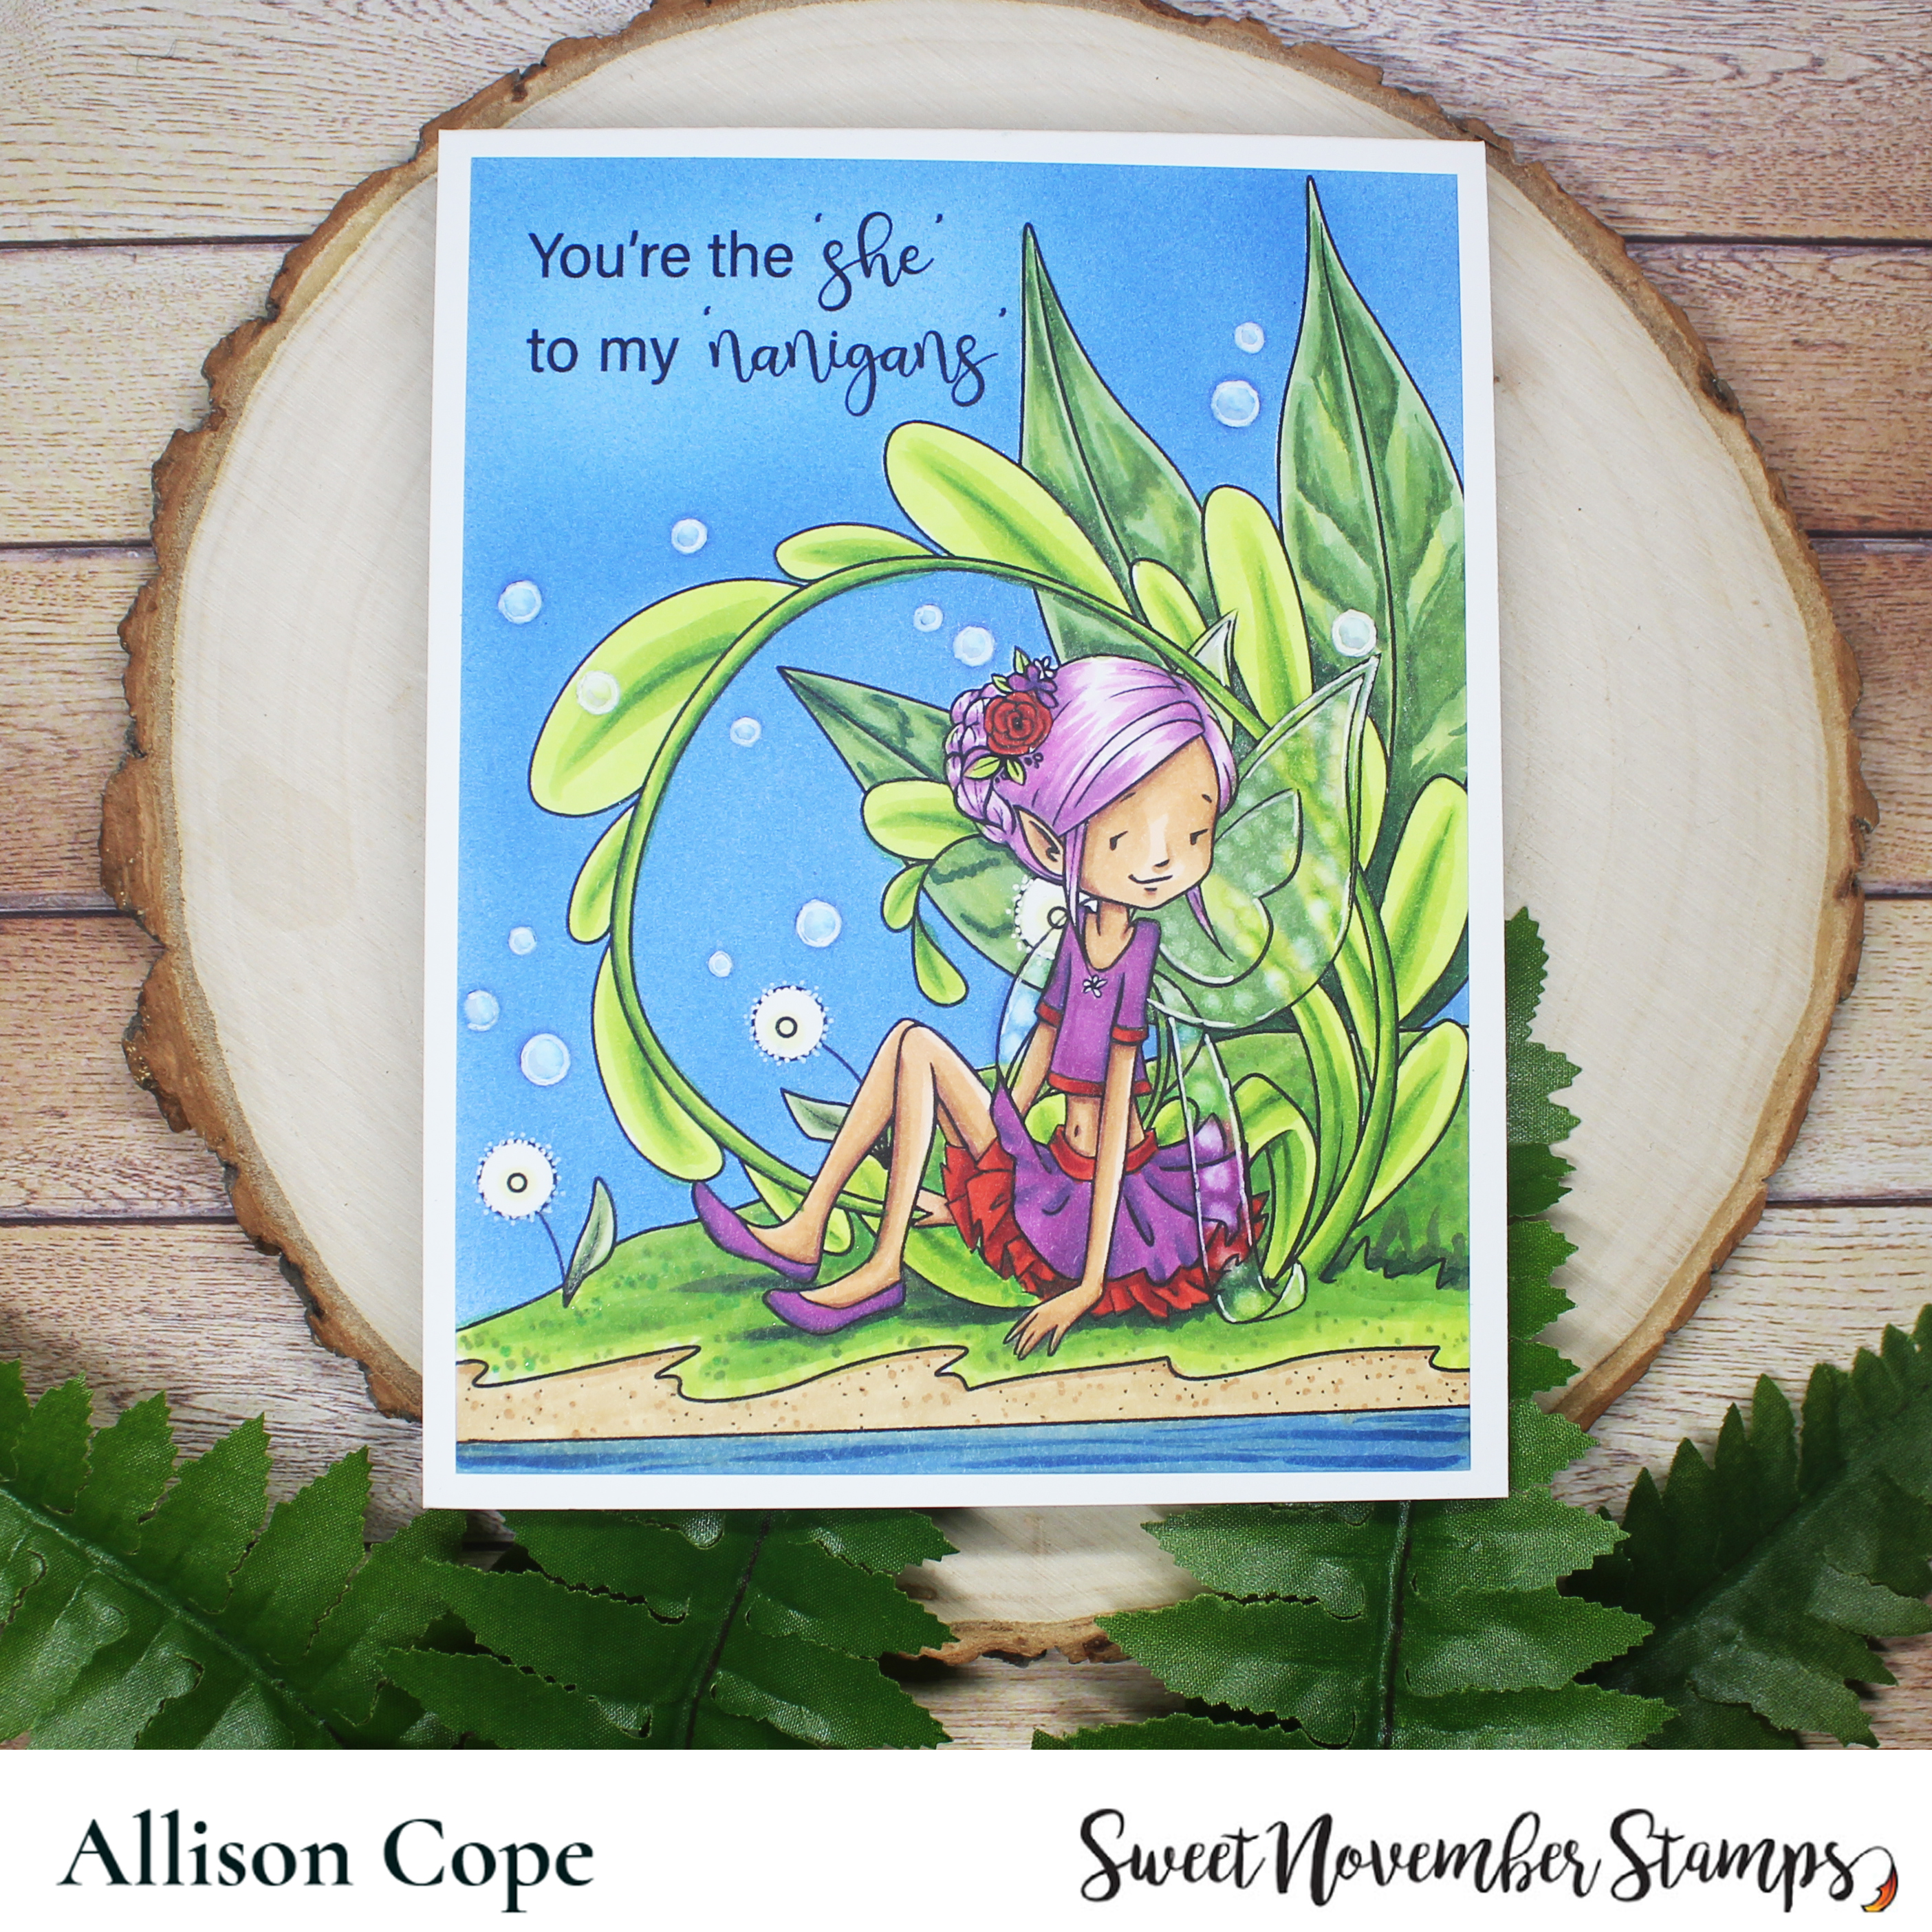
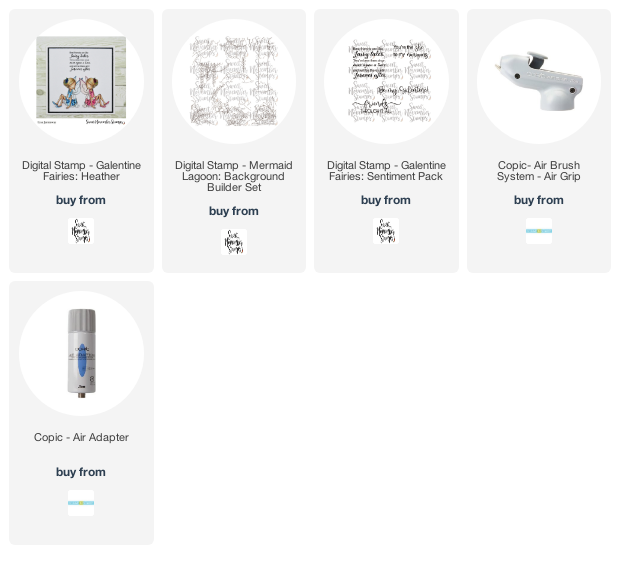
Today's card features the adorable new "Galentine Fairy: Rachel", the "Galentine Fairies: Sentiment Pack", the "Forest Stump & Hollow Log Background Builder" and finally the "Spring Is Back Background Builder".
To begin this card I coloring in my sky. I wanted to have a soft, fluffy light cloudy sky so I grabbed my Copic Blender and a micro-fibre cloth to create this effect.
I loved coloring up this scene today.
I also have a short video sharing how I colored in the sky using the Copic Blender... CLICK THE IMAGE BELOW:
Sweet November Stamps has a new newsletter coming out on Saturday. Each newsletter has a new FREEBIE to download so make sure you sign up for that today so you don't miss out. Click here to subscribe.
Happy Wednesday everyone! Just an FYI, there's a SALE going on over at Catherine Pooler Designs this week with some fun love and winter items on sale! Get 'em while they last!
Today I'm sharing a fun card that I made for my StampNation PenPal for January. Each month you can sign up for our monthly PenPal and this month's theme was to use your favorite stamp.
So for my favorite stamp, I chose to use the new "Yours Truly" stamp set. I stamped it out in Memento Tuxedo Black ink and colored it out with some Copic Markers. I used a Copic Multi-liner to add some dot detail among the roses and leaves.
Next I die cut the "Cosmic Cover Plate Die" and backed it with some Garden Party and Grass Skirt inked card base.
I added a simple strip of "Lime Rickey Prints" paper and a die cut "hello" from the "Hello Trio Dies" in black cardstock.
To finish it off, I added some fun "Diamond" Stickles to some of the die cut background and a few scattered among the sentiment.
Hope you have a wonderful week and happy shopping!
Once my scene had been printed out, I created a mask of the greenery and my fairy by printing out the scene with some Eclipse Masking Paper and fussy cutting out the entire thing.
Then I used my Copic Airbrush System and airbrushed my blue sky color across the whole panel and kept the blue lighter around my sentiment.
I peeled off the mask and colored everything else in using Copic Markers.
For the bubbles I used my Copic Blender pen to push the ink into the fibers of the paper. then I took my White Gel Pen and traced over the black lines of the bubbles.
To achieve the transparent look of her wings, I colored in the scene behind the wings and then washed over the wind areas with my blender pen as well to push the ink into the fibers of the paper. For the dots on her wings, I concentrated a large blob of Blender Solution repeatedly in one area, over and over until I got more of circle detail.
I had a blast coloring and creating today's card!
I also have a short video sharing how I colored in her sweet little skirt... CLICK THE IMAGE BELOW:
Today I'm over on the Chibitronic YouTube channel sharing how I put the circuit together for today's card!
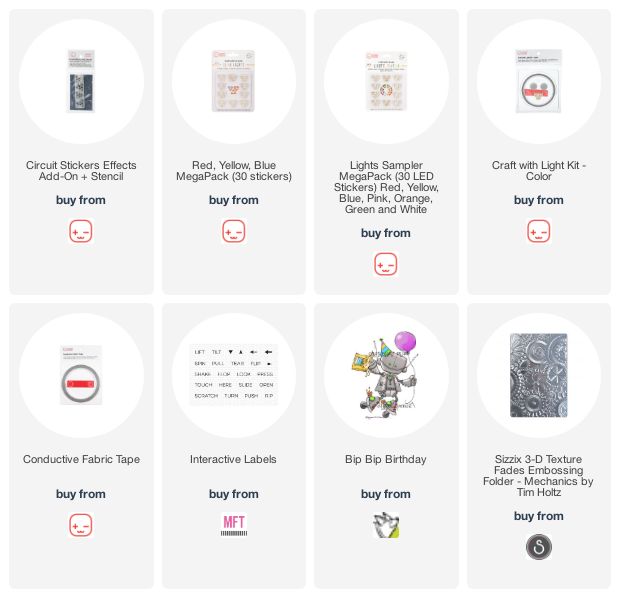
Today's card features the cool Sizzix "Mechanics" 3D Embossing Folder and the adorable "Bip Bip Birthday" digital image by Mo Manning. Plus I as used the "Interactive Label" stamps from MFT to add the word "Press" to my balloon.
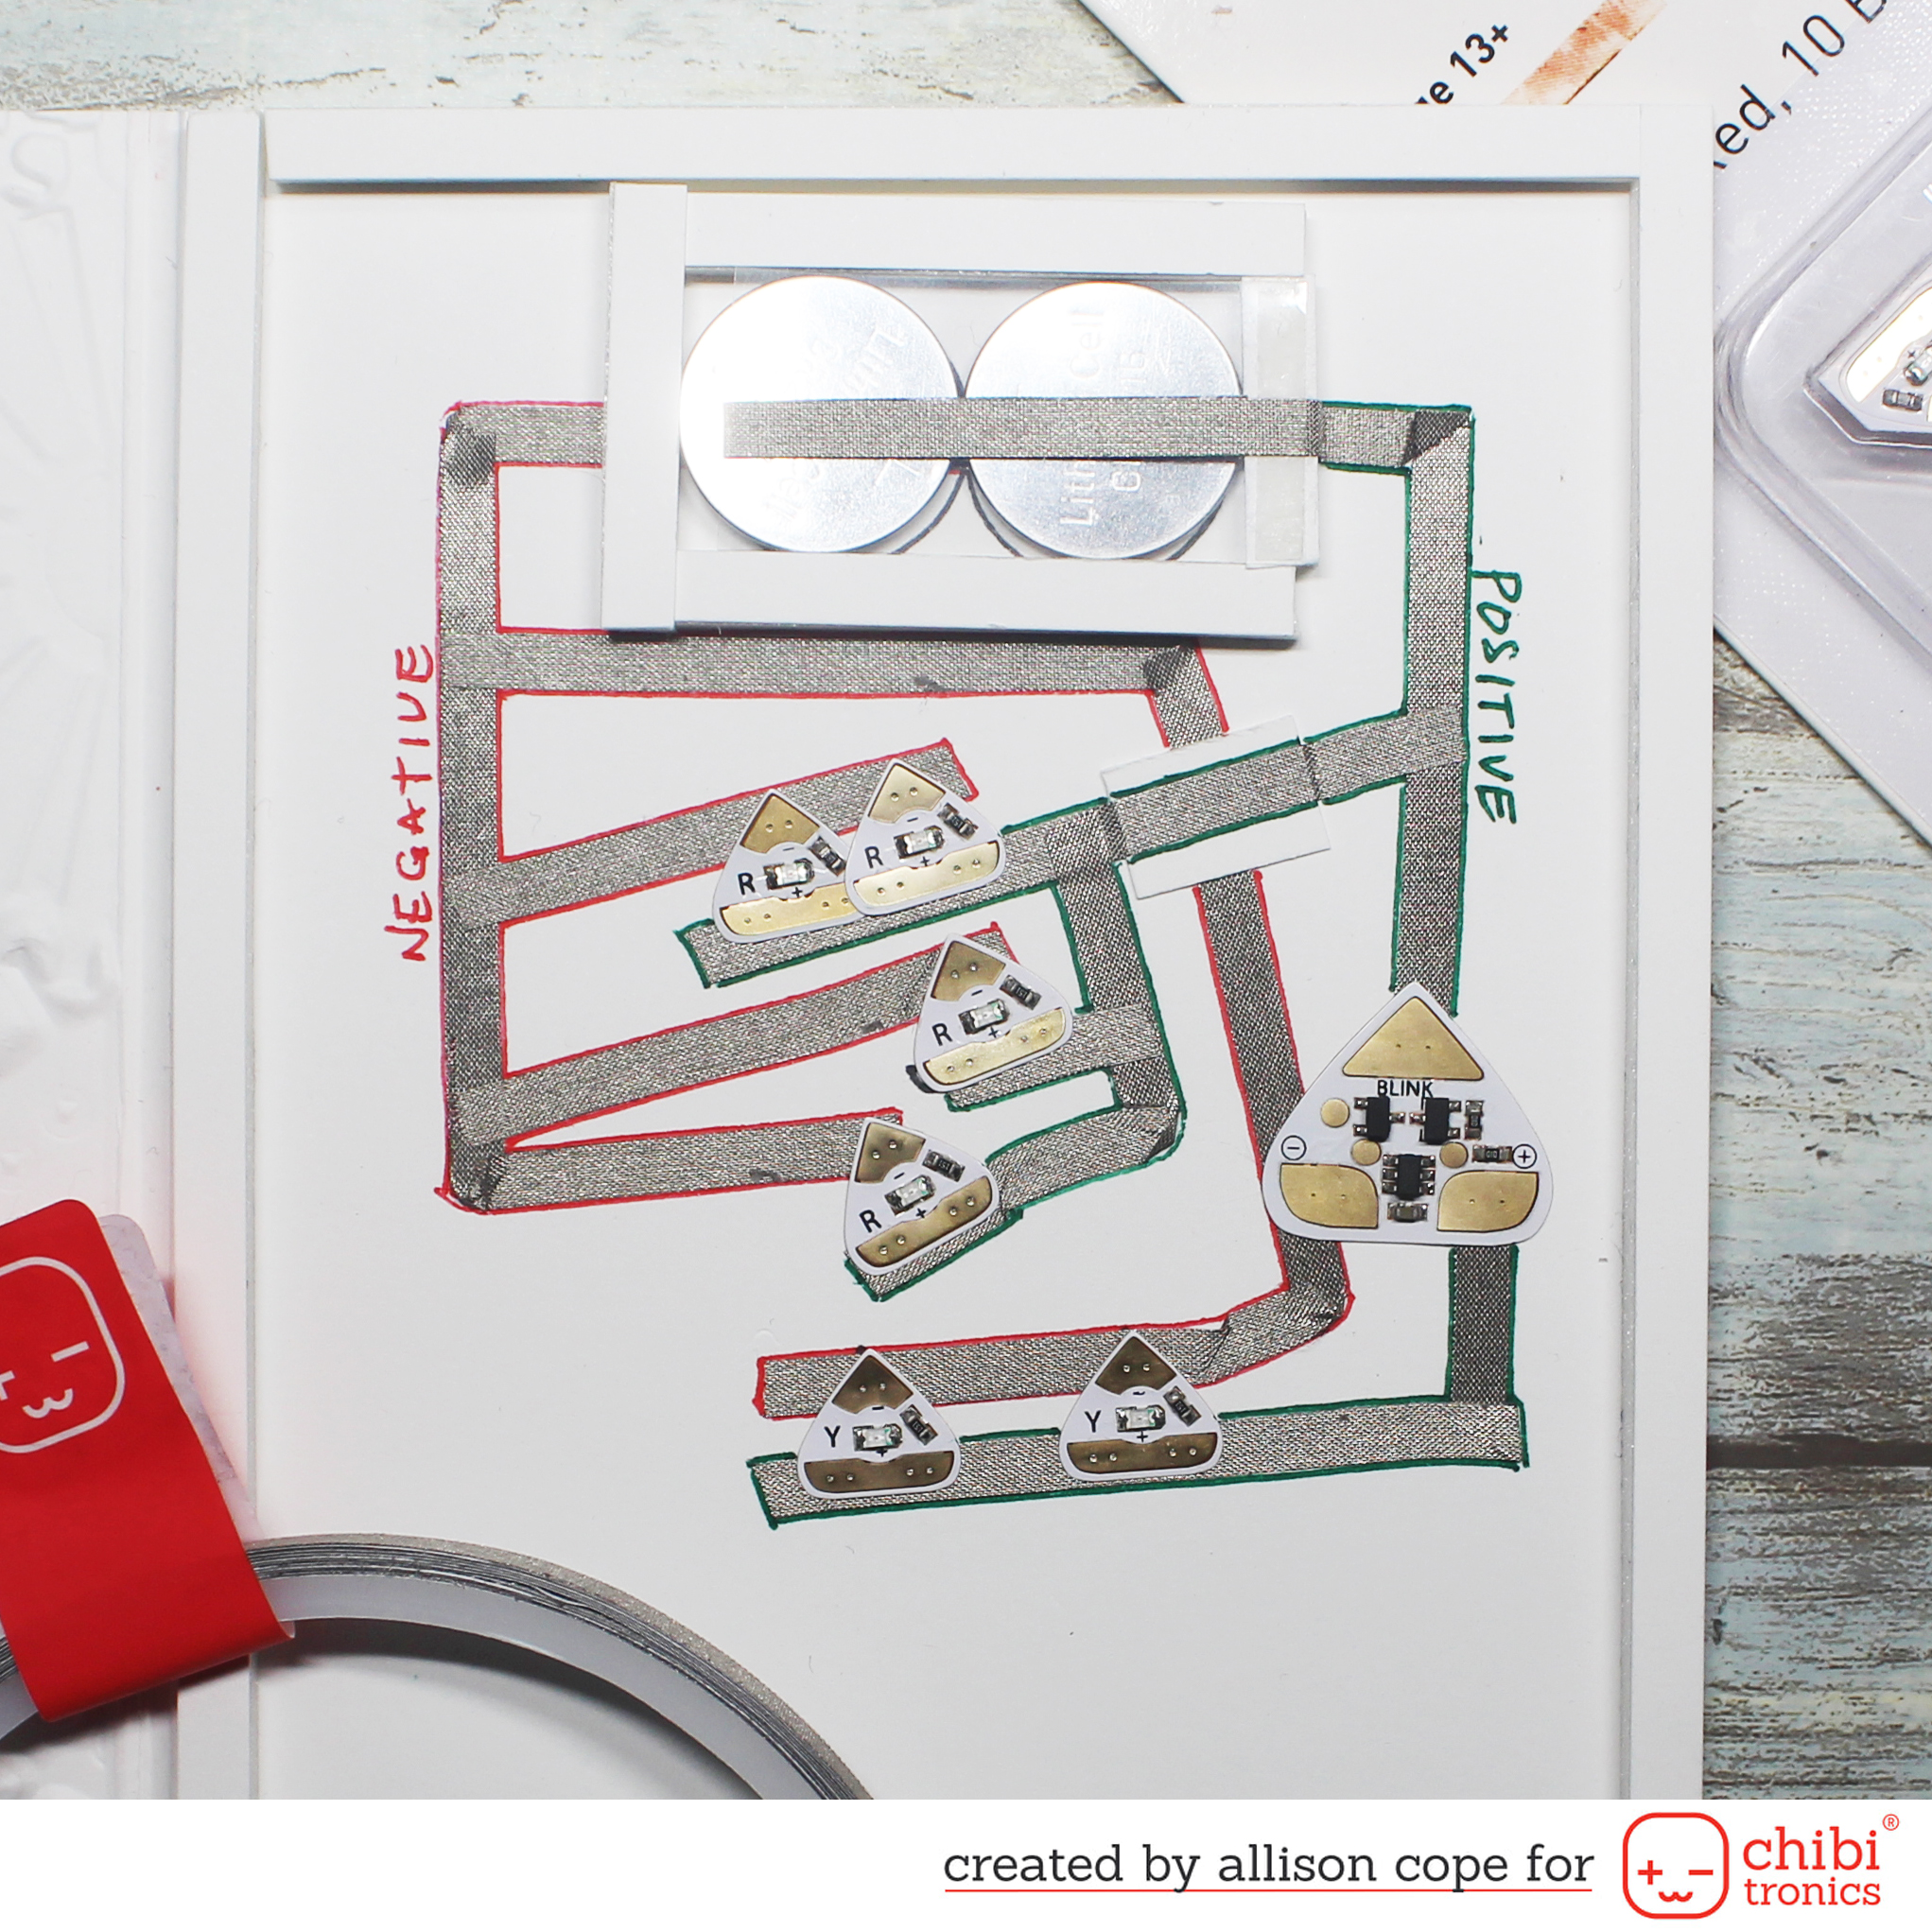
For today's circuit I used the "Blink" stick from the "Craft Effects Sticker & Stencil" set to light up my little robot's buttons, switch and flames on his boots. The blink sticker is placed within the circuit so only the flames blink yellow and the rest of the robot's light up features remain lit red.
The circuit is built with "Fabric Conductive Tape", 2 batteries and Red & Yellow LED Light Stickers.
To find out step-by-step how this circuit was created you can either READ THIS BLOG post or view it on the Chibitronics YouTube channel by clicking the image below:
Thanks for stopping by! I hope you have a wonderful day!
Happy Wednesday! Today's card creation is for the fabulous Craft Roulette show!
What is Craft Roulette you ask...
it's a weekly live show featuring improvised crafting, special guests,
community contributions, tons of prizes and much, much more! It's live
every Friday over on YouTube. You can check out this week's episode here.
So the four parameters that wheel spit out this week were:
So all 4 parameters must be included in your card. I used 2 tags and 2 shades of green plus a touch of pink and orange. I used some foam tape to put my tags and mouse "up" like on a shelf and I made my own stamped background.
So I began by stamped the medallions from the retired "Medallion Mix-Up" stamp set using Garden Party ink. I took some Deck the Halls ink and added a tiny bit of water and splattered the whole background.
Next I cut two tags using the Layering Tag Dies using some fun CP patterned papers from the CP paper packs, "Fleur De" and "Lime Rickey Prints".
I stamped the birthday sentiment from the "Every Occasion Sentiments" using Deck the Halls ink.
I stamped the sweet little mousey with the clover in Memento Tuxedo Black ink and then coloring him using Copic Markers.
To achieve the "shelf" parameter, I added some foam tape to add some "up" to my tag and mouse element.
Thanks for stopping by everyone! I hope you'll come and join us on YouTube on Friday for another FUNN episode!
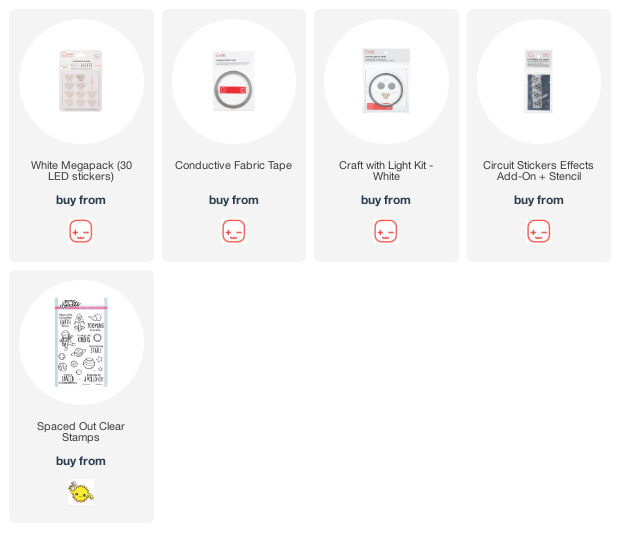
My flat shaker card today features the adorable "Spaced Out" clear stamp set by Heffy Doodle.
Today I began my space themed card by stamping out and coloring in my sweet
little starry galaxy scene that I created. I also stamped a copy on the inside of the card panel for preparing my circuit.
I masked off all the planets, stars, rocket ship and astronaut and applied a variety of fun Distress Oxide inks to make a blended colorful galaxy background. I also added a splatter of white paint before peeling away all of my masks.
Next I mapped out my circuit on the inside panel and applied a black cardstock mask on the back of the rocket image. This mask doesn't allow any light to pass through it and allows the light with in the ship's window to shine through. To create the sticker shapes, I used the stencil from the "Craft Effect Sticker & Stencil" set.
Next I laid down the "Conductive Fabric Tape"
for the negative side of the circuit. I always start my tape under the
battery area so my circuit begins with contact on the underside of my
batteries.
Then I lay down the tape for the positive side of the circuit. Then I created the housing for my batteries to stay in. I created a flap of acetate (you can use anything non-cuductive for this) and wrapped my "Conductive Fabric Tape"around that flap so it touches the top of the batteries.
Then I continue laying down the remainder of the positive side of the circuit's "Conductive Fabric Tape to complete the curcuit. Next I apply all of my light stickers. In this case I used all White LED Light Stickers from the "White Megapack" of stickers.
And the circuit is now complete!
To make it a shaker card, next I added a thin plastic sheet over top, taped 3 sides of the plastic down first (on the underside of the panel), added some simple star sequins inside the plastic and then sealing it all up on the fourth and final side.
I added some strong magnets to the inside of the circuit and the card front panel so I can access the circuit.
Here's the completed card all lit up...
Here's a quick video showing everything in action...