Sea-Sational MerMay Magic with Sweet November Stamps!

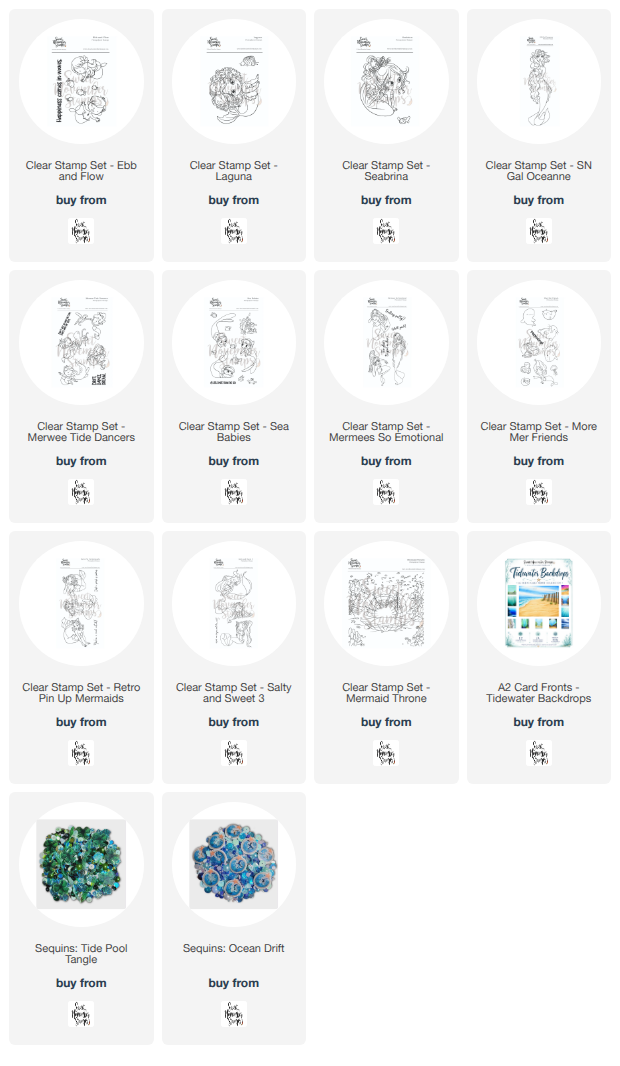
The newest Sweet November Stamps release is here, and it is absolutely overflowing with under-the-sea inspiration! The Sea-Sational MerMay Release features 11 brand-new mermaid-themed stamp sets, including enchanting mermaids, ocean friends, and the fabulous new ocean throne scene elements that make creating underwater worlds so much fun.


For today's card, I combined two of the new release products: Retro Pin Up Mermaids and Mermaid Throne. The Retro Pin Up Mermaids stamp set includes three glamorous mermaids with a vintage pin-up vibe, along with two coordinating sentiments. I couldn't resist pairing this beauty with the gorgeous Mermaid Throne image, creating a luxurious underwater retreat surrounded by colorful coral reefs and sparkling sea life.

To bring the scene to life, everything was colored with Copic Markers. I used my Copic Airbrush System to create depth and dimension throughout the coral reefs, building up the darker ocean tones as they fade into the distance. The airbrushed gradients really help create the feeling of being deep beneath the waves.

One of my favorite features of this card is that the mermaid actually floats up and down above her shell throne, adding a fun interactive element that makes the scene even more magical.


Be sure to join us for the Sea-Sational MerMay Instagram Hop, which starts today! You can find my hop post over on Instagram at @i_card_so_hard. Hop along, leave comments on the designers' posts, and you'll be entered for a chance to WIN one of four $30 Sweet November Stamps gift certificates. There is so much gorgeous inspiration waiting for you throughout the hop!

Happy hopping, and good luck!

~ Ally ~ 

My Unbelievable Friend: Going Viral

The newest Sweet November Stamps digital release is here and it is absolutely making waves! The new “My Unbelievable Friend” collection is filled with adorable mermaids and their besties, perfect for creating fun summer scenes and friendship themed cards.

For today’s card, I used the sweet My Unbelievable Friend: Going Viral digital image. I paired the girls with the fabulous Mermaid Rock digital set to create a relaxing seaside scene where these two friends are clearly capturing the perfect selfie moment together.

I colored the entire scene using my Copic Markers, blending lots of vibrant ocean inspired tones for the mermaid tails and soft sandy neutrals for the rocky shoreline. I love how expressive these characters are and how easy they are to build into a complete story card. The flowing hair and shimmering tails were especially fun to color!


To finish the design, I kept the layout simple so the detailed image could really shine. Sometimes a beautifully colored scene is all you need.

The new “My Unbelievable Friend” collection is available now in the Sweet November Stamps shop. Perfect for summer cards, friendship cards and all your mermaid loving crafty projects!

Have a great weekend!

~ Ally ~ 

So Lucky to Create with Ocean Wonders!

The new Catherine Pooler Designs Ocean Wonders collection has completely swept me away with all of its beachy charm! Today’s card combines soft ocean textures, bright tropical colors, and some sweet seaside treasures.


I started by creating the card base background using the Jellyfish Dance Layered Stencils along with the brand new Oyster Ink. I love how this subtle pattern almost looks like flowing underwater grasses swaying in the ocean currents. It adds just the right amount of texture while still keeping the card soft and clean.

Next, I stamped and die cut several of the adorable seashell images from the Beach Comber stamp set. To give the shells lots of bright coastal personality, I used a cheerful blend of Lemon Sorbet, Creamsicle, Bellini, and also Sweetheart, and Pucker Up inks. The two-toned stamping really helps bring all those shell details to life!


For the design, I tucked the shells along the curved edge of the card to create the look of treasures buried in the sand. I absolutely love how the bright pinks and warm oranges pop against the crisp white background.

To finish everything off, I added the heartfelt sentiment from the Inside Out: Love You stamp set:
“some days I ask myself how did I get so lucky”

This card came together so beautifully and feels like the perfect mix of elegant and playful summer vibes.

Thanks so much for stopping by today!

~ Ally ~ 

Shell-ebrating Simple Summer Cards!

There’s something so relaxing about creating beach inspired cards and the new Catherine Pooler DesignsOcean Wonders” collection makes it so easy! Today’s card is all about keeping things simple while letting those beautiful seaside images shine.

For this clean and simple design, I used the adorable Beach Comber stamps and dies to create a soft monochromatic collection of seashells and starfish across the card front. I stamped all of the images using a blend of Creamsicle, Getaway, and Bellini inks for that warm sun-kissed coastal palette.

To keep the look cohesive, I used Creamsicle cardstock for the card base, which really helps all of the soft peachy tones blend together beautifully. The white die cut borders around each shell help the images pop while still maintaining that light and airy feel.


To finish the card, I added a sweet sentiment from the Beautiful Seas Sentiments stamp and die set:
“it’s time to shell-ebrate your day”

Sometimes simple cards are the most effective, and this one came together so quickly while still feeling bright, cheerful, and full of summer vibes!

Thanks so much for stopping by today!

~ Ally ~ 

Seahorses & Ocean Waves 💙

The new Catherine Pooler Designs Ocean Wonders collection is making waves and I am completely smitten with all the seaside inspiration! Today’s card combines soft ocean tones, layered waves and the sweetest pair of seahorses for a clean and elegant design.

For the focal point, I started by stamping and die cutting the adorable seahorses from the Seahorses on Parade stamp set. I used Quartz and Pink Champagne inks to create a soft tone-on-tone effect that gives them a delicate underwater feel.

To create the subtle background texture on the card base, I used the Jellyfish Dance Layered Stencil with the brand new Oyster Ink. I love how this stencil can be used in multiple ways! I also used portions of the stencil to add extra wave details to my layered ocean pieces.

The waves themselves were created using the “Melon Edge Die” and layered together with vellum, Juniper Mist, and Stone Blue cardstock. Once layered, I die cut the entire scene with a heart die to frame the sweet little seahorses together in their underwater world.


To finish the card, I added a simple sentiment from the Beautiful Seas Sentiments stamp set using Juniper Mist Ink.

I absolutely love how soft and peaceful this card turned out — the layered waves and muted ocean palette make it feel so dreamy!

Thanks so much for stopping by today! 🌊

~ Ally ~ 

Beachy Love with the New Ocean Wonders Release!

The brand new Catherine Pooler Designs release, Ocean Wonders,” is almost here and it is packed with all kinds of seaside goodness! From shells and sea creatures to beachy sentiments and ocean-inspired textures, this collection is perfect for summertime crafting.

For today’s card, I reached for the beautiful Beach Comber stamps and dies to create this soft and playful ocean-inspired design. I stamped and die cut several shells using a cheerful blend of Lemon Sorbet, Creamsicle and Bellini inks along with pops of Sweetheart and Pucker Up for those bright pink tones. I absolutely love how these colors bring the shells to life!


To create the background, I used the tiny “sand” image from the stamp set and repeatedly stamped it using Midnight ink along with the gorgeous new Oyster ink. This added the perfect subtle beachy texture without overpowering the focal elements.

I also added some Lemon Sorbet bubbles from the new "Jellyfish Dance Layered Stencils". I used just one of the 3 cool layers of this set of 3 stencils.

The bold sentiment was created using the new Layered Love Word Die. I die cut the word from black cardstock and added a vellum outline behind it to help it stand out while still keeping the overall design light and airy.


To finish everything off, I splattered the panel with the beautiful new Pearl Shimmer for that perfect touch of sparkle and ocean magic.

The Ocean Wonders release is available for StampNation members today, and the full collection goes live for everyone tomorrow at 9am EST!

Happy crafting!

~ Ally ~ 

Under the Sea Birthday Wishes for Craft Roulette #371

Hello crafty friends!

I’m back today sharing my latest card inspired by this week’s episode of Craft Roulette Episode #371! The parameters for this challenge were:

  • Project: A9 Card (5 1/2" x 8 1/2")
  • Colors: Florist Shop Colors
  • Element: Birthday(s)
  • Random: Something from my MESK (messy desk!)

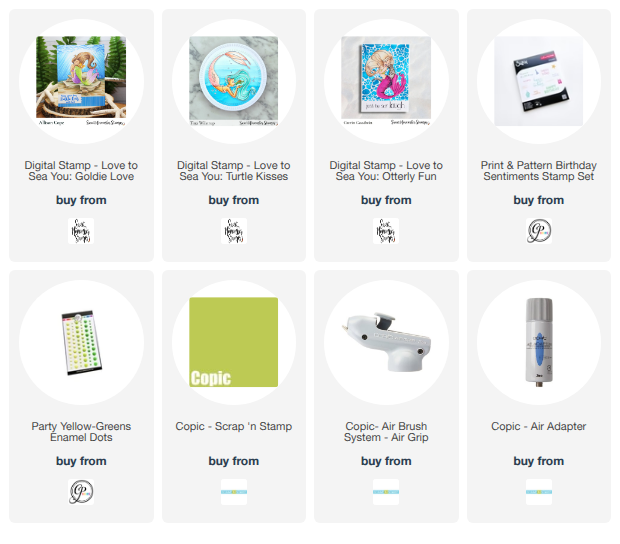
For my A9 creation, I dove deep under the sea with three adorable Sweet November Stamps digi mermaids: “Goldie Love,” “Turtle Kisses,” and “Otterly Fun.” I absolutely love how each little scene flows together to create one tall whimsical underwater birthday card!


To bring the ocean setting to life, I colored all of the images using my trusty Copic Markers. I then used my Copic Airbrush System to create the soft blended ocean background. The bright aqua tones paired perfectly with the vibrant mermaid tails and flowing hair — definitely fitting those “florist shop colors” from this week’s challenge prompt.

For the birthday element, I kept things simple with a flowing script sentiment that tucks nicely into the design without taking away from the mermaids.


And for the random “something from my MESK” parameter? I reached for some enamel dots from Catherine Pooler Designs that were sitting on my desk waiting to be used! They added the perfect little bubbly finishing touch to the underwater scene.

This card was such a fun way to combine multiple digi images into one colorful interactive-looking scene. Thanks so much for stopping by today!

Happy crafting!

~ Ally ~ 

A Little Fairy Happy Mail ~ Sweet November Stamps

There’s something extra magical about sending happy mail, and today’s card brings a touch of fairy charm to the mailbox!

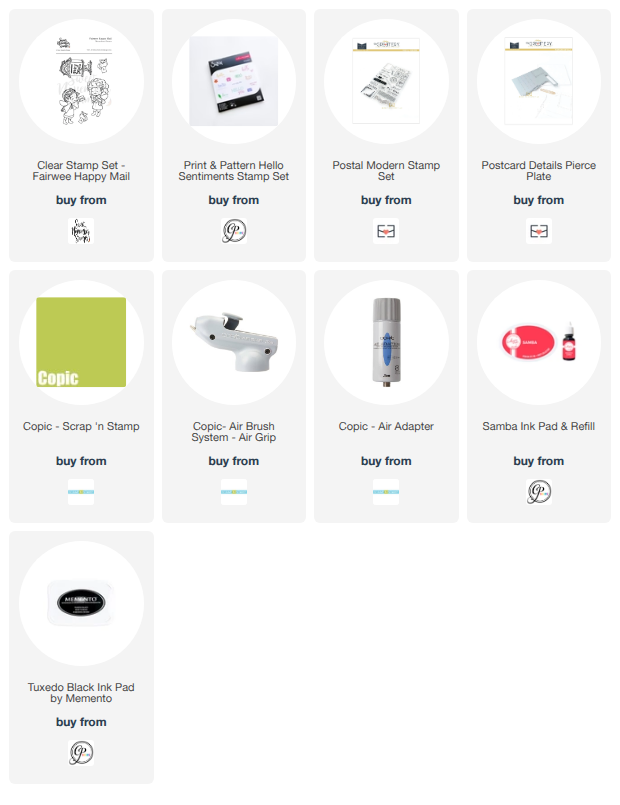
For this project, I used the adorable “Fairwee Happy Mail” stamp set from Sweet November Stamps. I just love this little fairy fluttering in with her special delivery—it instantly makes me smile!


I started by die cutting my panel using The Greetery’s “Postcard Details Die” to create that classic postcard look. Once my images were stamped, I masked them off so I could build a soft, glowing background using my Copic Airbrush System. Blending bright yellows into fresh greens gave the whole scene a sunny, storybook feel—like a perfect little meadow for fairy mail delivery.

After removing the masks, I colored all the images with Copic Markers, keeping the palette bright and cheerful to match the background. That tiny mailbox and flying bird helper add such fun personality to the scene!

To really lean into the postcard theme, I added extra details using The Greetery’s “Postal Modern” stamp set. These little postal accents tie everything together and give the card that authentic mail-inspired finish.

Finally, I stamped the bold greeting using the CP & Sizzix “Print & Pattern: Hello Sentiments” stamp set. The large “hello” makes such a perfect focal point and balances the design beautifully.

This card is a reminder that even a small note can bring a big smile—especially when it’s delivered with a little fairy magic! ✨

~ Ally ~ 

Tidewater Tails – Luchia by the Shore 🌊

The newest digital release from Sweet November Stamps is here, and it’s absolutely fin-tastic! The “Tidewater Tails” collection is now available and features five gorgeous mermaids: Flavia, Luchia, Lunaria, Ondina, and Pacifica. Today, I’m sharing a card featuring the sweet and whimsical Tidewater Tail: Luchia.

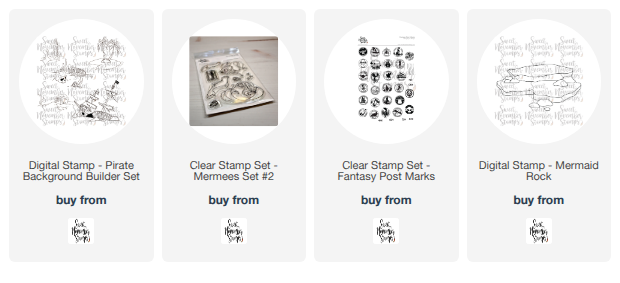
I created a bright tropical scene for Luchia to perch in by pairing her with island elements from the Pirate Background Builder Set along with a few rocky accents from the Mermaid Rocks images. I love how these pieces come together to build a fun little island escape!

All of the images were colored with vibrant Copic Markers, really bringing this seaside scene to life. Those bold tropical tones and shimmering water make this card feel like a mini vacation!

Once my coloring was complete, I die cut the panel using a deckled edge die to give it that soft, organic finish. I layered it onto a handmade postage-style panel—because let’s be honest, the postage trend is just too fun not to play with! For a bit of extra detail, I stamped the background with the mermaid-themed postmarks from the Fantasy Post Marks stamp set.


To finish it all off, I added a sentiment from the Mermees Set#2 stamp set that perfectly matches the peaceful ocean vibe—“May waves of happiness wash over you.”

Thanks so much for stopping by today! Be sure to check out the full Tidewater Tails release—these mermaids are sure to make a splash in your next project!

~ Ally ~ 

Layered Florals with a Touch of Shimmer ~ CP & Sizzix


I had so much fun playing with the beautiful new Sizzix & Catherine Pooler products for today’s card! This design is all about texture, color, and layering—three of my favorite things in cardmaking.

To start, I created a soft and elegant background by embossing a panel of white cardstock using the new “Scallop Framed Florals” embossing folder. The subtle raised detail adds just the right amount of interest while still letting the focal design shine.


Next came the fun part—die cutting and layering! I used the gorgeous blooms from the “Friendly Florals Dies” set and cut them from a vibrant mix of Catherine Pooler cardstock in Samba, Pixie Dust, Glam, and Aquatini. I absolutely love how these colors pop against the clean white background!

Once all my pieces were cut, I arranged them into a loose floral cluster across the top of the card. These dies are so fun to mix and match, and I love how easy they make it to build a full, layered arrangement.


To add a little extra sparkle, I brushed some Pixie Dust Shimmer onto a few of the purple die cuts. It gives such a soft, glowy finish and really brings those elements to life in the light.

This card came together so easily and is a great reminder of how impactful simple die cutting and layering can be. A little texture, a bold color palette, and a hint of shimmer go a long way!

Thanks so much for stopping by today!

~ Ally ~ 

Bright, Bold & So Easy with the Print & Pattern Tool!


I am absolutely loving the new Sizzix & Catherine Pooler collaboration—especially the amazing Print & Pattern Tool! If you enjoy creating clean, repeat designs with ease, this tool is going to be your new best friend.

For today’s card, I wanted something cheerful and full of color, so I reached for the gorgeous Print & Pattern: Daisy Stencil to create my main panel. The tool makes lining everything up effortless, giving you that perfectly spaced, professional-looking pattern in no time at all.


I went with a bright and playful color palette using Aquatini, Garden Party, Pucker Up, and Glam inks. These colors work so beautifully together—fresh, vibrant, and perfect for a celebratory card!

Once my background was complete, I die cut the panel using the classic Scallops & Dots Dies to add that subtle decorative edge. I mounted it onto a coordinating card base of Glam Cardstock to really let those colors pop.


To finish things off, I added a sweet sentiment and adorable cupcake icon from the Print & Pattern: Birthday Sentiments stamp set. It ties everything together perfectly and keeps the design fun and festive.

What I love most about this card is how quick and simple it was to create, while still looking detailed and polished. The Print & Pattern Tool really takes the guesswork out of repeat stamping and stenciling—and I can already tell I’ll be reaching for it again and again!

Have a great week!

~ Ally ~ 

Happy Birthday Blooms with the Sizzix & CP Print & Pattern Tool


Bright, bold, and full of happy vibes—this Catherine Pooler Designs card is all about celebrating with color and pattern! 💕

I had so much fun playing with the brand new Sizzix Print & Pattern Tool to create this cheerful floral background. This tool makes it incredibly easy to line up your images for a perfectly spaced, repeating design every time—no guesswork needed!

For my background, I used the Print & Pattern: Birds & Blooms Stamps to build these fun, oversized posies. I went with a vibrant yellow and pink color palette using Sweetheart, Pucker Up, Limoncello, and Samba inks. The combination feels so fresh and playful—perfect for a birthday celebration!


To turn this into a true party card, I added one of the large script greetings from the Print & Pattern: Birthday Sentiment Stamps right over top. I love how bold and eye-catching these sentiments are—they really stand out against the patterned background.

For a little extra detail, I tucked in some tiny heart die cuts from the Friendly Florals Dies. They add just the right touch of sweetness and dimension without taking away from the design.


To finish everything off, I die cut the panel using the Dots & Scallops Dies and layered it over some rich Midnight cardstock for a crisp, polished frame.

The new Print & Pattern collection makes it so easy (and fun!) to create your own custom patterned paper—definitely a must-try if you love building backgrounds like I do!

Thanks so much for stopping by! 💖

~ Ally ~ 

Quilted Posies ~ Catherine Pooler Designs


There’s something so satisfying about clean, repeating patterns—and the new Sizzix & Catherine Pooler Print & Pattern Tool makes it easier than ever to achieve that crisp, professional look!

For today’s card, I used the beautiful Print & Pattern: Patchwork Tile Stencil to create this soft and modern background. The tool really shines when it comes to lining everything up perfectly, allowing you to build a seamless pattern with ease. I blended together some Spa inks: Stone Blue, Juniper Mist, Pink Champagne, and Seafoam inks for a fresh, airy color palette that feels both playful and polished.


To add a bit of dimension and interest, I brought in the Friendly Florals Thinlit Dies. I die cut the florals from coordinating Catherine Pooler cardstock in Juniper Mist, Wintergreen, and Stone Blue, then layered them over the background for a subtle 3D effect. I love how these elements add just the right amount of texture without overpowering the pattern.


To finish things off, I added a sweet banner sentiment using a greeting from the Print & Pattern: Birthday Sentiments stamp set, stamped in Juniper Mist ink. It’s the perfect little touch to tie everything together.

This new tool and the entire Sizzix release are now available in the Catherine Pooler shop—and if you love creating custom patterns, this is definitely one you’ll want to try!

Thanks so much for stopping by! 💙

~ Ally ~ 

A Brand NEW TOOL is Here - Introducing the Print & Pattern Tool by CP & Sizzix

Today I’m so excited to share a card featuring the brand new collaboration between Catherine Pooler Designs and Sizzix! This release introduces the fabulous “Print & Pattern: Birds & Blooms” stamp set along with the innovative new Sizzix Print & Pattern Tool—and let me tell you, it makes creating repeating patterns an absolute dream to create!

For this card, I wanted to really showcase how easy it is to build a clean, consistent pattern using this new system. The stamps are perfectly designed to work with the tool, allowing you to line everything up effortlessly for seamless repetition. No guesswork, no shifting—just crisp, even stamping every time!

I created this cheerful flock of birds using a rainbow of Catherine Pooler inks: Limoncello, Glitz, Samba, Pucker Up, Glam, and Something Borrowed. I love how the bold, vibrant colors bring each little bird to life while still keeping the design cohesive. The slight variations in tone add just enough interest without overwhelming the pattern.


Once my background was complete, I trimmed it down and paired it with a simple white strip to ground the design. I added a clean “hello” sentiment from the new "Print & Pattern: Hello Sentiments" stamp set in a coordinating ink color to finish things off. Keeping the sentiment minimal really lets that bright, happy pattern shine!

This new Print & Pattern system is such a fun way to create your own custom backgrounds quickly and easily. Whether you go bold like I did here or stick to a more subtle palette, the possibilities are endless.

Thanks so much for stopping by—and I can’t wait to see what you create with this amazing new release!

~ Ally ~ 

No Matter Where We Roam 🚐💚 ~ Catherine Pooler is Here!


Hi crafty friends!

Today I’m sharing another card featuring the adorable Happy Trail-ers stamp and die set from Catherine Pooler Designs. I just can’t get enough of these sweet little campers!

I started with the background by using the new Peak View stencil and blending in the gorgeous Getaway ink for a soft, scenic look. To add a bit of sparkle and texture, I finished it off with Disco Ball embossing powder, which gives the mountain peaks such a fun shimmer.

For the ground, I wanted something a little different, so I created that speckled soil using the new Rusted Roof embossing powder—it adds the perfect earthy texture for the camper to sit on.


To bring in a playful element, I created a faux lake using strips of the Trail Mix patterned paper, die cut with the Rick Rack Strips Dies. I love how the waves add movement and a pop of pattern to the scene!

The camper itself was stamped, die cut, and colored with Copic Markers, then popped up in the center of the circular window for dimension.


Everything is pulled together with the rich Aquatini cardstock, and I added a few Party Greens enamel dots for a finishing touch. The sentiment circle perfectly sums it all up—“No matter where we roam, you’ll always be my home.” 💕

This card was such a fun mix of textures, patterns, and techniques—perfect for sending a little love wherever the road leads.

Thanks so much for stopping by!  Happy shopping!

~ Ally ~ 

Lighting Up the Trail with Happy Trail-ers ✨🚐 ~ Catherine Pooler

Hi crafty friends!

Today I’m sharing a super fun (and interactive!) card featuring the adorable Happy Trail-ers stamp and die set from Catherine Pooler Designs. This sweet little camper just makes me want to pack up and head out on a cozy adventure!

For the focal image, I stamped and die cut the camper, then brought it to life with Copic Markers. I kept the colors warm and playful, adding those classic stripes to give it that vintage trailer charm. The tiny details—like the curtains and door—are just too cute!


To create the background, I used the Trail Mix patterned paper, and I am completely in love with this lightning bug design! It adds such a whimsical, nighttime camping vibe and pairs perfectly with the theme of the card.

Now for the really fun part… this card lights up! 💡
I incorporated a Pear Blossom Press “One Light” to create a glowing effect inside the trailer. When you press the tiny lightning bug on the camper, the light inside the window turns on—how magical is that?! It adds such a delightful interactive element and really makes the card feel special.


For the sentiment, I used the Hearts-n-Tags Dies to create the tag and stamped the greeting in Mardi Gras ink. I love how the bold color pops against the softer tones of the card and ties everything together.  I also used our new Getaway ink on the top of the tag with some Samba stars.  A few new "Party Greens Enamel Dots" were used to finish off the card.

This card was such a joy to make—combining coloring, pattern play, and a bit of simple circuitry for that wow factor. Interactive cards like this always bring an extra smile, and this little camper is ready to roll by and say hello!

Thanks so much for stopping by today! 💚

~ Ally ~ 

 
09 10