Duckies, Wabbits and Bears... Oh My!

Happy Saturday all!  Today is the newest digital release from Sweet Sentiment!

We have three brand new images to download, print and color and you're gunna love them!  all of my images today have been printed out on Sweet Sentiment's amazing Premium Coloring Paper.  This paper is fantastic for alcohol markers and even has a little shimmer embedded in it!!!

First off we have the "Waddling Ducks" digi!  This is a sweet little pair of feathered cuteness! I decided to color them like sweet little mallard ducklings.  They have some unique markings on their head... so cute!

Next up is the super cute little bunny (and carrot) from "Naptime" but as a digital download this time...

I took his little carrot and tucked one under his arm and one under his head little a pillow before I printed him out.

And finally, we have "Playing Cubs"!  This adorable pair of bear cubs are so fun to color!  

Make sure to check out all the amazing digital downloads that Sweet Sentiment has to offer!

Digital Stamps HERE!

I hope you have an amazing weekend!  Happy coloring!

~ Ally ~


This post contains affiliate links...

I'm WILD About You!

Howdy!  I'm back again today to share this fun wiper card I created for Stamp Anniething!

I used the adorable little cowgirl, "Nicole - Much Obliged" stamp set and colored her right up with all the fun Copics. 

I also used the "Wiper Card Die" to create my card base so when you pull on the sides of the card, the "Wild About You" sentiment pops up!

I used the "Wild Word Die" to create the sentiment - I even created the gingham behind it to match her gingham shirt!!

The pretty lace is die cute from the "Intricate Lace Die" and colored with CP Samba ink and I also Copic airbrushed the "Cobblestone Stencil" to give her a fun path for her horsey!

That fantastic black polka dot paper is from the "Retro Kitchen Paper Pack" too!

Tons of fun Stamp Anniething goodies today!  I hope you have an amazing weekend!

~ Ally ~


Products used today...

Cheers! Let's Make 'Em Glow!

TGIF everyone!  I hope you've had a great week!  Today I'm sharing a fun card I created to share on the Chibitronics Instagram page today!  You can check out their feed here.

This is the relatively simple card that I created today featuring the fun "Cocktail Party" stamp set from Catherine Pooler.

And with the fun colored LED stickers... and this puppy lights up... in RAINBOW form!

For my card today, I stamped out my collection of glassware on an A2 card front and and also onto my card base too!  I stamped it using a lighter tan ink for my card base.

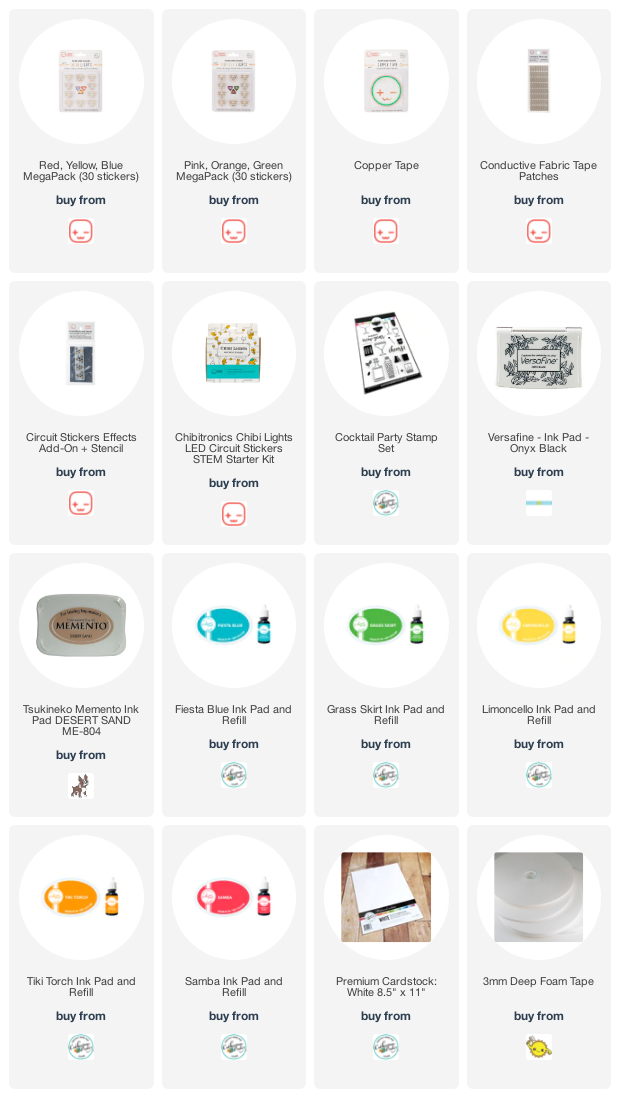
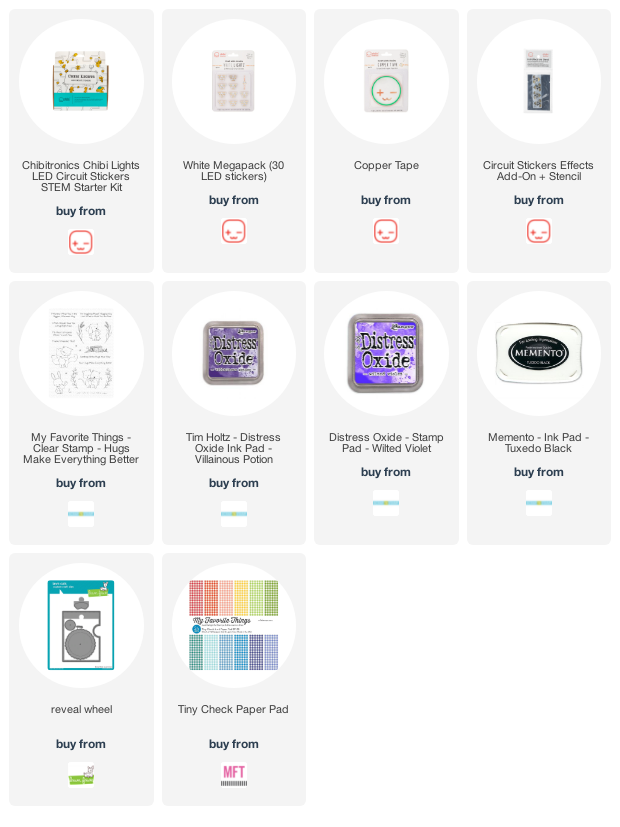
Next I used the stencil from the Chibi "Stickers Affects Add-On & Stencil" set and mapped out my entire circuit. For this card I wanted to use the cool "FADE" affects sticker too also from the Chibi "Stickers Affects Add-On & Stencil" set so my lights fade in and out!

Next I began adding the adhesive Copper Tape to the negative line of the circuit. 

I added a few of the "Conductive Fabric Tape Patches" to some of my Copper Tape joints.  This was just to ensure that those junctions were well connected.

Next I added the Copper Tape to the positive side of the circuit.  I had to build a little paper bridge over top of the negative line of tape in between the battery and the "Fade" affect sticker.

The battery area was created with 4 pieces of 3mm Foam Adhesive and a copy-paper flap.  So super simple!

Next I placed on all of my LED Light Stickers.  I used yellow, blue and red from the "Red, Yellow, Blue MegaPack (30)" and the orange and green stickers from the "Pink, Orange, Green MegaPack (30)" package of light stickers. 

I also add the "Fade" affect sticker from the "Stickers Affects Add-On & Stencil" set.

For the finishing touch I added the front card panel with a stamped sentiment to the card base and I also added more 3mm Foam Adhesive all around the edges of the card base.  Instead of building a battery house slider, I made the card front "removable" so you can replace the battery with ease.  The front is just held on by tiny little clear velcro dots in the corners.

And the card is finished!  Now check out what happens when you press that button!!!!


Thanks so much for joining me today!  I hope you too give those LED Light Stickers and Light Affects Stickers a try!

Have a great weekend!

~ Ally ~


This post contains affiliate links..

Slimline Kitty Fun

I'm here today with a fun slimline card featuring the brand new "At Home" release from Catherine Pooler Designs!

Who can resist the sweet little plant lovin' kitties from the "Just Roll With It" stamp set?!? I paired one of cute kitties with the new "Plant Stand Slimline Die" and a cute little tag from "Hearts n'Tags Die" set. 

I started by created an inky rainbow using In The Park, Melon Ice, Catching Rays, Bellini and Do-si-do inks.  Then I placed a die cut "Plant Stand Slimline Die" cut in black over top.

I cut a small strip from the small striped patterned paper pack, "Black Tie Gala" and added it across the card.

I stamped and colored one of the sweet cats from the "Just Roll With It" stamp set and die cut it with it's coordinating dies and added it to a tag with the same inky rainbow circle.

Such and fun and simple slimline card! 

Thanks from stopping by!  I hope you're having a great Tuesday!

~ Ally ~


This post contains affiliate links provided at NO extra cost to you.

Chibitronics ~ Interactive Color Changing Stars Card Tutorial

Howdy and Happy Family Day if you are Canadian!  Today I'm sharing this adorable interactive card that I made yesterday featuring the amazing Chibitronics LED White Light Stickers!

Here is my card... and when you press the end of the sentiment, it lights up the 3 stars in the purple sky and then when you rotate the wheel it changes the colors of the stars...

So I began by stamping my cute little foxes from the MFT "Hugs Make Everything Better" stamp set.  I masked off everything and created an oval masked area where I blended Villainous Potion and Wilted Violet Distress Oxide inks together.

I used the Lawn Fawn "Reveal Wheel" die to cut out my stamped image and I also created the colorful wheel by cutting one wheel from vellum and one wheel from white cardstock.  I colored the vellum using a variety of Copic Markers and adhered it to the back of my cardstock wheel where I cut the center from.

Next I mapped out my circuit using the stencil from the Chibi "Stickers Affects Add-On & Stencil" set.  I applied my self-adhesive Copper Tape to all the lines of the circuit and added my 3 White LED Light Stickers to the circuit.

To finish off my card, I added a small, flat headed brad to the center of the colorful wheel and adhered it to the dot in the center of the white circle within the center of the circle.  I made sure the brad allowed the wheel to freely move around the brad.

I added the Heffy Doodle 3mm Foam around the rest of the outside of the panel's parameter.  I peeled off the foam backer and adhered my panel to the card front.

To check out EXACTLY how I made the circuit, please CLICK HERE to check out the video on the Chibitronic You Channel!


I hope you have a great Monday and hope you'll get crafty soon!

~ Ally ~


This post contains affiliate links for ease of shopping...

Join me TODAY for an INKY HOUR!

Join me TODAY at 5pm ET (4 CT, 3 MT) for a LIVE crafting hour featuring Catherine Pooler inks over on the Scrap 'N Stamp Facebook page.

I'll be playing with both the Party and Spa collection so you can see the comparison.

Click here to visit the Scrap 'N Stamp Facebook page! 

Hope you'll join me!

~ Ally ~

Sweet Sentiment ~ Floral Friends

Happy Sunday all!  Today I'm sharing another fun card creation from the latest Sweet Sentiment February release!

Today I wanted to share a card I made using the brand new "Floral Friends" stamp set. 

This sweet stamp set features 4 bloom welding women and 5 fabulous greetings too!

I started by stamping my daffodil gal onto my Sweet Sentiment Premium Coloring Paper using Memento Tuxedo Black ink.  I colored her using Copic Markers so that she would match my patterned papers.

I just adore this sweet little image!

If you didn't catch me last week but I did a live video showing how to map out the shadows of your images.  For that video, click HERE or the image below.

I hope you have a wonderful rest of your weekend!

~ Ally ~


Rainbow Wishes

Happy Saturday everyone!  It's time for another fun Saturday Challenge for Three Room Studio.

This week our challenge is to create a card using a RAINBOW.

For my card today I first stamped my fairy from the "Believe in Fairies" stamp set in Memento Tuxedo Black ink.  I coloured her using Copic Markers.  I used subtle, light Copic Markers to create the rainbow back ground.

I added some Star Dust Stickles to her wings to make them shiny!


Please be sure to check out my fellow Design Team members...

Now it's your turn!!  Check out all the details on the blog post HERE.
 
Good luck!  Thanks for taking a peek! 
 
~ Ally ~


Cheers to You!

Hello everyone!  Today I'm sharing a new masculine card from Sweet Sentiment.

Sweet Sentiment has a brand new release and you'll want to make a point of checking it out!  It includes the brand new hilarious "Smart Ass" stamp set...

I had a ball coloring up this fun fella with my Polychromos Pencils which I stamped on the Sweet Sentiment Kraft Coloring Paper.  This kraft paper is amazing with colored pencils!

To check out all of the amazing products form this month's release, CLICK HERE.

Happy coloring!

~ Ally ~


At Home ~ Que Sera, Sera!

Happy Tuesday!  Today I thought I'd share a fun and really easy card to make using the brand new "At Home" release from Catherine Pooler Designs!

I began today's card by masking off a rectangle in the center of my card base. Inside the rectangle I blended Do-si-do, Bellini and Flame inks. 

I die cut the "Plant Stand Slimline Die" out of some lightweight cardstock and I'm going to use it as a stencil.  Without removing the masks around the rectangle, I temporarily taped my stencil down across the rectangle and add some Nuvo Glacier Paste in Golden Era through the stencil.

Next I stamped and die cut one of the kitties from the "Just Roll With It" stamp set in Midnight ink. and popped him at the bottom of that rectangle.  I also stamped a sentiment from that same stamp set and added it to the stamped banner from the "Notes of Love Sentiments" stamp set using a blended banner of Do-si-do and Bellini inks.

If you look at the image below carefully, I took my card front and add a little bit of scoring all around the edges of that colorful rectangle too!  Such a simple detail to add to a card!

I added a few Valencia sequins to finish it all off!

Hope you're having a crafty week!

~ Ally ~


This post contains affiliate links provided at NO extra cost to you.

Stamp Anniething ~ LIVE Copic Creativity Class

Happy Valentine's Day!!  Come and join me TONIGHT at 7pm ET (6 CT, 5 MT) LIVE over at the Stamp Anniething Stampers FB group.  I'll be coloring up "Norma Jean Iconic" tonight and making a fun love themed card.

I also used the matching "Norma Jean Iconic Outline Die" and the lovely "Falling Hearts Stencil" with some Golden Era Nuvo Glacier Paste to complete my card.

Come on out and join me!!

~ Ally ~


Sweet Sentiment Clear Stamp Release

This month I'm joining the Sweet Sentiment clear stamp release!  This release is jam packed with AH-mazing stamp designs.  You can check out all of the new products HERE.

First up, I got to play with the super fun "Floral Friends" stamp set.  This sweet stamp set also has a coordinating die, found here.

I wanted to use the sweet greeting about the "broken fence" so I decided to put my little chickie in a fenced yard with her huge daffodil!

I kept my card very simple, keeping the focus on my image.

I just love the little scene she's in!

Next, I chose to work with the new "Smart Ass" clear stamp set.  This stamp set as well as a coordinating die set, found here.

I started this card by playing around with some fun shades of blue dye inks by Catherine Pooler and some watercolor paper.  I then added some gold paint splatter and some whimsical yellow stitching.

And who doesn't love a fun rainbow tie dye shirt!?!?!  I had SO much fun coloring up my images today!

Make sure to visit our Sweet Sentiment Stamps & Friends Facebook group for more fun release inspiration!

See you again soon!

~ Ally ~


This post contains affiliate links...

 
09 10