Showing posts with label card making tutorial. Show all posts

Sweet November Stamps ~ Joyful Gatherings YouTube Hop

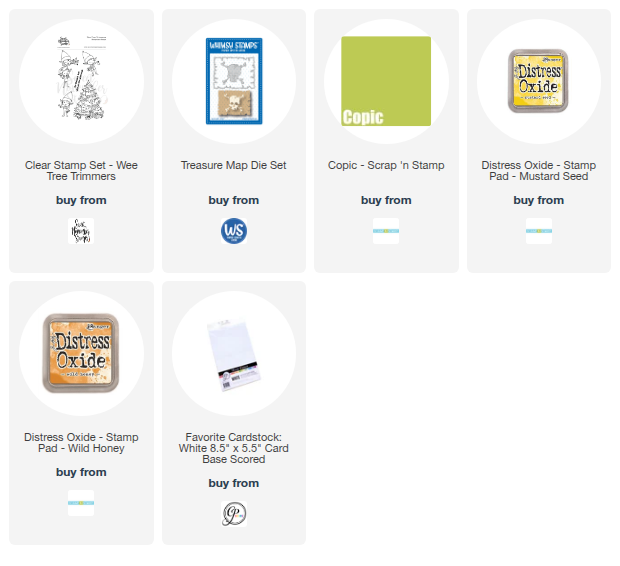
Today we’re kicking off a super fun Sweet November Stamps YouTube Hop to celebrate the brand-new Joyful Gatherings clear stamp release… and I’m joining in with a festive card featuring the absolutely adorable Wee Tree Trimmers set!

These little elves are busy decking out their Christmas tree, and I had the best time bringing their cheerful holiday energy to life.

✨ My Card for the Hop

For my project, I stamped all three of the sweet little elf characters around their beautifully decorated tree. Everything is colored up with Copic Markers, keeping the palette bright, bold, and full of Christmas joy.


To create the glowing background, I ink-blended Distress Oxide inks in warm yellows to mimic that magical holiday tree-light glow. I framed the panel with a fun torn-edge die cut and set the whole scene on top of a fresh green patterned paper to tie the colors together.


The sentiment “Christmas is love with all the trimmings” (also from the set!) finishes everything off perfectly.

🎁 Join the Hop!

The hop runs Sunday, November 16th through Wednesday, November 19th, and Sweet November is giving away one full clear stamp release set to a lucky winner! Make sure you hop along, watch the videos, comment, and show our designers some love for your chance to win.

🎥 Start hopping on YouTube and watch now!
📦 Shop the brand-new Joyful Gatherings clear release at: www.sweetnovemberstamps.com

Thanks so much for stopping by today—happy hopping and happy crafting! 💛🌟

~ Ally ~

Sweet November Stamps ~ Summer Adventures YouTube Hop! **PRIZE**


The brand new Summertime Adventures clear stamp release from Sweet November Stamps is here, and we’re kicking it off with a magical YouTube Hop! ☀️🏖️✨

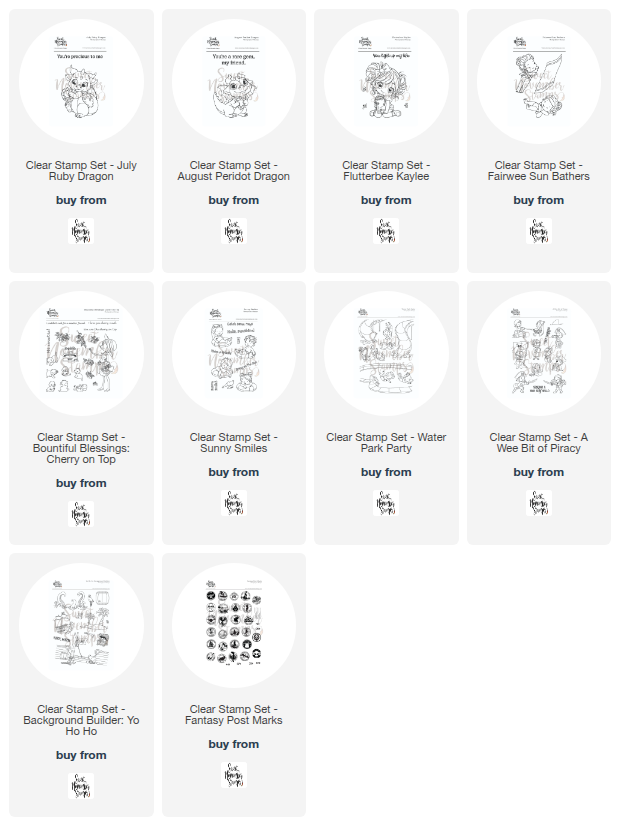
I’m sharing a bright and playful card featuring the adorable August Peridot Dragon from the new clear release! This sweet little dragon is ready to spread cheer with a giant gem and a grin to match.


To create the warm sunset background, I blended Mustard Seed, Spiced Marmalade, and Candied Apple Distress Oxide inks, letting the glow bring our dragon to life. I used the Fantasy Post Marks stamp set to add some fun postcard vibes, and the tiny “stamp” in the corner comes from the Dragon Trio stamp set — a perfect match for our postcard-style card!

🐉💎 “You’re a rare gem, my friend.” 💎🐉
What a sweet sentiment for a treasured pal!


🎉 GIVEAWAY ALERT!
Want to win the entire Summertime Adventures release — that’s 10 brand new clear stamp sets? Just hop along with us and leave a comment on each video in the hop for a chance to win! Comments must be left by Wednesday, July 16th at 11:59 PM PST. One lucky winner will be announced on the Sweet November Stamps YouTube channel.

🎥 Start the adventure here on my YouTube Channel – Allison Cope Designs!

Thanks for hopping along and joining in the summertime magic! 🌞🐲✉️

Happy stamping and happy hopping!!

~ Ally ~ 

Scrap'N Stamp ~ Easter Bird Card Tutorial


Join me today at 8pm EST for a LIVE tutorial on how to create this super cute Easter card.

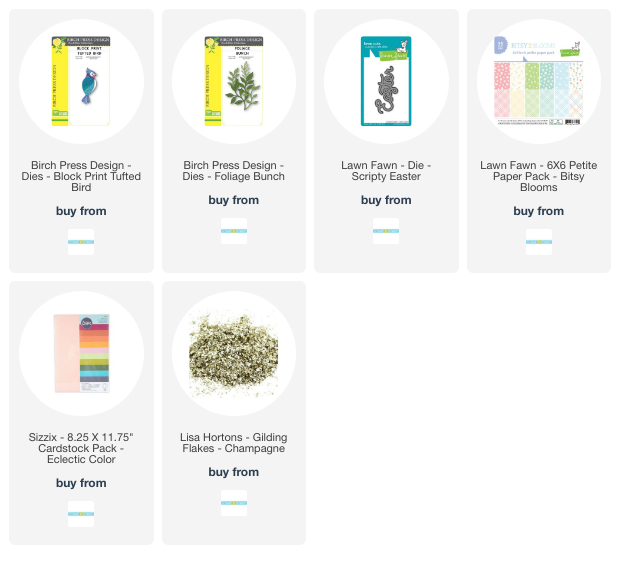
The card above features the Birch Press Designs "Block Print Tufted Bird Die" & "Foliage Bunch Dies" and some cute Lawn Fawn "Bitsy Blooms" patterned papers and the "Scripty Easter Die".

I'll be over on the Scrap 'N Stamp Facebook group! 

Hope to see you there!

~ Ally ~

Sweet November Stamps ~ Classroom Vibes & a PRIZE Giveaway!

Happy Saturday all!  Today Sweet November Stamp has releasing a whole new collection of stamps!  This collection is called Fab Favorites!  Plus we having a few giveaways too!  Today we have a hop over on YouTube!

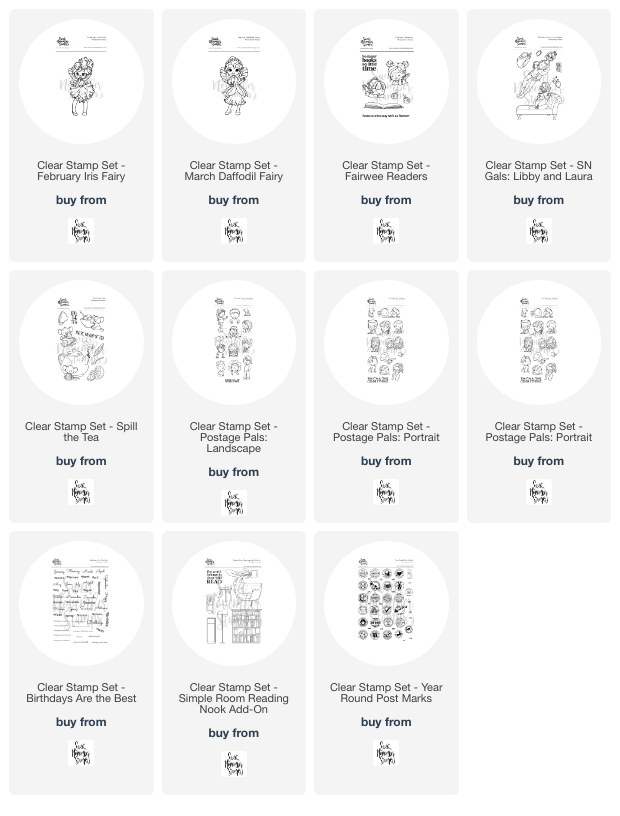
My card for the hop features the adorable kiddos from the "Postal Pals Portrait" stamp set plus some shelving from the "Simple Room: Reading Nook Add-On" stamp sets.


Over on my YouTube channel, where the hop begins today, my video shares how I go through the thought process of designing my scene and some tips and tricks to doing that!

You can begin the HERE!

You have a chance to WIN the entire Fab Favorite release!  Just view the videos on the hop and leave a comment on each video for your chance to win!

Good luck in the draw!

Have a great week!

 ~ Ally ~

Chibitronics ~ Warm Winter Cheeks

Happy Friday!   Today I'm sharing my latest Chibitronics creation that I've made this week.

Today's card features the cute little 'Bominable Snowmen from the new Sweet November Stamps release called, "Baby 'Bominable Winter Wonders" stamp set.

I began by stamping out my little critters and tree lined background.  As I stamped my polar bear and abominable snowmen, I also stamped them on my inner circuit building panel using a lighter ink.  This helps with positioning my light stickers when I go to build my circuit.

I finished off the front panel by coloring the scene in using my Copic Markers.  I also stamped on the "Push Here" image from the Lawn Fawn stamp set, "Push Here".  This will let my recipient know how to activate the lights.

Next it was on to the circuit.

First I applied my Battery Holder to the top left hand corner of my circuit building surface.  This will used as a switch to activate the lights.

Then I used my Craft Stencil and mapped out the location of all my light stickers.  I'm going to be using one Animating Red Fade LED Light Sticker (heart shaped) for the standing yeti's heart and regular Pink LED Light Stickers for all the "cheeks" and cheeks of my creatures.


Next I mapped out the location of all my light stickers and the pathways of the negative (blue lines) and positive (red lines) of my circuit using pen.

Next I laid down the Conductive Fabric Tape for the negative side of my circuit.  I began on the bottom side of the self adhesive Battery Holder and the location of the Battery.

Then I laid down the positive side of the circuit tape.  I began on the inside of the lid of the Battery Holder of the circuit.  This allows the lid of the Battery Holder to be pressed closed, which allows the lights to come on - otherwise known as the switch. 

If you notice towards the bottom left hand corner of the circuit, the two sides of the circuit cross.  When your two sides of the circuit cross, you want to create a barrier between the 2 layers of tape.  I created a little paper bridge and hen laid my Conductive Fabric Tape across the negative side of the circuit (see the little circular insert in the photo below).

Lastly, to complete the circuit, I added my LED Light Stickers.  I used 1 Animating Red Fade LED Light Stickers and 5 Pink LED Light Stickers on the circuit.

I adhered the double sided self-adhering "C" shaped foam inside the Battery Holder and popped in a 3V Coin Battery.

I also added some 3D foam strips all around the edge of the circuit panel so the card feels flat.

Let's give it test... and REMEMBER... the switch, when pressed and held, allows the heart on the yeti to light up red and fade in and out.


And look at those pink tooshies and cheeks!  LOL!

Thanks for stopping by!  I'd love to hear what you think about today's light up card!  Have a great weekend

~ Ally ~

Sweet November Stamps ~ Cuddly Critters

Happy Saturday!  I have a few more Christmas creations from Sweet November Stamps to share.

Today's card features the adorable singing cuties from the "From Me to You" stamp set.

I began by making the blended background using Distress Oxide inks and some CP Uptown ink splatter.

Then I stamped my two pairs of cuddly critters using a light Simon Says Stamp Fog ink.

I colored up my little penguin and polar bear pairs using Copic Markers.

Lastly, I stamped the trees from the "Horizon Lines: Winter Wonderland" and colored it with Copics.

If you'd like to see the process of a very similar card, check out my YouTube Video HERE!

A very cute card result!  Have a great weekend!

~ Ally ~

Scrap 'N Stamp ~ Embossing with Dies

Join me today at 2pm EST for a LIVE tutorial on how to create a card using DIES to EMBOSS products.

The card above features the Hero Arts Stamp & Cut XL "Winter Foliage" and the Sweet November Stamps "Mistletoe & Holly Fairies" stamp set with lots of colorful Distress Oxide inks.

I'll be over on the Scrap 'N Stamp Facebook group! 

Hope to see you there!

~ Ally ~

Sweet November Stamps ~ Christmas Cheers YouTube Hop **PRIZE**

Happy Sunday!  The entire Sweet November Stamps crew is sharing lots more inspiration from the Christmas Cheer clear stamps release today over on YouTube!  Come and join in the fun!

The card I'm sharing on my video today is the adorable "From Me to You" clear stamp set.  This set contains 4 sweet images involving interacting polar bear and penguin and some cute sentiments.

I used the adorable little polar bear, penguin and present image plus a set of trees from the "Horizon Lines: Winter Wonderland".

I kept the lines line, almost a no-line stamping.  I used the Simon Says Stamp "Fog" ink to achieve that effect.

The back drop was created using Distress Oxide Inks: Peacock Feathers, Cracked Pistachio and Salvaged Patina. I splattered it with some white acrylic paint, silver paint and some Catherine Pooler Designs "Uptown" ink.

For my Copic Marker colors include:

  • Bear: W4, W3, W2, W1, W0
  • Penguin: C8, C6, C4, C0, Y38, Y35
  • Trees: BG72, BG34, BG32, G24, G21
  • Present: BG72, BG34, BG32, R22, R21, R20

Now... make sure you head on over to YouTube and hop along the inspirational journey.

START THE YOUTUBE HOP HERE!

Watch all eight delightful and entertaining videos from our talented design team then show your support subscribing, commenting, and giving a thumbs up on each channel's hop video. You have a chance to WIN the ENTIRE Christmas Cheer stamp set release!!!

The hop will be running from 10/20 to 10/24, and the lucky winner will be announced on 10/25 at 5 PM PDT.

Good luck!

~ Ally ~

Scrap 'N Stamp ~ Hot Foil Holiday Cards


Join me Sunday at 8pm EST for a LIVE tutorial on how to create a card or two using the Hot Foil panels we created on Tuesday..

Today's card features the Spellbinder's Glimmer Holly Plate.

I'll be over on the Scrap 'N Stamp Facebook group! 

Hope to see you there!

~ Ally ~


Sweet November Stamps ~ Ghoulish Greetings YouTube Hop *Prize*

Today some of the Sweet November Stamps designers are sharing how they made some of their fun new Halloween cards featuring the brand new Ghoulish Greetings clear stamp sets.

My card today features the new "Midnight's Nine Lives" clear stamp set.

Here's a simple close up...

If you are an instant gratification person and love working with digital stamps then get this master deal...


Don't wait too long though - this offer ends on Tuesday, August 13th!  CLICK HERE!

Now... there's a PRIZE up for grabs on our YouTube hop! 

How do you win:

  • Subscribe to each designer's YouTube channel on the hop
  • Watch and LIKE the video
  • Leave a comment below each video

What do I win?

  • You can WIN all 14 stamps in the Ghoulish Greetings clear stamp release!!!

Now... begin the hop by clicking the link below and have a blast watching people craft today!

VIDEO LINK

Happy hopping!

~ Ally ~

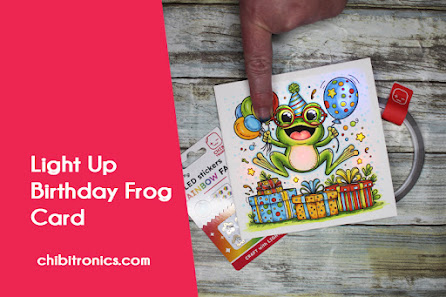
Chibitronics ~ Light Up Birthday Frog Card

Happy Wednesday!   Today I'm sharing my latest Chibitronics creation that I made this week.

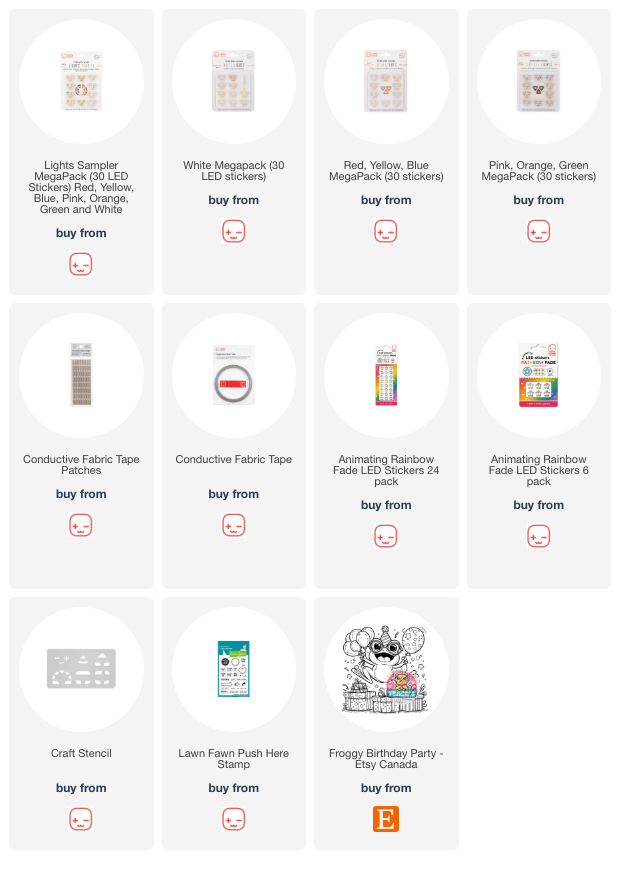
This card features cool paper circuit products including the Animating Rainbow Fade LED Light Stickers!  This particular light sticker rotates through the rainbow of colors!

I began today's card by printing off a front card panel using the adorable "Froggy Birthday Party" digital stamp from "Teaco's Custom Stamps".  I also printed off a lighter version for the inside of my circuit building surface.  I colored up my froggy image using Copic Markers and add the "push me" sentiment from the Lawn Fawn "Push Here" stamp set in the yellow balloon.

Next I began to plan out my light locations.

I used the lighter version of my front panel image to locate the spots for all of my lights; the frog's eyes, the large blue balloon, the frog's tongue, the 4 stars and finally the froggy's belly.  The belly will be the location of the Animating Rainbow Fade LED Light Sticker!  

The blue lines indicate the NEGATIVE side of the circuit and he red lines indicate the POSITIVE side of the circuit. 

I used my Craft Stencil to trace out the location of all my stickers. I also added my Battery Holder to my circuit.  They have a peel and stick backing so they're easy to add to your projects.

Next I began to lay down the Conductive Fabric Tape to connect up my circuit.

I started with adding Conductive Fabric Tape to the negative side of the circuit.  I started in the bottom of the Battery Holder and extended it out to cross over all of the blue pen lines.  Where I had branches of the circuit that I couldn't get with one continuous piece of tape, I just cut a piece of tape to fit and made sure to cross over the 2 pieces of tape for good circuit contact.

Once the negative side of the circuit was complete, I started on the positive side.  I began laying down my Conductive Fabric Tape on the inside lid of the Battery Holder.  I started on the inside, wrapped the tape around to the top of the Battery Holder and then laid the tape over all of the red lines.

I had TWO places where my tape was going to cross over the blue lines/negative lines of the circuit so create 2 paper BRIDGES over top of the tape.  This little paper barrier would allow me to pop these lines right over top as to not short circuit my circuit. 

The above dots are indicating the placement of my LED Light Stickers; yellow = yellow lights, orange = orange lights, blue = blue lights, red = red lights, black circles with the white centres = white lights and the circle with R in the middle = animating rainbow fade LED light sticker.

Next I added all of my light stickers.  I used the Animating Rainbow Fade LED Light Sticker for the frog's belly, two White LED Light Stickers for his eyes, 2 Blue LED Light Stickers for the large blue balloon, one Red LED Light Sticker for his tongue and 2 Orange and 2 Yellow LED Light Stickers for the stars surrounding the frog. Each sticker is as easy as a peel & stick motion.

To finish off the card, I placed a C-shaped 3D foam sticker inside the Battery Holder by peeling off the sticker backers.  I laid 2 3V batteries, one on top of the other into the foam void and closed the lid of the Battery Holder.

I also used 3D foam to wrap around the 4 sides of the circuit on the edges of the circuit building surface.  This allows for the depth of the foam around the battery to dealt with.

For the card to light up, just press the yellow balloon indicted with the "press here" sentiment and this closest the circuit and the card lights up.

Holding the button/switch allows for the  Animating Rainbow Fade LED Light Sticker to cycle through it's 6 different colors of light.  I just let my recipient know to press and hold the button to activate their card with a little note inside. 

Here's a little bit darker image of the card front in action... the Chibitronic light stickers are BRIGHT!!

Now, if you'd like to see build this card and it's circuit, please check out my YouTube video over on the Chibitronics YouTube channel.  Click HERE or click the image below to view the video.

Thanks for joining me today!  I hope this tutorial inspires your to make your very own light up card too!

Have a great week!

~ Ally ~
 

Pink & Main ~ Stay Sparkly Mermaids

Happy Tuesday all!  Today I'm sharing another fun card featuring the May release from Pink & Main.

I started by making my background for my little mermaid friends.  I used a variety of blue shades of Distress Oxides and swiping and blending them together.  If you're interested in how I did this EASY background, you can check out my live tutorial over the Scrap 'N Stamp FB page HERE.

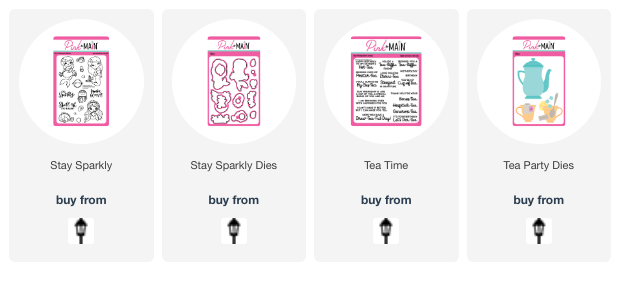
Next I stamped out my two lil mermaids, some fish and a shell  from the "Stay Sparkly" stamp set with Memento Tuxedo Black ink and colored them up with Copic Markers.  I trimmed the grassy blades from the side of the one mermaid and added them to the sand bottom instead. I cut everything out using their coordinating dies.

I die cut out the tea pot from "Tea Party Dies" and coloured my die cut in.  I tried to make it look like it was older and even had a few cracks in it under the sea.

Next off I torn some kraft cardstock into a few strips and added them layered to the bottom of my sea background.  I tucked the shell, tea pot and grasses into the layers sometimes elevating them with 3D foam adhesive.  Then I added the 2 mermaids and their fishy friends to the sea scape.

For the sentiment, I took a greeting from the "Tea Time" stamp set and stamped on my sandy bottom. I think the tea related and "bestie" sentiment goes well with the scene!

As a finishing touch, I added some dots to the sand and some bubbles to the water.

Such a fun card to make!

Make sure you check out all the new products from Pink & Main today.  They have some VERY COOL foil products too!

Have a fantastic rest of the week!

~ Ally ~

Sweet November Stamps ~ Enchanted Spring YouTube Hop *PRIZE*


Howdy all!  Back again today to share another fun way to check out the latest Sweet November Stamps clear stamp release, Enchanted Spring.

We having a YouTube hop to celebrate this new release and this is the card I'm sharing today for the hop.  It features the adorable snail from the "Shello" stamp set.

This card may look simple but it's actually quite dimensional.


On the video I share not only my coloring of the little snail but also how to create a paper tole card.

Here's a little close up of our little fella...


And here's a little peak at some of the dimension...


Make sure to head on over to YouTube and start the hop on my channel...

START HERE!


Make sure you comment along the hop for your chance to WIN the ENTIRE Enchanted Spring clear stamp release.

Good luck!

~ Ally ~

 
09 10