Showing posts with label video tutorial. Show all posts

Chibitronics ~ Light Up Love

I'm so excited to share today’s card because it combines two of my favorite things: cute critters and interactive light-up elements! This sweet kitty card is packed with heart-filled details and a little bit of sparkle thanks to some amazing products from Chibitronics and Catherine Pooler Designs. 


The star of the show is that glowing heart! I used Animating White Blink LED Light Stickers from Chibitronics to add a soft, twinkling effect that brings this card to life. The gentle blinking light is perfect for a love-themed card and adds just the right amount of whimsy without overpowering the design.

Let’s Talk Circuits ⚡

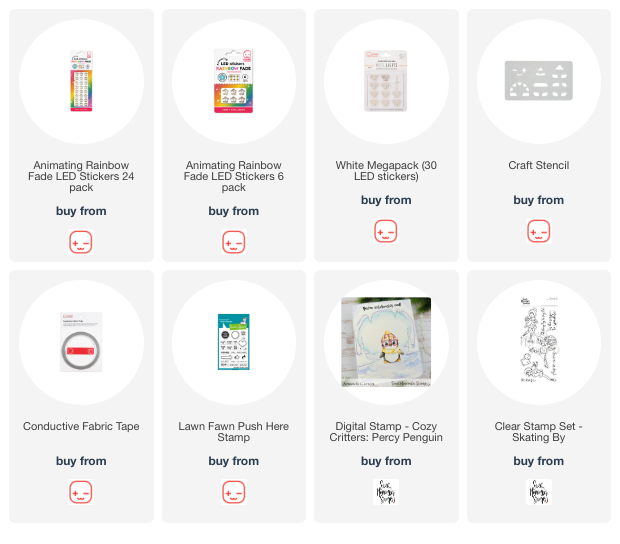
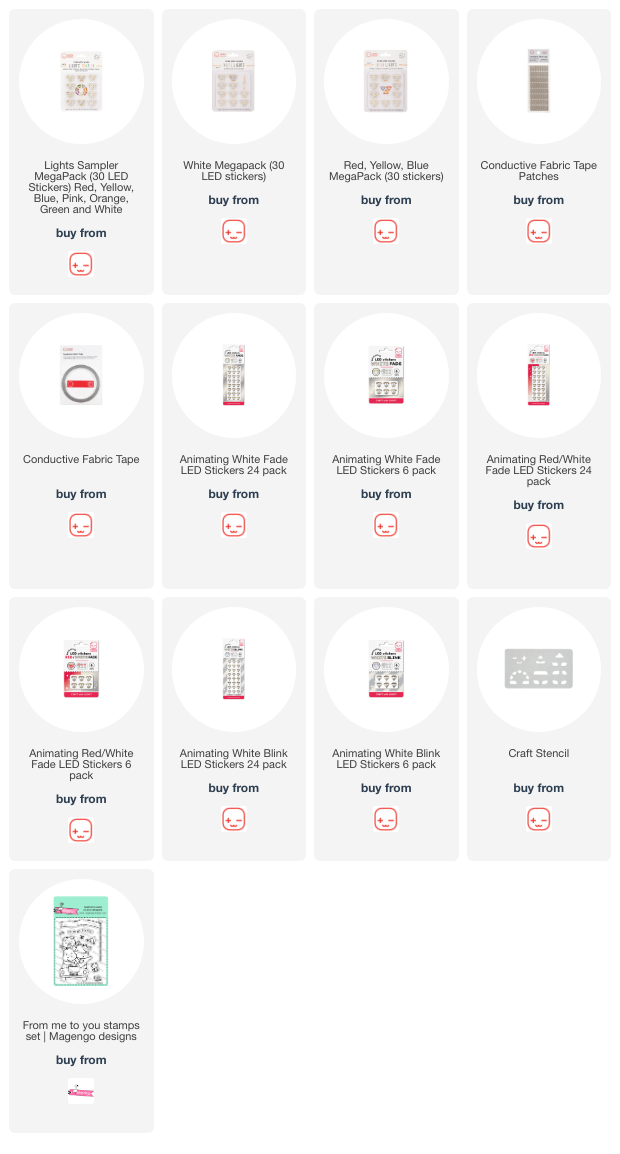
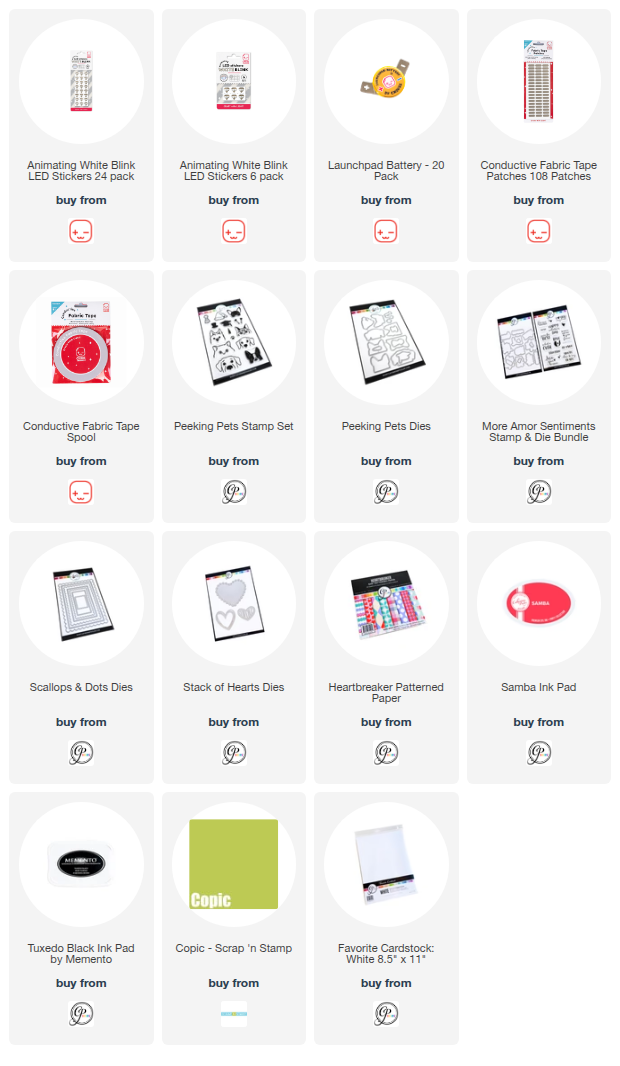
To build the circuit, I used:

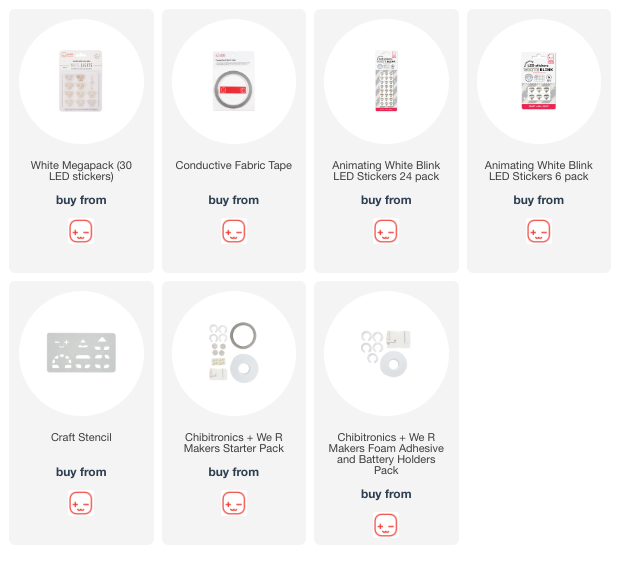
  • Animating White Blink LED Light Stickers

  • The new Launchpad Battery (I love how compact and easy it is to work with!)

  • Conductive Fabric Tape to create my positive and negative paths

  • Conductive Tape Patches to securely attach the battery

I also added a simple paper switch, making this card interactive and fun for the recipient to turn on and off. If you’re new to paper circuits, this is a fantastic setup to try — clean, straightforward, and very beginner-friendly.

To create the circuit, first I planned out the placement of my lights, then my battery and then the lines of the circuit. 

Next I made a paper switch and laid down Conductive Fabric Tape on both sides of the circuit.


Then I applied my 3 Animating White Blink LED Light Stickers and I placed my Launchpad Battery in place and locked into the circuit with some Conductive Fabric Patches.


The Cute Factor 🐱💗

For the card design itself, I couldn’t resist this peek-a-boo kitty! I used the More Peeking Pets stamp set for the adorable cat and topped it off with the sweet heart headband. The large heart window was die cut using the Stack of Hearts die set, creating the perfect opening for that glowing surprise.

The sentiment comes from the More Amor stamp & die set — such a great mix of playful and heartfelt — and everything is layered over patterned paper from the Heartbreaker paper pack. The bold, graphic hearts pair beautifully with the soft blinking light and really make the focal point pop.


Why I Love This Card

This project is a great reminder that interactive cards don’t have to be complicated to be impressive. A simple circuit, a thoughtful design, and a touch of light can turn a cute card into something truly memorable.

If you’ve been curious about adding lights to your cards, I hope this inspires you to give Chibitronics a try — especially paired with Catherine Pooler’s fun and modern designs.

PLUS I have a video on how I created this circuit so if you want to see how it was made, click here or on the image below...


Thanks so much for stopping by today! 💕
Happy crafting and happy lighting!

~ Ally ~
Sweet November Stamps ~ Joyful Gatherings YouTube Hop

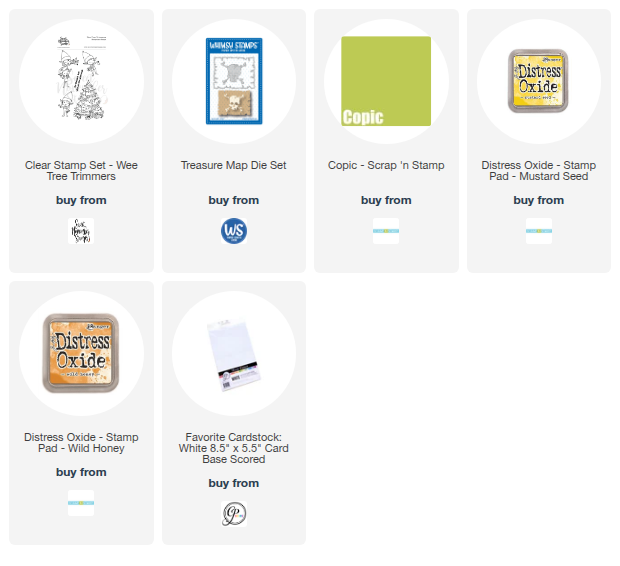
Today we’re kicking off a super fun Sweet November Stamps YouTube Hop to celebrate the brand-new Joyful Gatherings clear stamp release… and I’m joining in with a festive card featuring the absolutely adorable Wee Tree Trimmers set!

These little elves are busy decking out their Christmas tree, and I had the best time bringing their cheerful holiday energy to life.

✨ My Card for the Hop

For my project, I stamped all three of the sweet little elf characters around their beautifully decorated tree. Everything is colored up with Copic Markers, keeping the palette bright, bold, and full of Christmas joy.


To create the glowing background, I ink-blended Distress Oxide inks in warm yellows to mimic that magical holiday tree-light glow. I framed the panel with a fun torn-edge die cut and set the whole scene on top of a fresh green patterned paper to tie the colors together.


The sentiment “Christmas is love with all the trimmings” (also from the set!) finishes everything off perfectly.

🎁 Join the Hop!

The hop runs Sunday, November 16th through Wednesday, November 19th, and Sweet November is giving away one full clear stamp release set to a lucky winner! Make sure you hop along, watch the videos, comment, and show our designers some love for your chance to win.

🎥 Start hopping on YouTube and watch now!
📦 Shop the brand-new Joyful Gatherings clear release at: www.sweetnovemberstamps.com

Thanks so much for stopping by today—happy hopping and happy crafting! 💛🌟

~ Ally ~

Chibitronics ~ Wishing You a Rainbow of Happiness!

I'm back with another magical light-up creation using my favorite interactive crafting products from Chibitronics! This time, I’ve brought a cheerful gnome to life with a glowing rainbow and some sweet floral accents.


For this card, I used the delightful “Rainbow Gnome” stamp from Woodware Crafts and colored the entire scene with Copic Markers. To give it that extra interactive wow factor, I incorporated Chibitronics Red LED Light Stickers in the centers of the flowers and in the little heart on the gnome’s beard.

To make the rainbow shine with whimsy and charm, I added five Animating Rainbow Fade LED Light Stickers along the arch. These LEDs gradually shift through a beautiful spectrum of color, giving the whole rainbow a magical, moving glow.


The circuit was completed using Conductive Fabric Tape and one of our handy Battery Holders, making it easy to hide the electronics behind the panel while keeping the card nice and flat.

I love how this bright and cheerful design turned out—it’s the perfect card to send a little light and happiness someone’s way!

 💡 Want to craft your own light-up card? Visit Chibitronics to explore the full line of LED stickers, circuit templates, and more.

Happy crafting and keep shining bright!

~Ally ~

Scrap'N Stamp ~ Bouncing Bunnies

Join me today at 8pm EST for a LIVE tutorial on how to create this bouncing fun card.

The card above features the Hero Arts Stamp & Die set "Spring Bunny" and the "Breath of Spring" and lots of cool Catherine Pooler Designs inks.

I'll be over on the Scrap 'N Stamp Facebook group! 

Hope to see you there!

~ Ally ~

Sweet November Stamps ~ Classroom Vibes & a PRIZE Giveaway!

Happy Saturday all!  Today Sweet November Stamp has releasing a whole new collection of stamps!  This collection is called Fab Favorites!  Plus we having a few giveaways too!  Today we have a hop over on YouTube!

My card for the hop features the adorable kiddos from the "Postal Pals Portrait" stamp set plus some shelving from the "Simple Room: Reading Nook Add-On" stamp sets.


Over on my YouTube channel, where the hop begins today, my video shares how I go through the thought process of designing my scene and some tips and tricks to doing that!

You can begin the HERE!

You have a chance to WIN the entire Fab Favorite release!  Just view the videos on the hop and leave a comment on each video for your chance to win!

Good luck in the draw!

Have a great week!

 ~ Ally ~

Sweet November Stamps ~ YouTube Hop & PRIZES!


Happy Sunday!  Some of the Sweet November Stamps crew are sharing inspiration from the Wonderful Winter clear stamps release today over on YouTube!  Come and join in the fun!

The card I'm sharing on my video today features the adorable new "Downhill Dashers" stamp set.  Isn't that sledding pup a cutie??!?!


I also used some of the snowy trees from the "Horizon Lines: Winter Wonderland" stamp set to set the scene.

Here's a quick close up...


Now... make sure you head on over to YouTube and hop along the inspirational journey.

START THE YOUTUBE HOP HERE!

Watch all 7 delightful and entertaining videos from our talented design team then show your support subscribing, commenting, and giving a thumbs up on each channel's hop video. You have a chance to WIN the ENTIRE Wonderful Winter stamp set release!!!

The hop will be running from today until 12/11, and the lucky winner will be announced on the Sweet November Facebook page.

Good luck!

~ Ally ~

Chibitronics ~ Light Up Winter Scene & Video Tutorial

Happy Wednesday!   Today I'm sharing my latest Chibitronics creation that I've made this week.

Today's card features the cool Animating White Blink LED Light Stickers and the adorable "Fa la la" stamp set from Magengo Designs. 

I began by stamping out my little critters and coloring them in.  I fussy cut them all out.  I wanted to make it easier to create my background.

Next I stamped the 3 lamp posts on my card front panel. I created masks for each one and applied them to the image.  Next I drew on some lines for the wall.  I then masked off the wall and inked up my sky with Distress Oxide Pine Needles and Chipped Sapphire inks.  Then I masked off everything but the bottom of the wall and applied a brick stencil and used my Copic Air Brush to color it in.  I finished off the rest of the wall and the ground with my air brush.  I applied some snowflakes and snowy areas to the background image.

With every stamp of the lamp post, I also stamped the same image, in the same place on my inner card panel to create my circuit panel.

Next it was on the circuit.

First I applied my Battery Holder to the lower right hand corner of my circuit building surface.  This will used as a switch to activate the lights.

Next I mapped out the location of all my light stickers and the pathways of the negative (blue lines) and positive (red lines) of my circuit using pen.

Next I laid down the Conductive Fabric Tape for the negative side of my circuit.  I began on the bottom side of the self adhesive Battery Holder and the location of the Battery.


Then I laid down the positive side of the circuit tape.  I began on the inside of the lid of the Battery Holder of the top circuit and I adhered the Battery to the Slide Switch circuit.  This allows the lid of the Battery Holder to be pressed to close the circuit and allow the lights to come on - otherwise known as the switch. 

Lastly, to complete the circuit, I added my LED Light Stickers.  I used 3 Animating White Blink LED Light Stickers to the circuit.

I adhered the double sided self-adhering "C" shaped foam inside the Battery Holder and popped in a 3V Coin Battery.

I also added some 3D foam strips all around the edge of the circuit panel so the card feels flat.

Let's give it test... and REMEMBER... the switch, when pressed and held, allows the 3 lamp posts to light up and blink.

So much fun to make!

So if you want to see how this card was made, please visit the Chibitronic's YouTube channel for the full tutorial...

Thanks for stopping by!  I hope you have a wonderful week!

~ Ally ~

Scrap 'N Stamp & Catherine Pooler ~ Secrets to Success with Metallic Inks

Today at 2pm EST I was LIVE sharing a tutorial on how to have success with Metallic Inks.

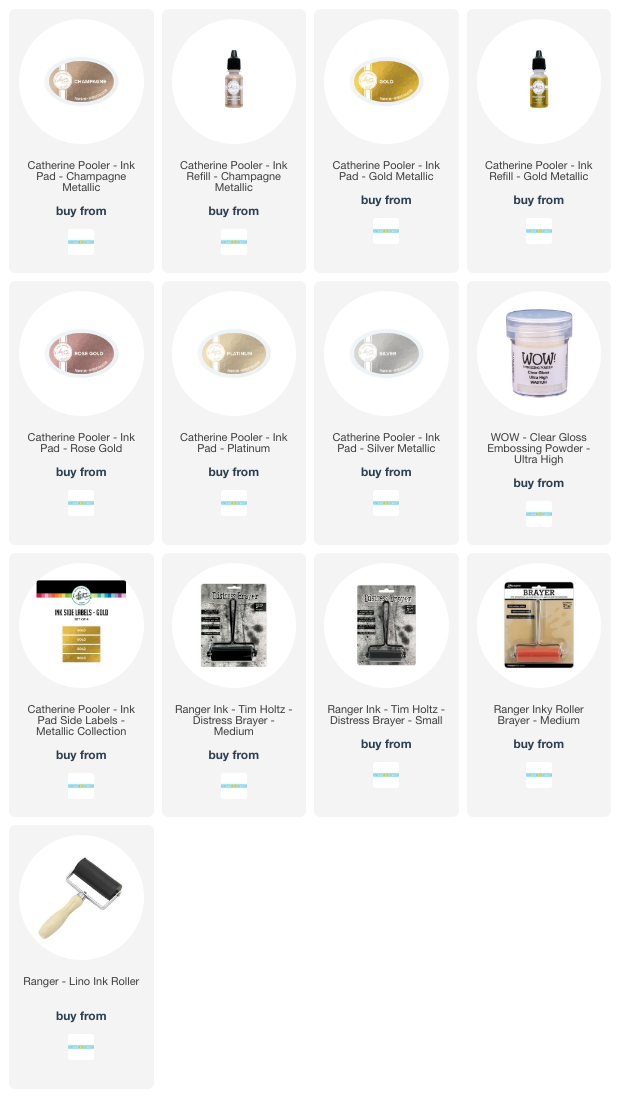
The image above features the Catherine Pooler Designs stamp set called "Blowing Leaves" plus all of the cool CP metallic inks: Silver, Gold, Platinum, Rose Gold and Champagne.

Here's the video of today's tutorial...


You can also find the tutorial over on the Scrap 'N Stamp Facebook page, HERE.

Don't forget to purchase your refills when buying your metallic inks - you won't regret it!!!

Hope you'll check it out!

~ Ally ~

Scrap 'N Stamp ~ Embossing with Dies

Join me today at 2pm EST for a LIVE tutorial on how to create a card using DIES to EMBOSS products.

The card above features the Hero Arts Stamp & Cut XL "Winter Foliage" and the Sweet November Stamps "Mistletoe & Holly Fairies" stamp set with lots of colorful Distress Oxide inks.

I'll be over on the Scrap 'N Stamp Facebook group! 

Hope to see you there!

~ Ally ~

Sweet November Stamps ~ Christmas Cheers YouTube Hop **PRIZE**

Happy Sunday!  The entire Sweet November Stamps crew is sharing lots more inspiration from the Christmas Cheer clear stamps release today over on YouTube!  Come and join in the fun!

The card I'm sharing on my video today is the adorable "From Me to You" clear stamp set.  This set contains 4 sweet images involving interacting polar bear and penguin and some cute sentiments.

I used the adorable little polar bear, penguin and present image plus a set of trees from the "Horizon Lines: Winter Wonderland".

I kept the lines line, almost a no-line stamping.  I used the Simon Says Stamp "Fog" ink to achieve that effect.

The back drop was created using Distress Oxide Inks: Peacock Feathers, Cracked Pistachio and Salvaged Patina. I splattered it with some white acrylic paint, silver paint and some Catherine Pooler Designs "Uptown" ink.

For my Copic Marker colors include:

  • Bear: W4, W3, W2, W1, W0
  • Penguin: C8, C6, C4, C0, Y38, Y35
  • Trees: BG72, BG34, BG32, G24, G21
  • Present: BG72, BG34, BG32, R22, R21, R20

Now... make sure you head on over to YouTube and hop along the inspirational journey.

START THE YOUTUBE HOP HERE!

Watch all eight delightful and entertaining videos from our talented design team then show your support subscribing, commenting, and giving a thumbs up on each channel's hop video. You have a chance to WIN the ENTIRE Christmas Cheer stamp set release!!!

The hop will be running from 10/20 to 10/24, and the lucky winner will be announced on 10/25 at 5 PM PDT.

Good luck!

~ Ally ~

Chibitronics ~ Combining Different Circuits on a Card

Happy Wednesday!   Today I'm sharing my latest Chibitronics creation that I've made this week.

All over the world this week, the Aurora Borealis has been showing it's self so I have taken inspiration for that event for today's interactive card.

Today's card features the adorable little digi from Sweet November Stamps called "Percy the Penguin".

Once completing my card front using Copic Markers, I added the "Push Here" stamp from Lawn Fawn stamp set " Push Here" and die cut the long opening for Percy to skate on.

Next it was on the circuit.

Next I mapped out the location of all my light stickers and the pathways of the negative (blue lines) and positive (red lines) of my circuit using pen.

Notice how my negative and positive lines cross at the top of the circuit.  We will solve this problem very easily.

Next I laid down the Conductive Fabric Tape for the negative side of both of my circuits.  I began on the bottom side of the self adhesive Battery Holder and the location of the Battery.

Notice there is a gap in the negative circuit for my Slide Switch Circuit (bottom circuit).


Next I added a piece of paper for a bridge over top of the piece of negative side of the circuit where my tape was going to cross over it.  Then I laid down the positive side of the circuit tape.  I began on the inside of the lid of the Battery Holder of the top circuit and I adhered the Battery to the Slide Switch circuit.  This allows the lid of the Battery Holder to be pressed to close the circuit and allow the lights to come on - otherwise known as the switch.

Lastly, to complete the circuit, I added my LED Light Stickers.  I used 4 White LED Light Stickers on the Slide Switch Circuit.

For the other circuit, I used 3 Animating Rainbow Fade LED Light Stickers.

I adhered the double sided self-adhering "C" shaped foam inside the Battery Holder and popped in a 3V Coin Battery.

Let's give it test... and REMEMBER... the white light turn on and off  when the penguin is pressed and slid across the card.  Each light is activated when the circuit is completed by making contact on the folded flap.

The Animating Rainbow Fade LED Light Stickers are activated when you press the button to complete the circuit.  They cycle through the rainbow of colors!


To find out exactly how I built today's circuit step by step, check out my VIDEO TUTORIAL over on the Chibitronic's YouTube channel... HERE!!


Thanks for stopping by!  I hope you have a wonderful week!

~ Ally ~

Chibitronics ~ Happy 8th Birthday!

Happy Wednesday!   Today I'm sharing my latest Chibitronics creation that I've made this week.

This is a special card today as it's for my nephew's 8th birthday next month.

I start creating my card by stamping, coloring and fussy cutting out the sweet little car from the Magengo  Designs "From Me to You" stamp set.  The background is a cover plate by Catherine Pooler called "Starry Night" as well as the sentiment is from the CP "Best Birthday Yet Sentiments".

The headlights were cut out and backed with vellum and along with the starry background. 

I used the starry die cut out to make a template for my circuit.  This will allow me to position my light stickers accurately on my circuit building surface.  I used the new stencil to locate the position.  I also located the position of my Battery Holder/Switch.

Next I mapped out the pathways of the negative (blue lines) and positive (red lines) of my circuit using pen.

Notice how my negative and positive lines cross.  We will solve this problem very easily.

Next I laid down the Conductive Fabric Tape for the negative side of my circuit.  I began on the bottom side of the self adhesive Battery Holder.

Next I added a piece of paper for a bridge over top of the piece of negative side of the circuit where my tape was going to cross over it.  Then I laid down the positive side of the circuit tape.  I began on the inside of the lid of the Battery Holder.  This allows the lid of the Battery Holder to be pressed to close the circuit and allow the lights to come on - otherwise known as the switch. 

Lastly, to complete the circuit, I added my LED Light Stickers.  I used 2 Yellow LED, 2 White LED, 2 Animating White Blink LED Light Stickers and 2 Animating White Fade LED Light Stickers.

Two White LEDs underneath the moon to reveal the secret number 8.  Two Yellow LEDs in 2 of the little stars in the background.  Two Animating White Fade LED Light Stickers for the other 2 little stars and two Animating White Blink LED Light Stickers for the car's headlights.

I adhered the double sided self-adhering "C" shaped foam inside the Battery Holder and popped in a 3V Coin Battery.

To allow for the bulkiness of the Battery Holder, I applied 3D foam around the perimeter of the circuit panel so the card front closes on the same level as the whole card.

Let's give it test... and REMEMBER... the white light BLINKS on and off for the headlights and the white little stars in the sky FADE in and out!

To find out exactly how I built today's circuit step by step, check out my VIDEO TUTORIAL over on the Chibitronic's YouTube channel... HERE!!

Thanks for stopping by!  I hope you have a wonderful week!

~ Ally ~
 
09 10