Join me over on the Scrap 'N Stamp Facebook page on Sunday at 8pm ET.
We're going to be playing with the new Penny Black "Stick & Shine" products and creating some sparkly cards!
Hope you'll join me over there!
~ Ally ~

Join me over on the Scrap 'N Stamp Facebook page on Sunday at 8pm ET.
We're going to be playing with the new Penny Black "Stick & Shine" products and creating some sparkly cards!
Hope you'll join me over there!
~ Ally ~
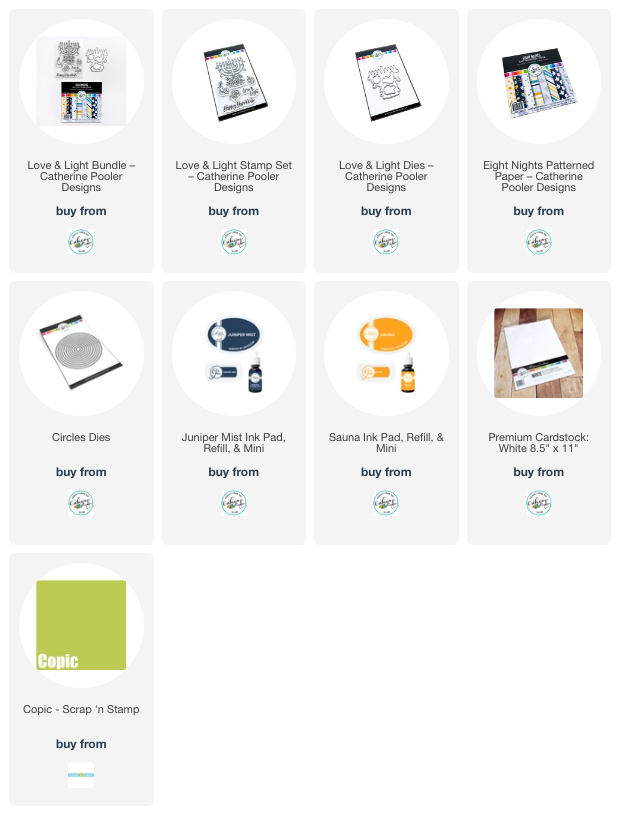
This sweet little collection includes the beautiful menorah stamp image from the "Love & Light" stamp set, coordinated dies and the beautifully rich "Eight Nights" patterned paper pack.
Today's card features them all...
I began by stamping the menorah image using Juniper Mist ink and coloring it using Copic Markers and cutting it using some "Circle Dies". I wanted to use another ink color than black to match the patterned papers.

I simply matted the patterned paper layer with a quick swipe of Sauna ink and tucked it underneath.

I stamped the "Happy Hanukkah" greeting from the "Love & Light" stamp set in Sauna ink, fussy cut it out and popped it up on some foam adhesive.
A simple simple but pretty holiday card!
Have a great rest of the week!
~ Ally ~

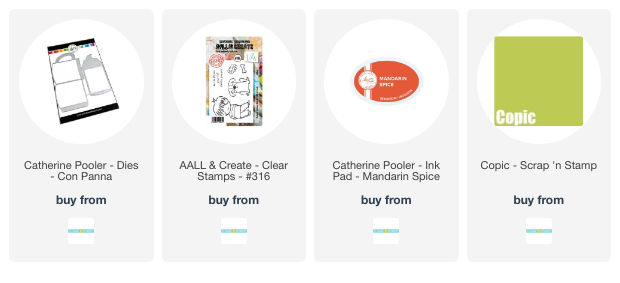
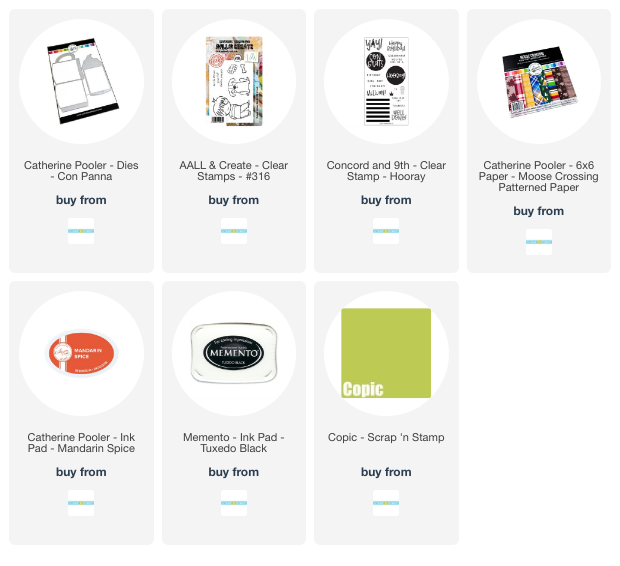
Join me this evening over on the Scrap 'N Stamp Facebook group where we're going to make a masculine themed gift card holder featuring the adorable little "Oh Boy #316" stamp set from Aall & Create!
See you at 8pm ET!
~ Ally ~
Meet "Soft Sunshine" a new clear stamp set coming to the Sweet November Stamps shop on Saturday!

Here's another quick peek of the entire stamp set...
~ Ally ~

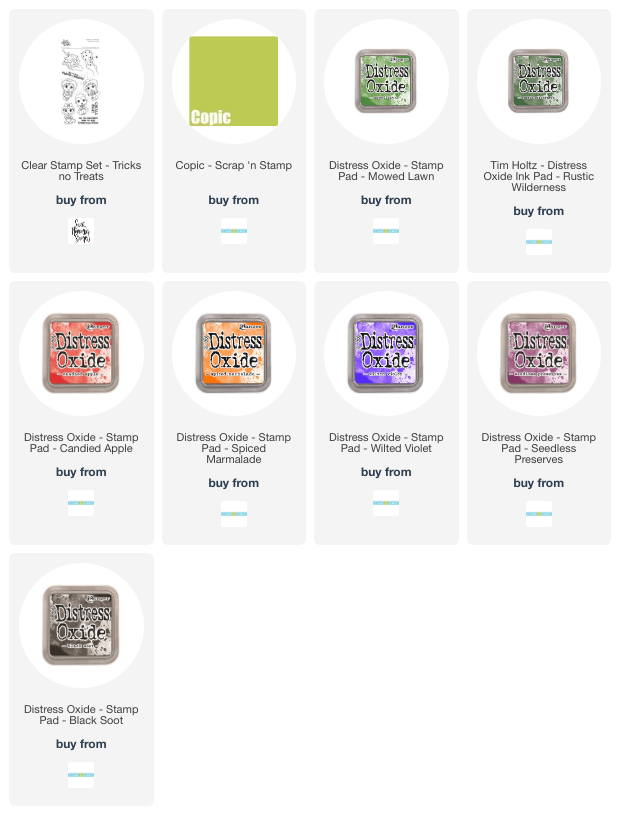
Happy Saturday! Today I'm sharing another fun Halloween card creation featuring the cuties from the Sweet November Stamps "Tricks No Treats" stamp set.
This large stamp set contains the 4 trick-or-treators seen below plus 2 creep hands holding some spooky candies and some fun sentiments. I also masked off a sidewalk.
I began today's card by stamping and masking off each kiddo. I ink blended the ground with Mowed Lawn and then Rustic Wilderness Oxides for the ground. Then I ink blended the sky using Candied Apple, Spiced Marmalade, Black Soot, Seedless Preserves and then Wilted Violet Oxide inks. To create the clouds, I just painted on some clean water and the blotted off the water after 15 seconds.


Aren't they just the cutest little trick-or-treators you've ever seen?
Make sure to check out the Sweet November Stamps shop for all the new Halloween clear and digital stamps!
Have a great weekend!
~ Ally ~
Over at StampNation we have another fun Weekend Challenge posted for this month.
This weekend's challenge is to be inspired by this cute little photo of the cozy cup...

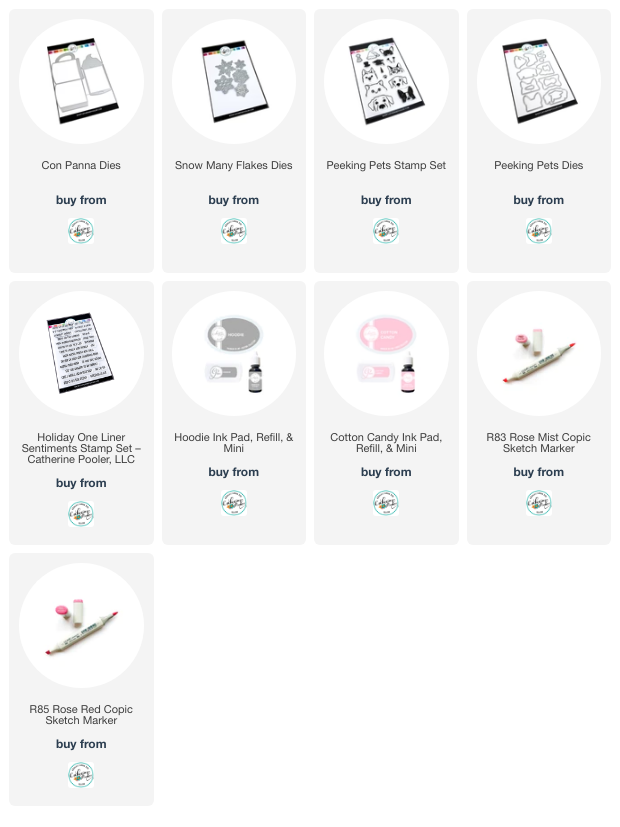
First I used my CP Blending Brushes to add an even coat of Cotton Candy ink all over the cup die cut. I die cut 2 of the 5 snowflakes from the "Snow Many Flakes Dies" and adhered them all over the cup's surfaces.

For the inner sliding card, I stamped the 2 sentiments from the cute "Holiday One Liner Sentiments" stamp sets with Hoodie ink. I also stamped another kitty at the bottom of the tag and colored it in using Copic Markers. To finish off the tag, I used some soft pink ink to add dimension to the whipped topping.
Just a cute little gift card holder with some kitty fun!
Make sure to check out all about StampNation here.
Have a great weekend!
~ Ally ~

Join me over on the Scrap 'N Stamp Facebook page on Sunday at 8pm ET.
We're going to make a fun masculine gift card holder featuring the adorable "Oh Boy #316" stamp set by Aall & Create and the nifty "Pan Conna Die" set from Catherine Pooler.
Hope you'll join me over there!
~ Ally ~
Today I'm sharing a light up haunted card featuring Chibitronics products!
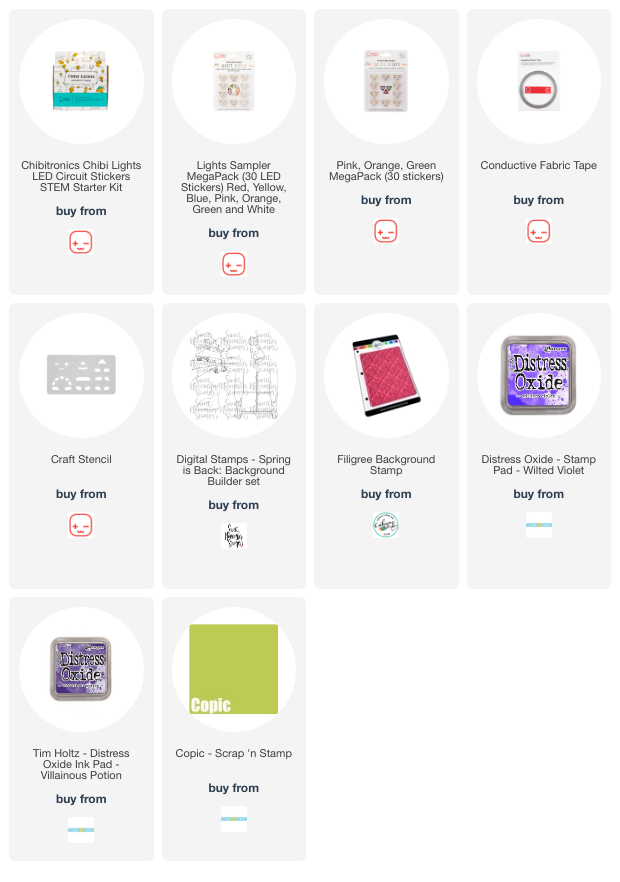
I began today's creation by designing the scene using the new digital stamps, "Haunted Portraits" from Sweet November Stamps and also the curtains from "Spring is Back: Background Builder".
I printed off two copies. For the top panel, I created a paper mask for the curtains, the portraits and the flooring. I then created the purple wallpaper using Wilted Violet Distress Oxide as a base color and the a stamped "Filigree Background" from Catherine Pooler Designs using Villainous Potion.
Once the mask was removed, I colored up the floor. To create a carpet texture, I soaked a cloth with texture with Blender Solution and dabbed the solution all over the purple Copic floor.
Next I colored in the curtains, the baseboard and the portraits using Copic Markers.

For the circuit, I took the second printed panel and applied to the inside of the card. I also cut 2 small holes in the front panel of my card so the light would pass through the thick cardstock and just light up the eyes of the man and women. I adhered the colored panel to front.
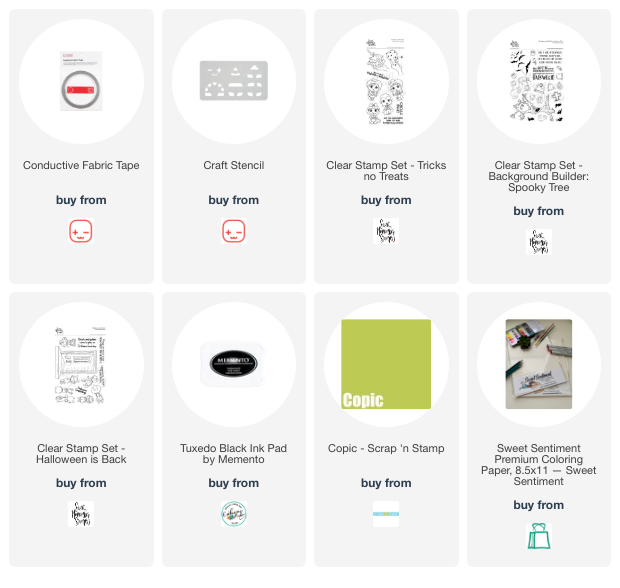
Next I mapped out my complete circuit. I created a circuit element for the location of my battery, I used the Craft Stencil to to trace out the location of my 2 Orange LED Light Stickers and I mapped out the negative (blue) side of the circuit and the positive side of the circuit (red).

Then I used my Conductive Fabric Tape to create my circuit. I began by creating the negative (blue) side and applying my tape to the template surface.
Then I created a battery housing using 3D foam tape strips. This locks in the battery so it doesn't relocate itself within the card. Then I create a paper flap, where I wrapped the Conductive Fabric Tape right around the flap, to ensure the battery touches the circuit when depressed. This becomes a switch.
Then I laid the Conductive Fabric Tape down for the remainder of the positive (red) side of the circuit.
The last thing to do was apply my 2 Orange LED Light Stickers in their places. These stickers can be found in the Lights Sampler Package (red, orange, blue, yellow, pink, green lights) and also the Pink, Orange Green Megapack of lights.

And here is the finished card. When the word "SCARE" is depressed on the card front, the eyes of the portraits light up and glow an eerie orange!

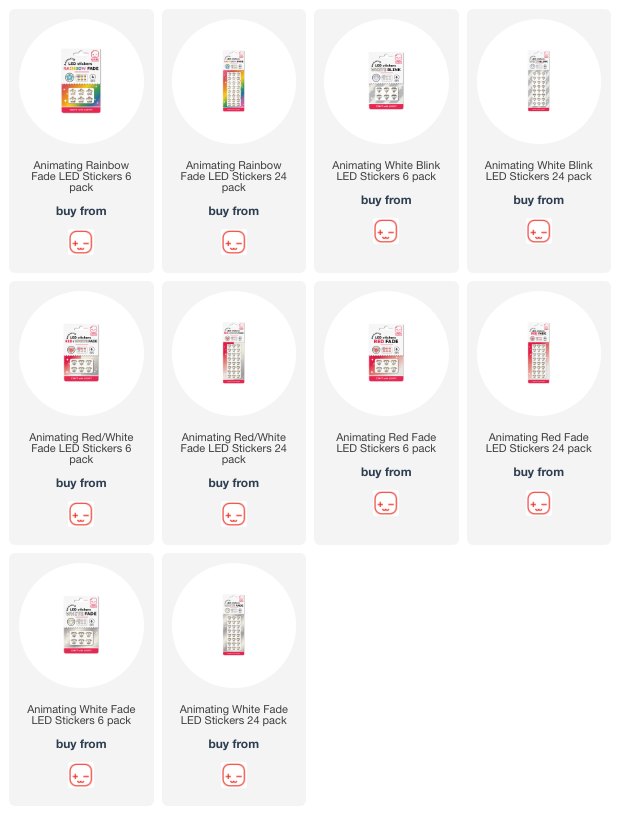
We just released a whole bunch of new Light Stickers too! These light stickers are called ANIMATING Light Stickers and the all have cool functions and light colors:

Our new animating LED stickers are now available in convenient packs of 6 or 24 with the following animation options:
Thanks for joining me today! Make sure to check out all the Chibitronics projects over on their blog, HERE.
Have a great weekend!

Join me TODAY at 2pm ET on the over on the Scrap'N Stamp Facebook page, where we're going to take some cool die cuts and decorate some treats and gifts. It's Technique Tuesday on a Wednesday!
We're going to take the ghoulish Tim Holtz "Retro Halloween" Thinlet dies and have some fun.
Join me there!
~ Ally ~

The new "Holiday De-Lights" collection will be in the Catherine Pooler Designs shop on Wednesday!
Today I'm sharing some new stamps and patterned papers coming this week.

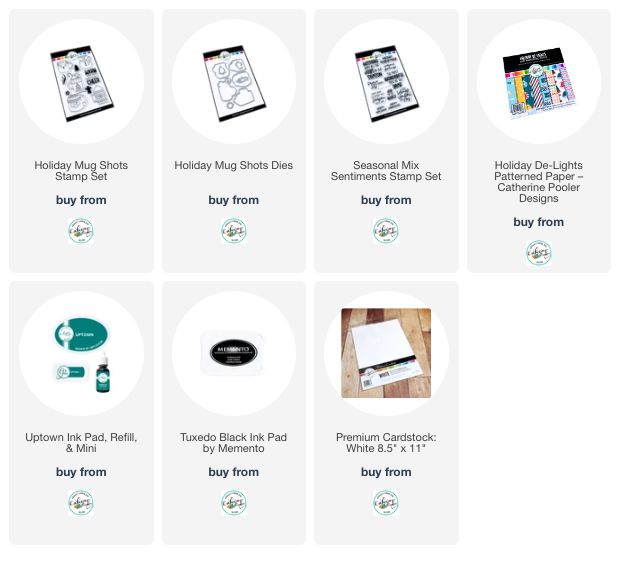
I really wanted to make some fast cards so first I stamped all 5 mugs from the "Holiday Mug Shots" stamp set and colored them up using Copic Marker colors that matched the patterned papers I chose.
I just had to use the sweet little elf hat paper from the "Holiday De-lights" patterned paper pack. I chose to use the Santa and reindeer mug paired together on this paper...

The next card features the Christmas tree mug. To get the "candy" looking paper, I cut the tops off the ornament patterned paper.

For my final card, I paired the sweater and snowman mugs together! I think the snowman mug is my favorite of all 5 mugs!

Coming Up with Catherine Pooler this week...
*Live Streams are at Noon Eastern on Facebook unless otherwise noted
Monday, Sept 11th - Bundle Reveal Recap and Card Making LIVE on Facebook
Tuesday, Sept 12th - Card Making LIVE on YouTube &
- StampNation Early Ordering OPENS
Wednesday, Sept 13th - General Ordering OPEN 9am ET- YouTube Live at Noon
Friday, September 15th - Catherine Guests on Craft Roulette 7pm Eastern
I hope you check out all the festivities!
~ Ally ~
Today I'm sharing another creation featuring the Halloween release from Sweet November Stamps!
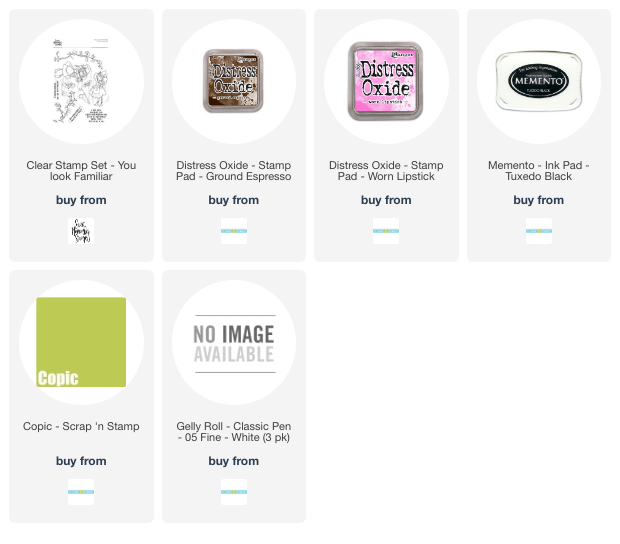
Today's card features one of the sweet witches from the "You Look Familiar" stamp set.

To create this card, I stamped my images and sentiment using Memento Tuxedo Black ink. I then created masks for the image and added them to the images.
Then I took some Worn Lipstick Oxide ink and blended it in towards the sentiment. Then I blended in some Festive Berries Oxide ink in and then finally some Ground Espresso Oxide in to finish it off. I splattered on some gold paint to add some shine to the background.
I peeled off the masks and colored all of my images up using Copic Markers.
I wanted to share an image of the just the background being finished before coloring in all the images...

It's amazing how it goes from blank, to colored background to fully colored card! So cool!
Have an amazing weekend!
~ Ally ~
It's Thursday and time to share my latest creation for the latest episode of Craft Roulette!
What is Craft Roulette you ask...
it's a weekly live show featuring improvised crafting, special guests,
community contributions, tons of prizes and much, much more! It's live
every Friday night over on YouTube. You can check out this week's episode, #179, here.
So the four parameters that the wheel spit out this week were:
So this week's card features a beautiful image from Power Poppy called "Fortunes of Fall". Sadly this is no longer offered as a physical stamp but you can download a digital copy called "Pumpkins and Pears". As you tell from the link, I was inspired by the beautiful watercoloring painting of this image on the website!

All of the aspects of these panel are colored with Copic Markers but I have use Polychromos Pencils to add a lot of the details. A few white and gold paint splatters are a fun add too! I used a white pencil to add the swirly details to the panels too.

Make sure to check out Craft Roulette over on YouTube and join us on Friday at 6:30pm CT for a brand new episode! Our next guest will be Michelle Lupton.
~ Ally ~
I'm still sharing creations featuring the Halloween release from Sweet November Stamps!
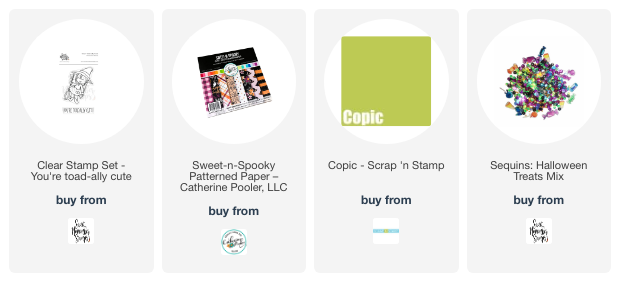
I had a blast coloring up this sweet little witch from the "You're Toad-ally Cute" stamp set. This is a sweet little mini stamp set!

My color scheme was inspired by the cool Halloween patterned papers from Catherine Pooler Designs.

Have a fabulously creative rest of the week!
~ Ally ~
The new Animating LED Light Stickers are now here from Chibitronics! We have 4 brand new stickers and effects to choose from!
We have:
We have each type in a 6 pack and a 24 pack PLUS we have combined sticker packs of the red and white fade stickers together! So many possibilities!

Today the team is sharing some amazing projects featuring our brand new Animating Stickers and one lucky winner on each hop stop will be randomly chosen to win a Craft with Light kit and a 6-light pack of the animating LEDs of their choice!
Make sure to check out my fun card featuring some cute little spookters from the Aall & Create company, 2 Fade Stickers and a few Green LED Light Stickers too...

Head on over to Instagram right HERE to begin the hop!
Have a great Tuesday!
~ Ally ~


Check out the video tutorial HERE or click the photo below!

I hope you enjoy it!
~ Ally ~
Howdy all! Happy Labour Day! Today we’re going to make a fun Halloween card where our little Vampire's eyes glow red! I'm featuring the brand new ANIMATING LED Light Stickers from Chibitronics. These new animating light stickers are already in the shop! There are a few different colors and different effects to choose from.
I began today’s card by creating my scene using a few fun Halloween stamp sets from Sweet November Stamps. I used the following clear stamp sets to create my card front: "Tricks No Treats" (Vampire), "Background Builder: Spooky Tree" (tree & bats) and "Halloween is Back" (sentiment).

Once stamped, I colored the whole scene using Copic Markers. As for the sky, I will have a future video on how I created that sky up on my YouTube this week.
Copics used for this card:
Then I began to plan out my circuit. So on the inside of my 3D folded panel, I partially stamped the little head of our adorable Vampire in the same location as it's found on the card front. Plus I also traced a circle at the top right hand corner indicating the placement of my moon. Next I used my Craft Stencil to map out the location of my 2 Animating Red Fade LED Light Stickers. These stickers are BRAND NEW and will be released sometime this week. I also laid out the position of the battery and the negative (blue) and positive (red) sides of the circuit.

Next, I created a paper flap and begin the positive side of my circuit. I began my Conductive Fabric Tape end under the flap and then proceeded to take the tape up to finish off the circuit.

Here's our little fella all lit up!

Make sure to check out my video showing you how to create this circuit! It's SO easy! Click HERE to watch!

PLUS we have all of our brand new ANIMATING LED Light Stickers in the shop now! Check out all the new light up possibilities...
If you are interested in knowing more about our Animating stickers, you can visit our info page HERE.
Thanks for stopping by! I hope this inspires you too to create a fun light up Halloween card creation soon!
~ Ally ~