Howdy all! Happy Labour Day! Today we’re going to make a fun Halloween card where our little Vampire's eyes glow red! I'm featuring the brand new ANIMATING LED Light Stickers from Chibitronics. These new animating light stickers are already in the shop! There are a few different colors and different effects to choose from.
I began today’s card by creating my scene using a few fun Halloween stamp sets from Sweet November Stamps. I used the following clear stamp sets to create my card front: "Tricks No Treats" (Vampire), "Background Builder: Spooky Tree" (tree & bats) and "Halloween is Back" (sentiment).

Once stamped, I colored the whole scene using Copic Markers. As for the sky, I will have a future video on how I created that sky up on my YouTube this week.
Copics used for this card:
- Sky: B32, B24, B26, B37
- Grass: YG61, YG63, YG67, G85, G28
- Tree: E49, E47, E35
- Hair: V12, T10, T9, T7
- Skin: E50, E51, R30
- Clothing: V17, V15, V12, R89, R46, R27
- Sack: YR18, Y38, Y15
- Moon: C2, T2, W2, B000, Y00, E51
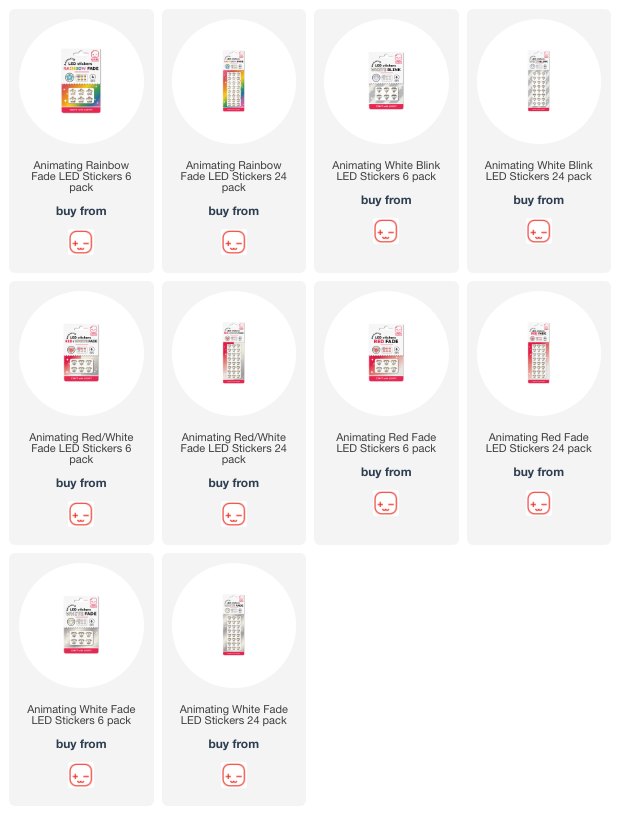
Then I began to plan out my circuit. So on the inside of my 3D folded panel, I partially stamped the little head of our adorable Vampire in the same location as it's found on the card front. Plus I also traced a circle at the top right hand corner indicating the placement of my moon. Next I used my Craft Stencil to map out the location of my 2 Animating Red Fade LED Light Stickers. These stickers are BRAND NEW and will be released sometime this week. I also laid out the position of the battery and the negative (blue) and positive (red) sides of the circuit.

Next I laid my Conductive Fabric Tape down on the negative side of the circuit. Then I framed in my battery housing using some 3D foam in preparation for my battery and the beginning of the positive side of the circuit. I also placed a row of 3D foam adhesive around the outer edges of the panel.
Next, I created a paper flap and begin the positive side of my circuit. I began my Conductive Fabric Tape end under the flap and then proceeded to take the tape up to finish off the circuit.

And last of all, I added my 2 Animating Red Fade LED Light Stickers. These lights when activated, the blink on and off in red! SO cool!
Here's our little fella all lit up!

Make sure to check out my video showing you how to create this circuit! It's SO easy! Click HERE to watch!

PLUS we have all of our brand new ANIMATING LED Light Stickers in the shop now! Check out all the new light up possibilities...
If you are interested in knowing more about our Animating stickers, you can visit our info page HERE.
Thanks for stopping by! I hope this inspires you too to create a fun light up Halloween card creation soon!
~ Ally ~


No comments:
Post a Comment