Happy Wednesday! Today I'm sharing my latest Chibitronics creation that I've made this week.
All over the world this week, the Aurora Borealis has been showing it's self so I have taken inspiration for that event for today's interactive card.
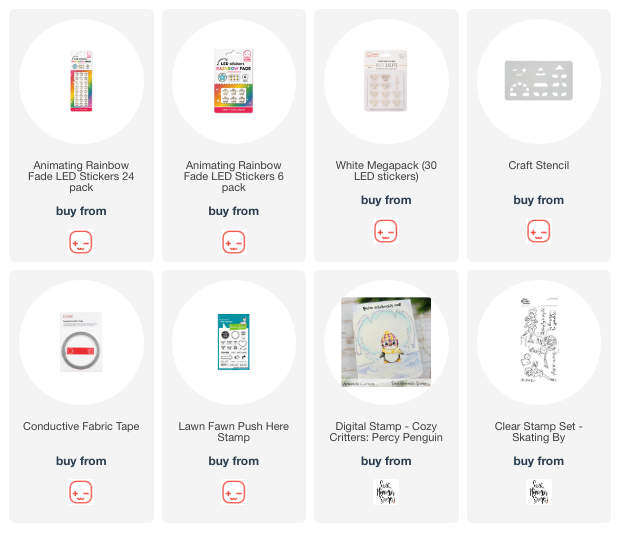
Today's card features the adorable little digi from Sweet November Stamps called "Percy the Penguin".

Once completing my card front using Copic Markers, I added the "Push Here" stamp from Lawn Fawn stamp set " Push Here" and die cut the long opening for Percy to skate on.
Next it was on the circuit.
Next I mapped out the location of all my light stickers and the pathways of the negative (blue lines) and positive (red lines) of my circuit using pen.
Notice how my negative and positive lines cross at the top of the circuit. We will solve this problem very easily.

Next I laid down the Conductive Fabric Tape for the negative side of both of my circuits. I began on the bottom side of the self adhesive Battery Holder and the location of the Battery.
Notice there is a gap in the negative circuit for my Slide Switch Circuit (bottom circuit).

Next I added a piece of paper for a bridge over top of the piece of negative side of the circuit where my tape was going to cross over it. Then I laid down the positive side of the circuit tape. I began on the inside of the lid of the Battery Holder of the top circuit and I adhered the Battery to the Slide Switch circuit. This allows the lid of the Battery Holder to be pressed to close the circuit and allow the lights to come on - otherwise known as the switch.

Lastly, to complete the circuit, I added my LED Light Stickers. I used 4 White LED Light Stickers on the Slide Switch Circuit.
For the other circuit, I used 3 Animating Rainbow Fade LED Light Stickers.
I adhered the double sided self-adhering "C" shaped foam inside the Battery Holder and popped in a 3V Coin Battery.
Let's give it test... and REMEMBER... the white light turn on and off when the penguin is pressed and slid across the card. Each light is activated when the circuit is completed by making contact on the folded flap.
The Animating Rainbow Fade LED Light Stickers are activated when you press the button to complete the circuit. They cycle through the rainbow of colors!

To find out exactly how I built today's circuit step by step, check out my VIDEO TUTORIAL over on the Chibitronic's YouTube channel... HERE!!

Thanks for stopping by! I hope you have a wonderful week!
~ Ally ~


No comments:
Post a Comment