Happy Thursday! Today I'm sharing my latest Chibitronics creation that I've made this week.
Today's card features some fun Halloween stamp sets from Sweet November Stamps and their latest Ghoulish Greetings release. Meet "SN Gal Dedemona", our witch. Other SNS stamps I also used today include the cauldron & window from "Halloween Room Add-Ons", the crystal ball & candles from "Sorsha's Spell Room", the table from "Meet Cute", and the cat from the "Background Builder: Spook Tree" stamp sets.

I started today's card by stamping copies of my scene. I used the full and black inked copy on my card front and a copy of the scene I used on the inside guts of my card to map out my circuit onto. I also stamped a copy of Desdemona on some black cardstock and fussy cut her out. I applied her to the backside of the image behind her image on the card front. This block out the light and won't project through her image.

I located my battery location underneath the kitty images on my card front. Then I used my Craft Stencil and added the 5 locations of the light stickers I wanted to use; one on candle flame and a couple on the cauldron glow and one under her crystal ball. Next I mapped out the pathways of the negative (blue lines) and positive (red lines) of my circuit using pen.

Next I applied my Battery Holder into his place on my circuit. It has a peel and stick backer. Then I laid down the Conductive Fabric Tape for the negative side of my circuit. I began on the bottom side of the self adhesive Battery Holder.

Next I laid down the positive side of the circuit tape. I began on the inside of the lid of the Battery Holder. This allows the lid of the Battery Holder to be pressed to close the circuit and allow the lights to come on - otherwise known as the switch.

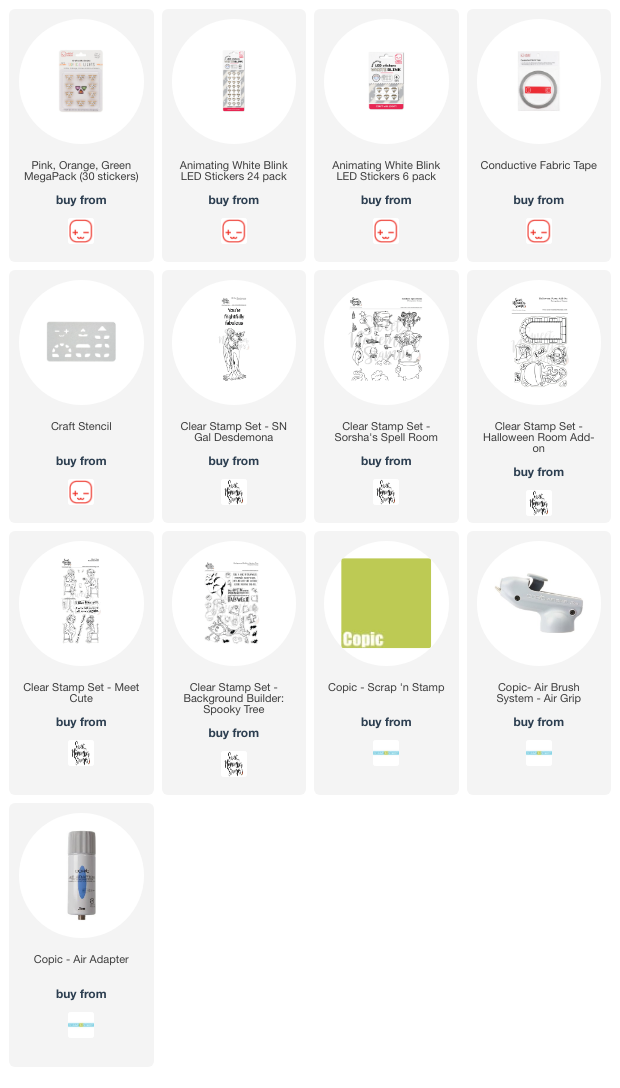
Lastly, to complete the circuit, I added my five LED Light Stickers, I used 3 Green LEDs, and 2 gem shaped Animating White Blink LED Light Stickers.
I used the green stickers from the Pink/Green/Orange MegaPack, and the White Blink stickers from the Animating White Blink LED Lights Pack (comes in 24 or 6 pack).

I adhered the double sided self-adhering "C" shaped foam inside the Battery Holder and popped in a 3V Coin Battery.
To allow for the bulkiness of the Battery Holder, I applied 3D foam around the perimeter of the circuit panel so the card front closes on the same level as the whole card.
Let's give it test... and REMEMBER... the white light BLINKS of the candles blinks on and off! To complete the switch, all you have to do is press the kitty. I usually just leave a message for my card receipt on the inside as to how you turn the lights on.

And that's it! A super fun and spooky card for someone special!
~ Ally ~


No comments:
Post a Comment