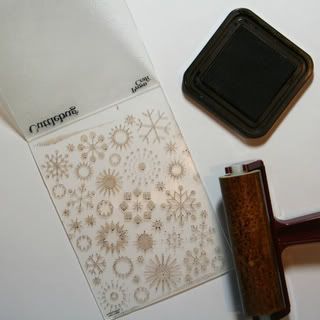
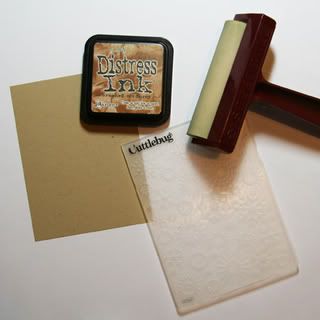
Supplies:
- cardstock
- ink
- embossing folder
- brayer
- die cut machine
- Gather your supplies together.
- Evenly load the brayer with ink. Try rolling it across the pad in multiple directions for more even coverage.
- Roll the inked brayer across the surface of the RAISED side of the Cuttlebug die. The brayer works great in this case because it gives you even coverage of the raised surfaces and doesn’t allow excess ink to drip into the grooves.

- Carefully lay your piece of cardstock on top of the inked surface.
- Send the sandwiched folder through your die cut machine.
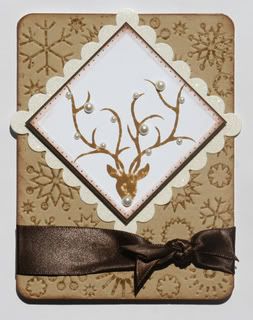
- Use the inked and embossed cardstock to create a card of your own design.


6 comments:
This is awesome! Great tut AND card!!! LOVE, LOVE!!
Cool! I've seen this being used before but had really no idea....I'll be trying this for sure!!
This is such a pretty one...I love that you used this color for a wintry card!
love it! never seen this tech. before! TFS!
oh my goodness the cuttlebug just jumped onto the top of my wish list. Thanks for sharing
Wow! You made this seem so simple, thank you. I was so scared of this technique, now I don't feel like that anymore. Thank you!
Post a Comment