Supplies:
- Clear plastic take out box
- Staz-On ink
- Stamps
- Patterned paper
- White cardstock
- Wet adhesive
- Repositionable adhesive
- Sharpie Marker & Copic Markers
- Post-it-notes for masking
Step One:
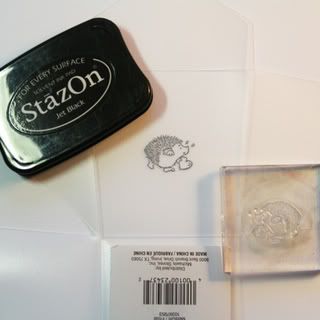
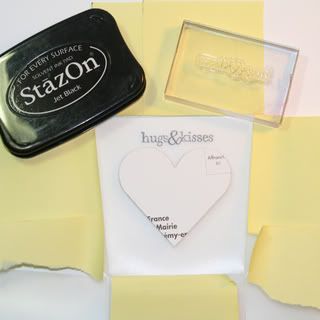
Disassemble your clear plastic take out box and lay it flat on your work surface. Using your Staz-On ink, stamp an image of your choosing on the center of front panel of the box. Remember the way the box folds back up so you don’t stamp your image upside down.
Step Two:
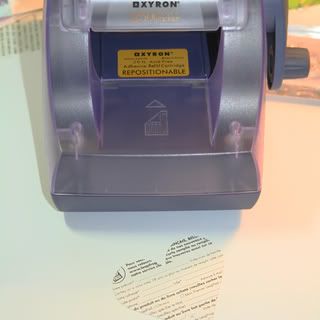
Cut out a shape that you wish to trace to make a frame around your stamped image. Make sure your stamped image will sit inside the shape you choose. Run it through a adhesive applicator like a Zyron using repositionable adhesive. I used a heart for mine.
Step Three:
Position your shape over top of your stamped image. Check the positioning over your stamped image by looking at the back of your box front.
Position a number of Post-it-notes along the edge of the front face to mask off any areas you don not want your stamps to ink.
Stamp your greeting above your shape using Staz-On ink.
Step Four:
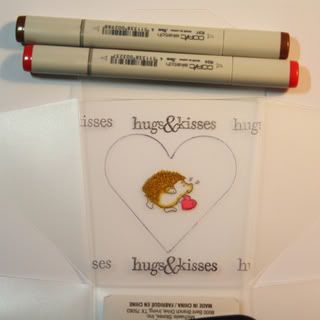
Trace your shape with a thin tipped Sharpie marker and remove the shape mask.
Flip your stamped image over to the reverse side. Colour in your image using coloured markers. I used my Copic Sketch markers. Colour your image multiple times to deepen the colour; until desired.
Step Five:
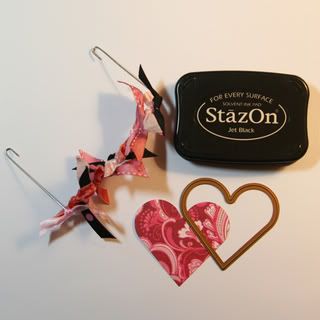
Tie multiple pieces of ribbon to the handle.
Cut 2 patterned paper shapes and 2 white cardstock shapes for your box. Add ink to the edges of your patterned paper pieces if desired.
Step Six:
Adhere your two white cardstock shapes to the inside of your box behind your stamped images with a little bit of wet adhesive. This allows the image to show clearly especially when you fill your box with goodies.
Adhere the two patterned paper shapes on the other two blank sides of your box, below the handle holes in the sides.
Volia! I treat box to fill with goodies for someone special in your life!
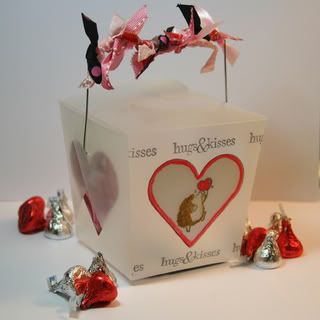
Supplies: Paper: BasicGrey. Cardstock: The Paper Company. Stamps: Penny Black, Inkadinkado. Inks: Staz-On. Tools: Spellbinder’s Nestabilities (heart die). Markers: Copic Sketch, Sharpie. Take Out Box: Micheal’s. Other: ribbons.


 Posts