Chibitronics ~ Light Up Forest Frame

Hello everyone and Happy Monday!  I hope you all had a wonderful weekend!

Today I'm over on the  Chibitronics YouTube Channel sharing how I created this fun LIGHT UP Forest Frame!

I started by purchasing this pretty dark wood painted wood edges 4x6 frame from my local craft store.  I knew I wanted a frame that had a wide border around it not only to be able to glue stuff but to be able to create my circuit!


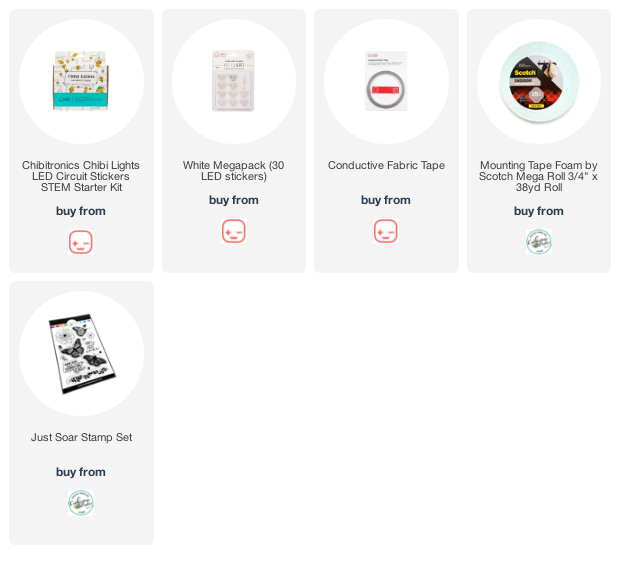
To push out the display I planned to create at the base of my frame, I used some thin cardboard and built the base out a bit by making a box type extension. Then I created my 2 aspects of my circuit (positive line & negative line) all across the base.  I hid the battery housing for my two 3V batteries on the back of the frame.  For the circuit I used the amazing "Conductive Fabric Tape".  It was going to be a little more durable and flexible for this project!


Next I applied all of my "White LED Light Stickers" to my circuit ensuring that the stickers were aligned with the correct sides of the circuit properly.  Tada... let there be light!

Next I adhered moss, lichens, a mini pine cone, twigs from my yard and some Silhouette die cut shapes (ferns & oak leaves) right over top of my circuitry. 

And with some batteries and the press of the battery housing... VOILA!  A little forest fame is born...

I love that the LED Stickers are so bright that they can shine right through the moss so easily!

Thanks for joining me today!  If you wish to check out the video tutorial, CLICK HERE.

Have a crafty week everyone!

~ Ally ~

CP ~ More Lovebirds!

Only a few more sleeps add the Ex Libris Collection from Catherine Pooler Designs joins the CP Shop!

This collection has 4 mini bundles to choose from or you can shop for everything a la carte! 

Today I'm sharing more from the "In The Parlor" Bundle!

I began my card by die cutting the beautiful book paper from the "Twilight Reading" paper pack using the fun "Notecard Postage Dies".  I also using the "Nested Stitched Heart Dies" to cut out a floral heart. 

Then I stamped the 2 sweet little lovebirds from the "Lovebirds" stamp set and cut them out with their coordinating die set.  Next I took my Blender Pen and colored in my little birdies using the new Apricot, Ginger and Terracotta inks.  I also stamped out my greeting a fussy cut it out too!

I matted my little postage die cut paper with some direct-to-paper inked up by Black Jack ink and added a new new "London Sequins".

These new products are just going to add some fun new additions to your stamp and ink collection!  All new products go live in the CP Shop on Wednesday April 6th at 9am ET.  Become a StampNation member and shop a day early!!!

~ Ally ~


This post contains affiliate links. All new products go live in the CP Shop on Wednesday April 6th at 9am ET.

Scrap N'Stamp ~ Embossing Magic Inspiration Hop

Hello Spring! I’m so excited to be hopping along with @scrapnstampcanada’s Embossing Magic Inspiration Hop. 
 
This is mostly an Instagram Hop today so start at the Scrap N'Stamp Instagram account HERE and proceed through all the links.  Make sure you comment as you go for a chance to WIN a $50 gift certificate to the SNS Shop! 

Here's a little sneak peek of my creation...


Happy hopping!
 
~ Ally ~

CP ~ Meet the Lovebirds

Today is Day 3 of the brand new Ex Libris collection from Catherine Pooler Designs!

We have already introduced our fabulous 4 new Spa Inks: Apricot, Ginger, Terracotta and Wintergreen.

Yesterday we introduced the Gardener's Treasures Bundle:

The Gardener's Treasures Bundle includes:

  • Dried Treasures Stamps & Dies
  • Gardener's Notebook Patterned Paper
  • Tuscany Sequins

Plus the "From the Library Bundle":

The From the Library Bundle includes:

  • Notable & Quotable Sentiments Stamps 
  • Notable Floral Dies
  • Filigree Background Stamp
  • Ex Libris Dies

Today I'm going to share a card using the new "In The Parlor" Bundle:

The In the Parlor Bundle includes:

  • Lovebirds Stamps & Dies
  • Twilight Patterned Paper
  • London Sequins

So I began with cutting a tag from the new "Twilight Patterned Papers" using the "Hearts n'Tags Die" set.  I backed it with a fussy cut black piece of cardstock.  I cut a similar rectangular panel from the same dark grey feather print for my card base.

To create my ombre background, I first applied Apricot, Ginger and Terracotta inks across my white cardstock.  I made sure to blend the seems between colors well and overlap them a bit.  Then I sprayed them with water to create a fun water dappled effect.  Then I placed the "Wavy Lines Stencil" over top of the whole thing and applied each color over it's layer to darken the areas of the stencil to show the pattern.    

For the final touch, I stamped and die cut the cute little birdcage and Lovebird from the "Lovebirds" stamp set and adhered them to the tag.   I colored all the little details of the images using Copic Markers.  I added a sentiment from the "Notes of Love Sentiment" stamp set and die cut it with it's corresponding "Notes of Love Dies".

These new products are just going to add some fun new additions to your stamp and ink collection!  All new products go live in the CP Shop on Wednesday April 6th at 9am ET.  Become a StampNation member and shop a day early!!!

~ Ally ~


This post contains affiliate links. All new products go live in the CP Shop on Wednesday April 6th at 9am ET.

 
09 10